Well, the headline says it all. I am complete with bodywork. Although we talk about getting our cars painted, there are really two major phases. Phase 1 is bodywork and Phase 2 is paintwork. If you were starting with a perfect metal body, like manufacturers do, you could go straight to paintwork. But when restoring a 50+ year old car, first you’ve got to do the bodywork.
Yesterday I applied a coat of primer/sealer to the entire body shell. Once it is sanded down, it will be ready for the basecoat and clearcoat paint. But let’s go back and visit where the bodywork effort has taken us.

The first step was a visual evaluation of the bodyshell and the bonnet pieces. Generally, everthing looked pretty good. But I noticed that several parts, namely the footwells and the footwell and sill closing plates were not factory pieces, rather they were just fabricated from flat plate. I ordered genuine factory pieces from SNG, cut out the old pieces, and installed the new pieces. Next, a mobile media blaster showed up and reduced all my panels to bare metal. Fortunately, even with all laid bare, no rust was found. My above introduction is a little off here. For large parts of the body, I was able to go immediately to paint. I primed and painted the inside of the cockpit, the bottom of the cockpit, and the firewall. The rest of the car received epoxy primer.
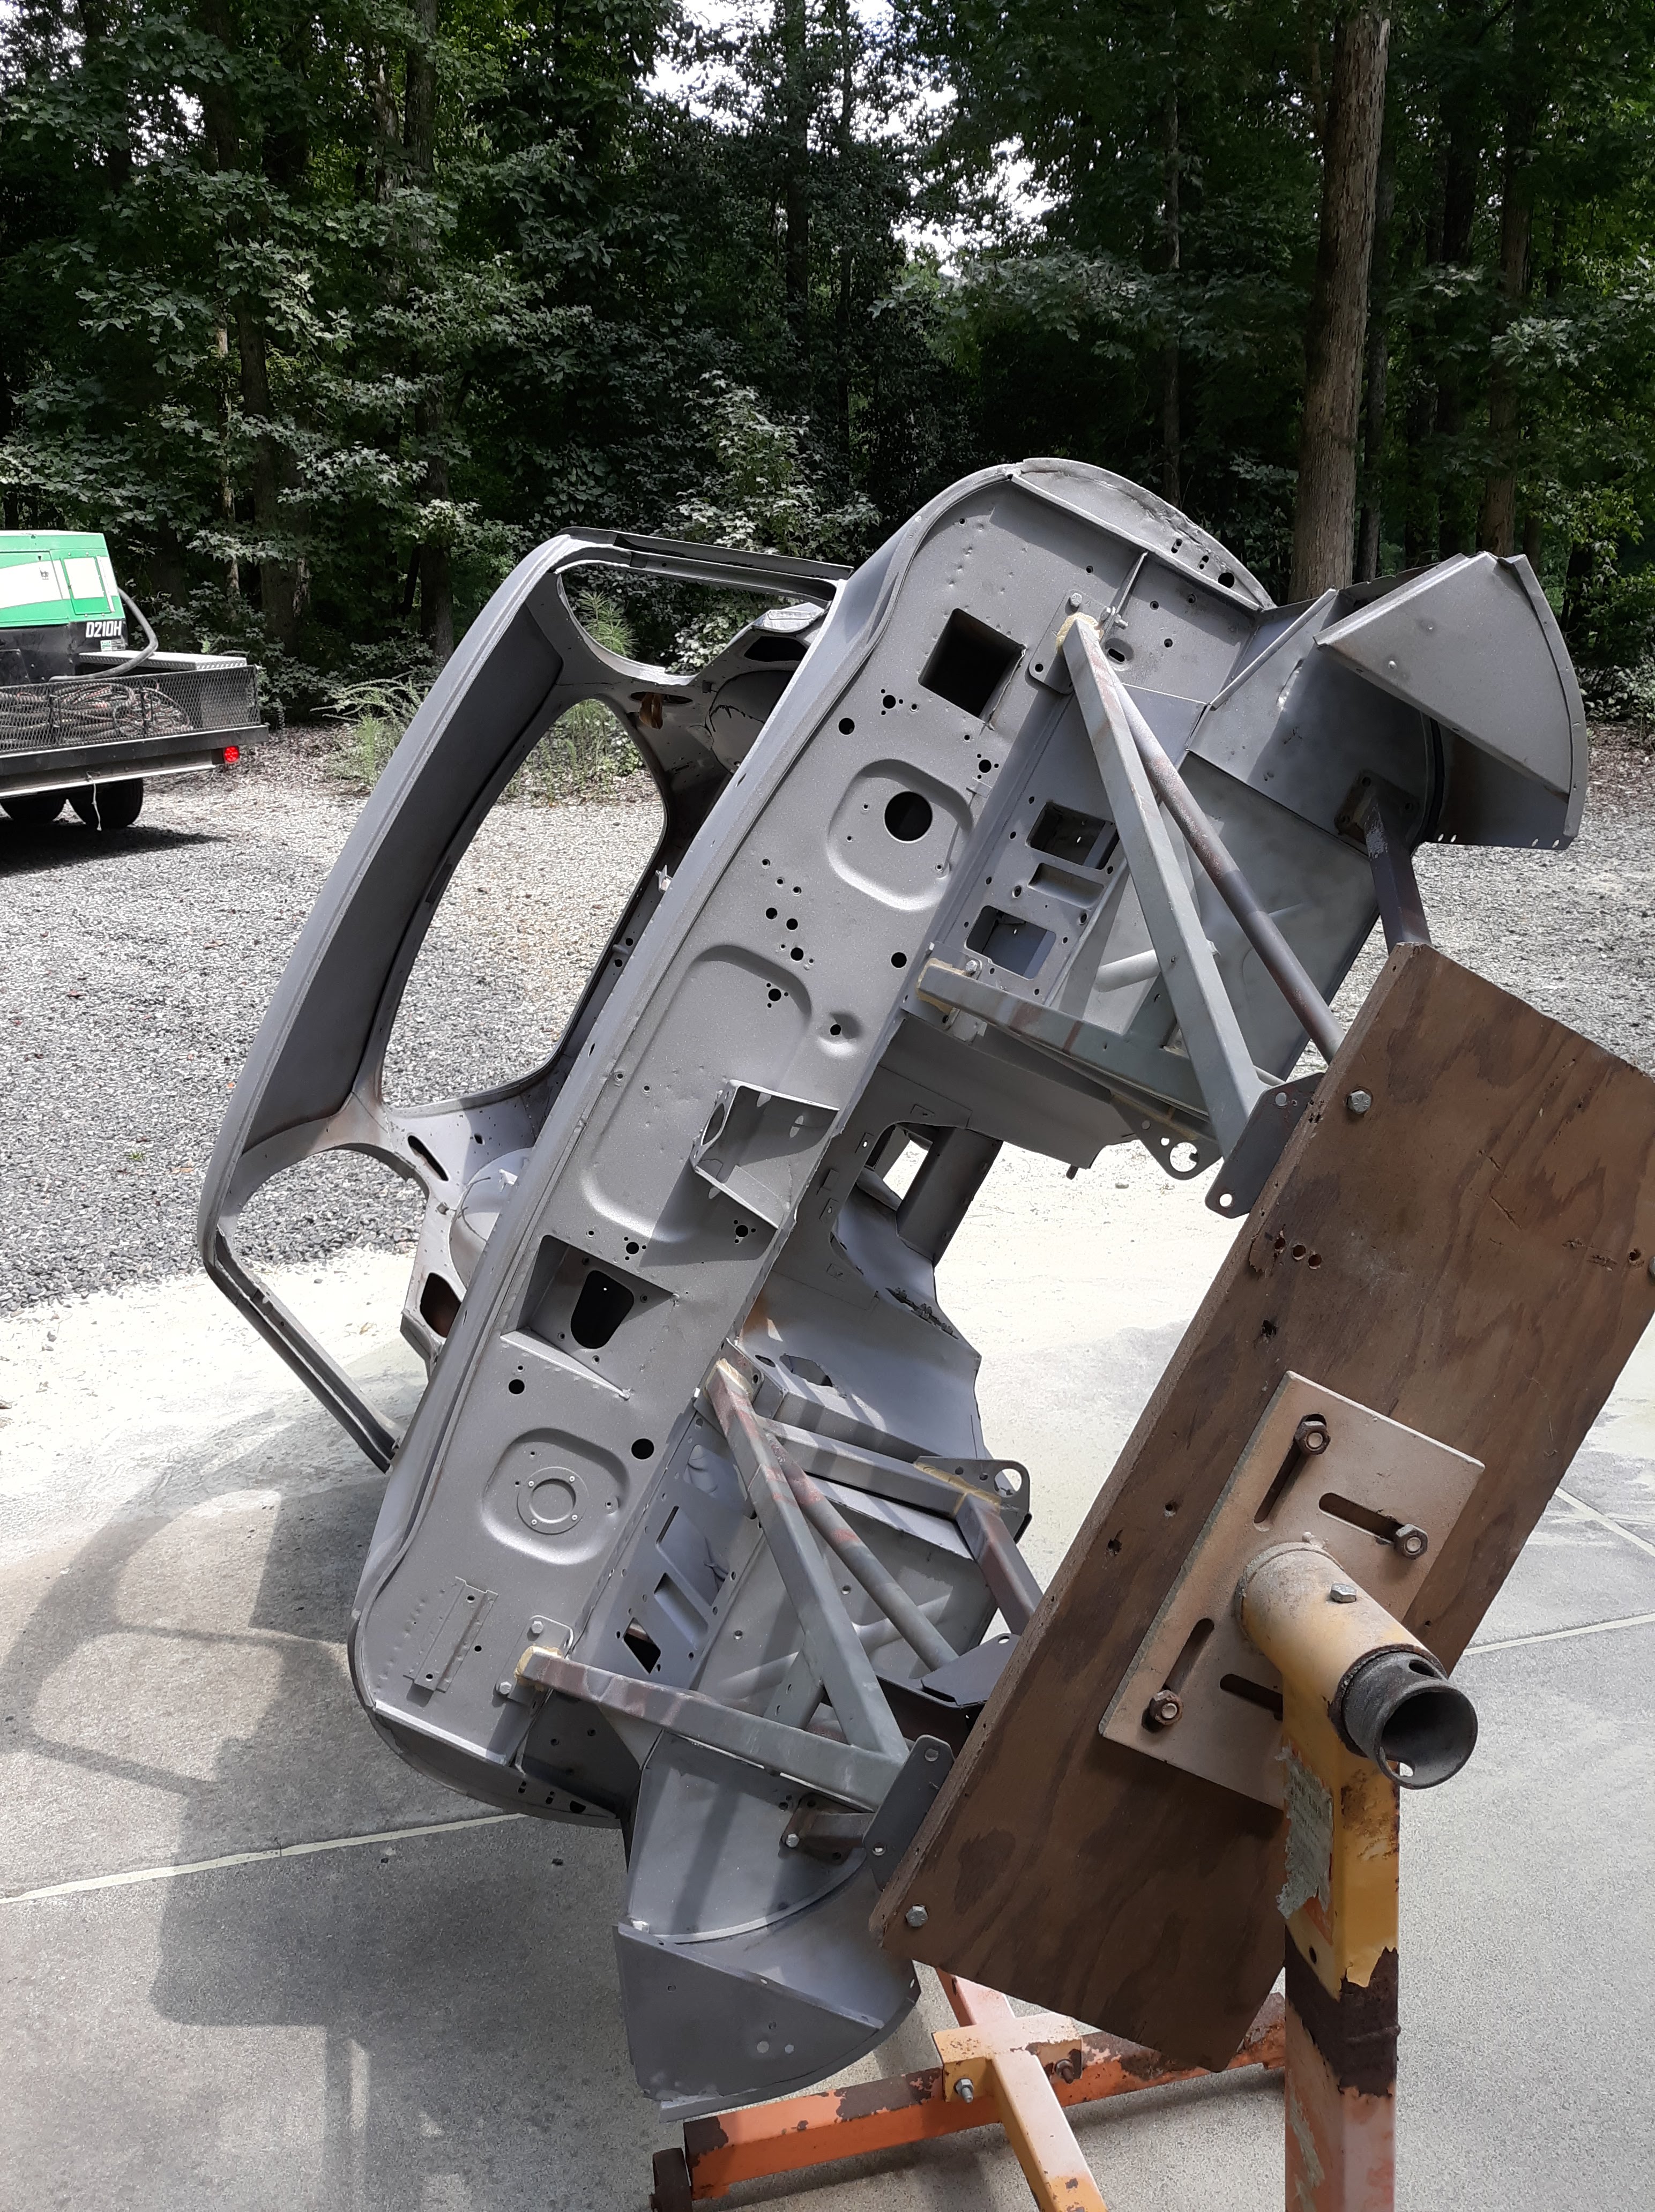
Next I turned my attention to the exterior of the cockpit. The doors and hatch lid were test fit. Panel gaps were optomized. High quality metal epoxy and/or plastic epoxy filler were applied to rough areas. Once the contours of the bodyshell were close to the desired shape, the entire bodyshell received a uniform coat of sprayable plastic filler. At every step of the way, most of the filler wound up as dust on the floor, as it was carefully sanded back down to the point where the high points in the surface were reached. This process was repeated multiple times until the profile of the various panels was perfect. It was only at this point that bodywork on the cockpit shell was complete.

Next I turned my attention to the bonnet. The bonnet pieces were assembled, in some cases mulitple times, until it matched up well with the cockpit at the firewall. The bonnet center section was obtained new from SNG. It of course needed minimal filler, just for handling scratches. The wings were another story, as they had many small dings. Finally all the pieces were assembled and the bonnet contour was perfect. I reached this point a few days ago.

The entire assembled car was wheeled into my paintbooth and masking was peformed, followed by the application of the primer/sealer. Three coats were applied.

A note on the term primer/sealer. I’m using Glasurit 285-60. I guess it just depends on your frame of reference but I think of primer as the first product that is applied, typically to bare metal. It goes on as a thin coat and won’t withstand much sanding without breaking through. The sealer in this case is a product that builds a substantial thickness and goes over the combination of primer and plastic filler that has been applied to the car. It will be sanded down using a “blocking” process with a “guide coat” as one final check to make sure the panels are correct. On some cars, there are large flat panels. The Etype body is flowing and almost every surface has a curvature. Blocking is done with flexible sanding blocks. If the guide coat is removed uniformly, you’re done. If not, you just apply more sealer and keep going until you make it perfect. The last step is to wet sand with P600 paper, which leaves a perfect surface for accepting the basecoat/clearcoat paint.

So that is where I am at. I’m getting ready to do final sanding to the primer/sealer. As I will discuss in a future post, once I get the exterior surfaces ready, I will remove the bonnet and paint the engine frames and the underside of the bonnet.
Post Script- One thing I really enjoy about being retired and working in my shop is that I am effectively outdoors much of the day. I get to experience the seasons and observe nature. I spotted this little guy lurking near my shop door. He looked so prehistoric I had to snap his picture. Recognize him? I didn’t. My wife the veterinarian identified him as an Assassin Bug.


Discussion
Comments are closed.