I have been working on the bonnet for quite some time now. According to my work log about 150 hours. I guess I’m going to say I can see the light at the end of the tunnel and I feel confident it is not a train coming.
Much time has been spent, as discussed previously in this blog, with the general fitment of the center section, nose, and side wings. I have a goal of having a very smooth transition from the cowl/firewall to the bonnet. I am just about there but, as discussed, have decided to get most of the weight into the car before making a final call on the bonnet to cowl gap. That said, the levelness of the bonnet to cowl is something I can complete now, as it should not be affected very much by the addition of weight.
The new bonnet center section has a reinforcement channel that resides just forward of the cowl. This channel was shipped loose. The rough position fore and aft of the channel is established by the 4 bolt stiffener plates that span from the center section to the wings.
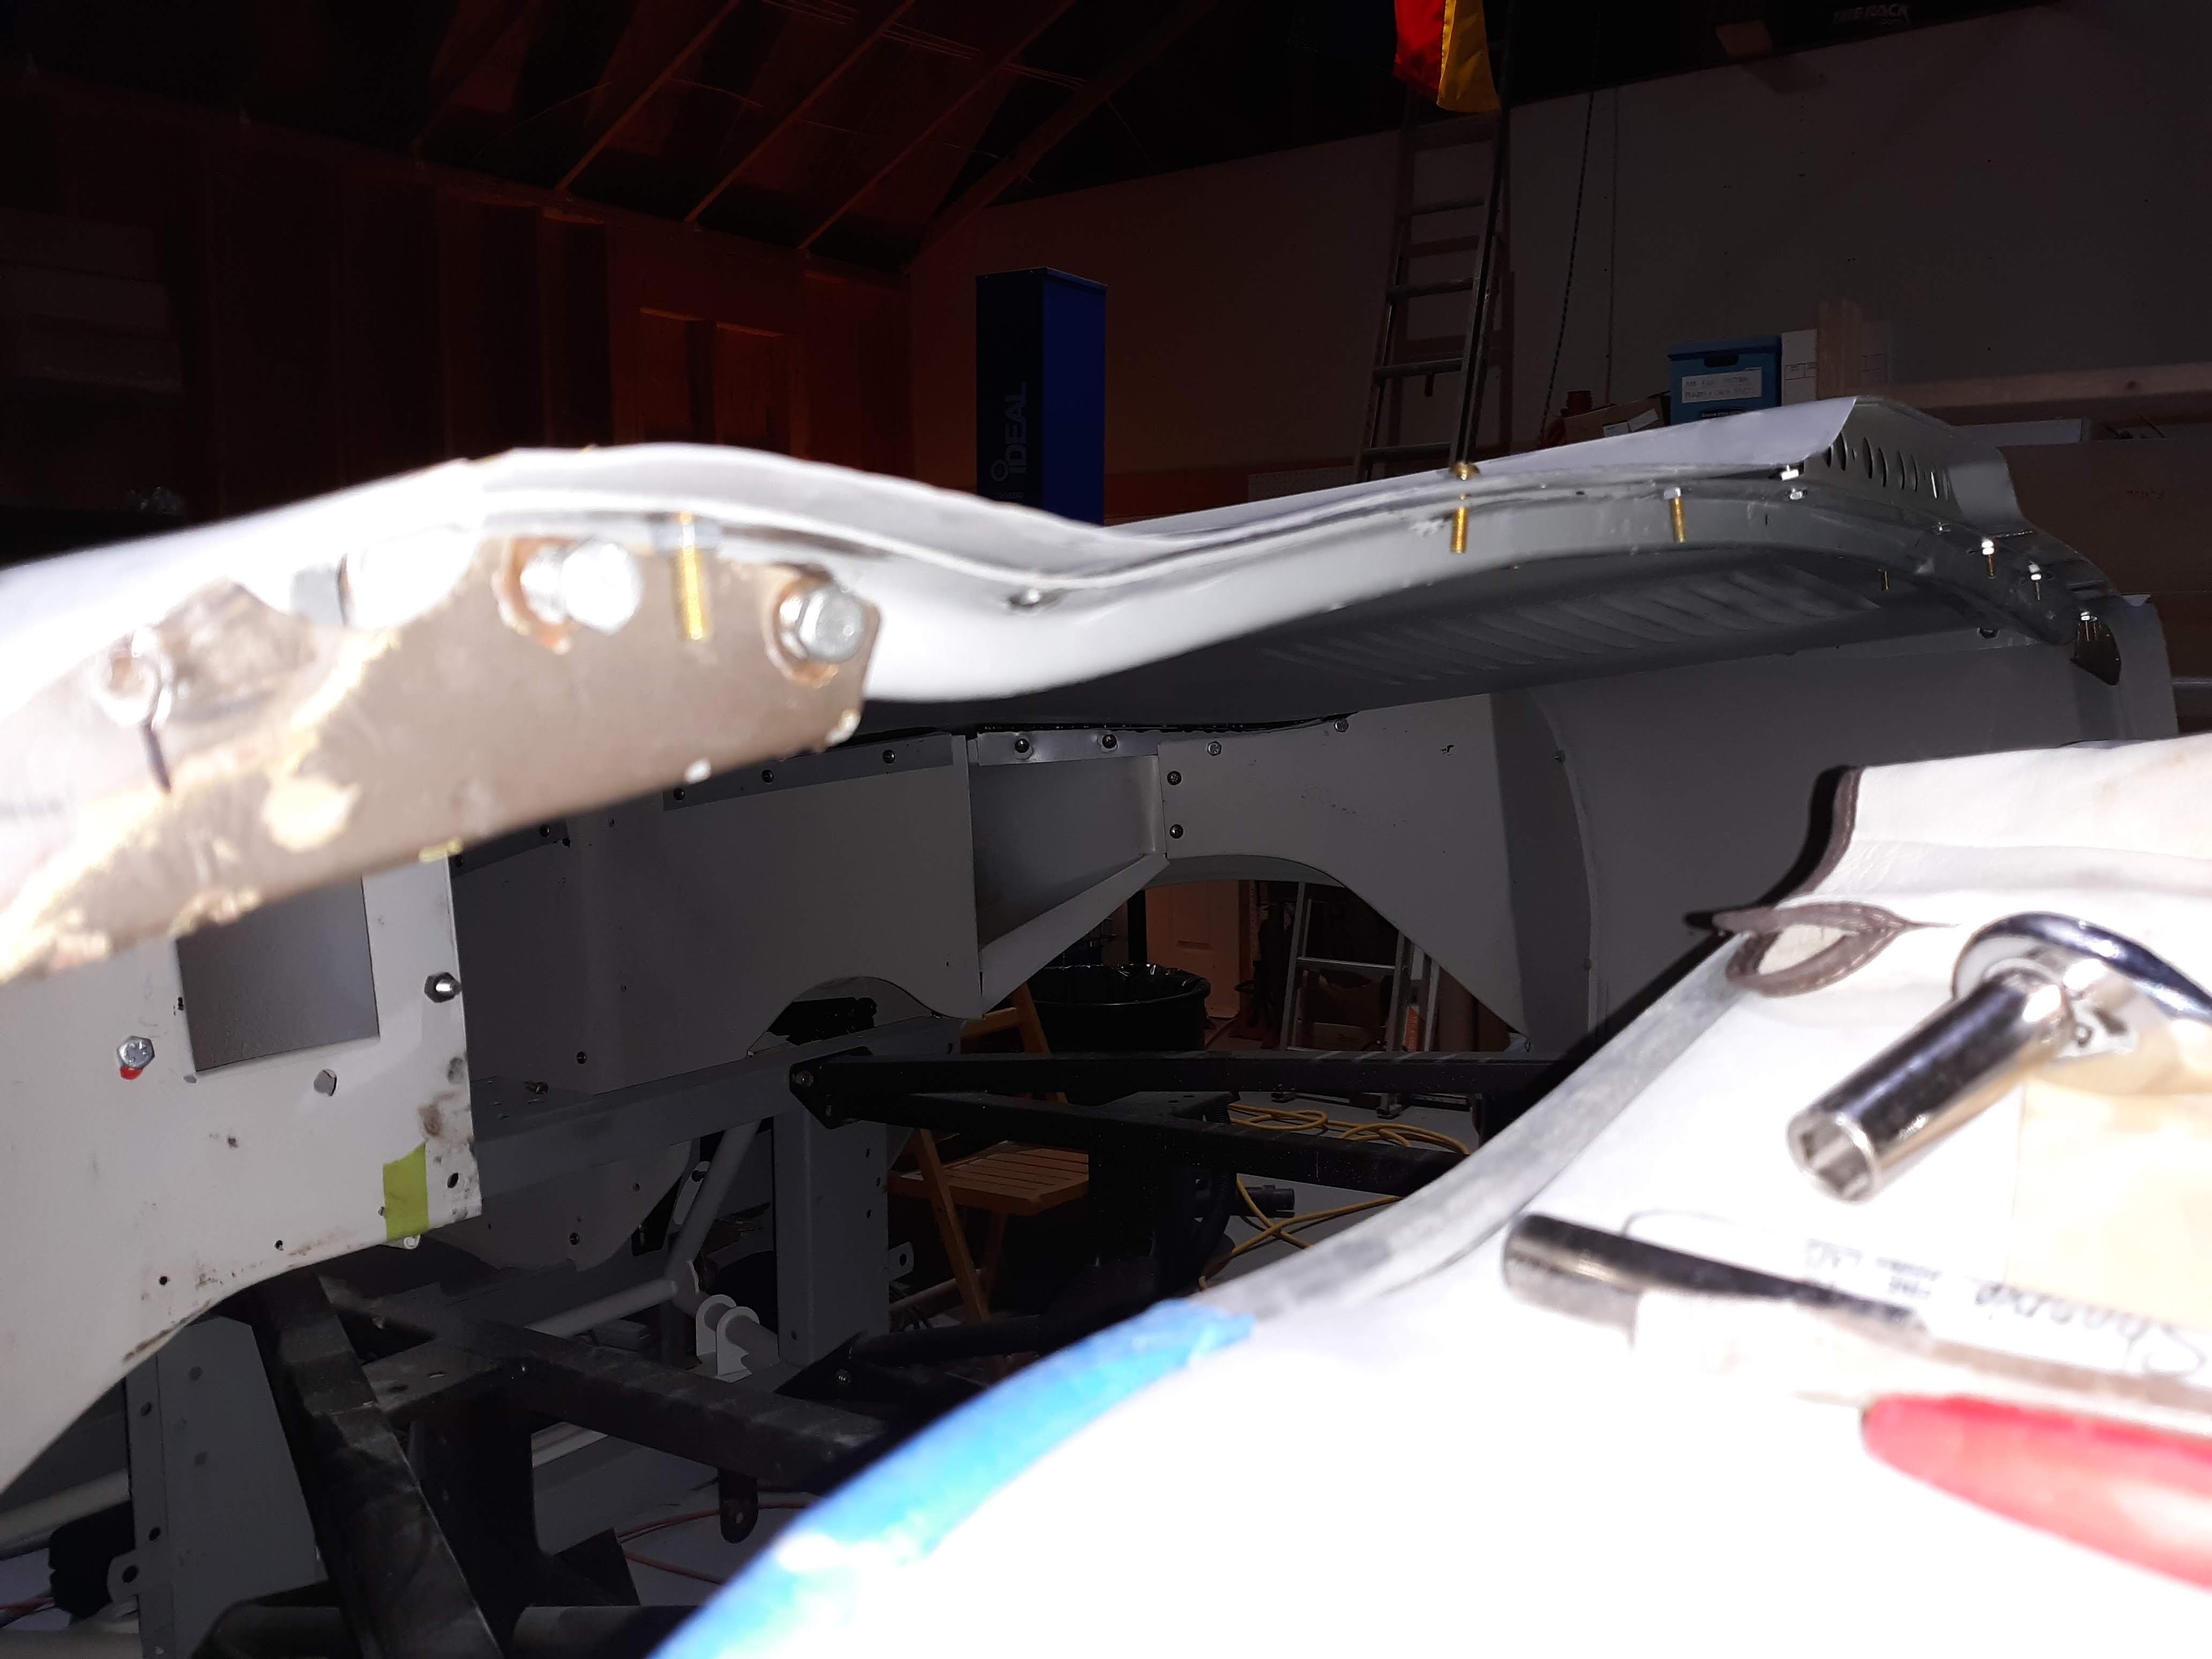
I bolted the channel in and drilled 3/16″ holes for #10 bolts through the sheet metal and the stiffener. When I tightened all the bolts down, the levelness match between the bonnet and the cowl was OK but not great. I basically started adding shims to the space between the bonnet and the stiffener to change the profile of the bonnet trailing edge. I also had to do some rough bending of the stiffener at one end, as it was just not right. The end result was a good fit at the cowl, requiring just a minor amount of filler to make perfect.

In the photo above, the right hand side of the center section needed a bunch of shims. The shims were required in order to “push” the low point curvature down far enough to match the cowl. The question was how to lock down this profile. I’m pretty sure that the channel would be held by adhesive bonding from the factory. I worry about the holding power of just adhesive so I decided welding was required. My painter consultant recommended that I drill additional holes just through the center section skin and make plug welds through these holes. Once I had done that, I could start removing the bolts and plug weld those holes. That seemed like a good idea. I ground down the areas that would be welded to remove existing primer (which doesn’t like to be welded) and applied “weld through primer”. Because I struggle to weld an open hole, as I removed the bolts, I slid in a thin sliver of metal between the bonnet and the channel. I then made 2 welds, one from the top and one from the bottom. In the area where the gap is large, I will fill the space with adhesive. I have just finished up this effort and have smoothed out the welds on the top surface.

Keep in mind that most of us have this stiffener already attached. In the worst case scenario, you may have to remove it and perform actions such as I did in order to obtain an acceptable profile. A middle ground, as I experienced on my 1967 2+2, is that I had to add temporary screws at the low point area, which was too high, in order to draw it down into the proper position. On that car I added tack welds between the stiffener and the bonnet sheet metal.
Another different challenge was up at the front end. I have been test fitting the chrome headlight rings, the running light/turn signal fixtures, and the bumpers. At some point I realized that the drivers side running light fixture was too low. It was low enough that it was affecting the proper vertical position of the bumper. Furthermore, gap between the fixture and the headlight rings differed by about 3/16″ versus the other side. It may not sound like much but once you see the difference, it really is not acceptable for a high quality restoration. I decided to raise the fixture.
I was able to cut out material from the top of the opening in the fender using sheet metal snips. Once I got the vertical position I needed, the 3 mounting screws did not line up with their captive nuts. I wound up cutting off the captive nuts and welding new ones in at the proper elevation. I was able to knock this out in 3 hours, which is pretty good for me doing something for the first time.

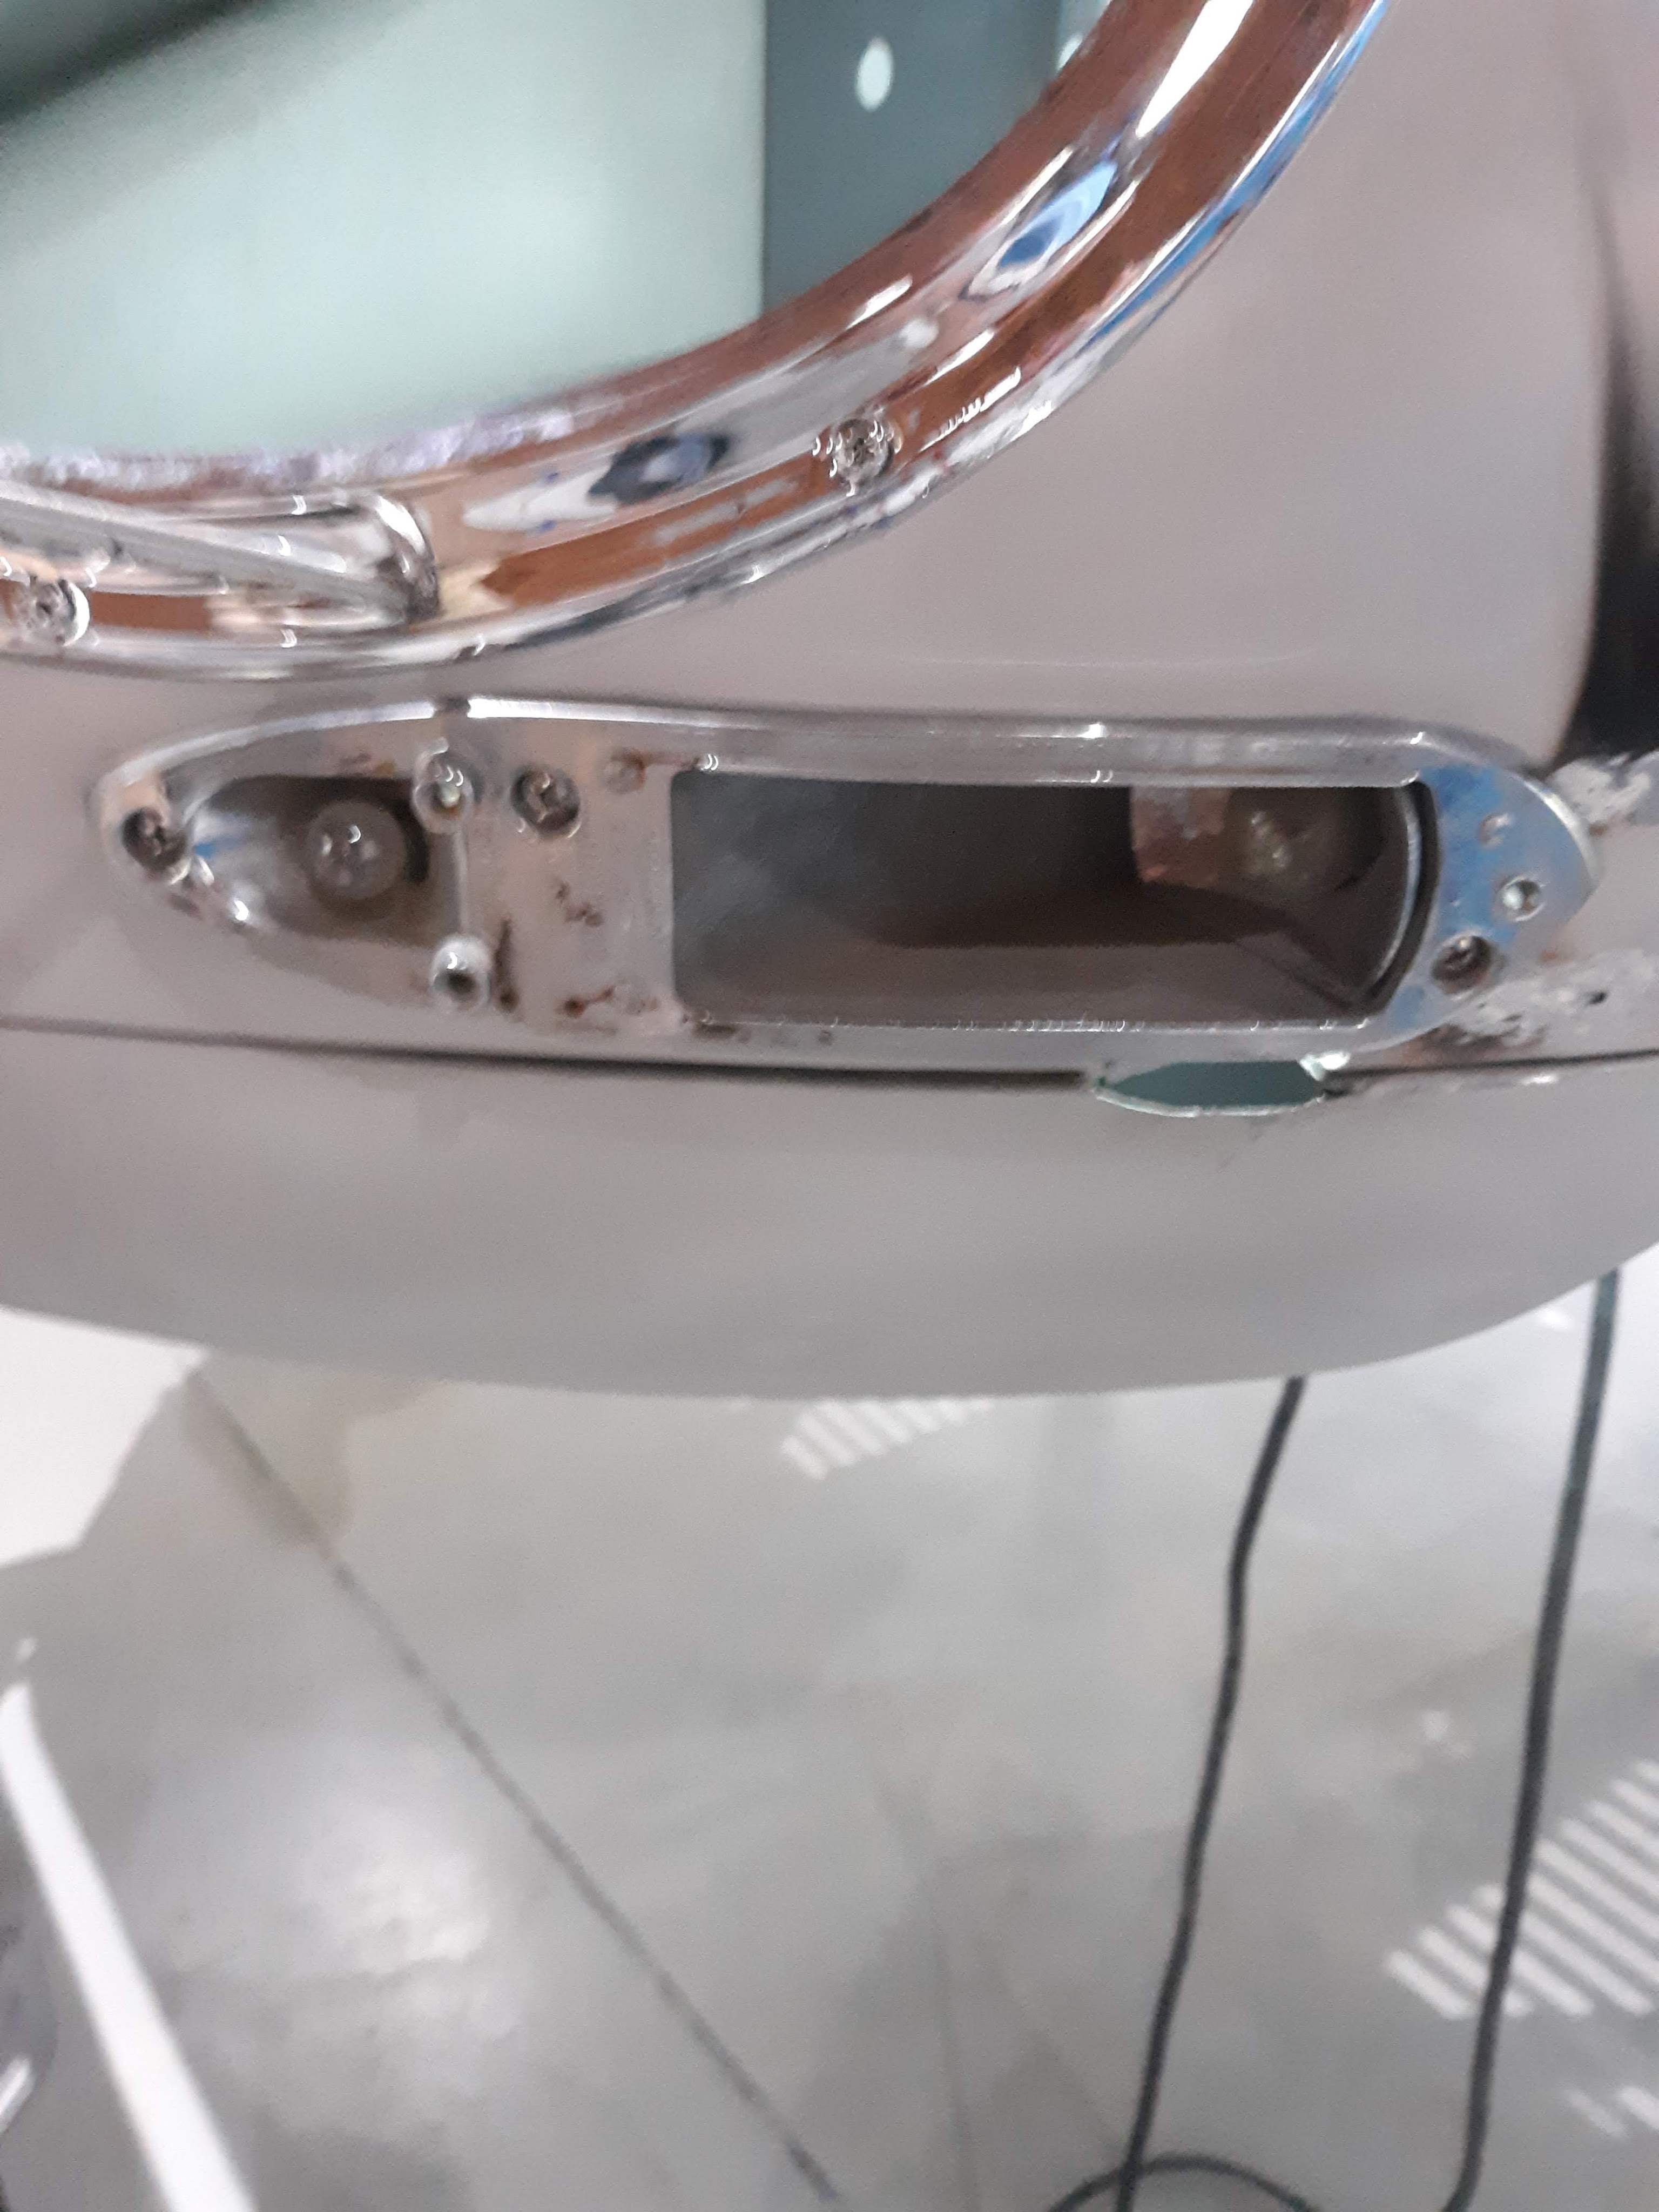
Now both sides match! And there is room for the bumper to be in it’s proper place. I would note that on the passenger side, the two pieces were touching. I reshaped the chrome headlight ring locally to gain some space. Everything will get rechromed at the end.

Finally, there was the fitment of the bumper overrider on the bumper. The factory arrangement counts on a small metal triangular tab to engage a plate on the bumper. It is a tenuous connection and doesn’t really allow the overrider to be oriented correctly. After studying the situation, I decided to make a spacer. I used 1″ PVC. I used a grinder to cut a “fishmouth” that fit over the bumper leading edge. Then I cut the piece to length. I was rewarded with a overrider that was plumb and not rotated at some strange angle. It’s not super robust but unfortunately that describes the entire bumper setup on an Etype. Not very crashworthy!

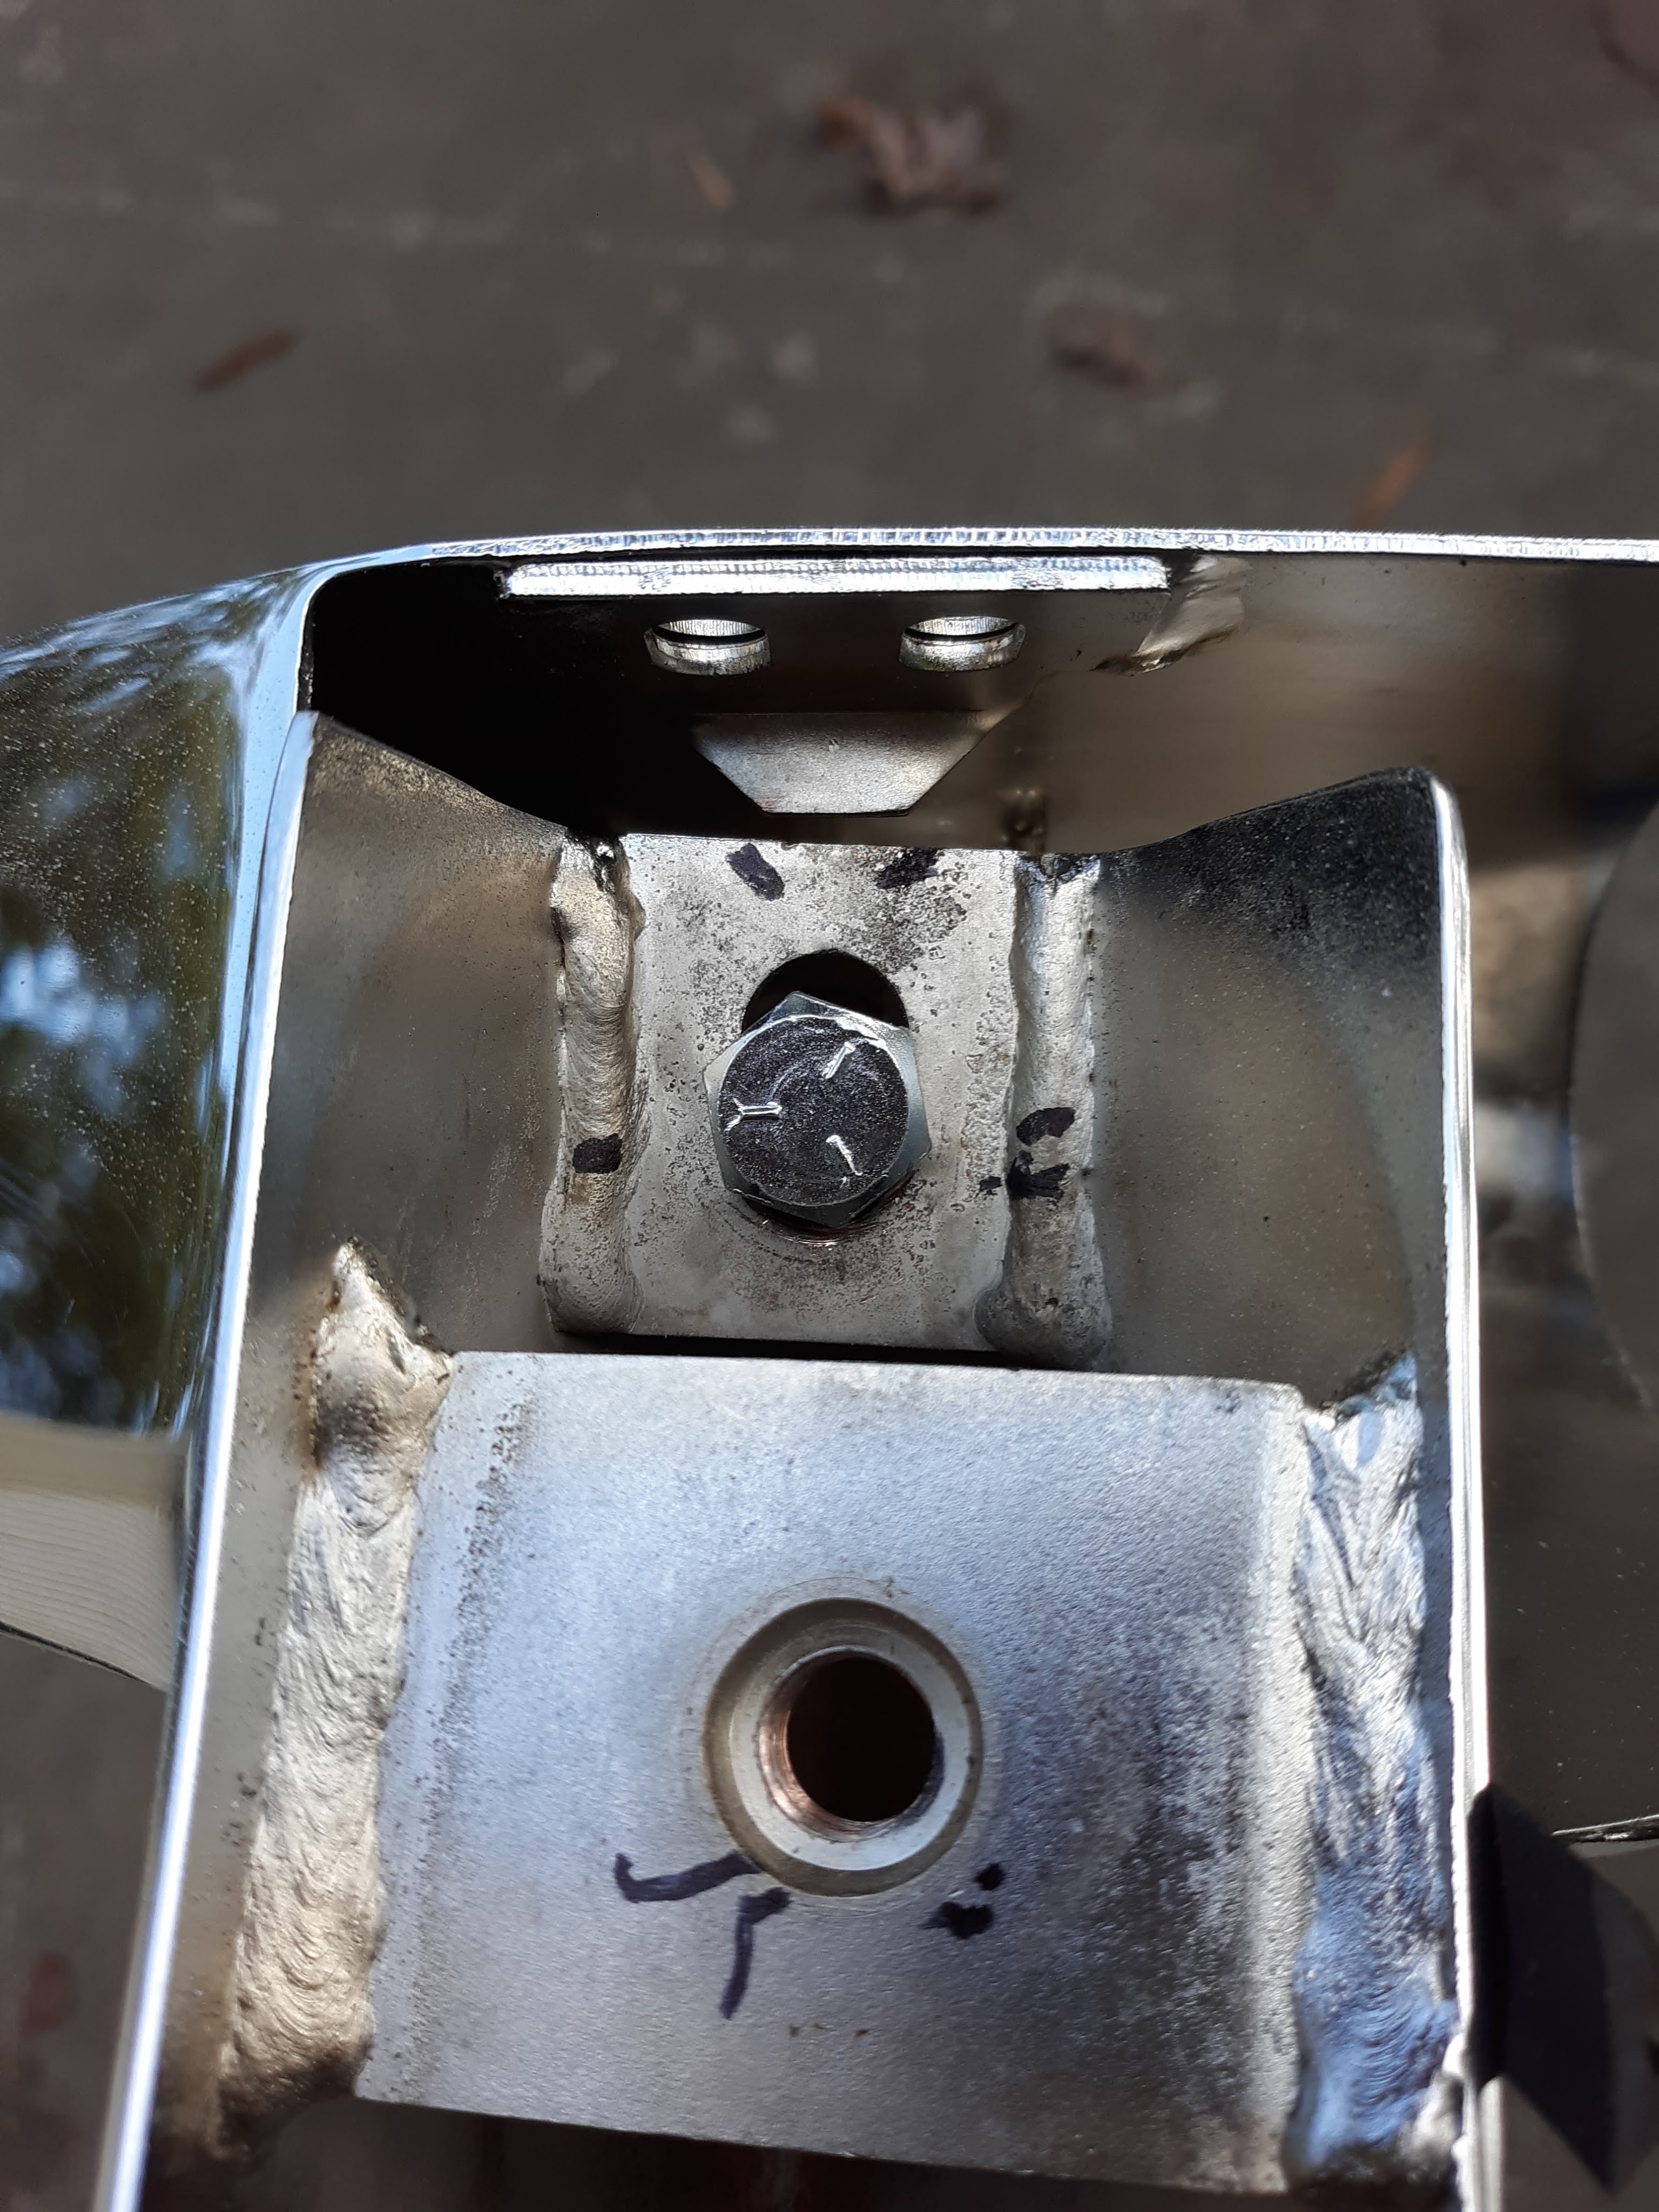

This mod has the added advantage that the overrider can be moved outward on the bumper, beyond the end of the tab. This really comes in handy, if as on my car, the pieces need to be adjusted slightly to center the motif bar laterally in the bonnet air intake opening.
So when you wonder why paint jobs cost 4 figures, just remember that it is all in the prep. And the above are examples of time sucks that you just have to deal with. It is fun figuring out solutions. I’m just glad I’m not trying to make a living at this!!!

Discussion
Comments are closed.