It is raining cats and dogs here today, courtesy of one of the Greek alphabet tropical storms passing through NC, so I thought I’d do a quick post on pinholes. Pinholes generally can be found in your plastic body filler. I try and buy the best filler I can, which is a 3M product and at $75 a gallon, it must have gold dust in it. The label brags about how it resists pinholes. Right?!! I have fought pinholes on every car I have done and this one is no exception. I read that you are not supposed to stir the filler but gently fold it with your applicator spatuala as you blend in the catalyst. Yes, I do this. I think there is an art to spreading it and maybe I just don’t do it enough to get good at it. I seem to get better results if I apply it in one direction and then make a second pass at a right angle. But at the end of the day, after I sand it down to shape and clean the surface with a sanding sludge remover (Glasurit calls theirs Silicone and Tar Remover) and blow it out with compressed air and look really closely with a good flashlight, there the little devils are! In the photo, every little piece of green tape represents a pinhole or other scratch/dent/chip in the surface that won’t sand out.
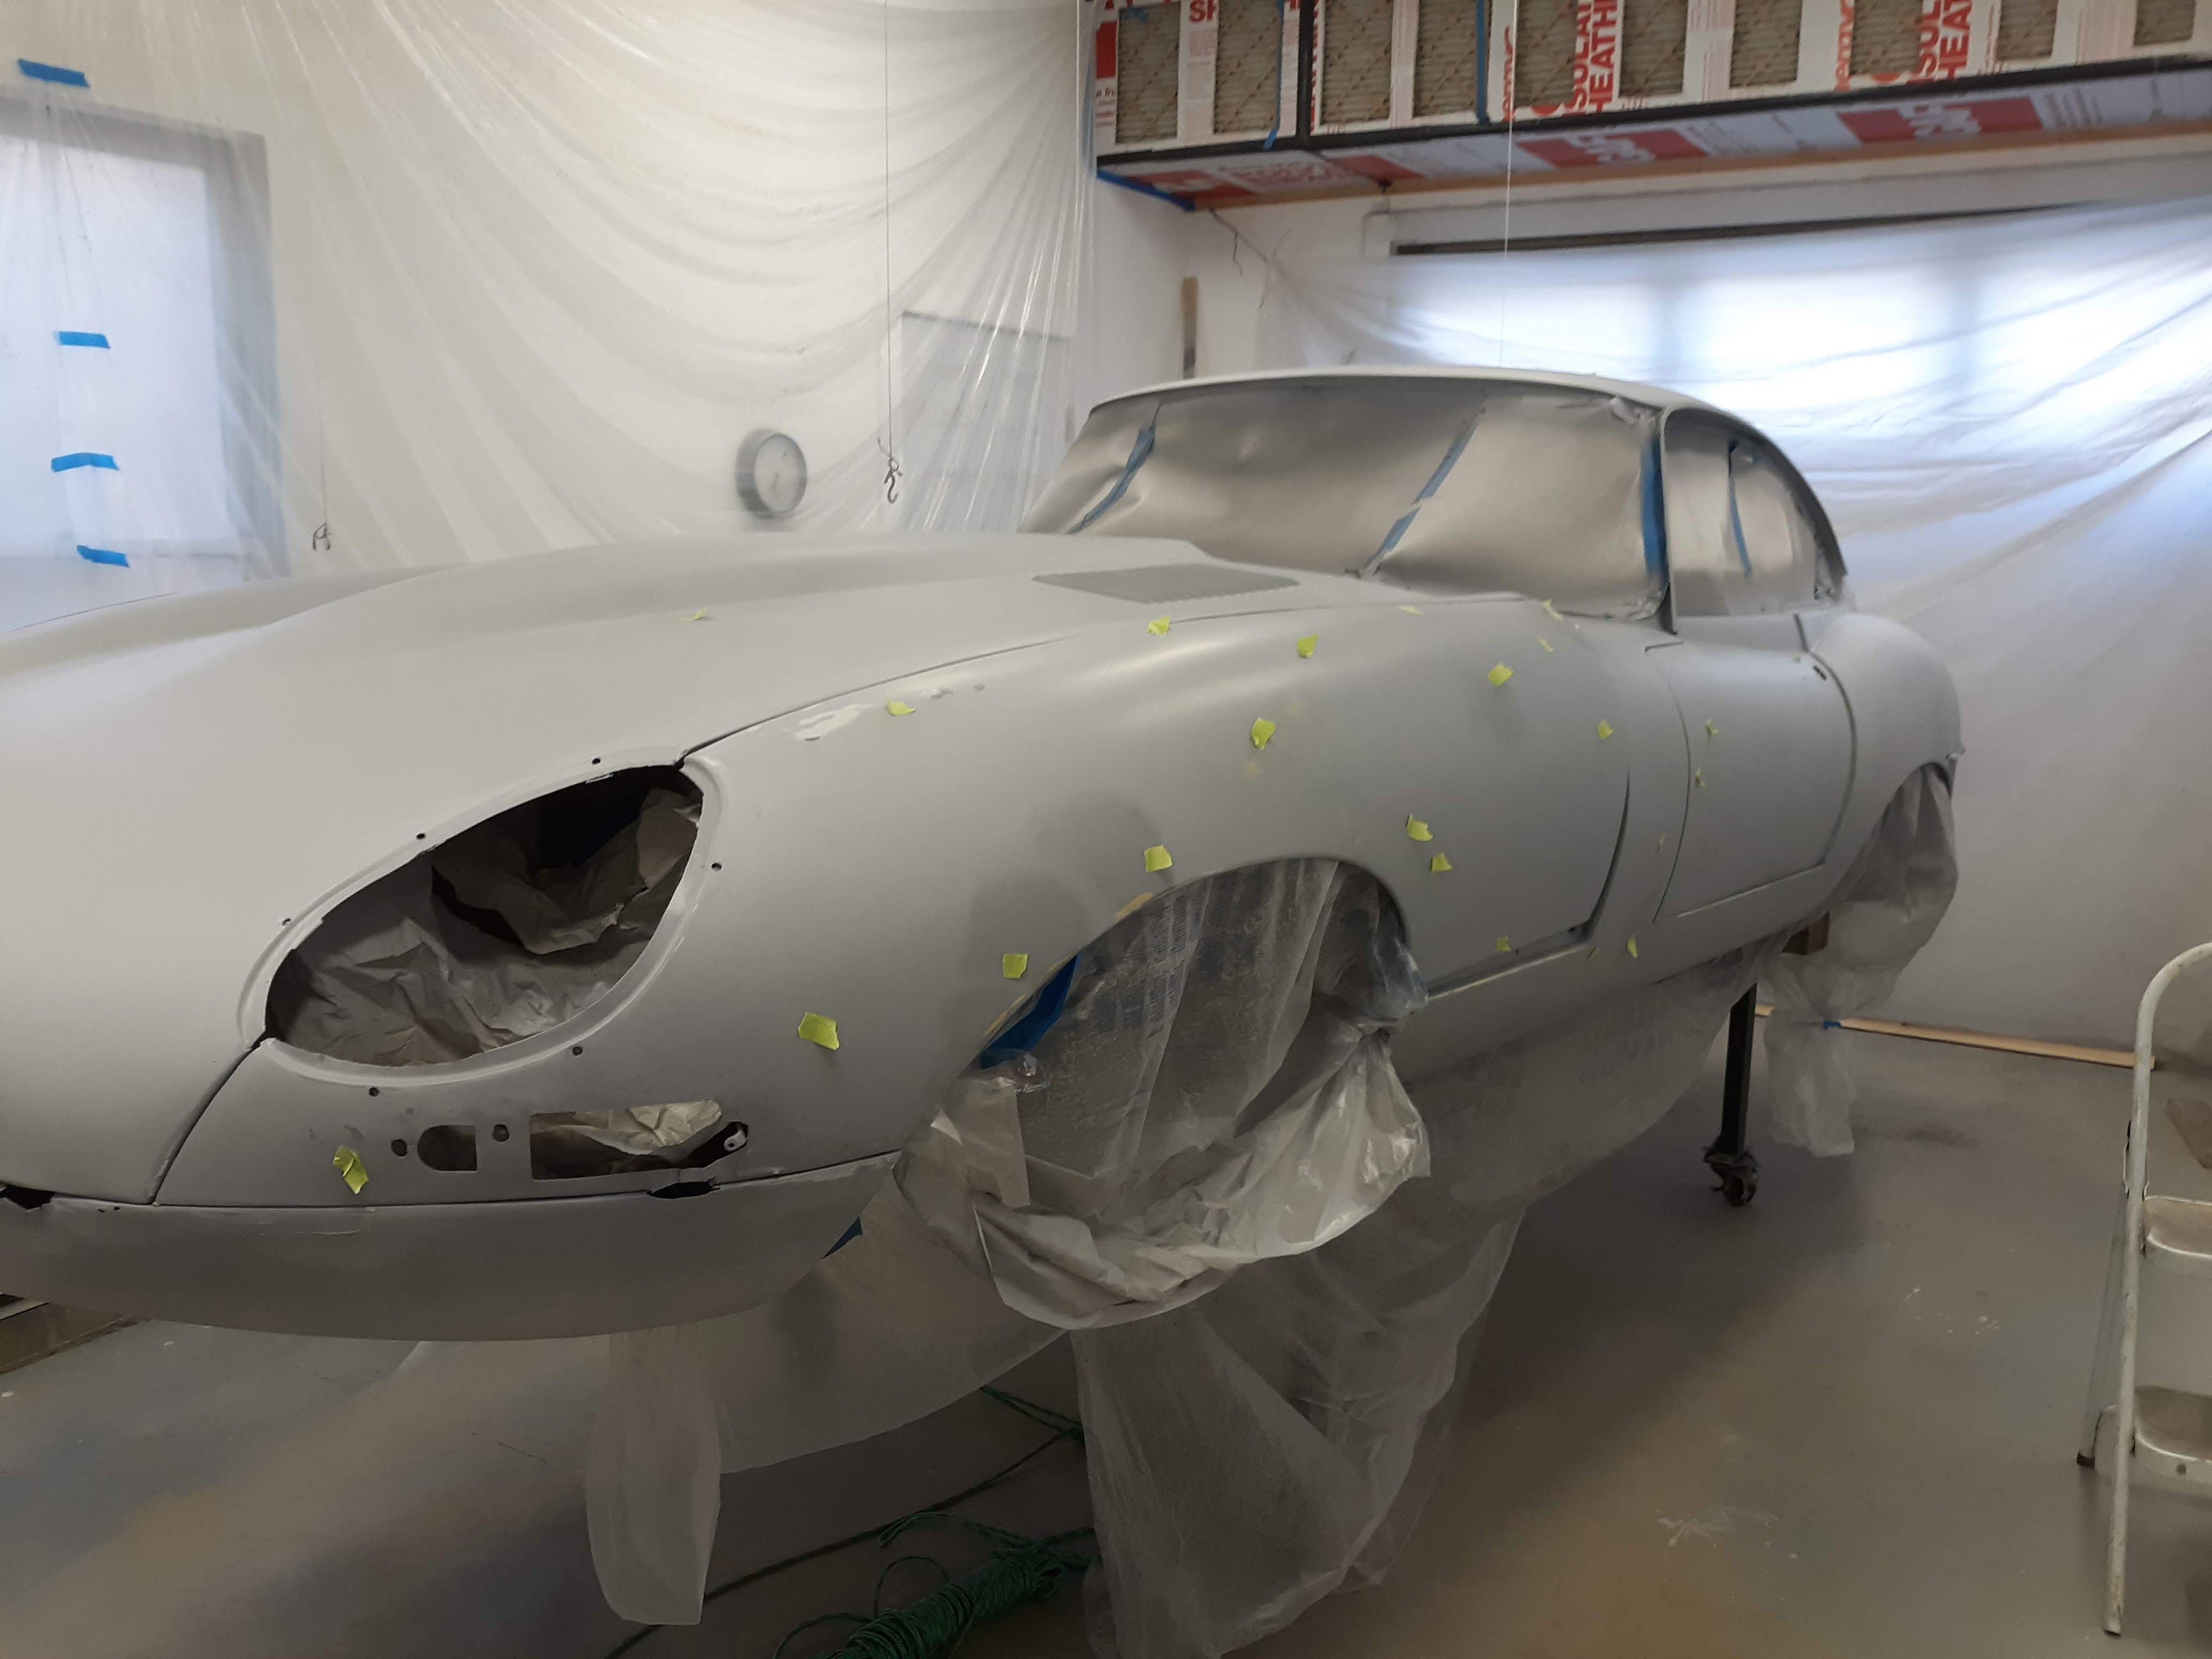
This is after I have applied 3 coats of the Glasurit 285-60 universal HS (high solids) primer. So lesson one is that just spraying over a pinhole with the primer does not generally fill the pinholes.
To back up a step, while the car was still in polyester filler, I did the same search and found a lot more pinholes than this. I didn’t take a picture because it would have been depressing. Upon the recommendation of my Glasurit rep, I used a product called 440 Express to fill a bunch of these pinholes. You can Google it to get more info but here is a link to a short video that discusses how it is used. It seems pretty slick but I guess it is not totally the answer, as I still found pinholes after using it. Also, it will not fill anything much bigger than a pinhole. Its big advantage is that it drys very quickly and there is not sanding post-application.
At this stage on previous paint jobs I had used a red putty product in a tube, that is an air dry product. My painting consultant saw this and recommended not using it. He said it is lacquer based and sometimes will cause problems down the road. As usual with painting, there is a lot of anecdotal info out there so take this with a grain of salt. Another product that I use is a catalyst based polyester finishing putty (one brand name is USC Icing) which is basically in my mind a “runny” version of the 3M plastic filler. This turned out to work pretty well, both on the plastic filler and on the primer.

One final tip was provided to me by my Glasurit rep. He said when speading the finishing putty, use a razor blade as the spreader. The difference is subtle but I do think it works better at jamming the putty into the pinhole (or other defect) while minimizing the excess product that needs to be sanded off.
As usual at this stage, you keep looking for minor blems that will show up in the final paint job and you keep finding them. I do think that gremlins come in at night and add them, as I will go over a panel and not see anything and then come back the next day and find stuff! Enough said, back to work.

Discussion
Comments are closed.