Over the last few months, my work on the 63 FHC has concentrated on upholstery. And there was a serious disruption when I decided to pull the engine on my Porsche Cayman for a rebuild. But one advanatage of being retired is you generally get to use your time as you see fit! An inordinate amount of my time has been devoted to getting the upholstery as perfect as possible and fabricating new aluminum cross hatch panels. But at some point, I realized that I needed to have a shift lever installed in the car in order to finalize assembly of the center console and its shifter related components. That meant installing the engine.
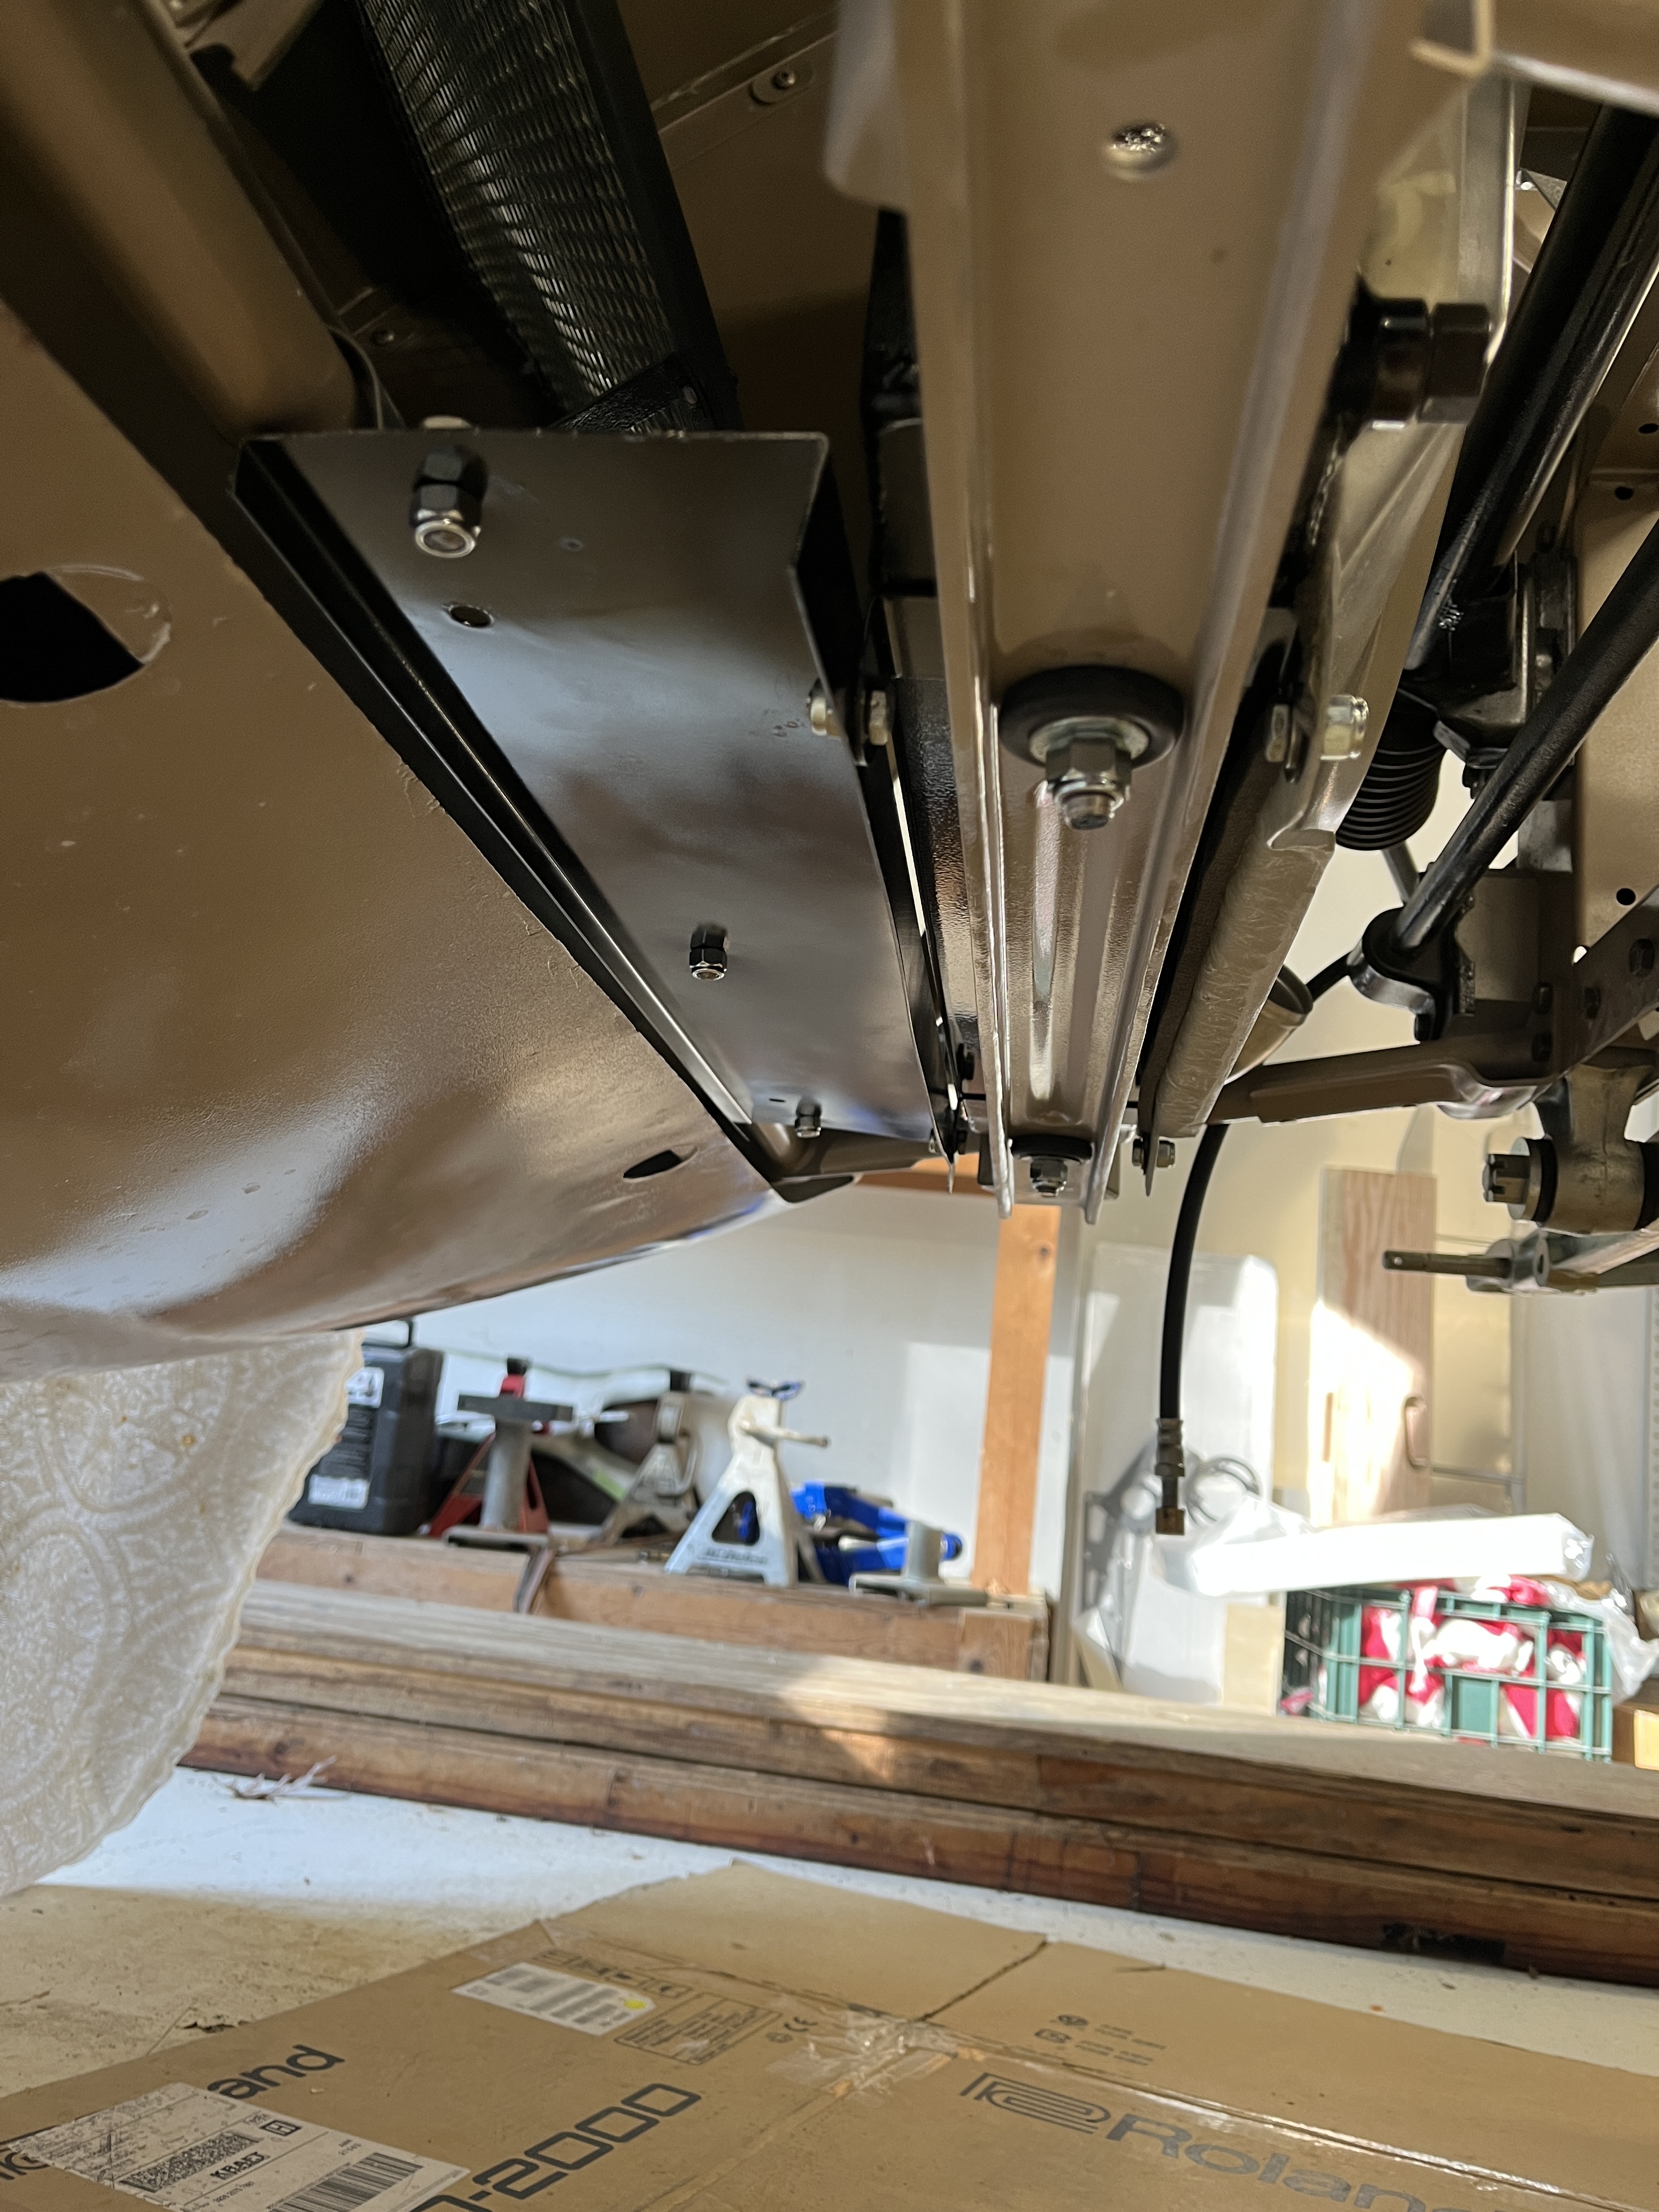
I have had the completed engine/transmission sitting off to the side of my garage for many months. Dick Maury did the rebuild. So it seemed to be very complete. Yet, as I began to analyze the situation, I realized that there were a lot of things I could/should do before I popped the engine into place. I had done a “test drive” on this effort last year, when I installed a spare block and Moss Box transmission into the car to get some weight on the chassis. I was looking to capture any chassis flex that might effect the fitment of the bonnet. At that time I discoverd a few things about installing the engine/tranny, in my case from the bottom side. The first was that the lift arms needed to be situated such that the opening for the engine/tranny was completely clear. I dropped the body shell onto temporary jack stands and pulled my midrise lift rearward to a position that gave the proper clearance. This resulted in a center of gravity issue such that light pressure on the front of the car would tip it. I added weight to the boot and added some safety ropes.
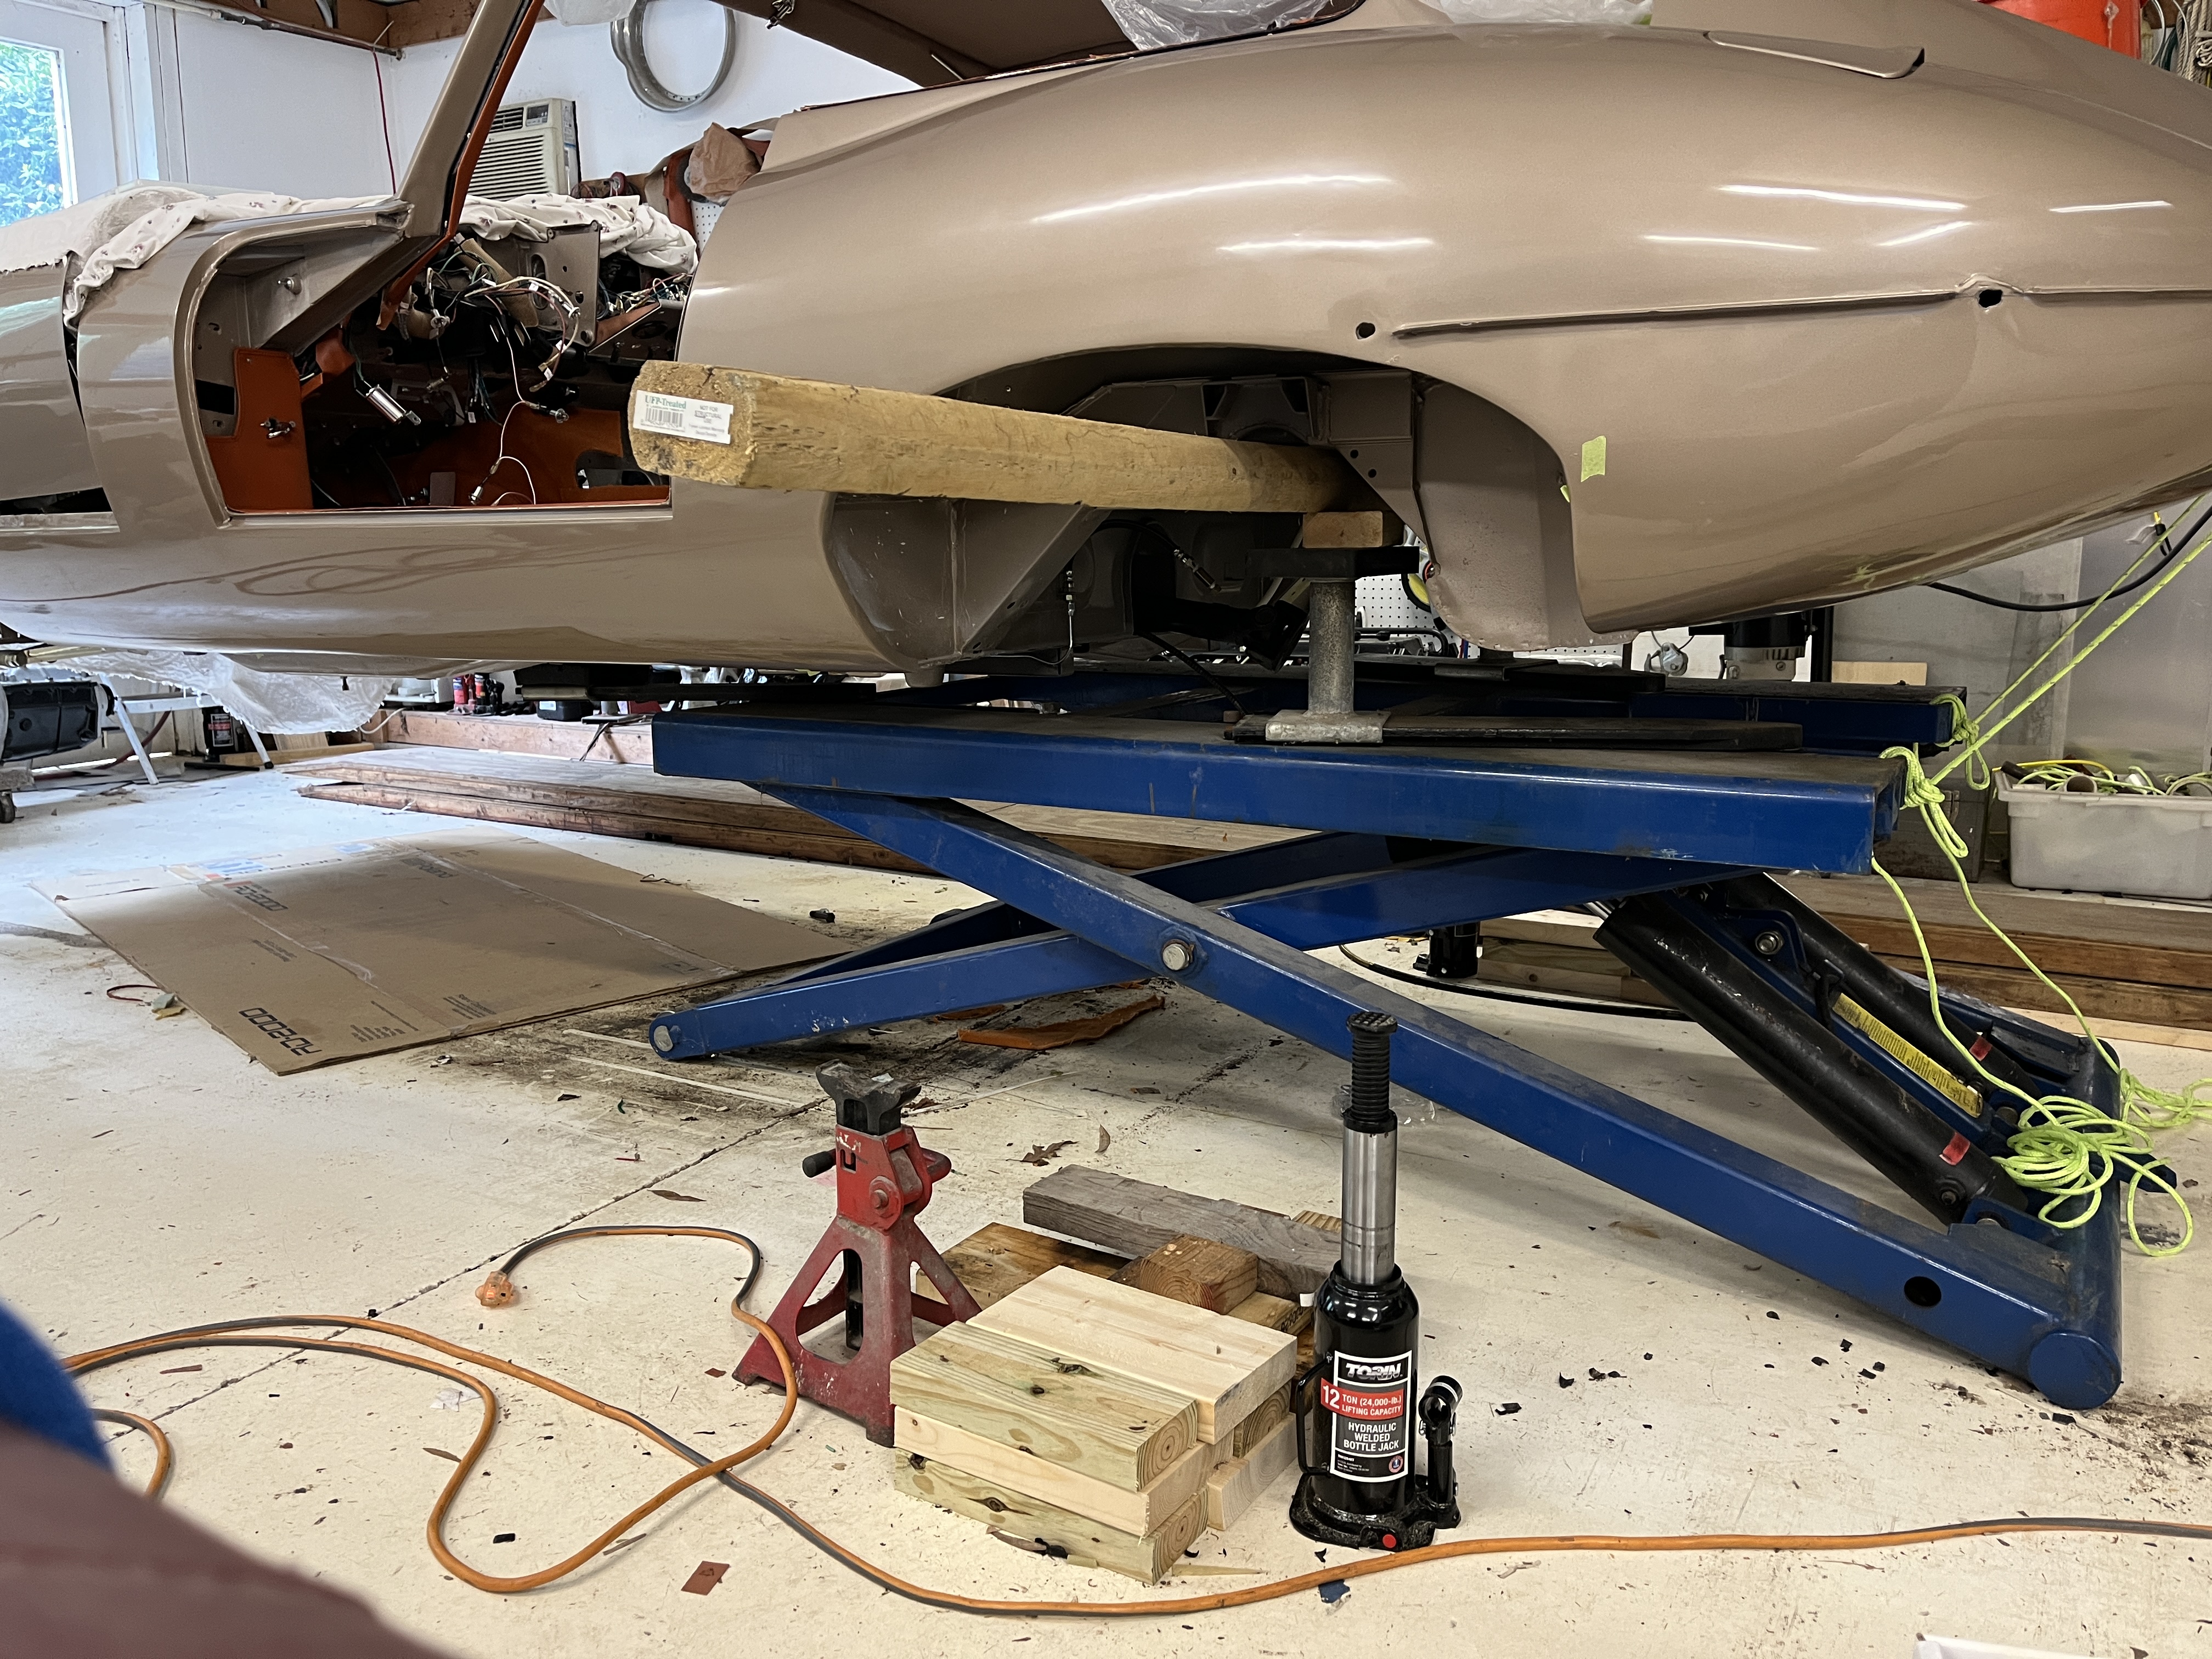

When I did the test install, I remember that the heavy brackets on the side of the engine i.e. the motor mounts could not be pre-installed. Things also got very tight right around the area of the reaction plate. I made a measurement from the front of the body cross member shown in the above picture up to the back edge of the picture frame. I compared this to the overall length of my engine/tranny assembly. I was pleased to find that, even with the water pump fitted, there seemed to be several inches to spare. Maybe obvious but the driveshaft, shown peeking out in the above photo, needs to be installed, if the IRS is in. If the IRS is out, you can wait. Not shown but Dick installed 4 bolts on the output shaft of the tranny, ready to be fit to the driveshaft.
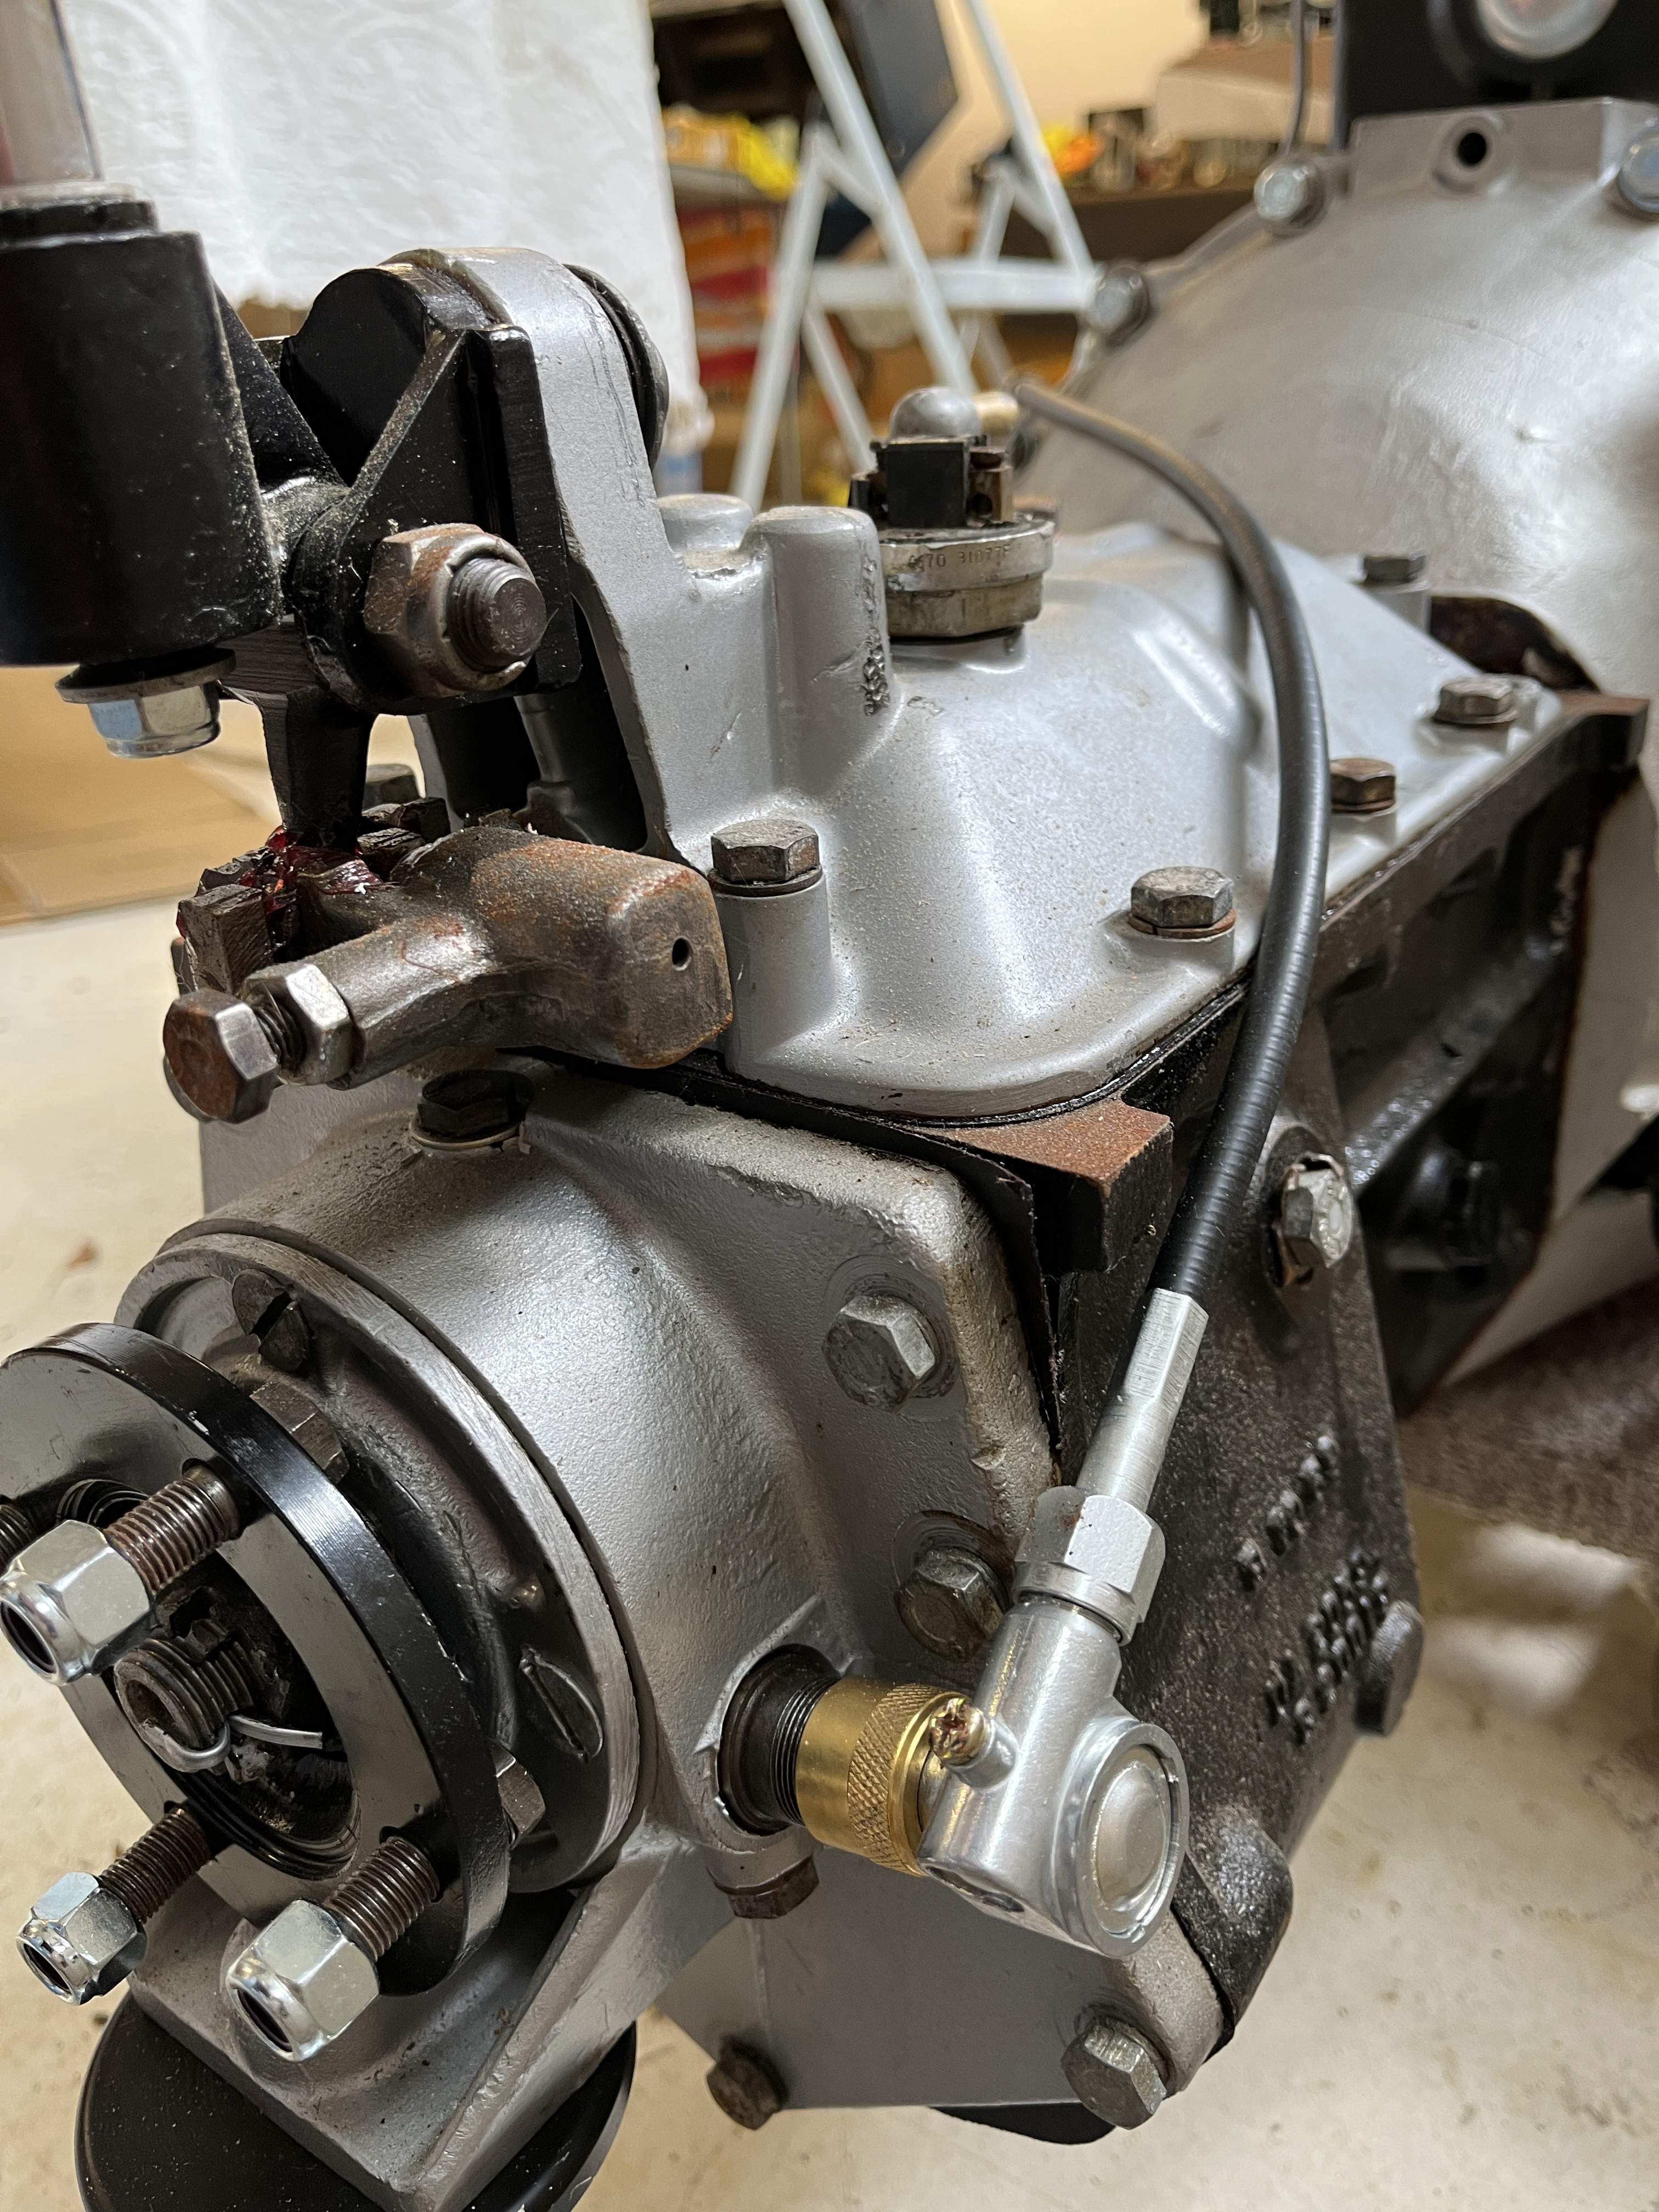
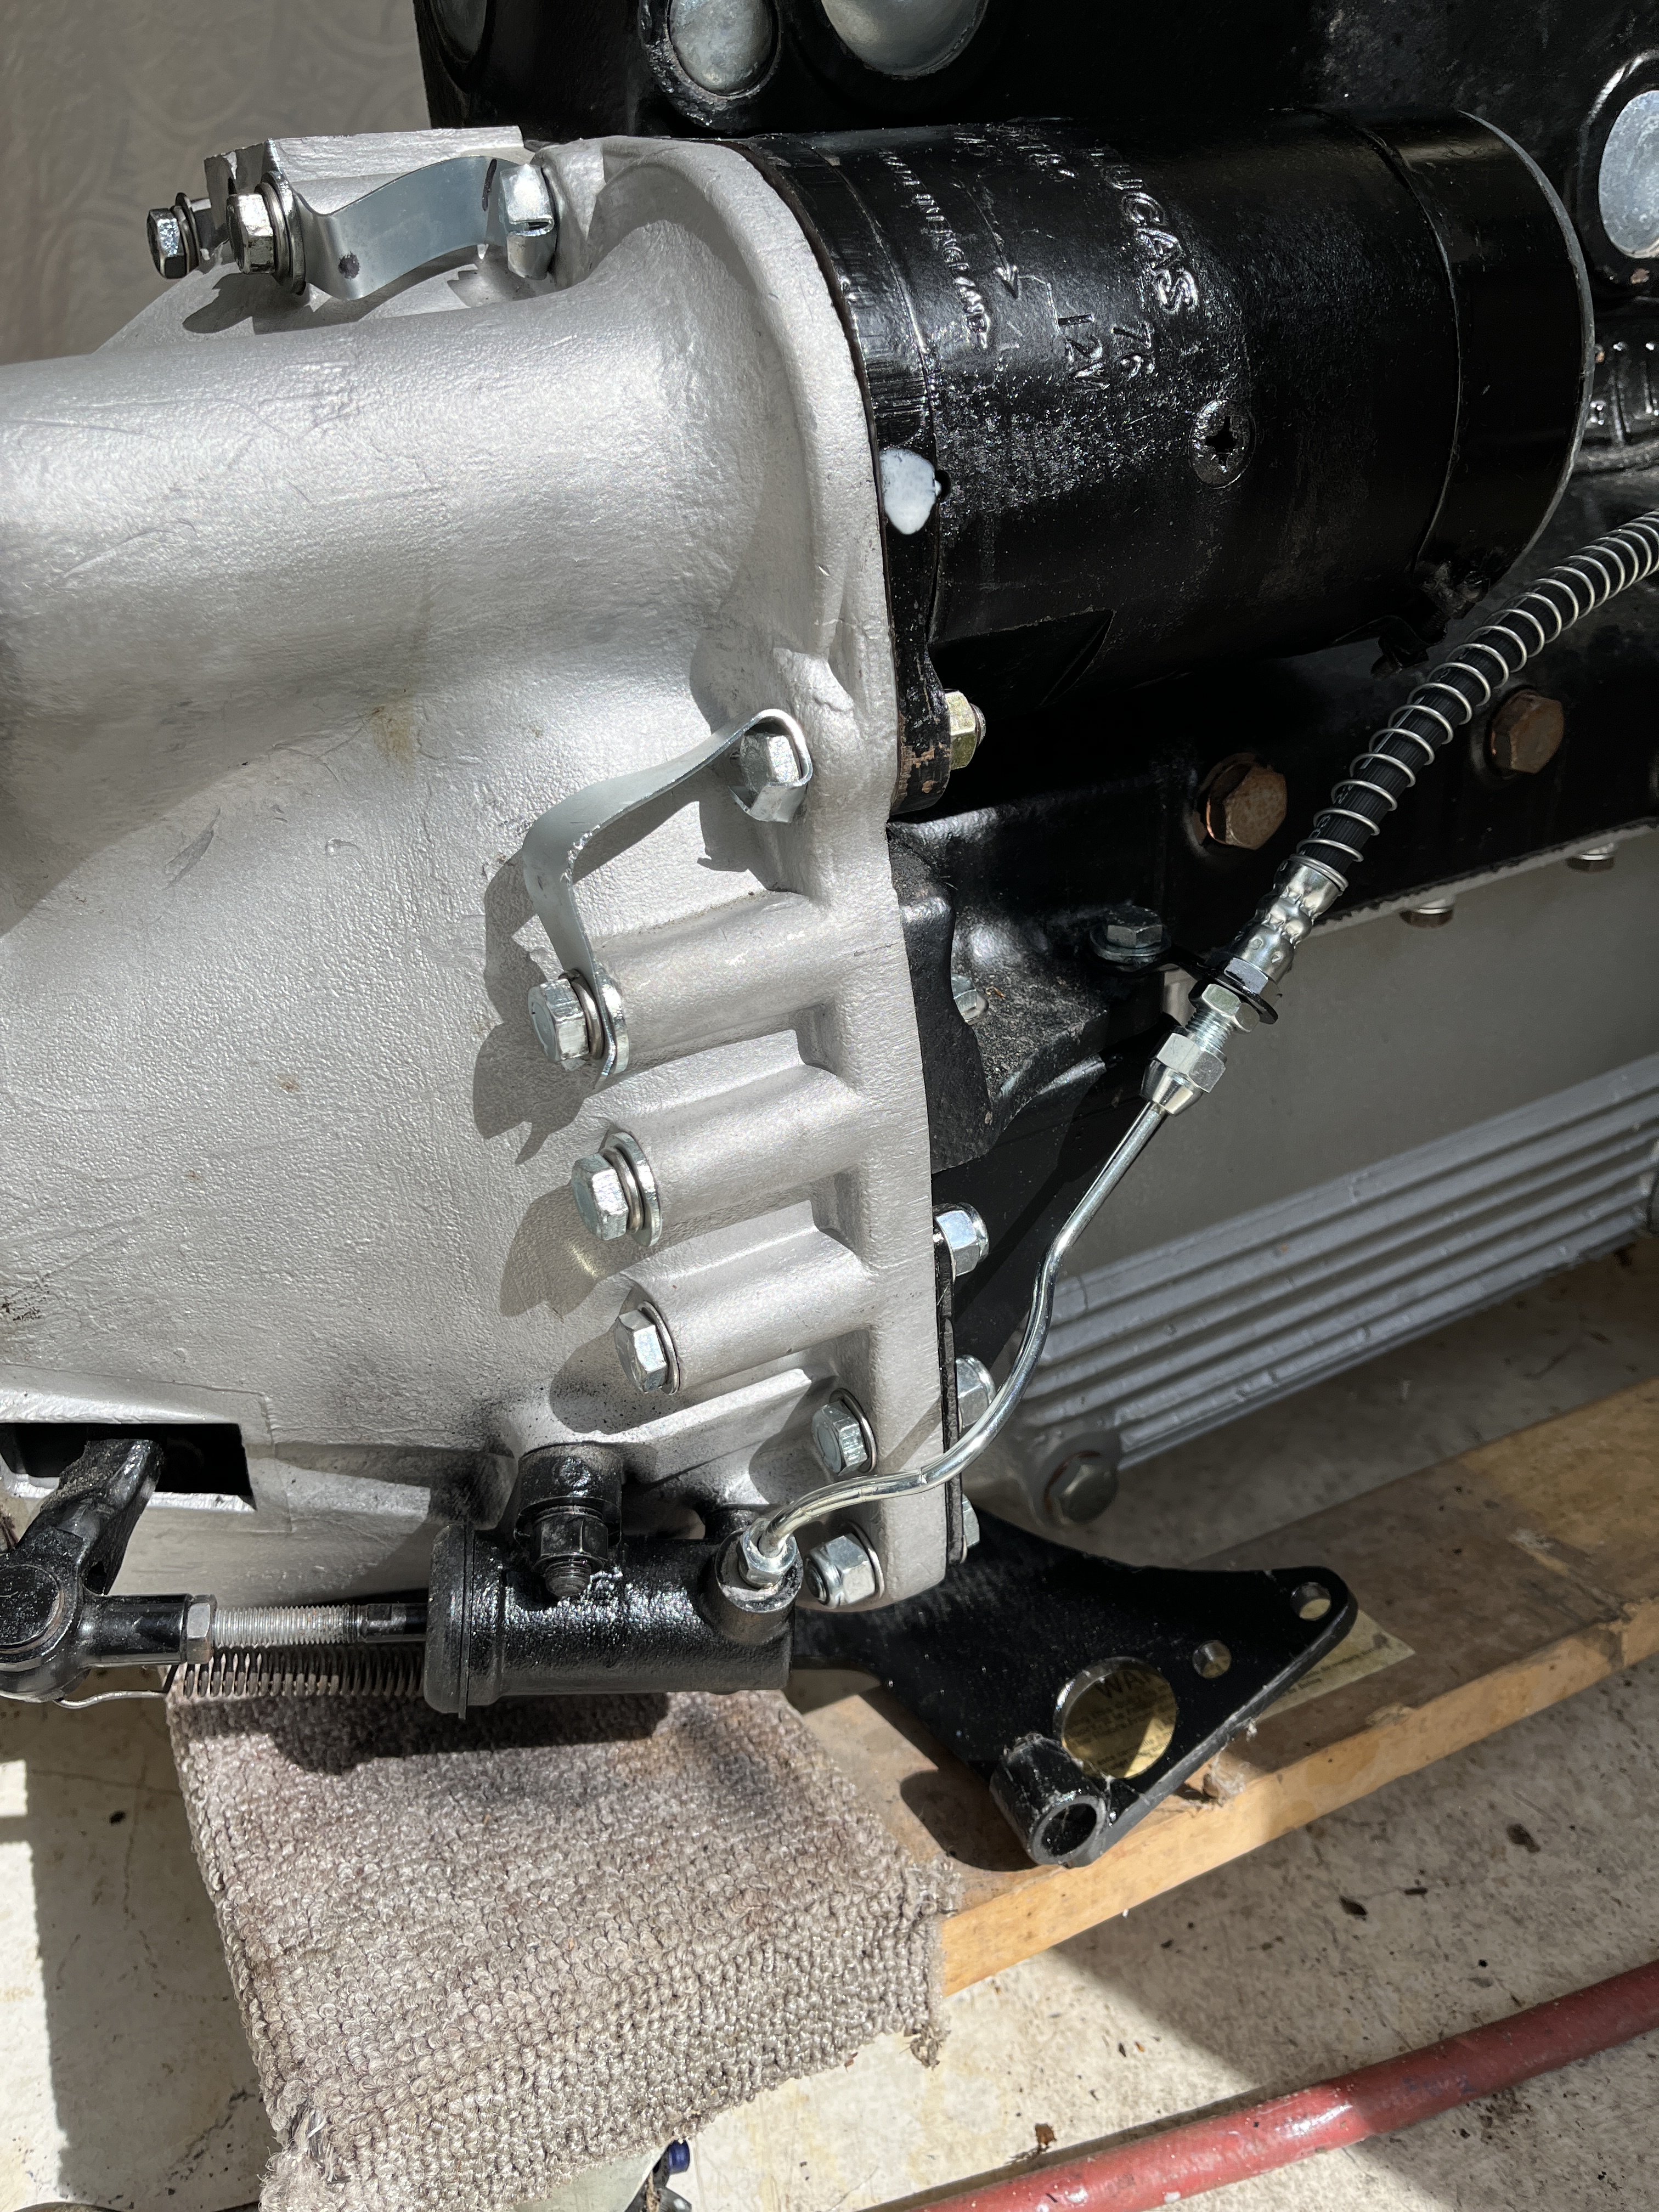
So at first (and this was several weeks ago) I thought, it will be a major milestone to install the engine. Let’s go for it! Then cooler heads prevailed as I thought of all the things that would be much easier with the engine out. Add transmission fluid. Dick coached me to use an “old school” fluid that does not include friction modifiers, which he says will eat up the brass syncros in the tranny. He recommended Redline MT-90, which is what I used. Check. I gathered together the rear mount for the tranny, at least what I had. A review of the Spare Parts Catalogue (SPC) indicated I was missing a number of smaller pieces. An order to SNG solved that. Captive bolt holes in bottom of the body to accept the mount. Chase the threads. Check. Dick had mounted the clutch slave cylinder. I remember I had clearance problems with that item but I am motivated to not disturb Dick’s work until absolutely necessary. I did note that Dick just installed a minimal number of bolts, all modern, to the bellhousing/block interface. I raided my stock of freshly zinc plated original bolts and got everything buttoned up. I noticed a small vent pipe on the top of the tranny. I finally located the associated vent line. Dick confirmed that I can install that after the engine is in. I reviewed the right angle speedometer drive that I had. Broken! Another order to SNG. It has been installed along with a new speedometer cable. I had to hand fabricate the correct clip to attach the cable to one of the bellhousing bolts. That was everything I could see on the tranny. On to the motor.

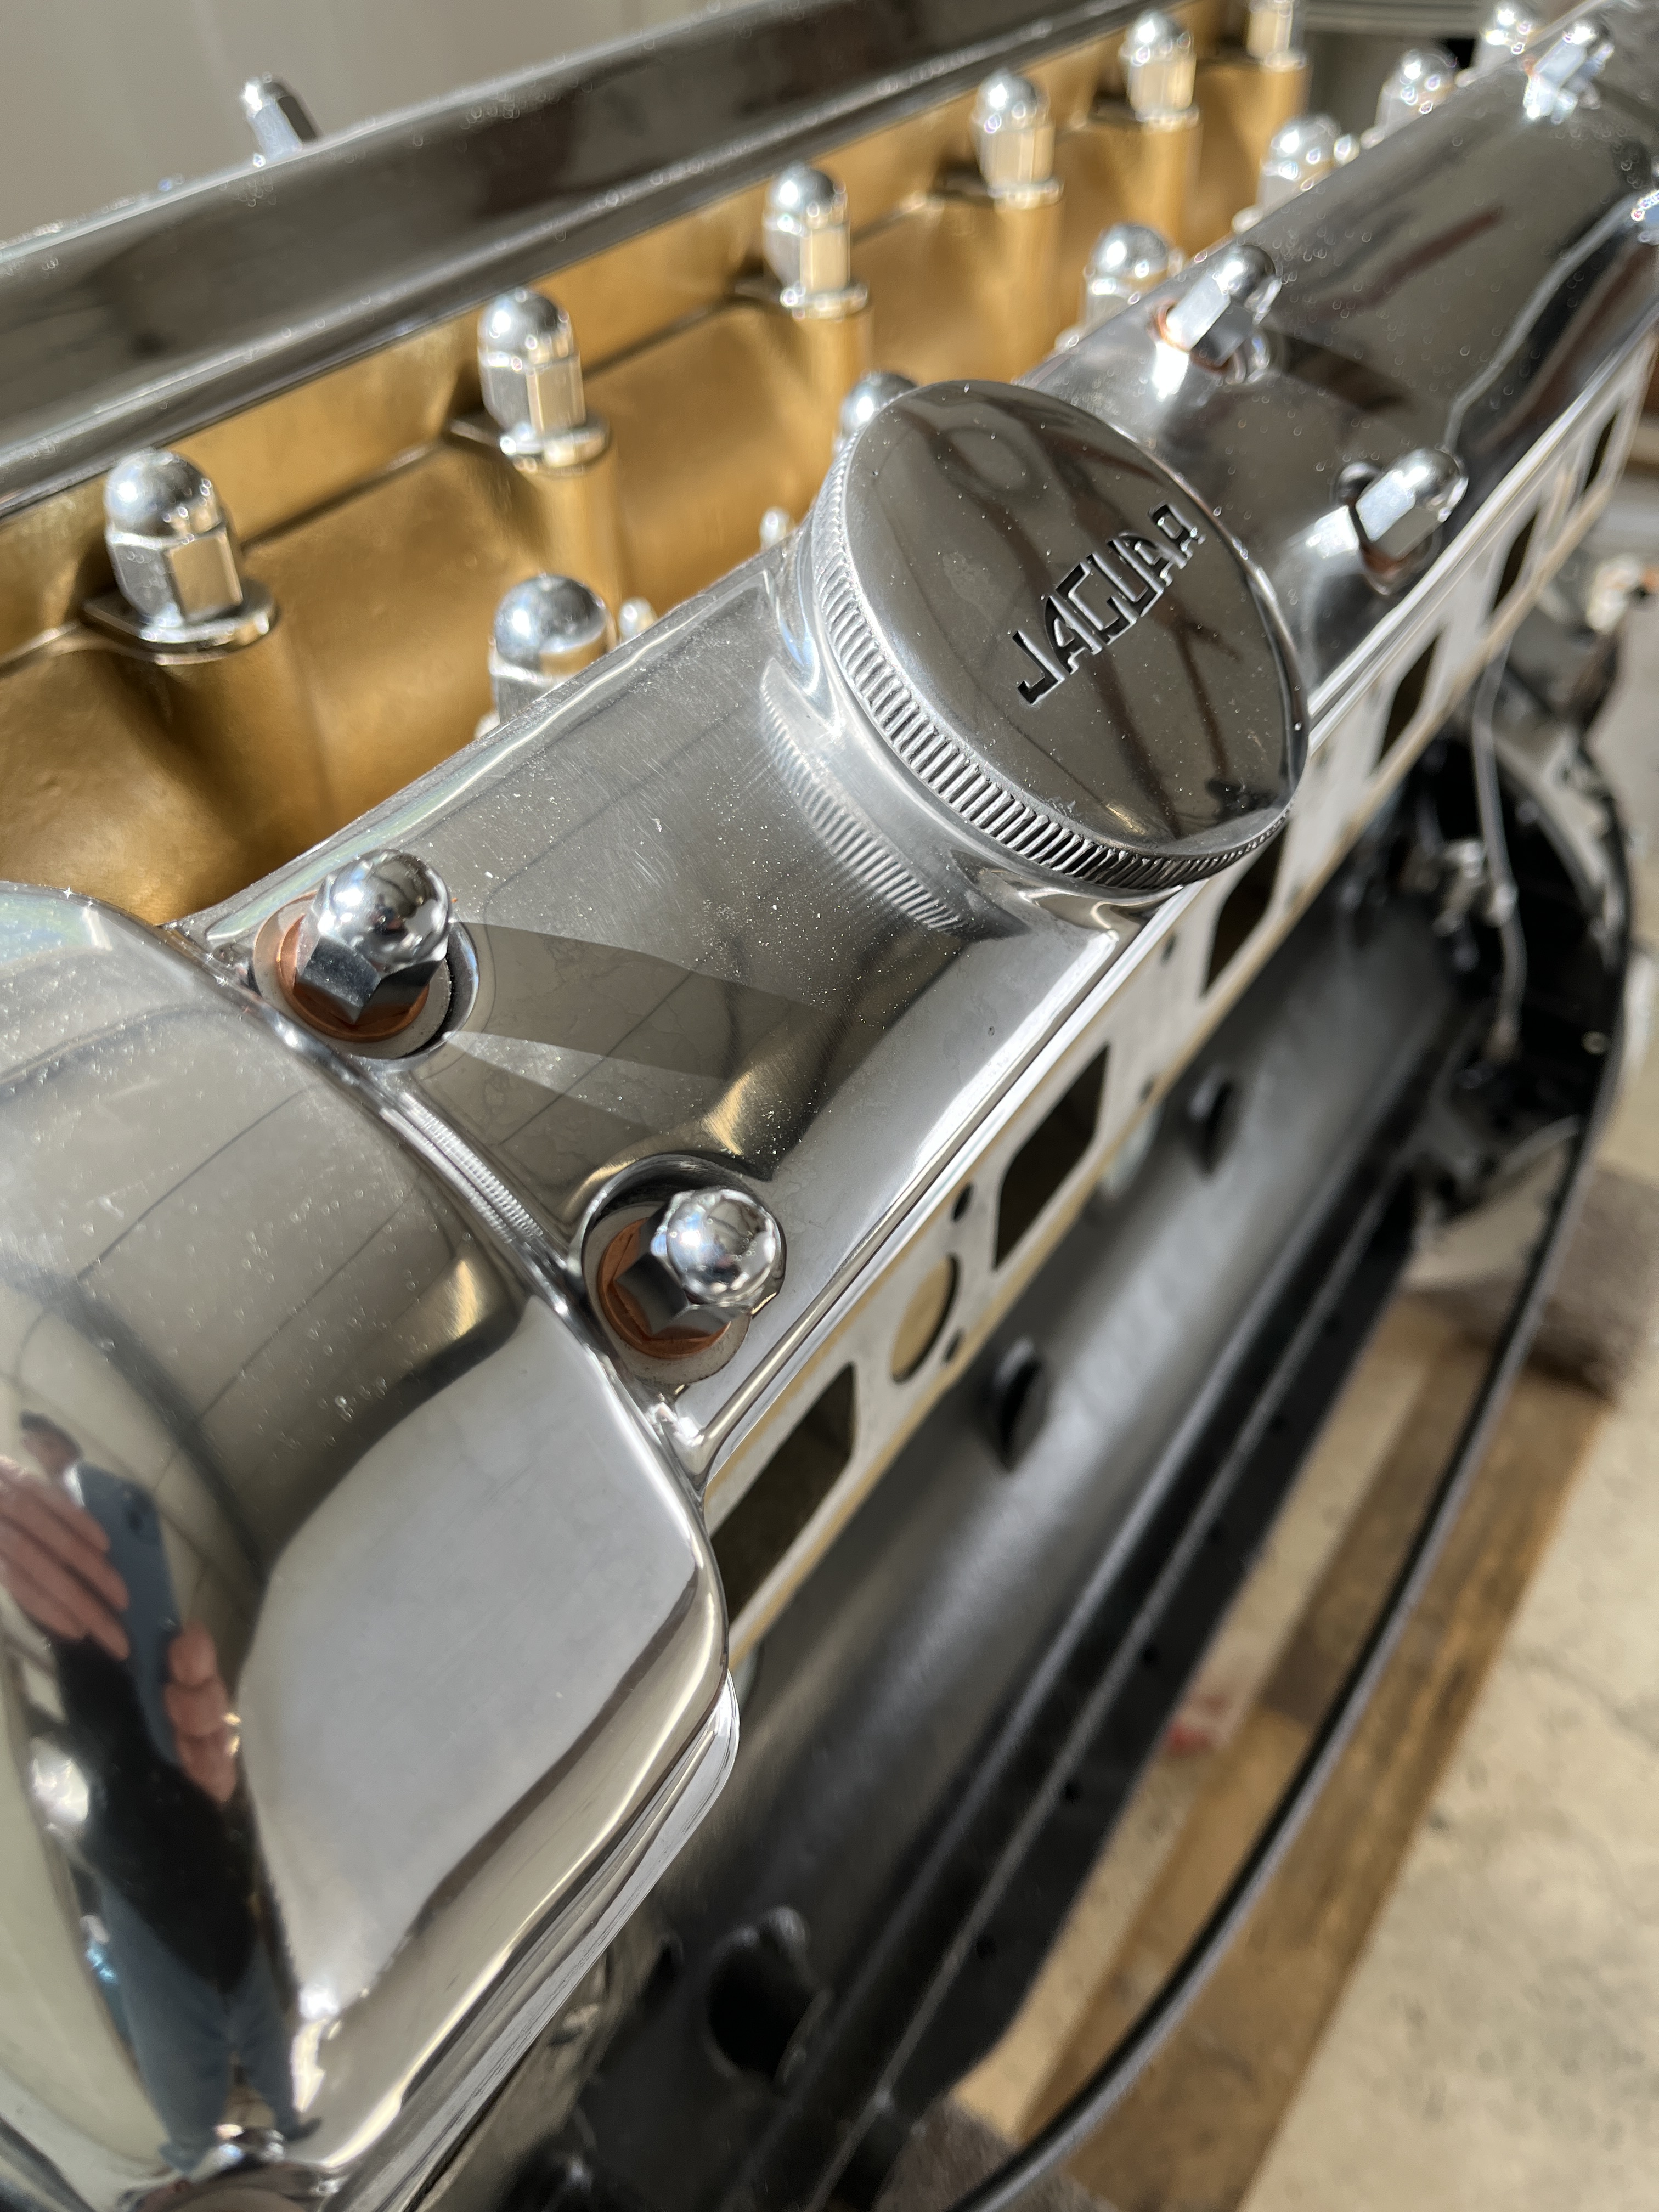
The first thing I did was to tackle the valve covers. The engine was shipped with scrap valve covers. I had purchased new ones from SNG. Although technically they could be installed later, once again now seemed easier. New chrome dome nuts and copper washers were required from SNG. I also installed the tach generator, refurbished last year by West Valley Instruments. Of course, those valve covers really make the engine pop!

Next up was to thread chase all those holes for the intake and exhaust manifold studs. Dick sold me “correct” brass nuts and SNG sold me stainless steel studs that won’t immediately rust like the steel ones. Speaking of motor mount brackets, I found the original ones and detailed them with black enamel paint. Same for the generator mounting plate. Even though they don’t get installed right away, the mounting holes in the block required thread chasing. And locate the hardware.


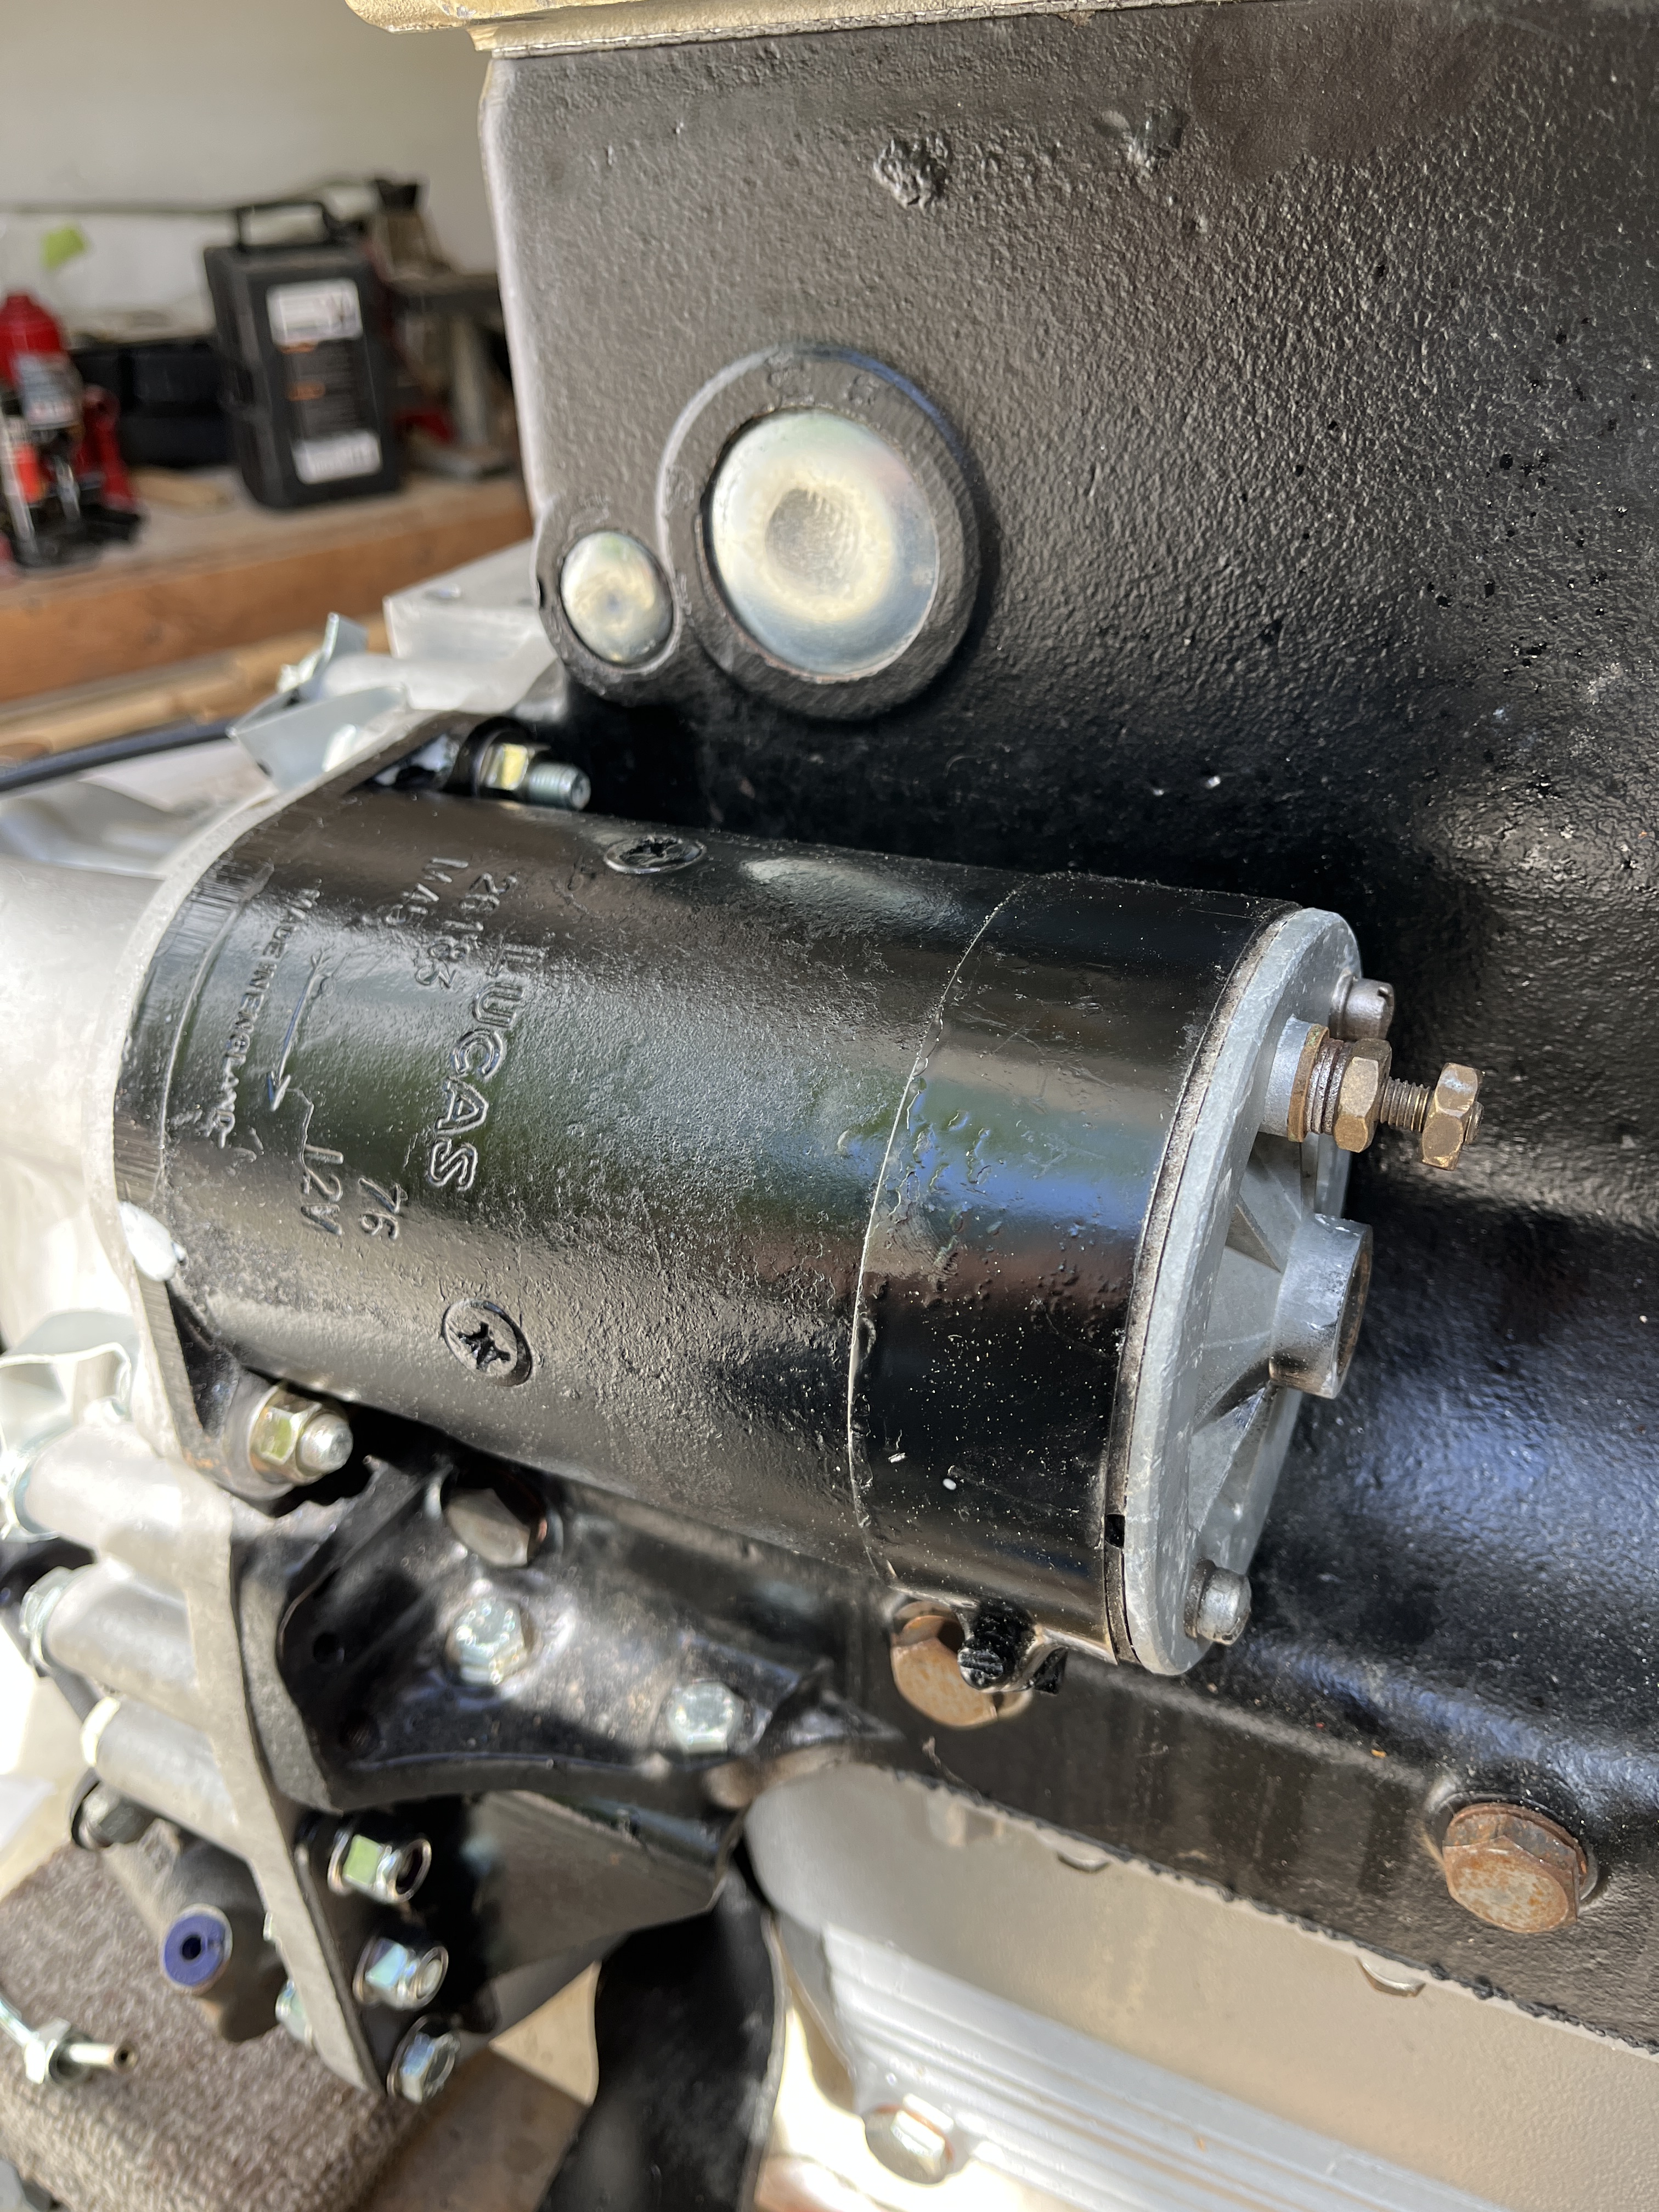
How about the starter? My boxes of parts did not come with a starter or a generator. I purchased a used starter from Dick and a used generator from a local guy. The starter got tested on the car and then detailed. Per the JCNA Series 1 Judging Guide black body with aluminum end plate. A very light bead blast brought the aluminum part, which had been painted black at some point, back to its original glory. The body got some fresh black enamel. The bendix got lubricated. It is not original but I am going to fabricate pieces to hold the bolts from turning at the back side.
My attention turned to pulleys. As in, I was missing some. I had a water pump pulley but was missing the generator and crankshaft pulleys. Dick had both of these to sell me. Then there was the Jockey Pulley Assembly for the Fan Belt. See SPC plate 6, item 35. Why do they call it a fan belt? The fan is driven by an electric motor. Whatever, although I had the pieces, the smart guys on the forums suggested that you should proactively replace the pulley, which has an internal bearing that Murphys Law says will crap out shortly after you put the car on the road. Another SNG order! I’ve installed most of this stuff. Hopefully my measurements were correct and they won’t foul on the picture frame as I lower the body over the engine/tranny.

Although it can’t be installed until later, I reviewed my parts situation regarding the oil filter assembly. You guessed it, I was missing some parts. SNG to the rescue. I chased the threads on the holes in the block where the Balance Valve Assembly (Plate 3, Item 12) gets installed. I got the correct gasket and a new oil pressure relief valve spring.
Finally, I decided that it might be easier to install the radiator now rather than later. I had previously purchased and painted black a “correct” reproduction radiator that I bought from CoolCatCorp.com. Nobody makes a totally authentic reproduction of the original radiator but the CoolCat item comes pretty close. I purchased missing associated components from SNG, including the fiberglass shroud, a stone shield, header tank support, header tank, radiator braces, and associated hardware from SNG. Would you be surpised to hear that SNG sends me a personalized Christmas card each year?

Don’t forget to install the black felt spacer over the top of the stone shield. The concours judges are looking for this!
BTW pay close attention to the Judging Guide in this area. Radiator – Black except center section. Radiator stone screen- Cadmium. Stone screen frame- Light grey / slight green tint. I use Dove Grey rattle can enamal. Fan shroud – Silver fiberglass. Radiator braces – Light grey / slight green tint. Header tank and support – Hammertone silver. Bonnet balance links – Cadmium. Balance link springs – Black. You might ask about the Marston radiator tag? According to Haddock/Mueller page 207, “Later 3.8 litre aluminum radiators did not have this tag.” Is my car, built in the 3rd year of 3.8 production, a “later” car? I don’t know. I have left the reproduction tag that CoolCat included with the radiator off for now. I can always add it.

Now that I writen it all down, I can see why I have spent several weeks “getting ready” for my engine/tranny install. My next article will discuss how it went!

Discussion
Comments are closed.