I just finished getting the hatch trim installed in my 1967 2+2, after literally years of frustration. Hopefully this post will give others some tips on how to do it.
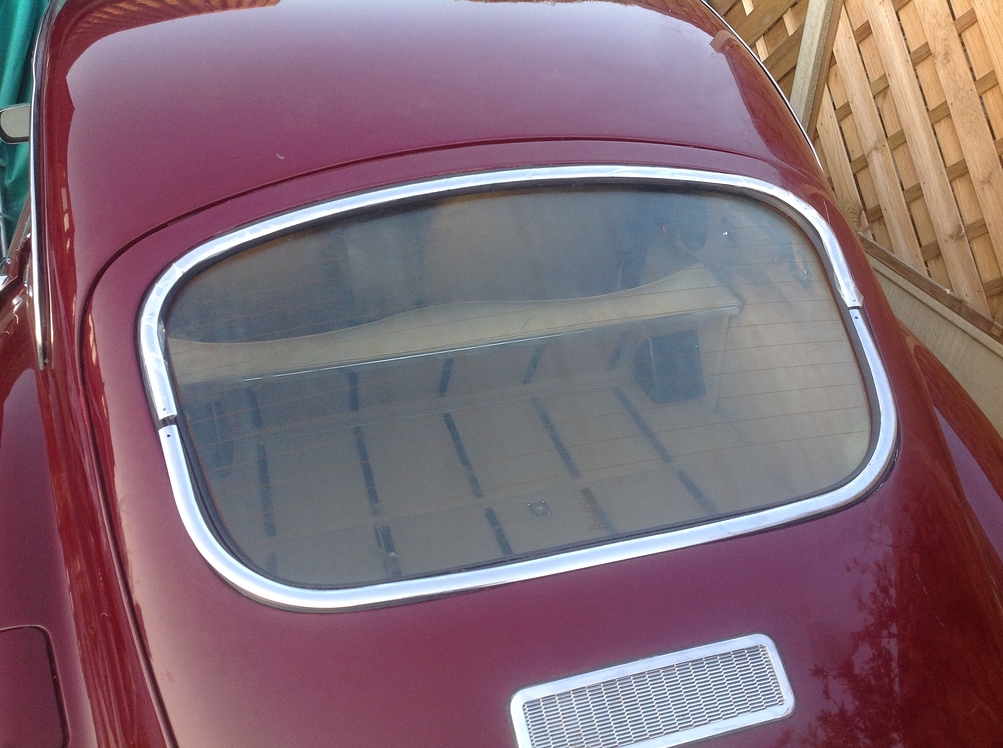
First, if the pieces dry fit as poorly as shown above, I don’t think you can force them to work. The original upper piece that I acquired 10 years ago dry fit poorly and I could never get it to work. Flash foward 10 years and I got a new set of pieces from SNG. Upon dry fit, they at least proved promising. I also bought and installed a new gasket.
Tip 1) Run a screwdriver, etc around the entire set of grooves in the gasket to make sure they are opened up and fully formed.
Tip 2) To lubricate or not lubricate? Lubrication with a water soap solution would seem like a no brainer. But in counter point, the rubber is going to grip the chrome better if it is dry. I wound up using some lubrication but I would at least give it a try dry.
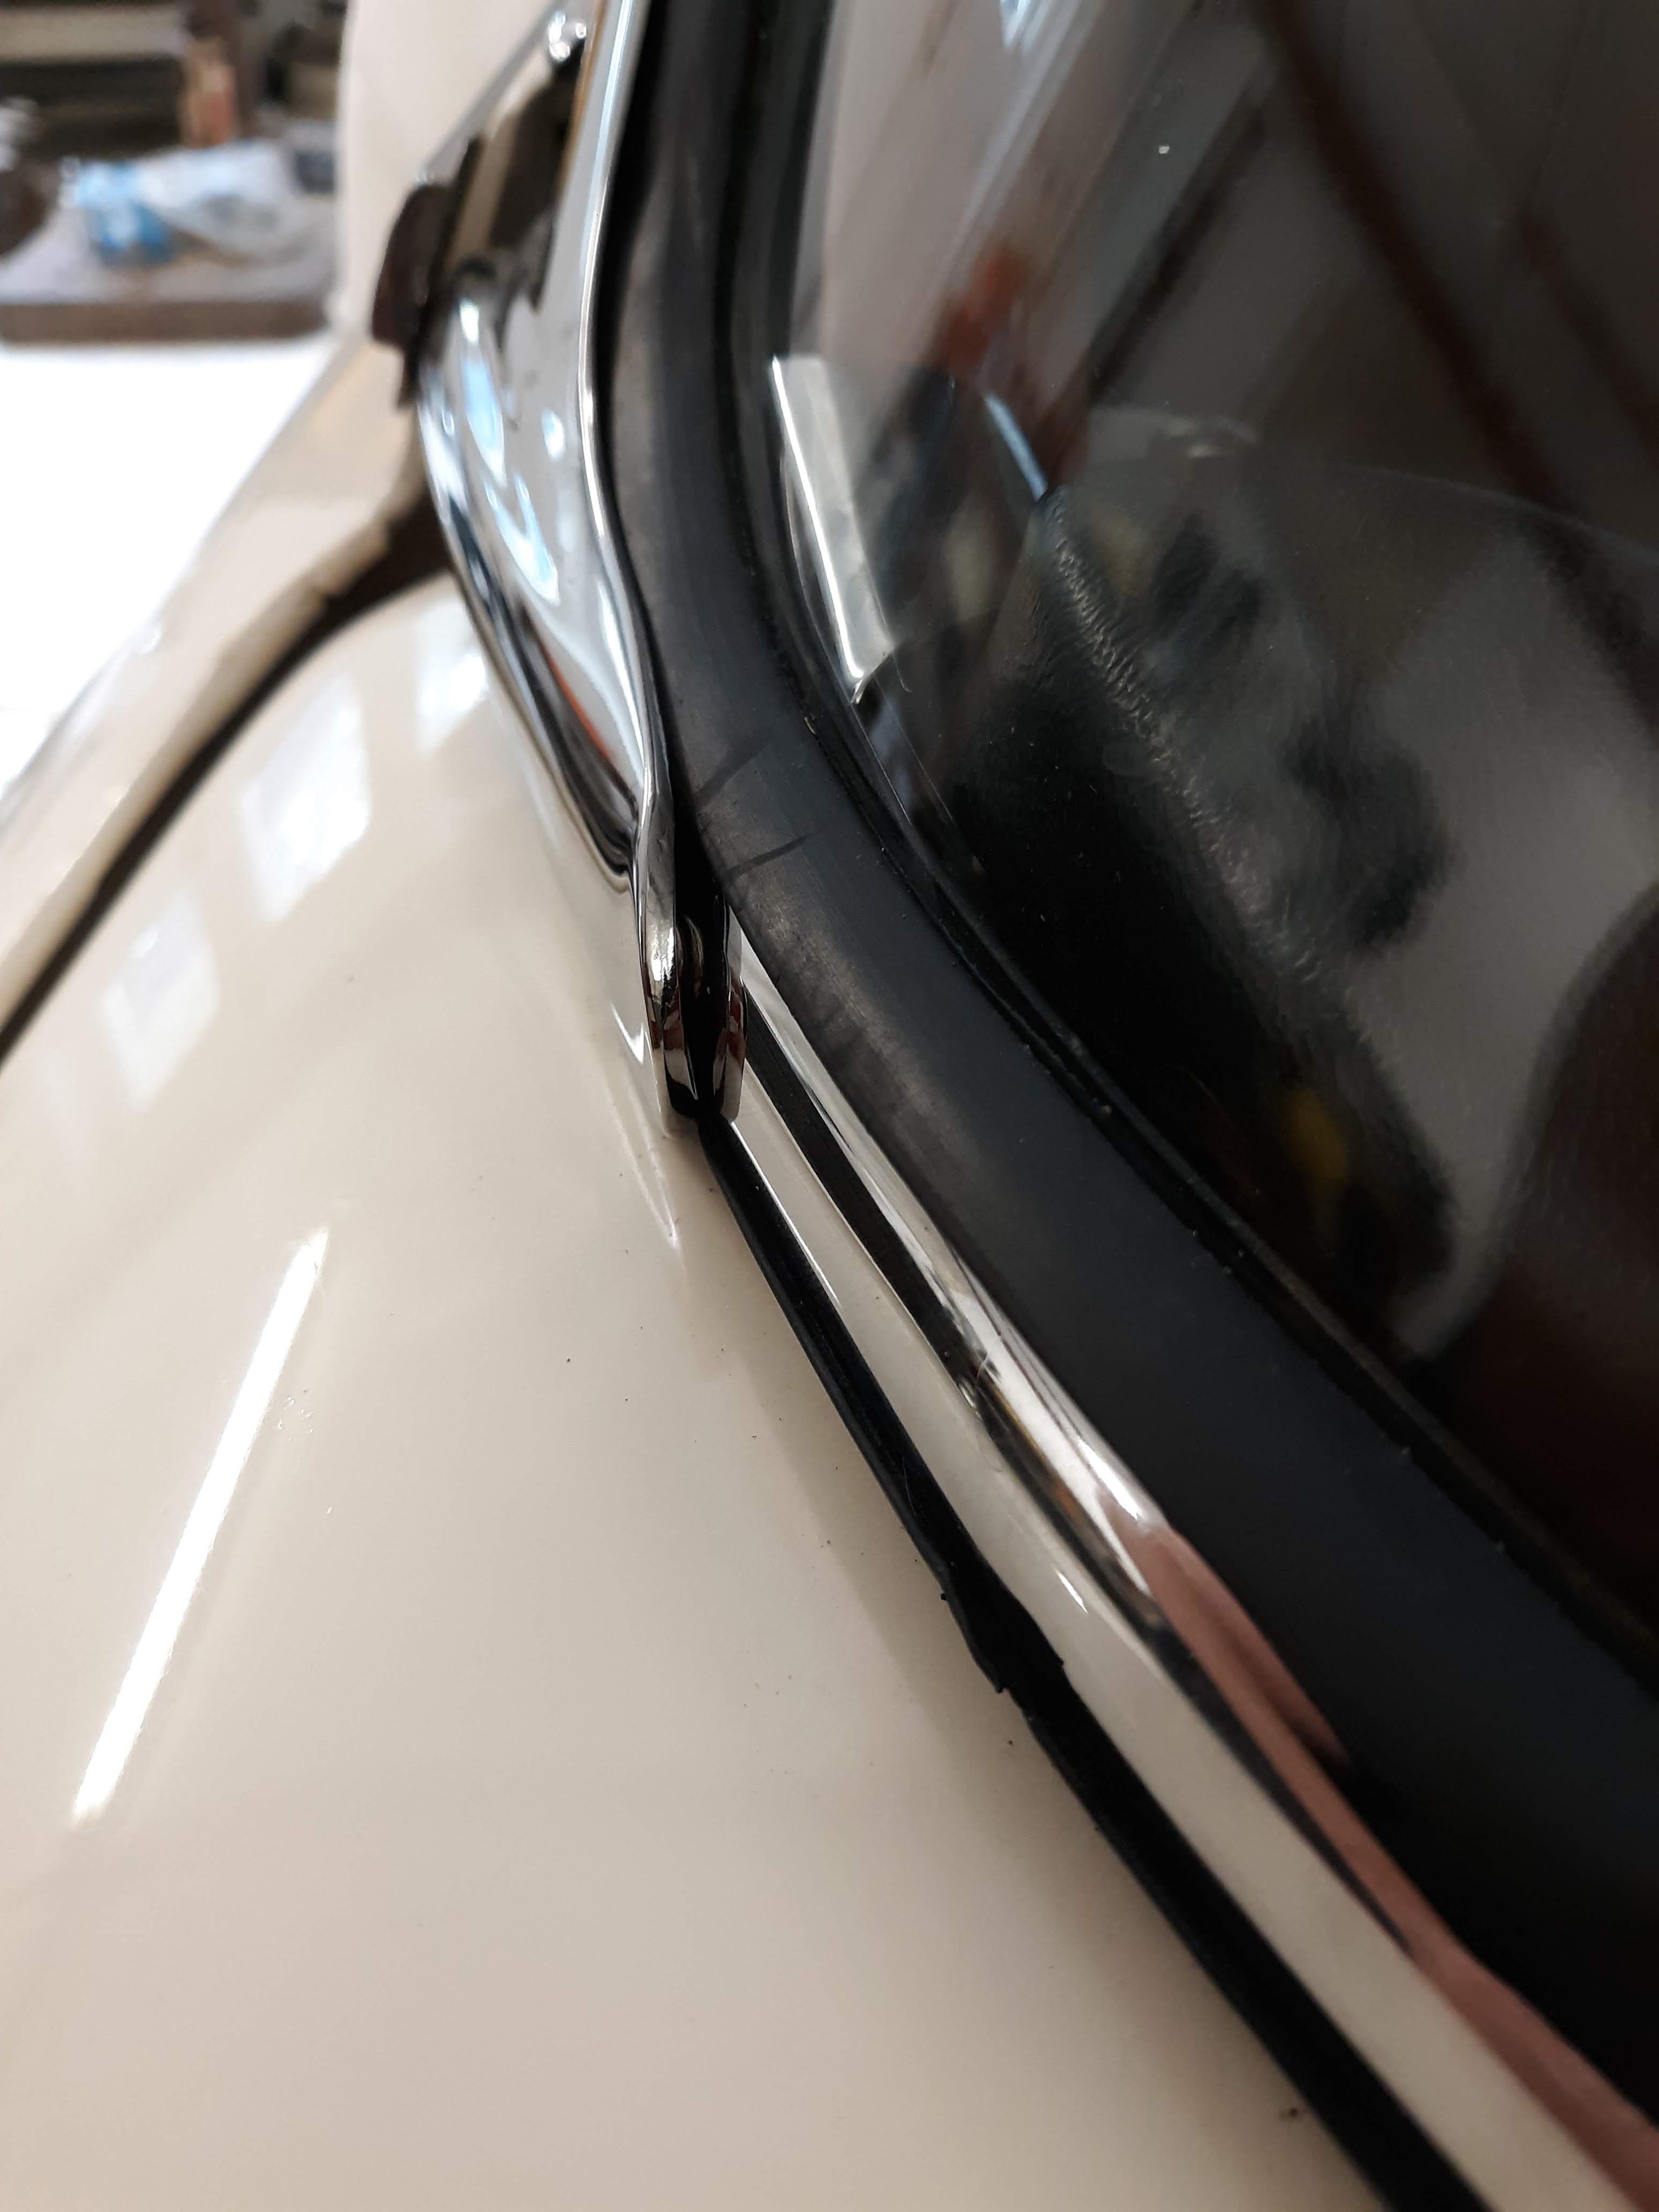
Tip 3) Although not useable for permanent installation, you can consider locking the ends down through the supplied holes in the trims with small sheet metal screws (see comment below).
Tip 4) Which edge to insert first? I had the best luck inserting the trim into the outer perimeter edge of the groove.
Tip 5) Start in the middle or start at the end? I usually start in the middle and work to both ends. That said, I had one that worked better by starting at one end and working around from there.
Tip 6) The old rope trick. It has been used for years to install the glass, in that you install a small rope in the groove and use it to pop the rubber seal around the edge of the glass. I thought why not for the trim. I used Masons Twine, which is pretty small diameter, maybe 1/16″, nylon. I embedded it into the inner perimeter slot. Let it come out at the location of the joints at the sides. Leave one end long enough to tie off to the bumper and/or quarter window latch, as at some point as you get near the end, it’s going to try and just pull through. Once you get the trim embedded as far as possible into the outer perimeter groove, gradually use the string to pop the rubber seal edge over the inside perimeter edge. Worked for me! No adhesives required! (well, maybe for the 2 short trim clips, which don’t get much of a purchase).
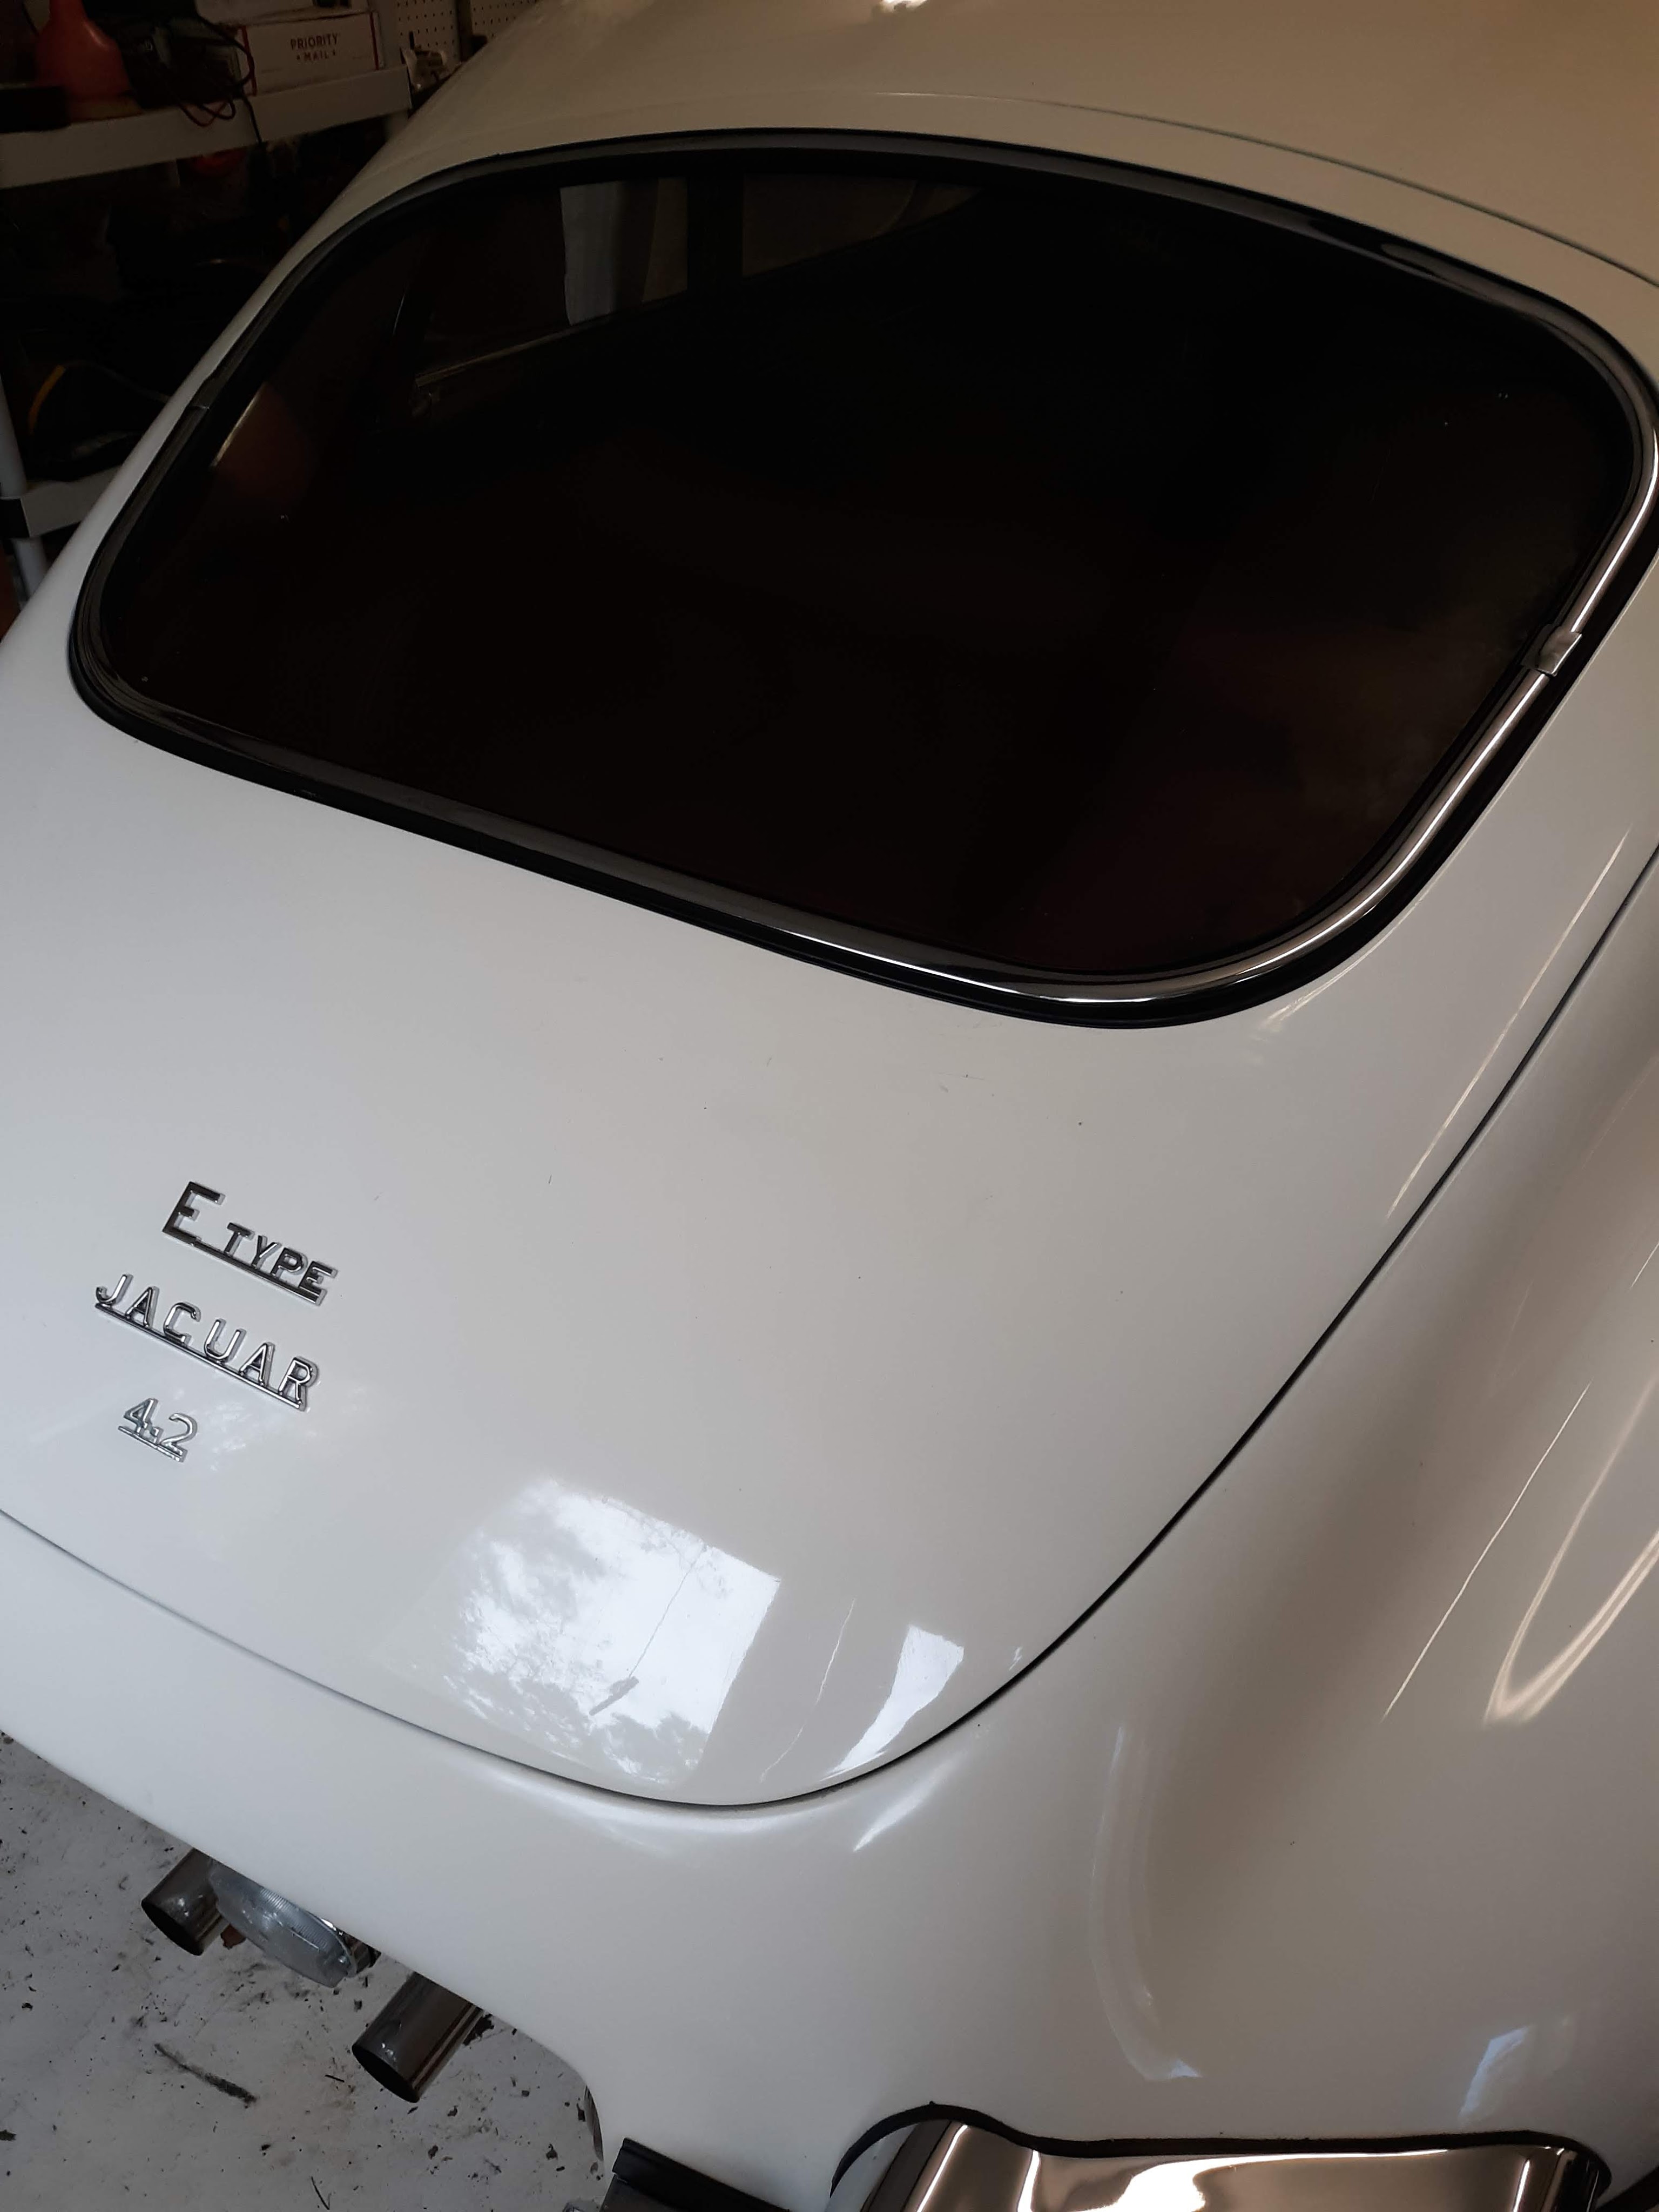
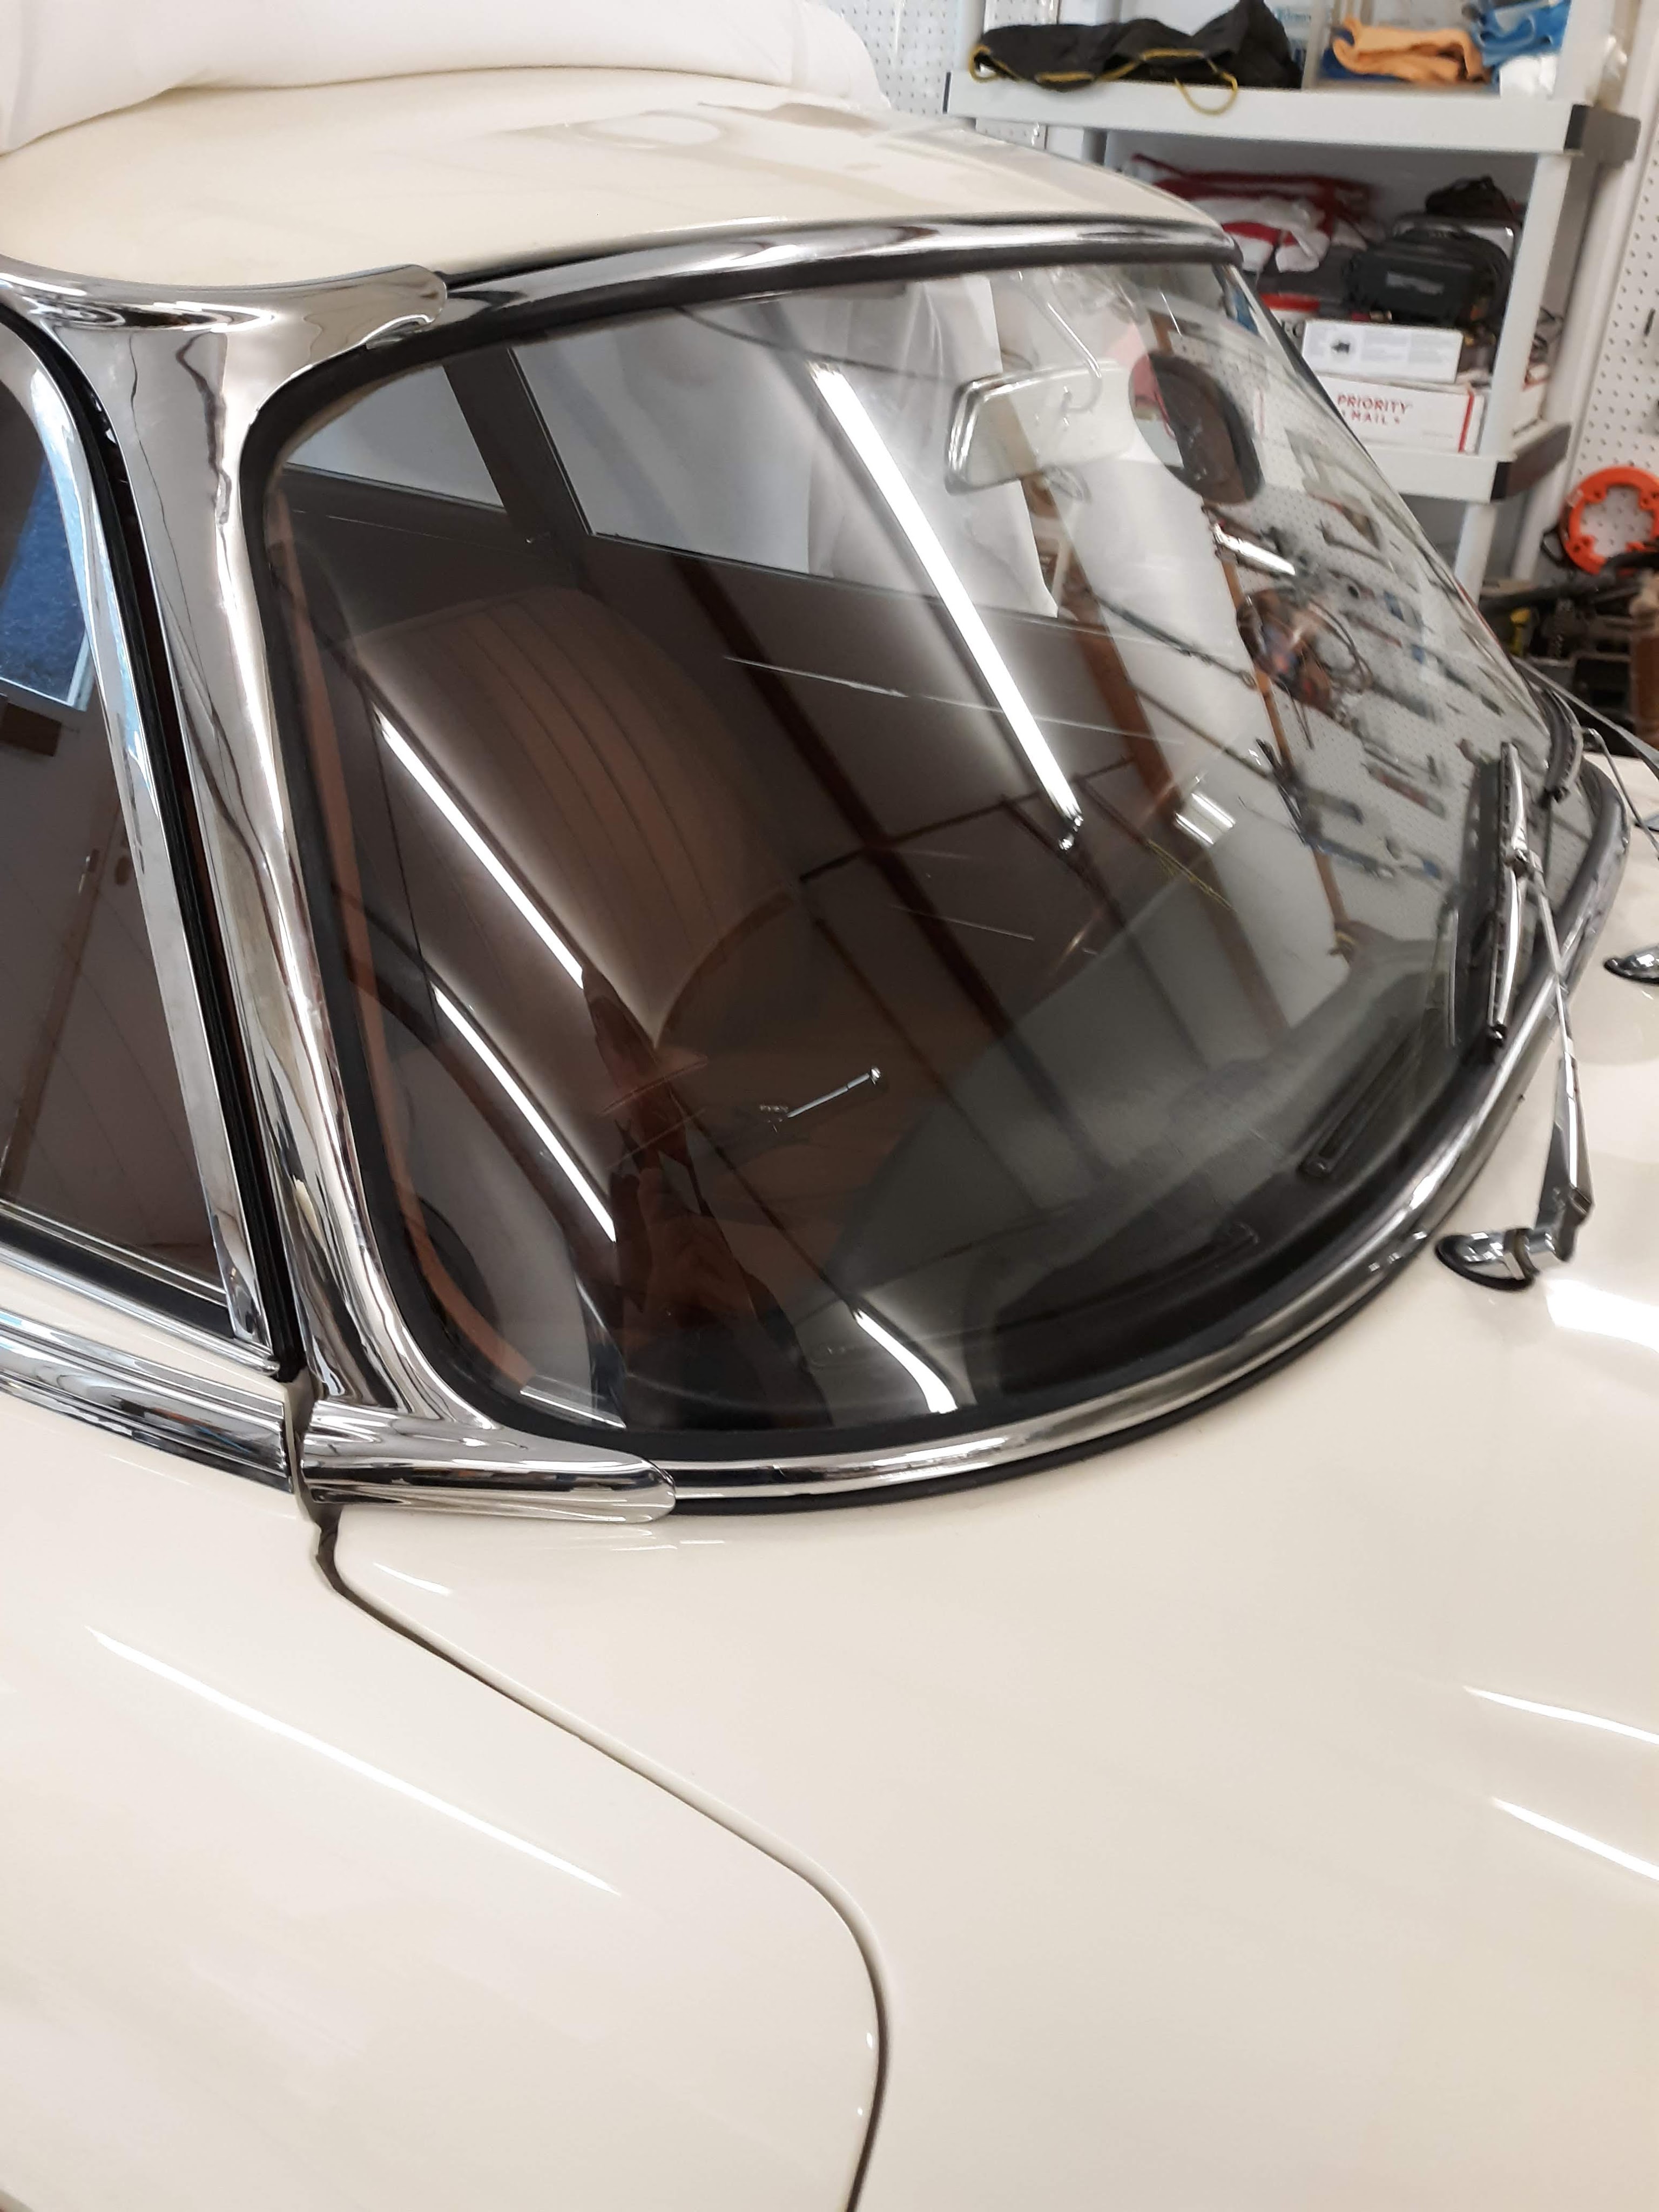
Those are my tips. To some degree, they apply to the front windscreen chrome trims pieces also. Actually, at the front I did you a sheet metal screw thru the holes in the trim at the end. The screw is covered up, just barely, by the A pillar trim on the 2+2. I ground the head of the screw down quite a bit, to make it less visible.

Discussion
Comments are closed.