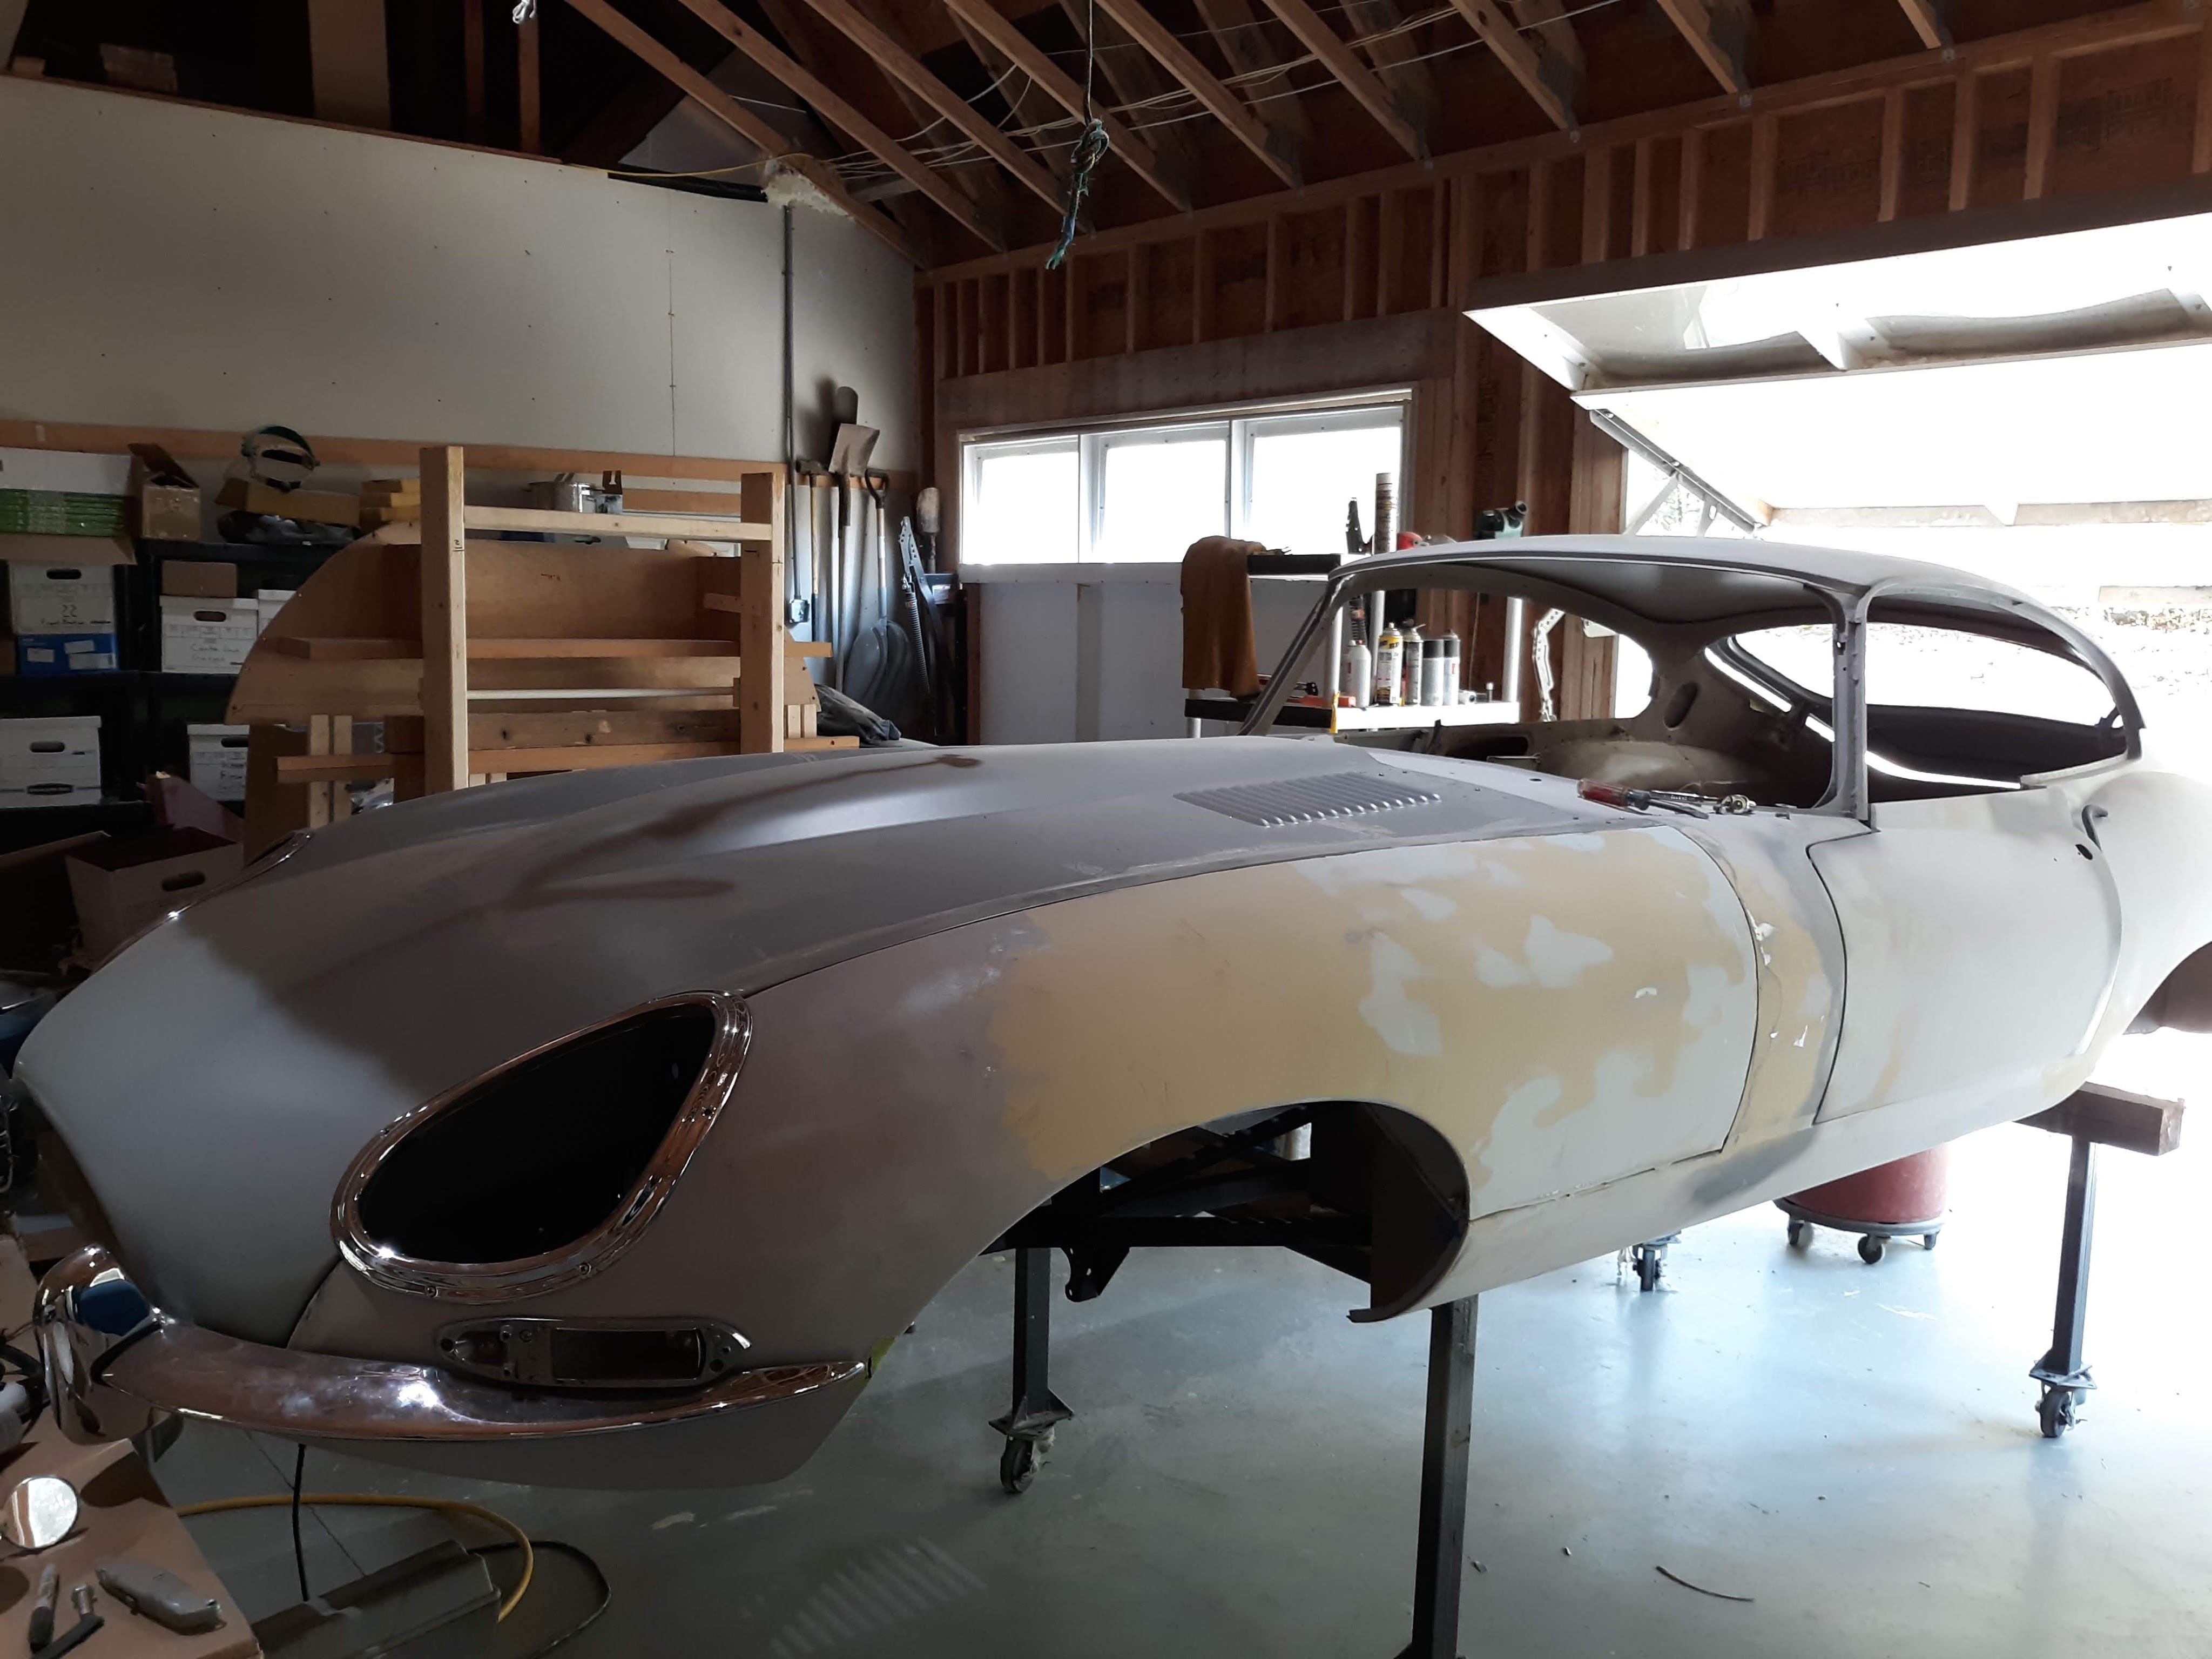
An update. Yesterday I was able to raise the bonnet, supported by it’s spring loaded hinges, for the first time. A major milestone that I felt warranted an update to the build blog.

Backing up a bit, I have been working for quite some time to get the 4 critical items, i.e. the bonnet lower nose section, the center section, and the two wings arranged and aligned, in particular with their joint at the cowl. Once I had them in a good position, I tightened down all the bolting hardware and latched the bonnet into position.
Next, I found and arranged all the pieces that attach to the underside of the bonnet. Those would be the two air ducts, the diaphragms at the headlights, and the diaphragms behind the wheel wells. I “dry assembed” these just to identify any major issues.
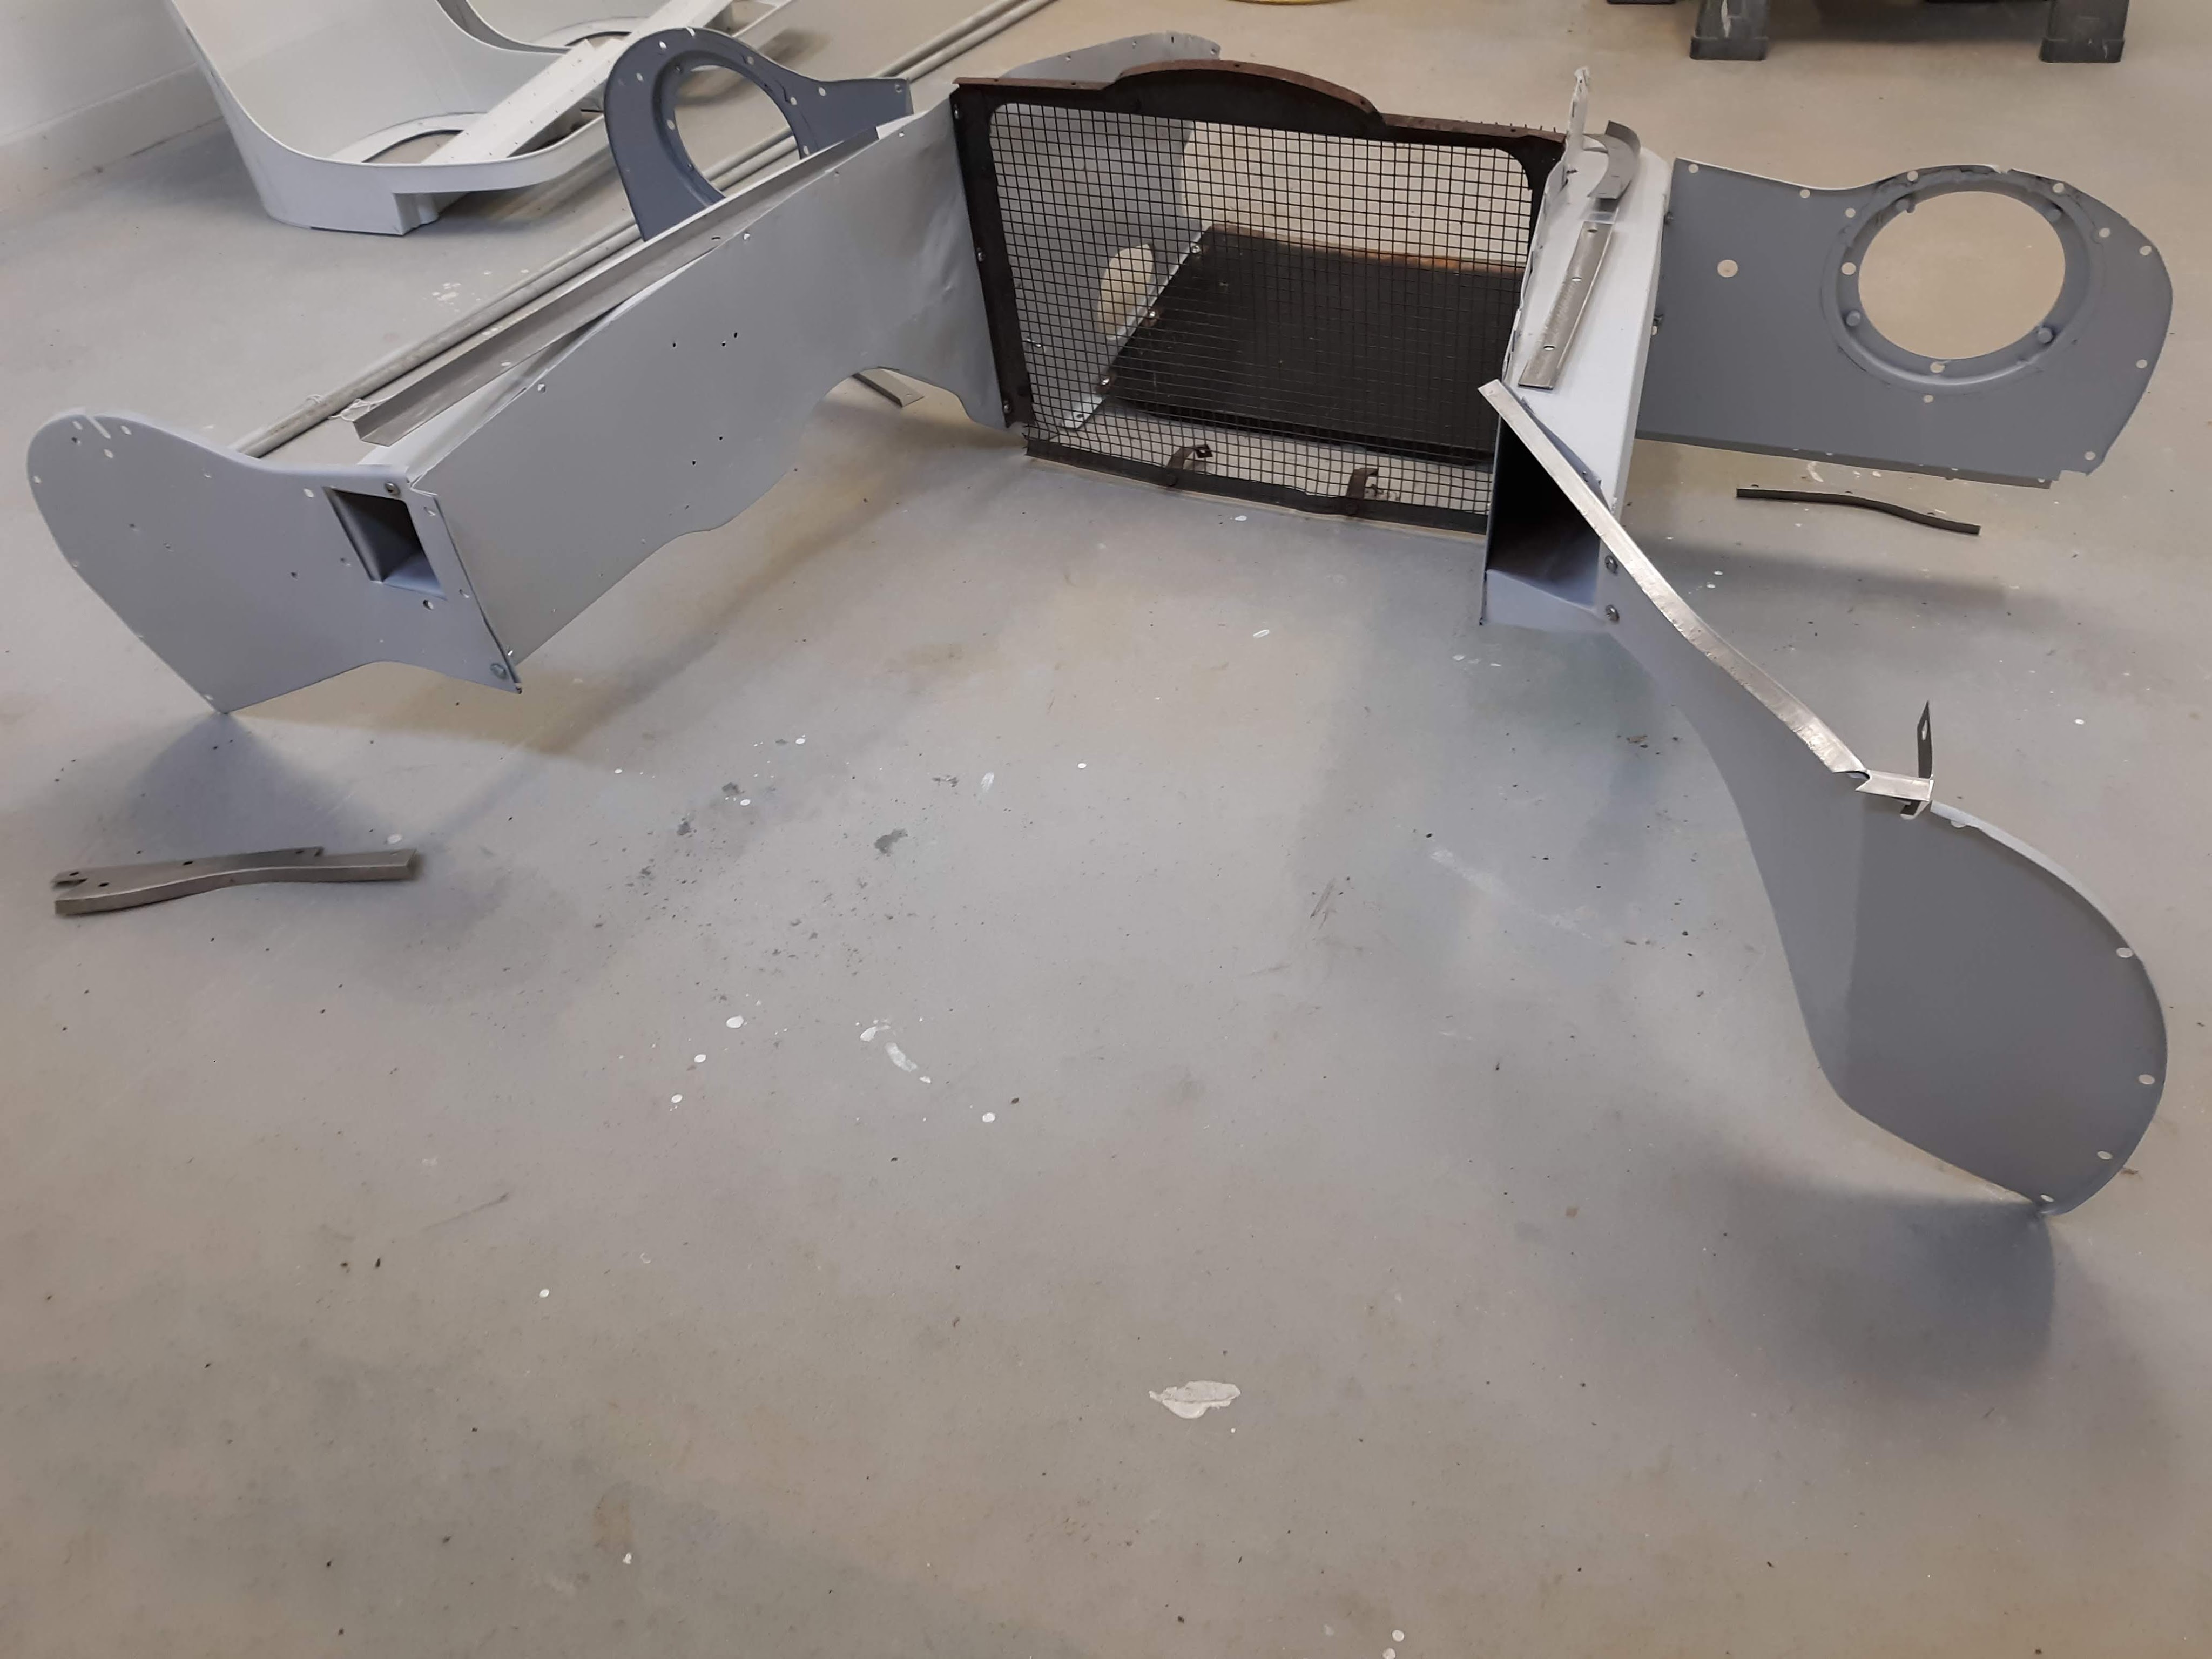
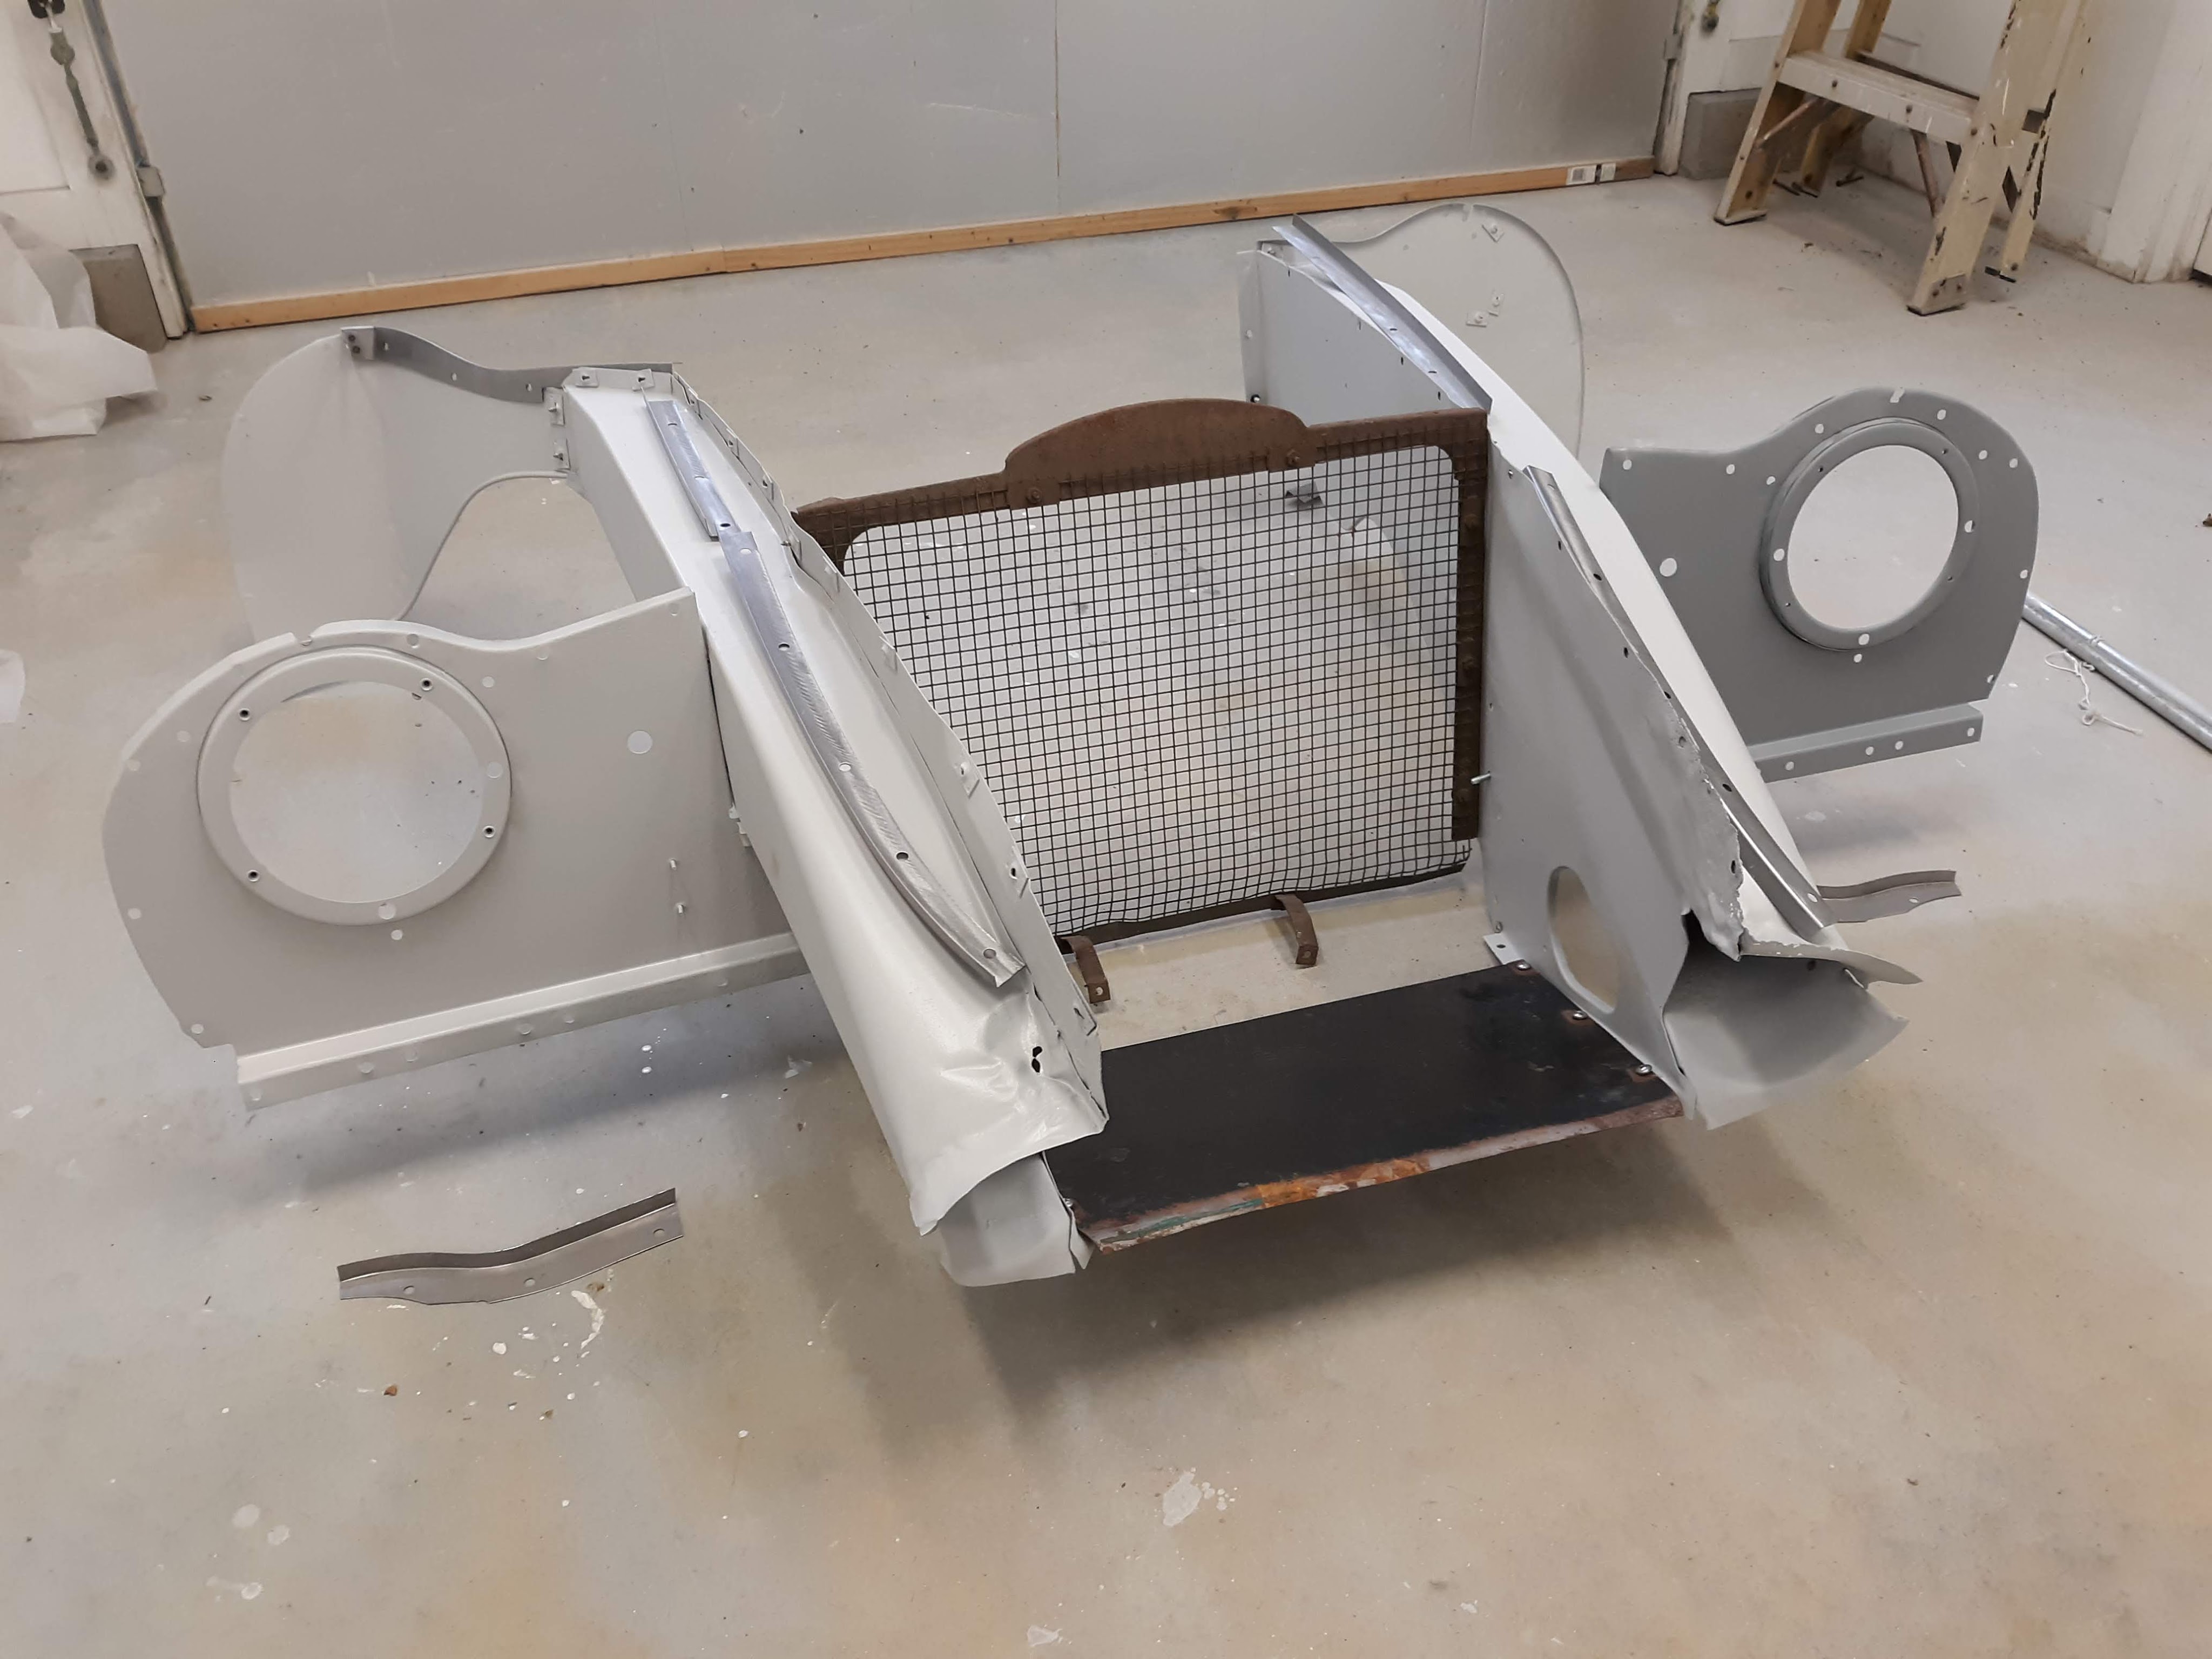
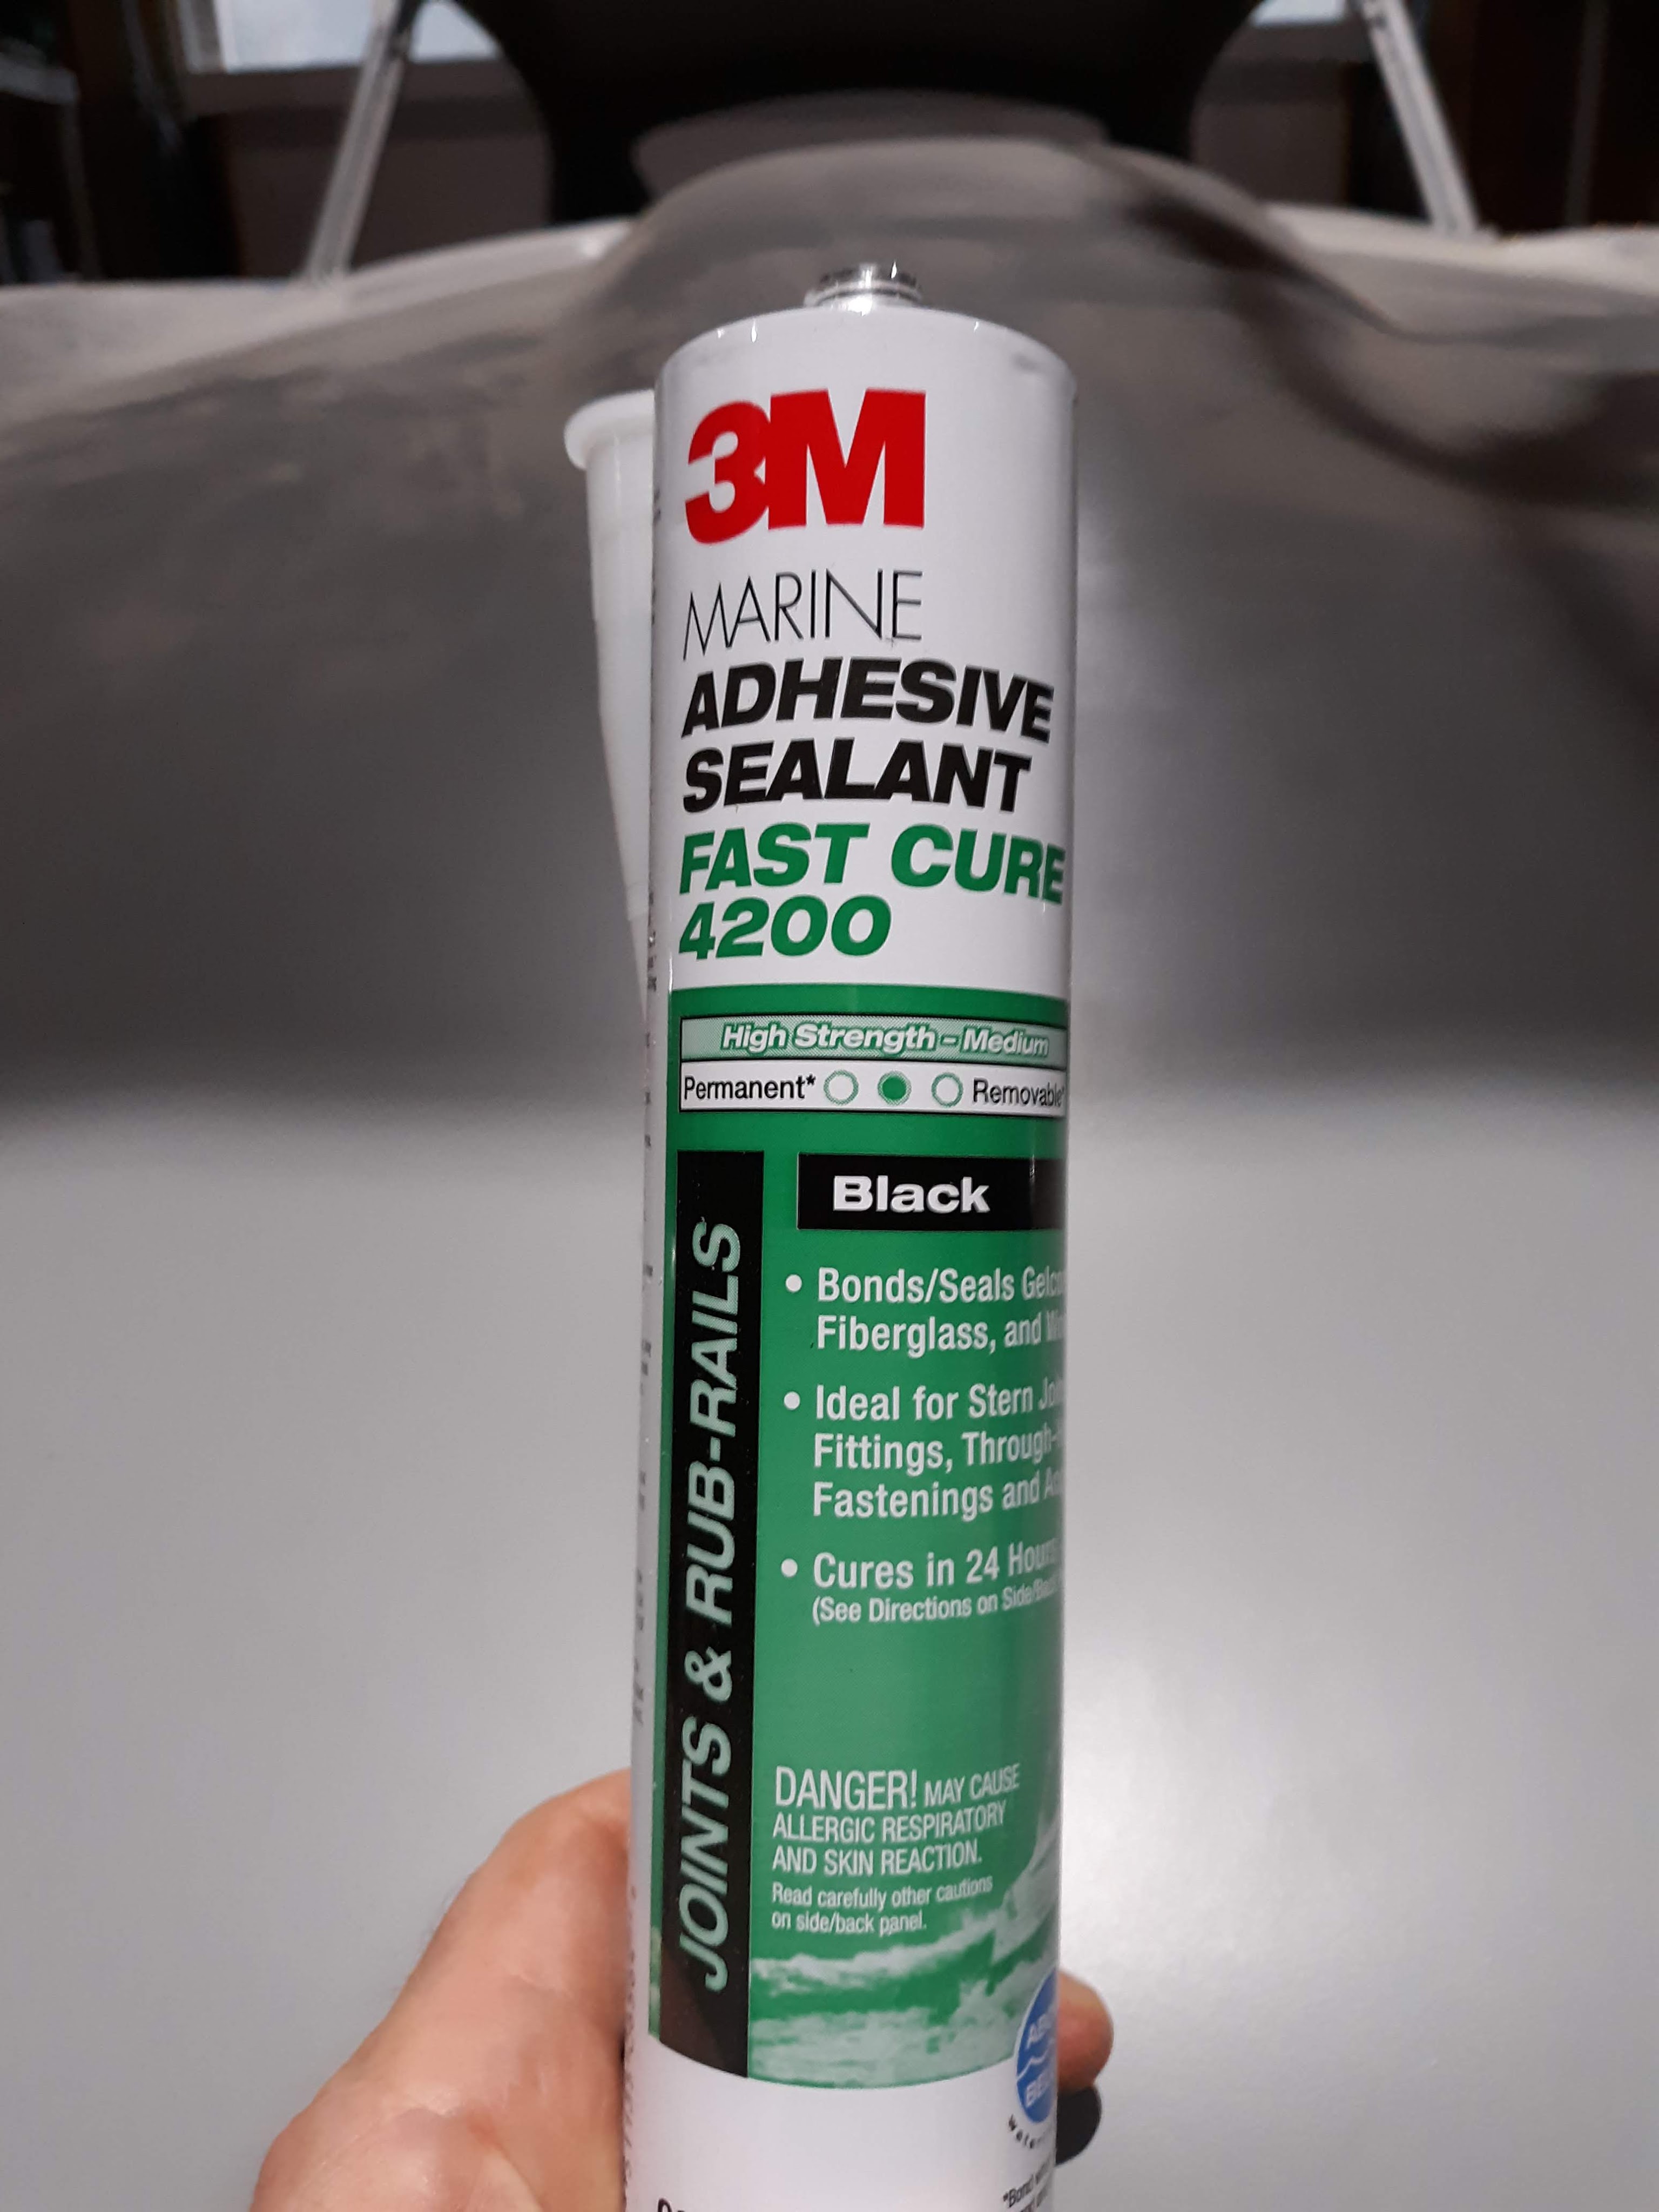
Once I had everything laid out and bolted together, I was confident that it was time to assemble these same items under the bonnet. Fortunately, the bonnet is installed on a 3 foot high cart so I can scoot up under it as required. The bonnet is hinged at the front and I am using a floor jack and a suitable length stick to raise the back edge of the bonnet as required. I must have raised it at least a 100 times! The wings, that are original to the car, had the attachment flanges already in place. An interesting bit of trivia but it appears that the flanges are spot welded. I could be wrong but if they are bonded with adhesive, I can’t see it. Chuck at Monocouque Metalworks has an interesting video about features of early cars and the use of spot welds in the bonnet is one item he discusses. Anyway, the existing flanges on the wings gave me a starting point for the attachment of the various diaphragms. As usual, initially nothing lined up very well but eventually I got it all assembled. I purchased a flange kit from Monocoque Metalworks and proceeded to test fit it. These are all the flanges that bond to the bonnet center section, which is new on this car. I got all the flanges dry fit and then removed them and roughed up the adhesion surfaces on the flanges and the bottom side of the bonnet center section. Finally I used an adhesive recommended by M-M and glued everything into place.
After letting the adhesive cure for 2 days, I installed the spring loaded hinges and was able to release the bonnet into an open position. Oh joy!
I will mention that I bought new spring loaded hinges from SNG. They work a lot better than the 45 year old hinges on my 2+2. Recommended to all.
Another tip. The bonnet air ducts and diaphragms are bolted together using a combination of 1/4″ UNF bolts and large sheet metal screws. According to the Spare Parts Catalogue, 60 odd sheet metal screws are used. I found the following at McMaster (P/N 92470A312) which seem to be identical to those originally used, except they are stainless.
Phillips Rounded Head Screws for Sheet Metal, 18-8 Stainless Steel, Number 14 Size, 5/8″ Long
The 1/4″ UNF bolts and nuts are readily available from McMaster, although for this build I will be using my stash of original GKN bolts and nuts. Also, when I do the final assembly, most of the connections receive the oval special washer and a lock washer.
Next up is fitting of the headlight opening chrome trim, the bumpers, and the parking/turn signal light assemblies. This is underway and, as usual, some “fettling” is being required. More on that in a future article.

Discussion
Comments are closed.