Well, enough with the Evaluation and Planning. I want to restore something! So what better than a little bit of cosmetic surgery on the body. As I noted in a previous post, the footwells, bulkheads, and sill plates did not appear to be stock. For my concours build, this situation needed to be corrected.
The first thing I did was fixture the car to be rotated on to its side. A rotisserie for the body is nice and I will probably mount it so before I begin with paint. But one problem with a rotisserie, in this case, is that it would get in the way of my work. I decided to take a simpler route. Using some framing lumber, I built a box around the floor pan, at 2 locations. Then I used my hoist to lift the body, rotate it 90 degrees, and set it back down on the lumber frame. Crude but effective. Voila, the bottom of the car was exposed and easy to attack for my surgery.
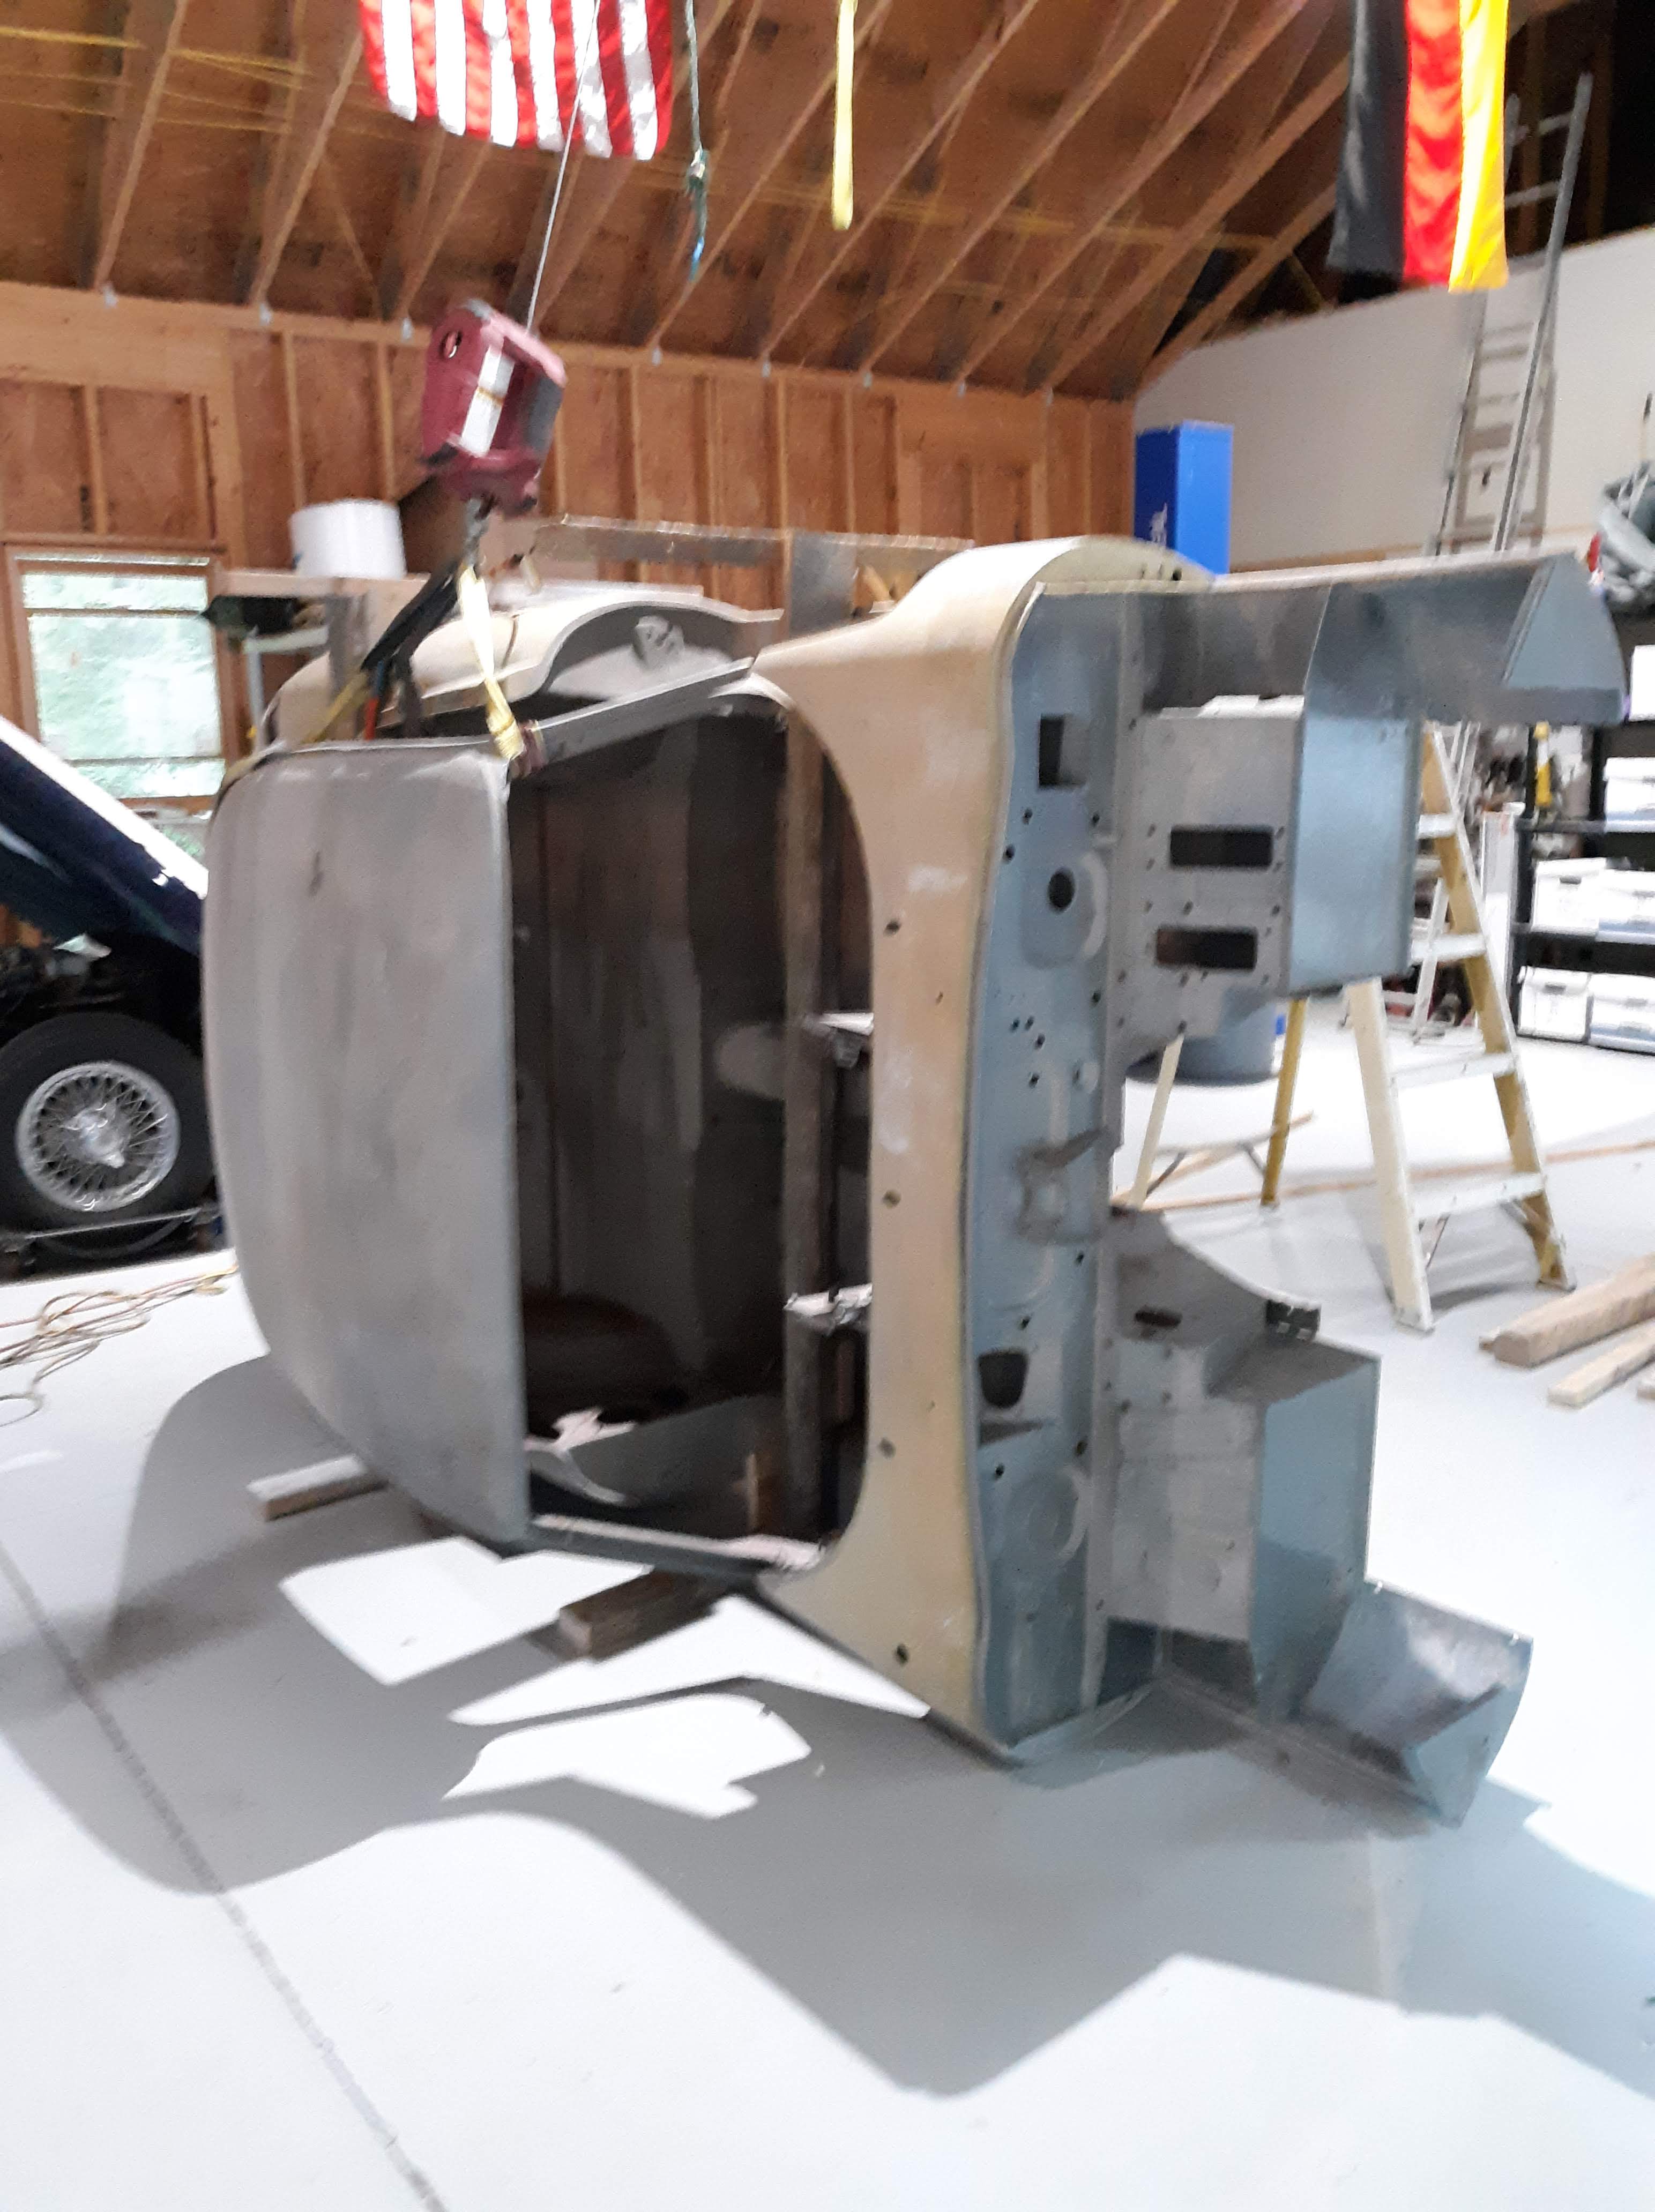

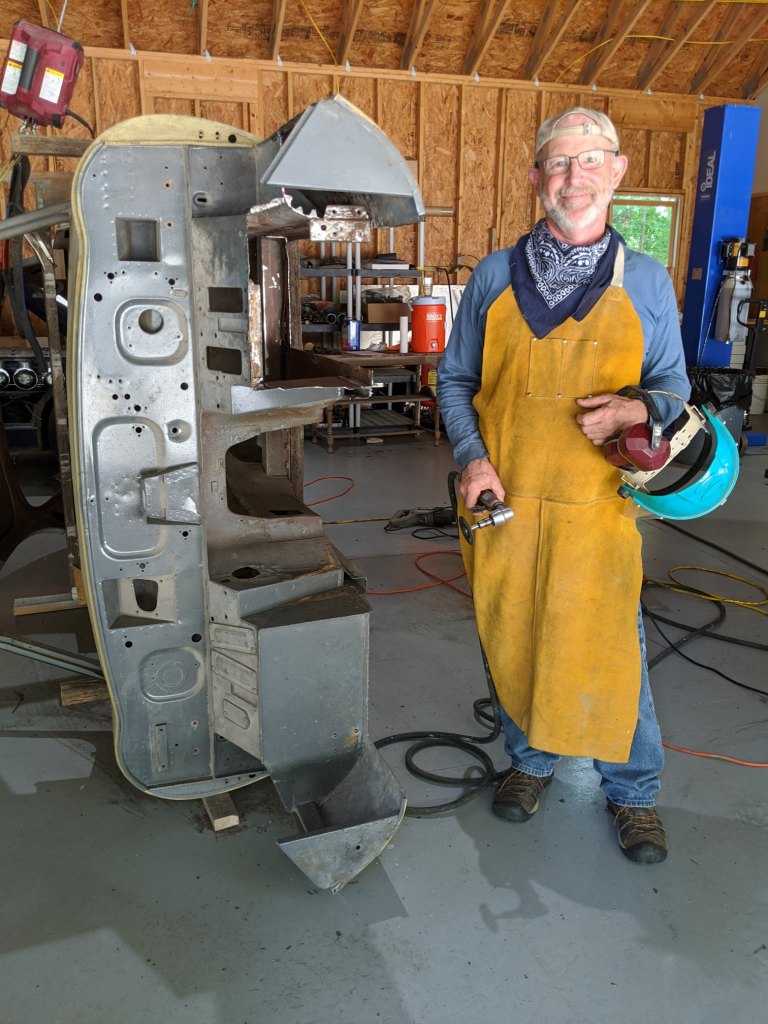
Next, I proceeded to cut out the offending metal. The fellow that did this was a good sheetmetal craftsman. He used extra heavy gauge material and his bends were crisp and precise. His welding skills were not that great. Fortunately he did not do much continuous welding, rather it was an exercise in short welds and seam sealer. Thank God. It was hard enough to remove the welding he did do. I do most of my surgery with a 3″ wafer grinding disc on an right angle air grinder. For long straight cuts, it will do the job. With plenty of sparks. My granddaughters were impressed. “Grandpa is making fire!”. I had to put on substantial protective gear to keep from burning myself.
 It was several days work to get everything cut out. I basically had to cut out big chunks back away from the critical edges and then tackle the transition from the removal area to the save area carefully. Eventually, I was able to create some holes where I need them.


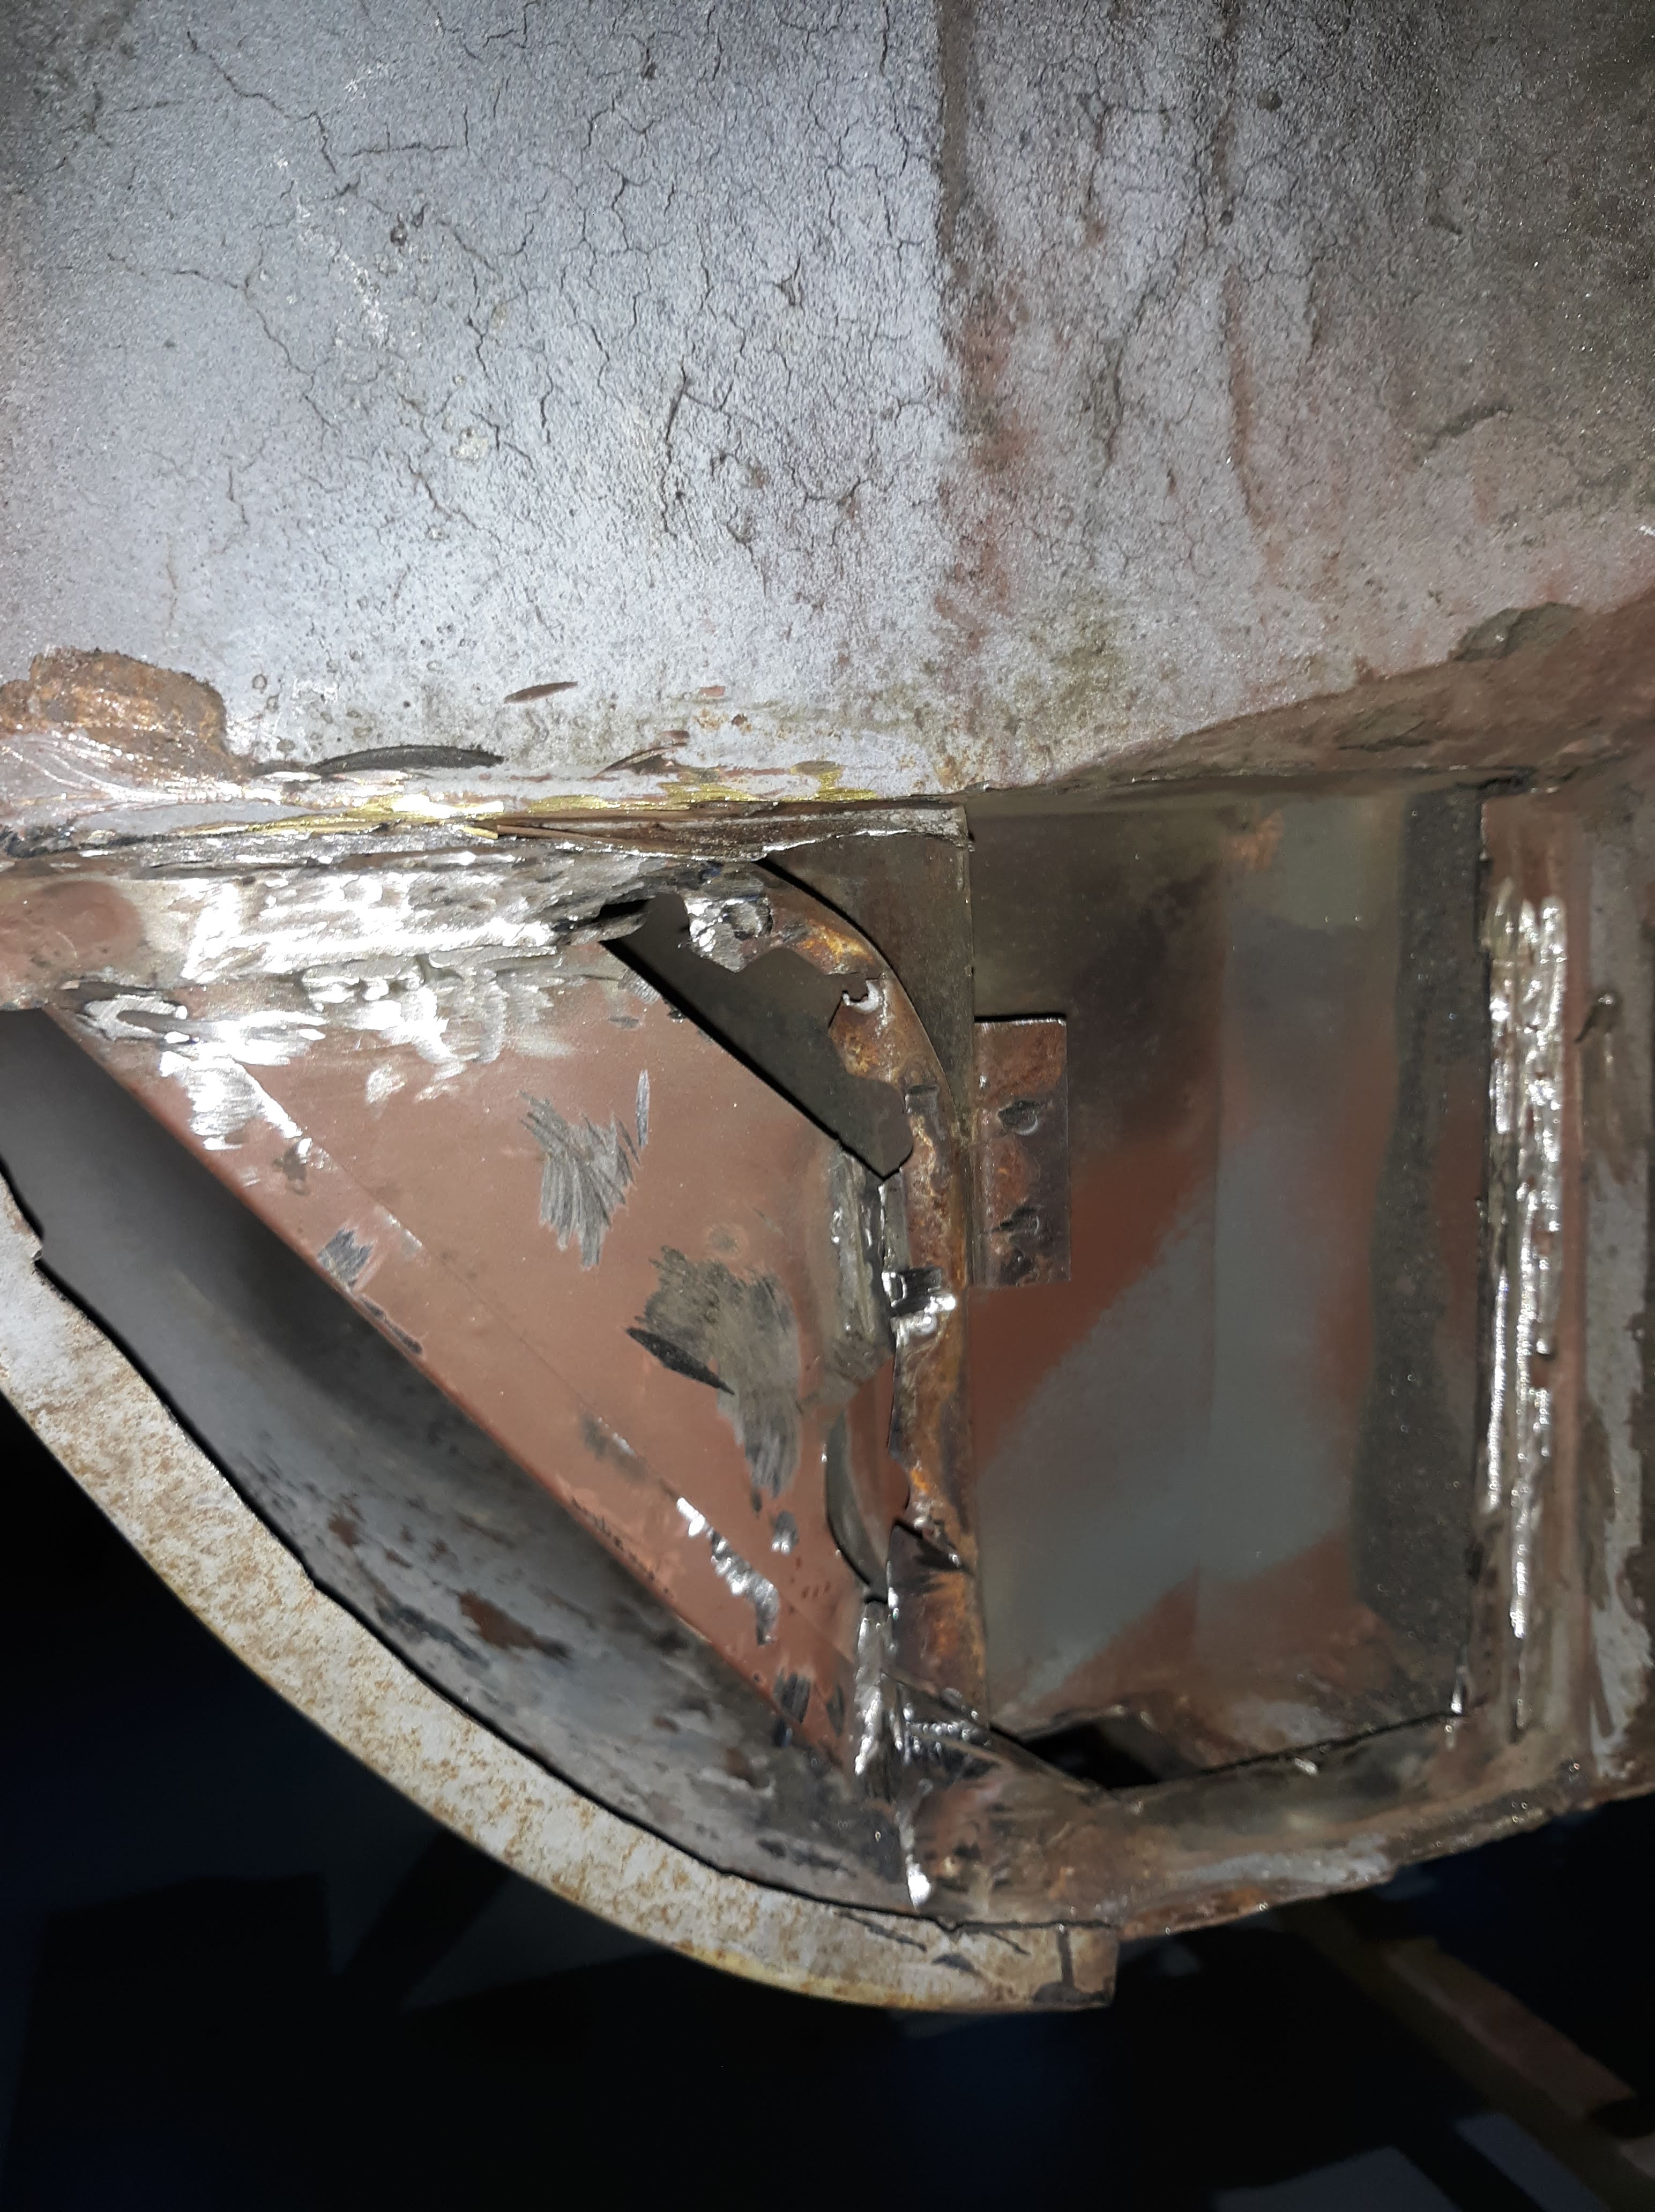
The rear sill closure plate on the drivers side was bodged pretty badly. Here it is removed, waiting for a OEM replacement part.

This spot weld cutter came in handy. The fabrication of an Etype tub used a lot of spot welds. The drill bit in the middle is spring loaded. The cutter basically cuts a round circle in the sheet metal around the weld. If you stop after cutting through the first layer of material, you can pop the the panels apart with a chisel. We’ll look at “faking” spot welds with a plug weld in a later article.
The messy part is done. I went through literally 50 grinding discs to reach this point. After reviewing the situation, it appears that the outer sill on the drivers side was replaced along with the foot wells and sill end plates. I have now had a chance to shine a light down into the interior of both sills. There is certainly nothing to see that looks like terminal rust, so that is good news. I had thought about wetting them down with a rust encapsulent paint like POR-15 but they look so good, I don’t think this will be necessary. I will spray the sills down with body cavity wax.
I have a mobile media blaster guy coming on Monday to clean up the body shell and a few extra pieces. Tomorrow I am going to mount the frame rails and pull out my rotiserrie from my previous 67 2+2 project and get the shell mounted. This way the media blaster guy will have no excuses for not getting into all the nooks and crannies. And I will be able to rotate the car as required to get the leftover meda out. Woo hoo, we’re making progress!

Discussion
Comments are closed.