As discussed in my last article, I spent some time with my boxes of parts, looking for any significant missing or heavily damaged items that might prove to be time consuming or difficult to replace. All though I found some missing smaller items, there was nothing that didn’t come up as available in the SNG catalog. But there is an issue with the body of this car that I only noticed a few months ago, when I pulled it out of its long term storage. A picture will tell a thousand words.
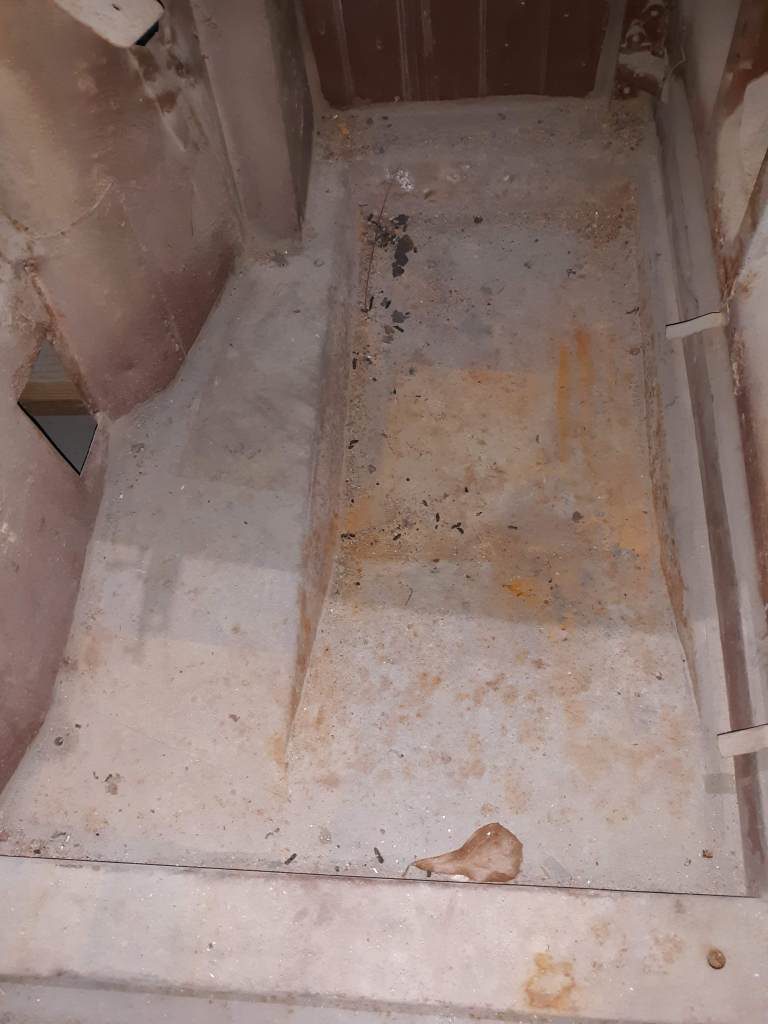
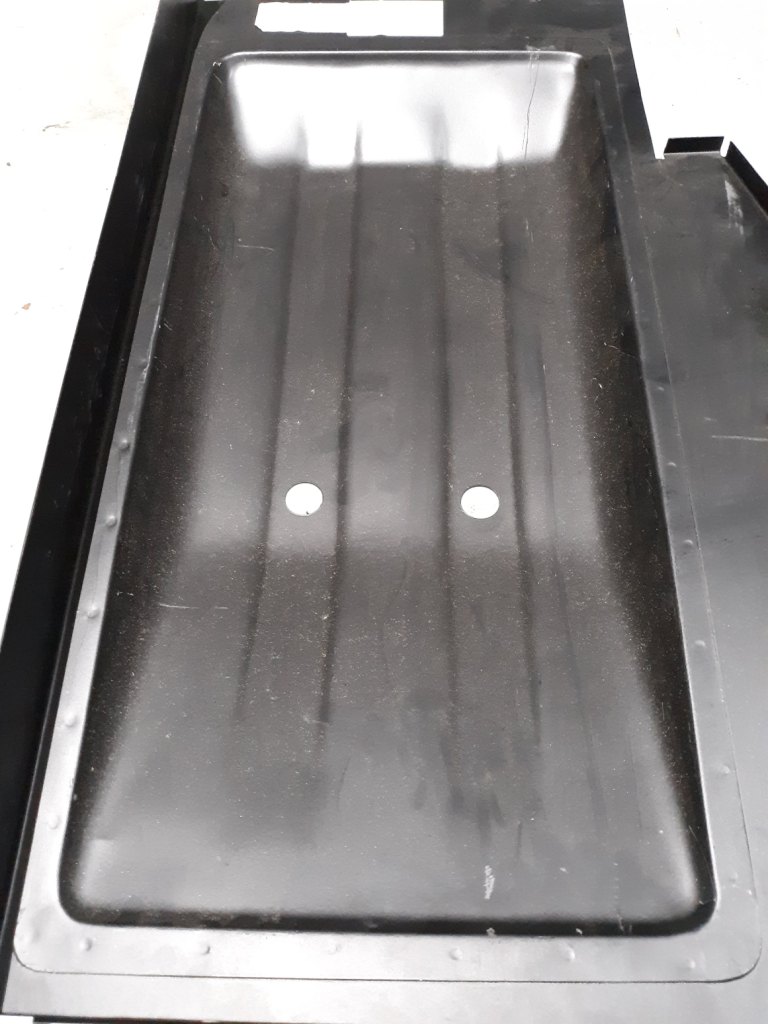
So here is the passenger side footwell. No, that’s not rust, just some debris. Actually the footwells are nice and smooth. Too smooth. Below is a authentic replacement footwell. Notice the “troughs” for lack of a better word pressed into the sheetmetal. Not to mention the 2 drain holes.
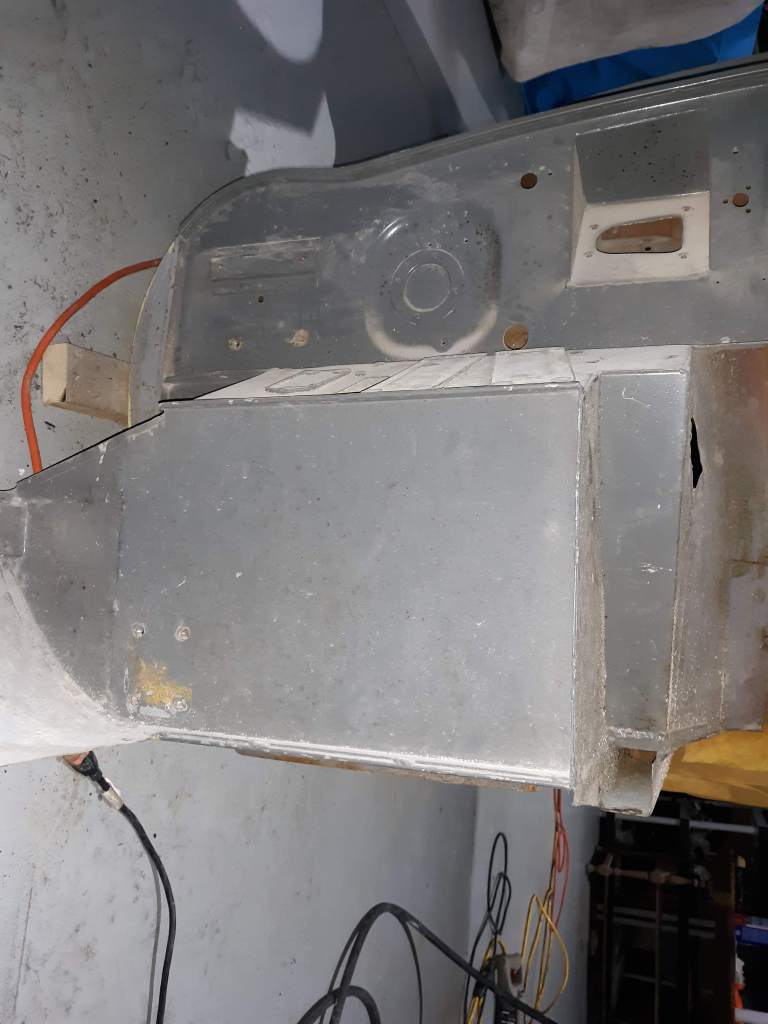
Here is a shot of the firewall, where the brake booster vacuum reservoir mounts. Also very smooth and no holes for the reservoir.
Here is the picture of the same area on my 2+2. Notice the pressed in X pattern, the standing seam joint, and the various holes?
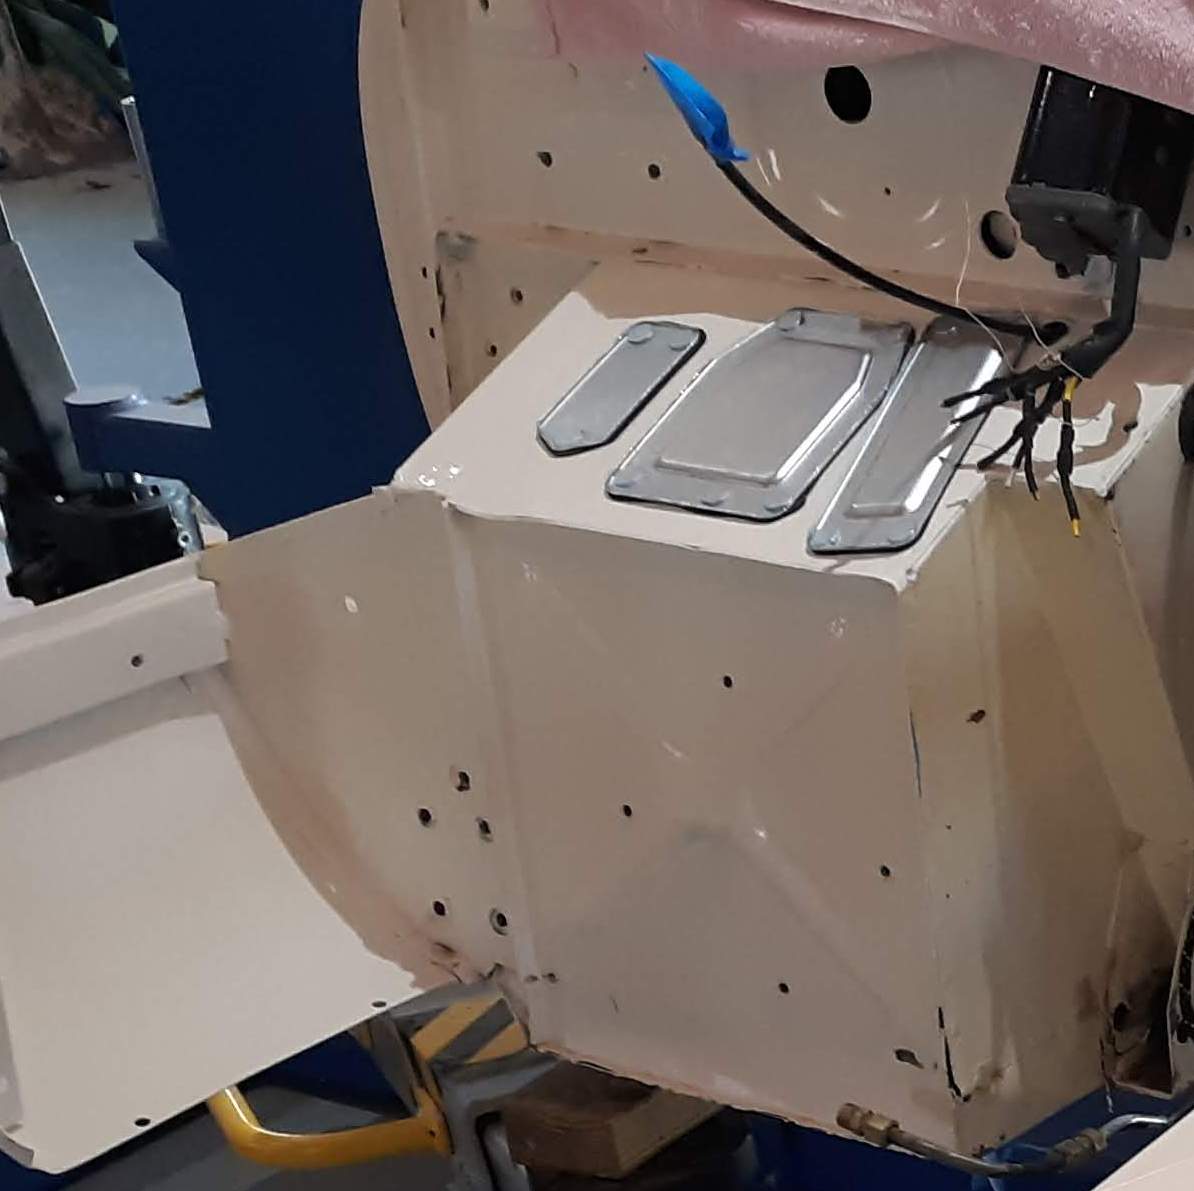
At a previous time, someone had replaced the footwells, the bulkhead panel, and the sill closing panel with plain sheetmetal parts. They did a nice job from a structural standpoint but the way they did the fabrication is in no way as the car was originally built. So part of my restoration plan now includes cutting out these pieces and replacing them with factory correct parts. The black footwell panel in the photo above is one that I have already obtained from SNG Barrett. Not shown but I have also obtained the bulkhead and sill closing plates from SNG.
So while thinking about the replacement of these pieces, it occured to me that the “engine frames” attach to the sill closing plate, which has substantial captive nut plates in behind it. And if I wound up having to cut out and replace the captive nut plates, it would be necessary to temporarily mount the engine frames so as to position the nut plates correctly. This and the fact that 60 year old engine frames are not always in the best of shape led me to go up to the attic and retrieve my left and right engine frames. At some point, someone had painted them up nicely with heavy grey primer. This had to come off in order to evaluate the frames. So into my bead blast cabinet they went, one at a time. I started by bead blasting the welds on the drivers side frame. No issues noticed. Then I started to remove the paint on the tubes themselves. And found this.
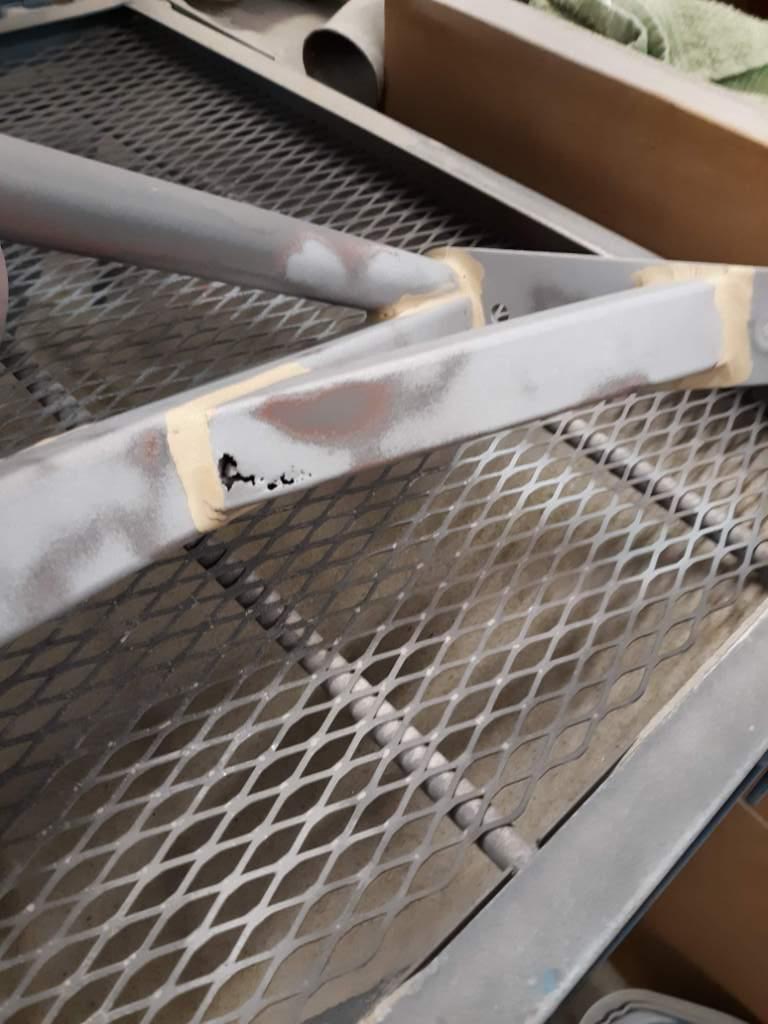
Toast. On the the other frame. The welds all looked OK. Then I found pinholes on the underside of one of the tubes.

Also toast. Well, while we are here, let’s at least admire some of the copper-bronze brazing work on the frames.
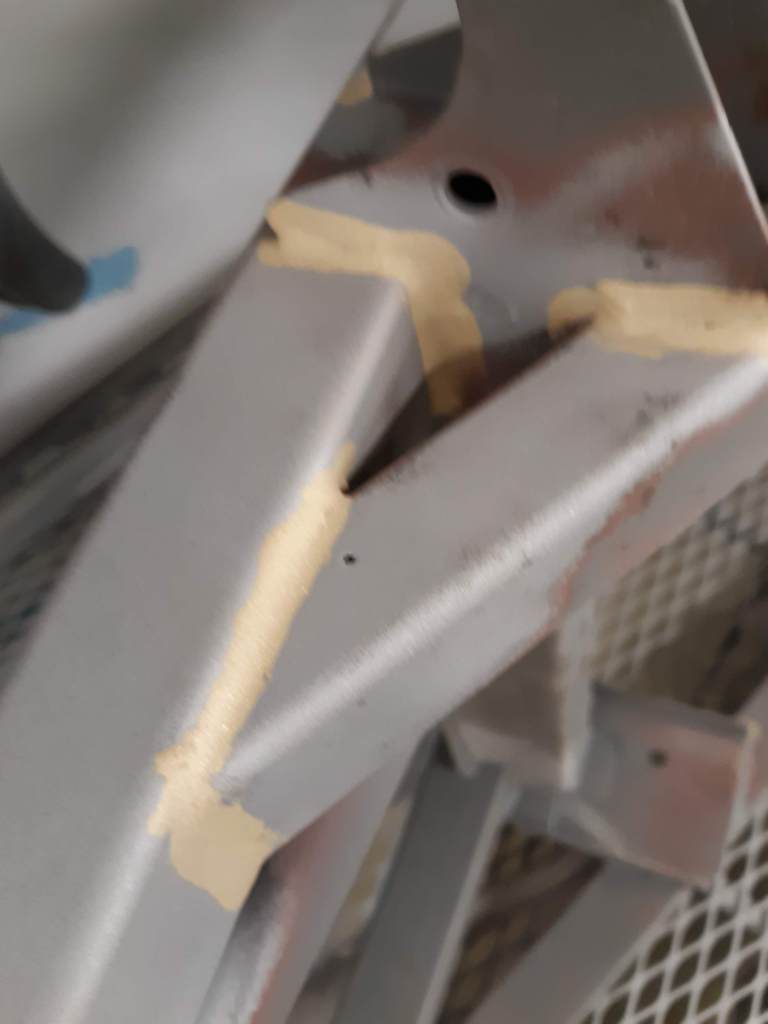
Fortunately, as with many parts for an Etype, these engine frames are available from SNG. Not cheap, but available.
So that was enough mayhem for one day. I put a little spray can primer on the engine frames and will use them as templates until my repalcement frames arrive.

Discussion
Comments are closed.