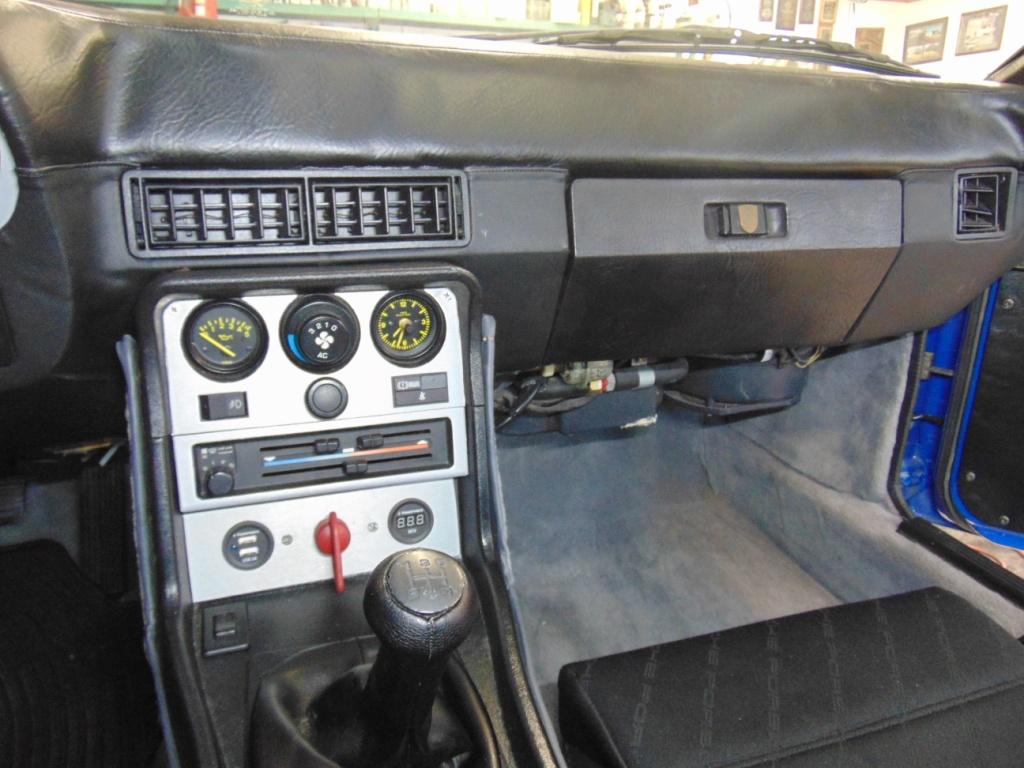
In a previous article here, I discussed refurbishing the dash on my 944. Here is a shot of the result taken during a recent photo shoot of the completed car.

Dash after initial refurbishment.
After reviewing the dash in context with the completed car, I felt that it was just not right. A little lumpy. Some of the seams are pretty bad when you look closely. The thickness of the vinyl used made insertion of the plastic bits problematic. And the fit of the glove box was awful. I decided to have another go at it.
While it’s fresh on my mind, here is a list of the key steps to removing the dash. This is this older dash so I’m not sure how much transfers to newer cars. You will need to remove pretty much everything you can see and then a few more items, before you can access the 5 fasteners that hold it in. It is quite an effort. One bit of good news. As far as I can recall, all of the electrical connectors are unique in shape/form. This means that technically you could just unhook everything and match it up upon re-install. That said, I would advise taking pictures and marking the various disconnect points with pieces of painters tape with a numbering system that makes sense to you. Anyway, here is your Removal List:
- Disconnect battery
- Steering wheel
- Turn signal/wiper stalk/cruise control stalk
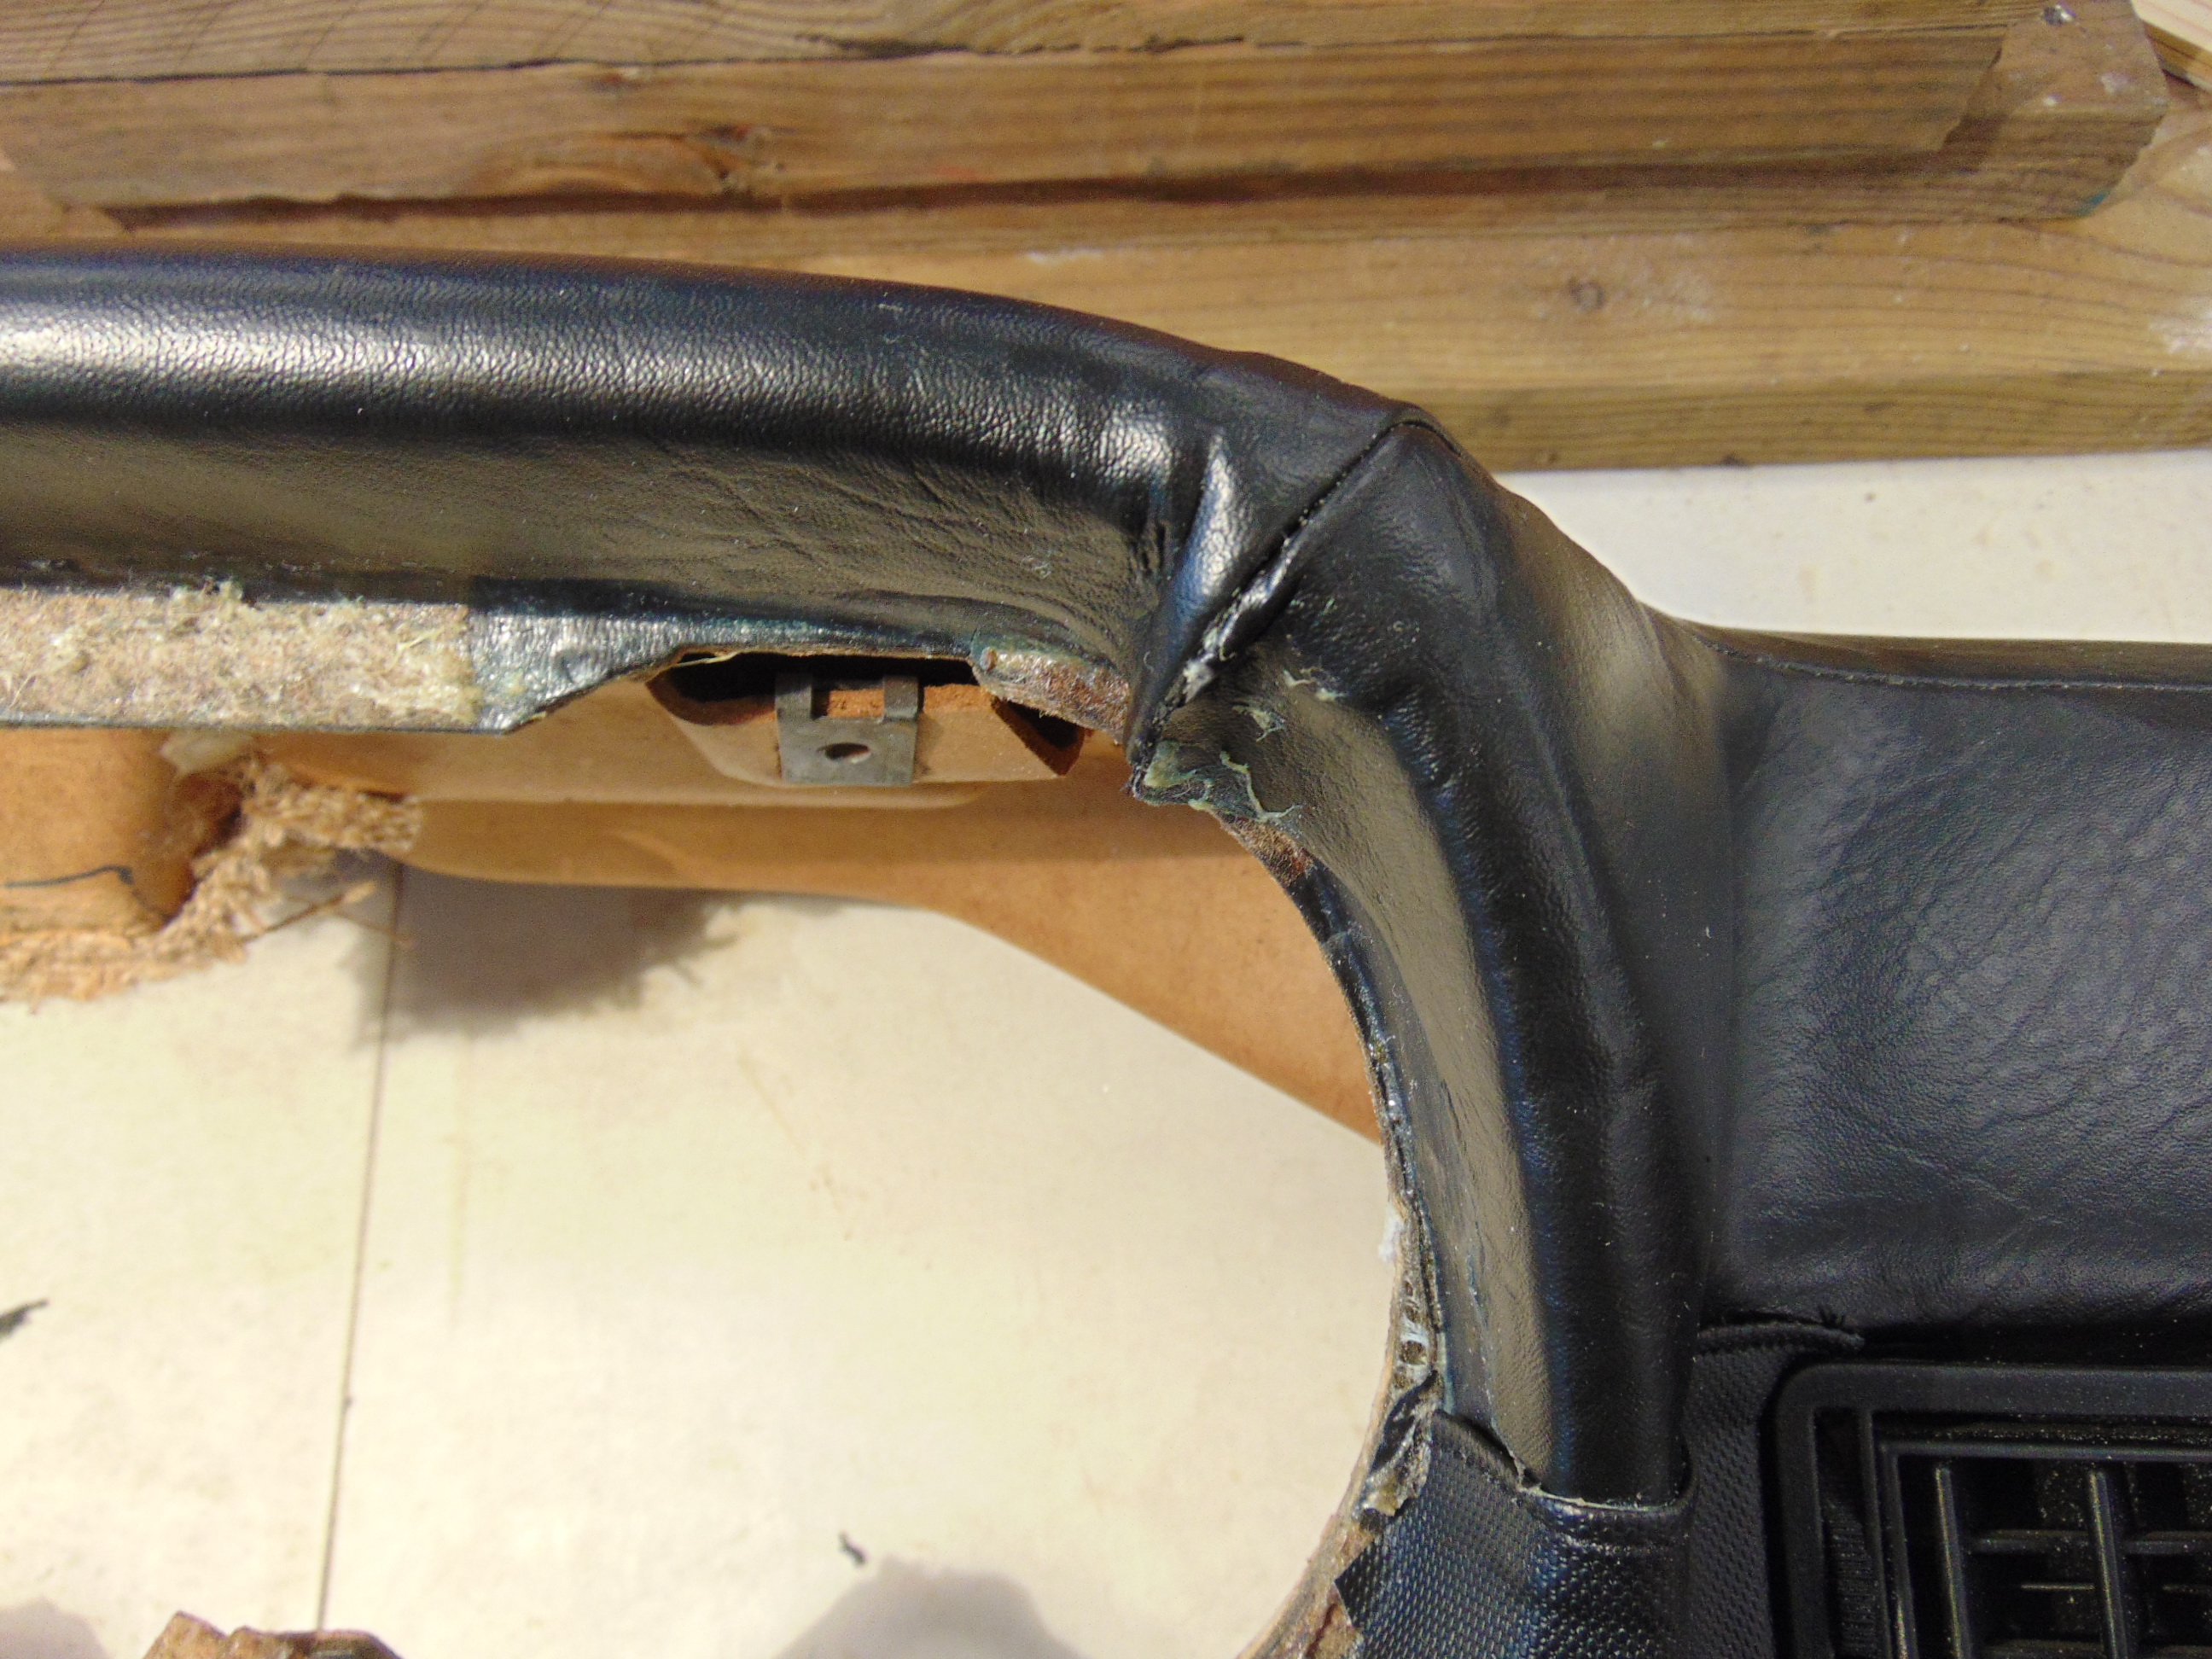
- 3 plastic heater vents- I have posted a picture at the end of the article of how their clips activate
- Headlight switch bezel – once you get the bezel released, you can pull out the switch far enough to release its electrical connector.
- Emergency flasher switch bezel – ditto
- Instrument pod- there are two approaches here. Regardless, you will need to reach in behind the instruments, so pulling the hose to the left side heater vent may help. Approach 1 is to push out each instrument one at a time. On my car, they seem to be held in by friction with a rubber ring wrapped around the instrument. They pushed out pretty easily. The other approach is to remove the 2 screws in the overhead of the pod and try pulling the entire pod out. You will find that the speedometer cable is the most limiting from a slack standpoint. Regardless of which method you use, you may want to get on your back and spot it’s connector and remove it first. It is a normal right hand screwed fitting that can be grasped with pliers or even with your bare hands. Most of the electrical connections to the instruments are in the form of gang plugs. Grounds seem to be a single spade fitting. Bulbs for lighting just pull out from the back side of the instrument. Update- after having just re-installed my gauges, it seemed to work best to remove the speedometer last and install it first. It has the worst access for your hands from behind it so having the 2 openings on either side was a plus.
- Glove box- the door is held in with 2 or 3 screws across the bottom. The glove box interior is held in with 2 screws in its overhead. Also release and detach the light.
- Center console- sorry, it must be substantially removed to allow enough space to pull the dash rearward and upward to get it out. Start by removing the ashtray, and the insert around the ashtray. Remove 2 screws under the ashtray. Then you must remove the various gauges and the HVAC control panel. The HVAC panel has 2 screws on its bottom edge. You just remove the knobs on the sliders. The slider mechanism can stay in place after removing 2 screws. You’ll just have to use your judgement on removing the radio. The panel above the HVAC controls is held in with 4 screws. The center console is held in with only 6 screws. 2 are at the rear under the ashtray. 2 are forward on the lower sides, two are forward on the upper sides.Once you’ve done it once, the fastening points will be obvious. Unfortunately, as with mine, 30 years of previous owners may result in your finding broken or hacked up pieces to deal with here.
- Shifter- you don’t have to remove the shifter but you will need to release the gaiter assembly at a minimum. Taking the knob off helps if you are removing the center console completely.
- At this point, you’re almost there. One of the 5 screws holding the dash is technically a stud with a nut. There is a brace that comes out from the firewall and attaches near the bottom center of the dash with a 10 mm nut. It is near the left rear side of the radio. You just remove the nut and pull the brace and its stud downward until it releases from the dash.
- There are 2 sheet metal screws, one on each side of the lower outside corner of the dash. You may want to pull the heater hoses to be able to see them. They go through some small galvanized straps that are attached to the dash.
- The last 2 screws are still not visible. You first need to remove the A pillar trim covers. First, pull the U shaped molding down that covers up the lower edge of the trim cover and the sheet metal opening of the A pillar. It should be held on with friction, unless someone glued it at some point. Next reach up and loose the 3 screws that hold each sun visor. Loosen them about a 1/4″. You don’t need to take them all the way out. Next search for 3 screws in the A pillar trim piece. Remove these completely. At this point, you should be able to pry the top edge of the trim cover out from under the trim that holds the visors. This will allow you to slide the top end of the trim piece downward and rearward, allowing it to be removed. The final 2 screws holding the dash, one on each side, are very near the lowest screw you took out on the A pillar trim piece.
- At this point, you should be able to release the dash. I find it best to pull it rearward on the passenger side first. It seems to want to hang up on the steering wheel ignition casting. But it should come out!
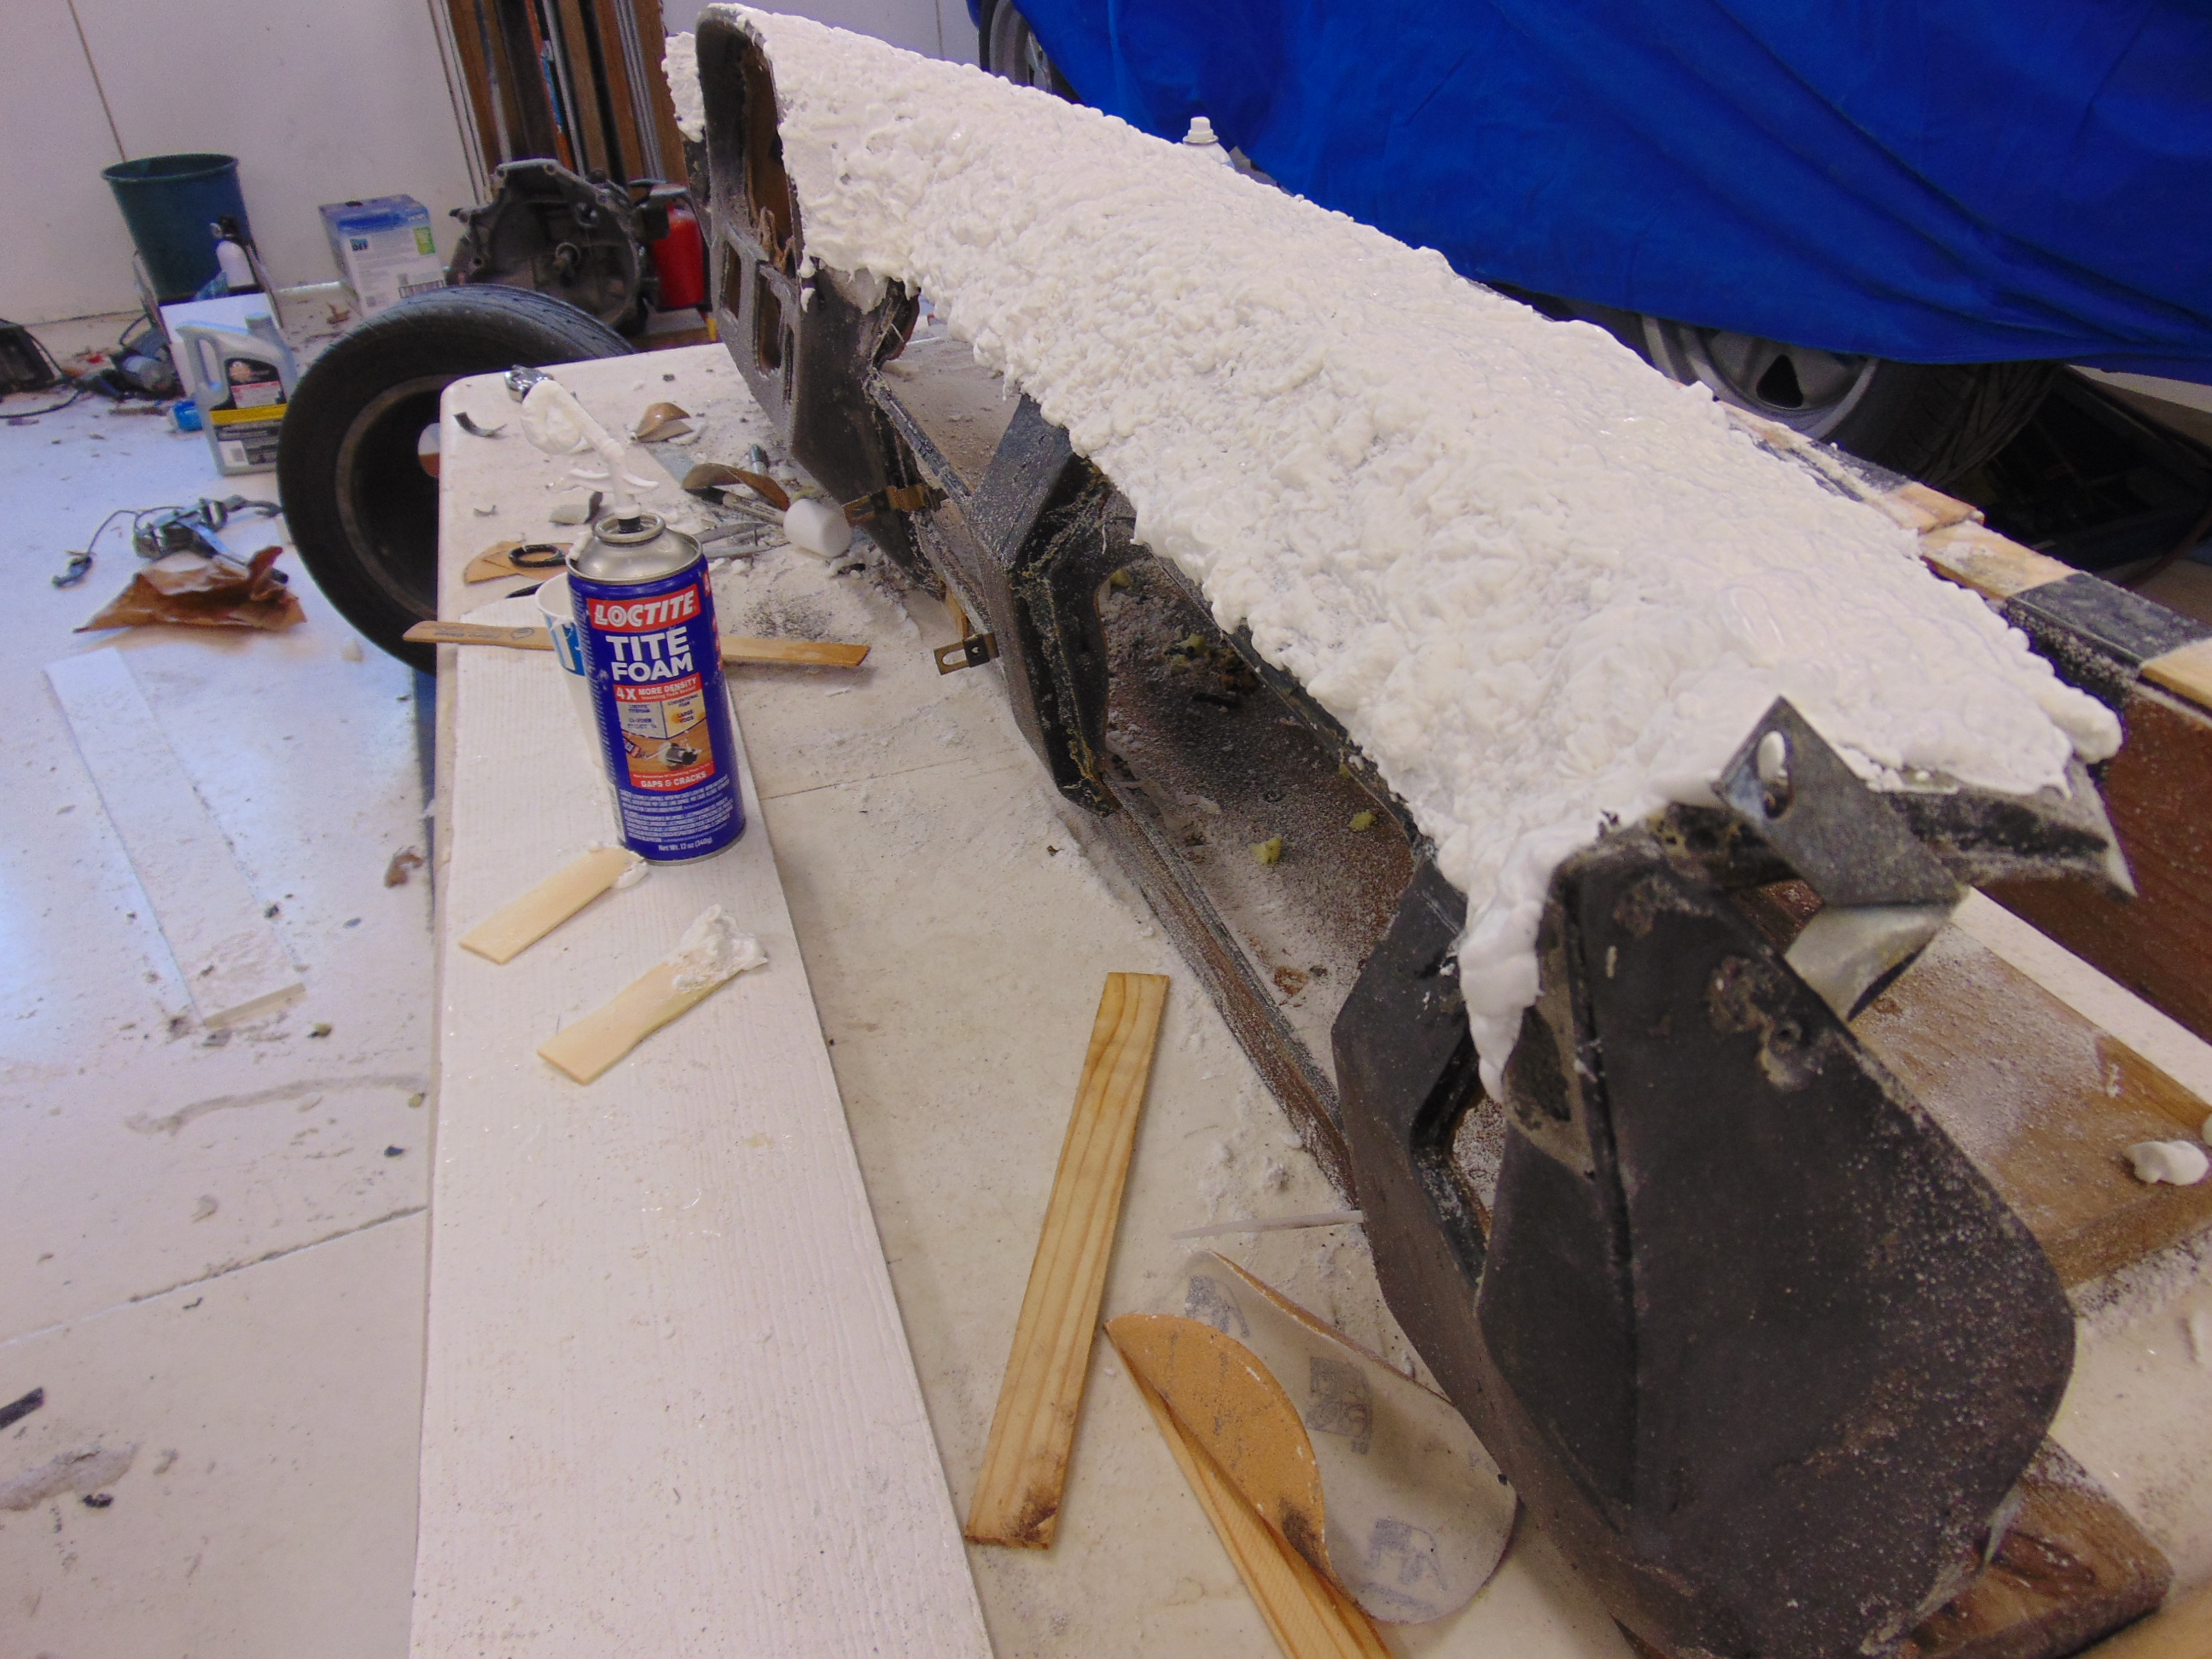
Reviewing my previous article, I would not change my approach up for repairing the dash up to the point of applying the expanding foam. Here is a picture of the dash previously, with a hybrid mixture of foams.

Previous foam job
In retrospect, I think there are two problems here. I think I erred in trying to leave so much of the original foam. And I think the Great Stuff foam was the wrong product. I now strongly recommend using the Locktite brand of foam. It dries to a much firmer consistency and can be sanded with a fair amount of precision. And as I will discuss in a minute, I learned a trick. Ah! One Simple Trick for a Perfect Dash. Sounds like Click Bait to me!
I bought the Locktite foam at Home Depot, as I recall. I also recall that it came in several different formulations, each aimed at filling different target void sizes. I’m not sure it makes any difference but I would go with the one that mentions the smallest void size.
When you apply it, it comes out like shaving cream. It will take more than one can to do a dash. I wound up using 6 or so. But with the trick I learned, you may get by with less. So apply the foam. You will lay it down in long rows that sort of overlap each other. Wait about 5 minutes, in which time it will puff up to larger volume. The trick at this point is to take a paint stick and squash it back down, all over the surface. It’s like a baker that punches down the bread dough after it has raised. The idea is to collapse the various air pockets so you get a more solid homogeneous layer of foam. It will be harder to cut and sand but the resulting surface can be finely sculpted to as perfect of a shape as your patience and attention to detail can stand.
Technically, the cured foam (it will take hours to cure) can be cut with an electric carving knife. Or a small saw. I also tried one of those camping saws that is a wire with a ring on each end. That actually worked quite well. I tried a wood rasp and was disappointed. For the finish sanding, I used 80 grit sanding disks on my random orbital sanding air tool. In the curved areas, I wrapped the sandpaper around a 1″ dowel. I think you could technically sand the whole thing with a block and your strong arms, if you are short on power tools. It will take time. It will make a mess. But you will like the result you can obtain.
Expanding foam applied. Before sanding.
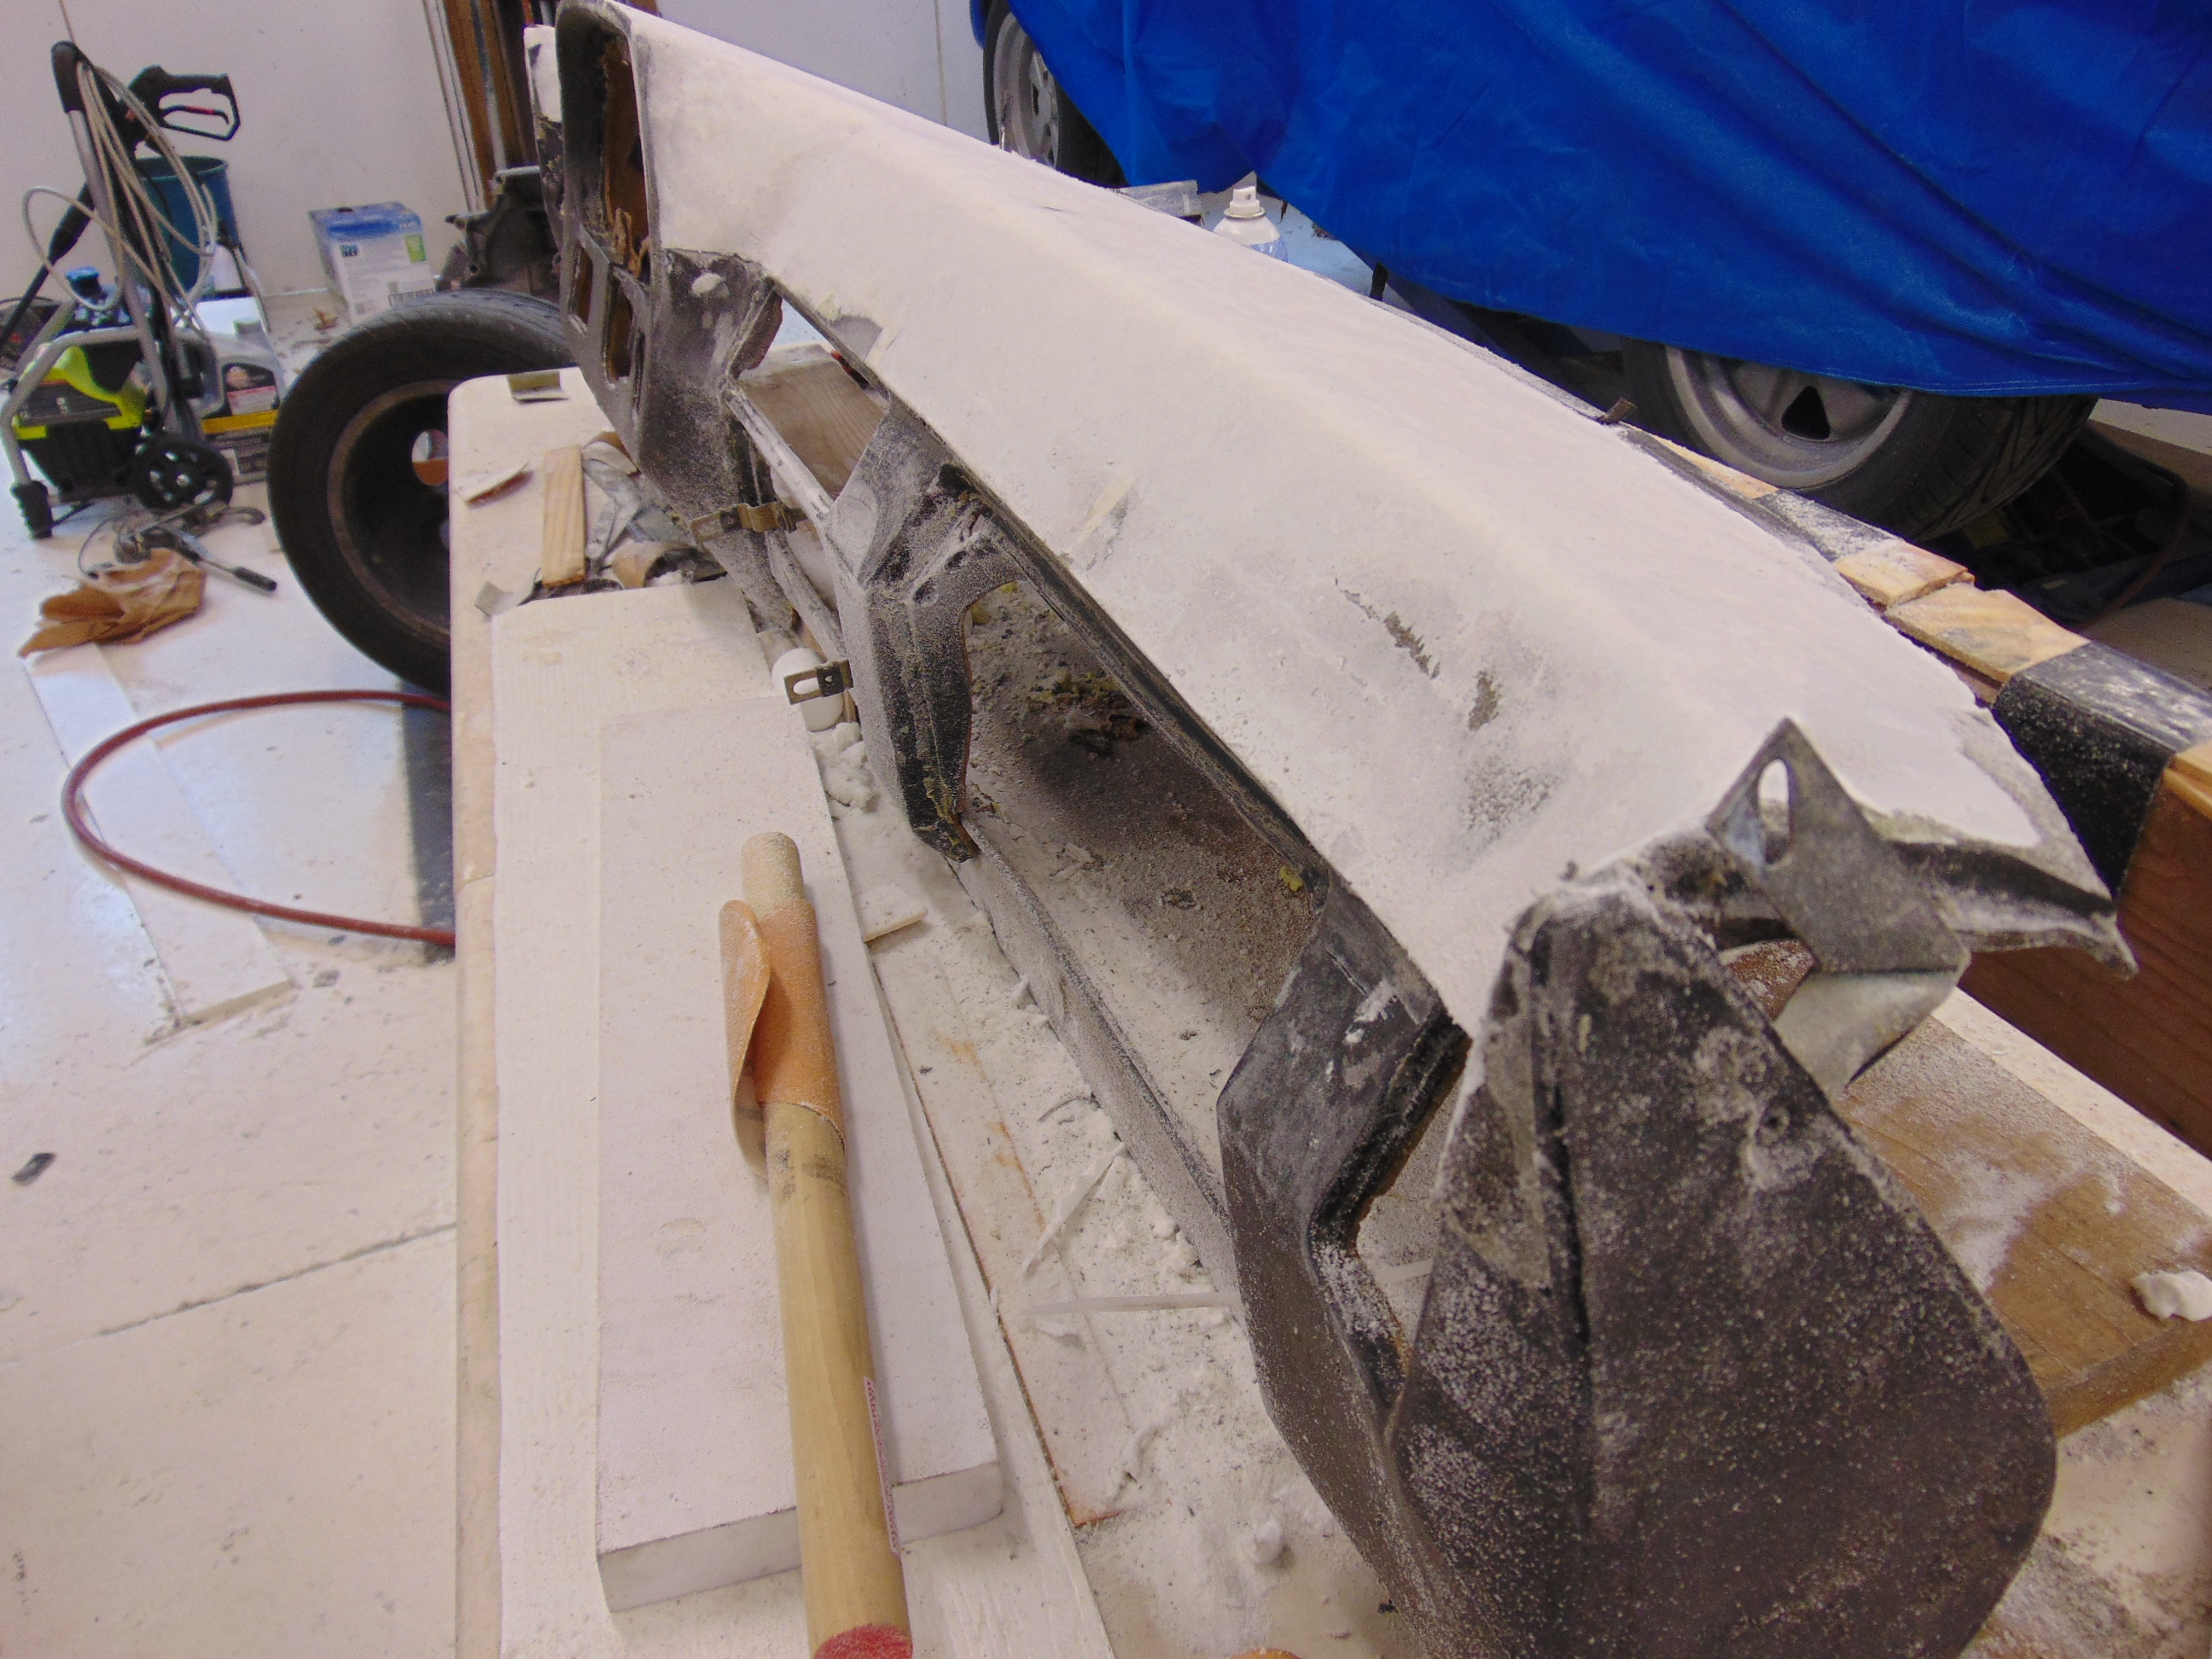
After sanding.
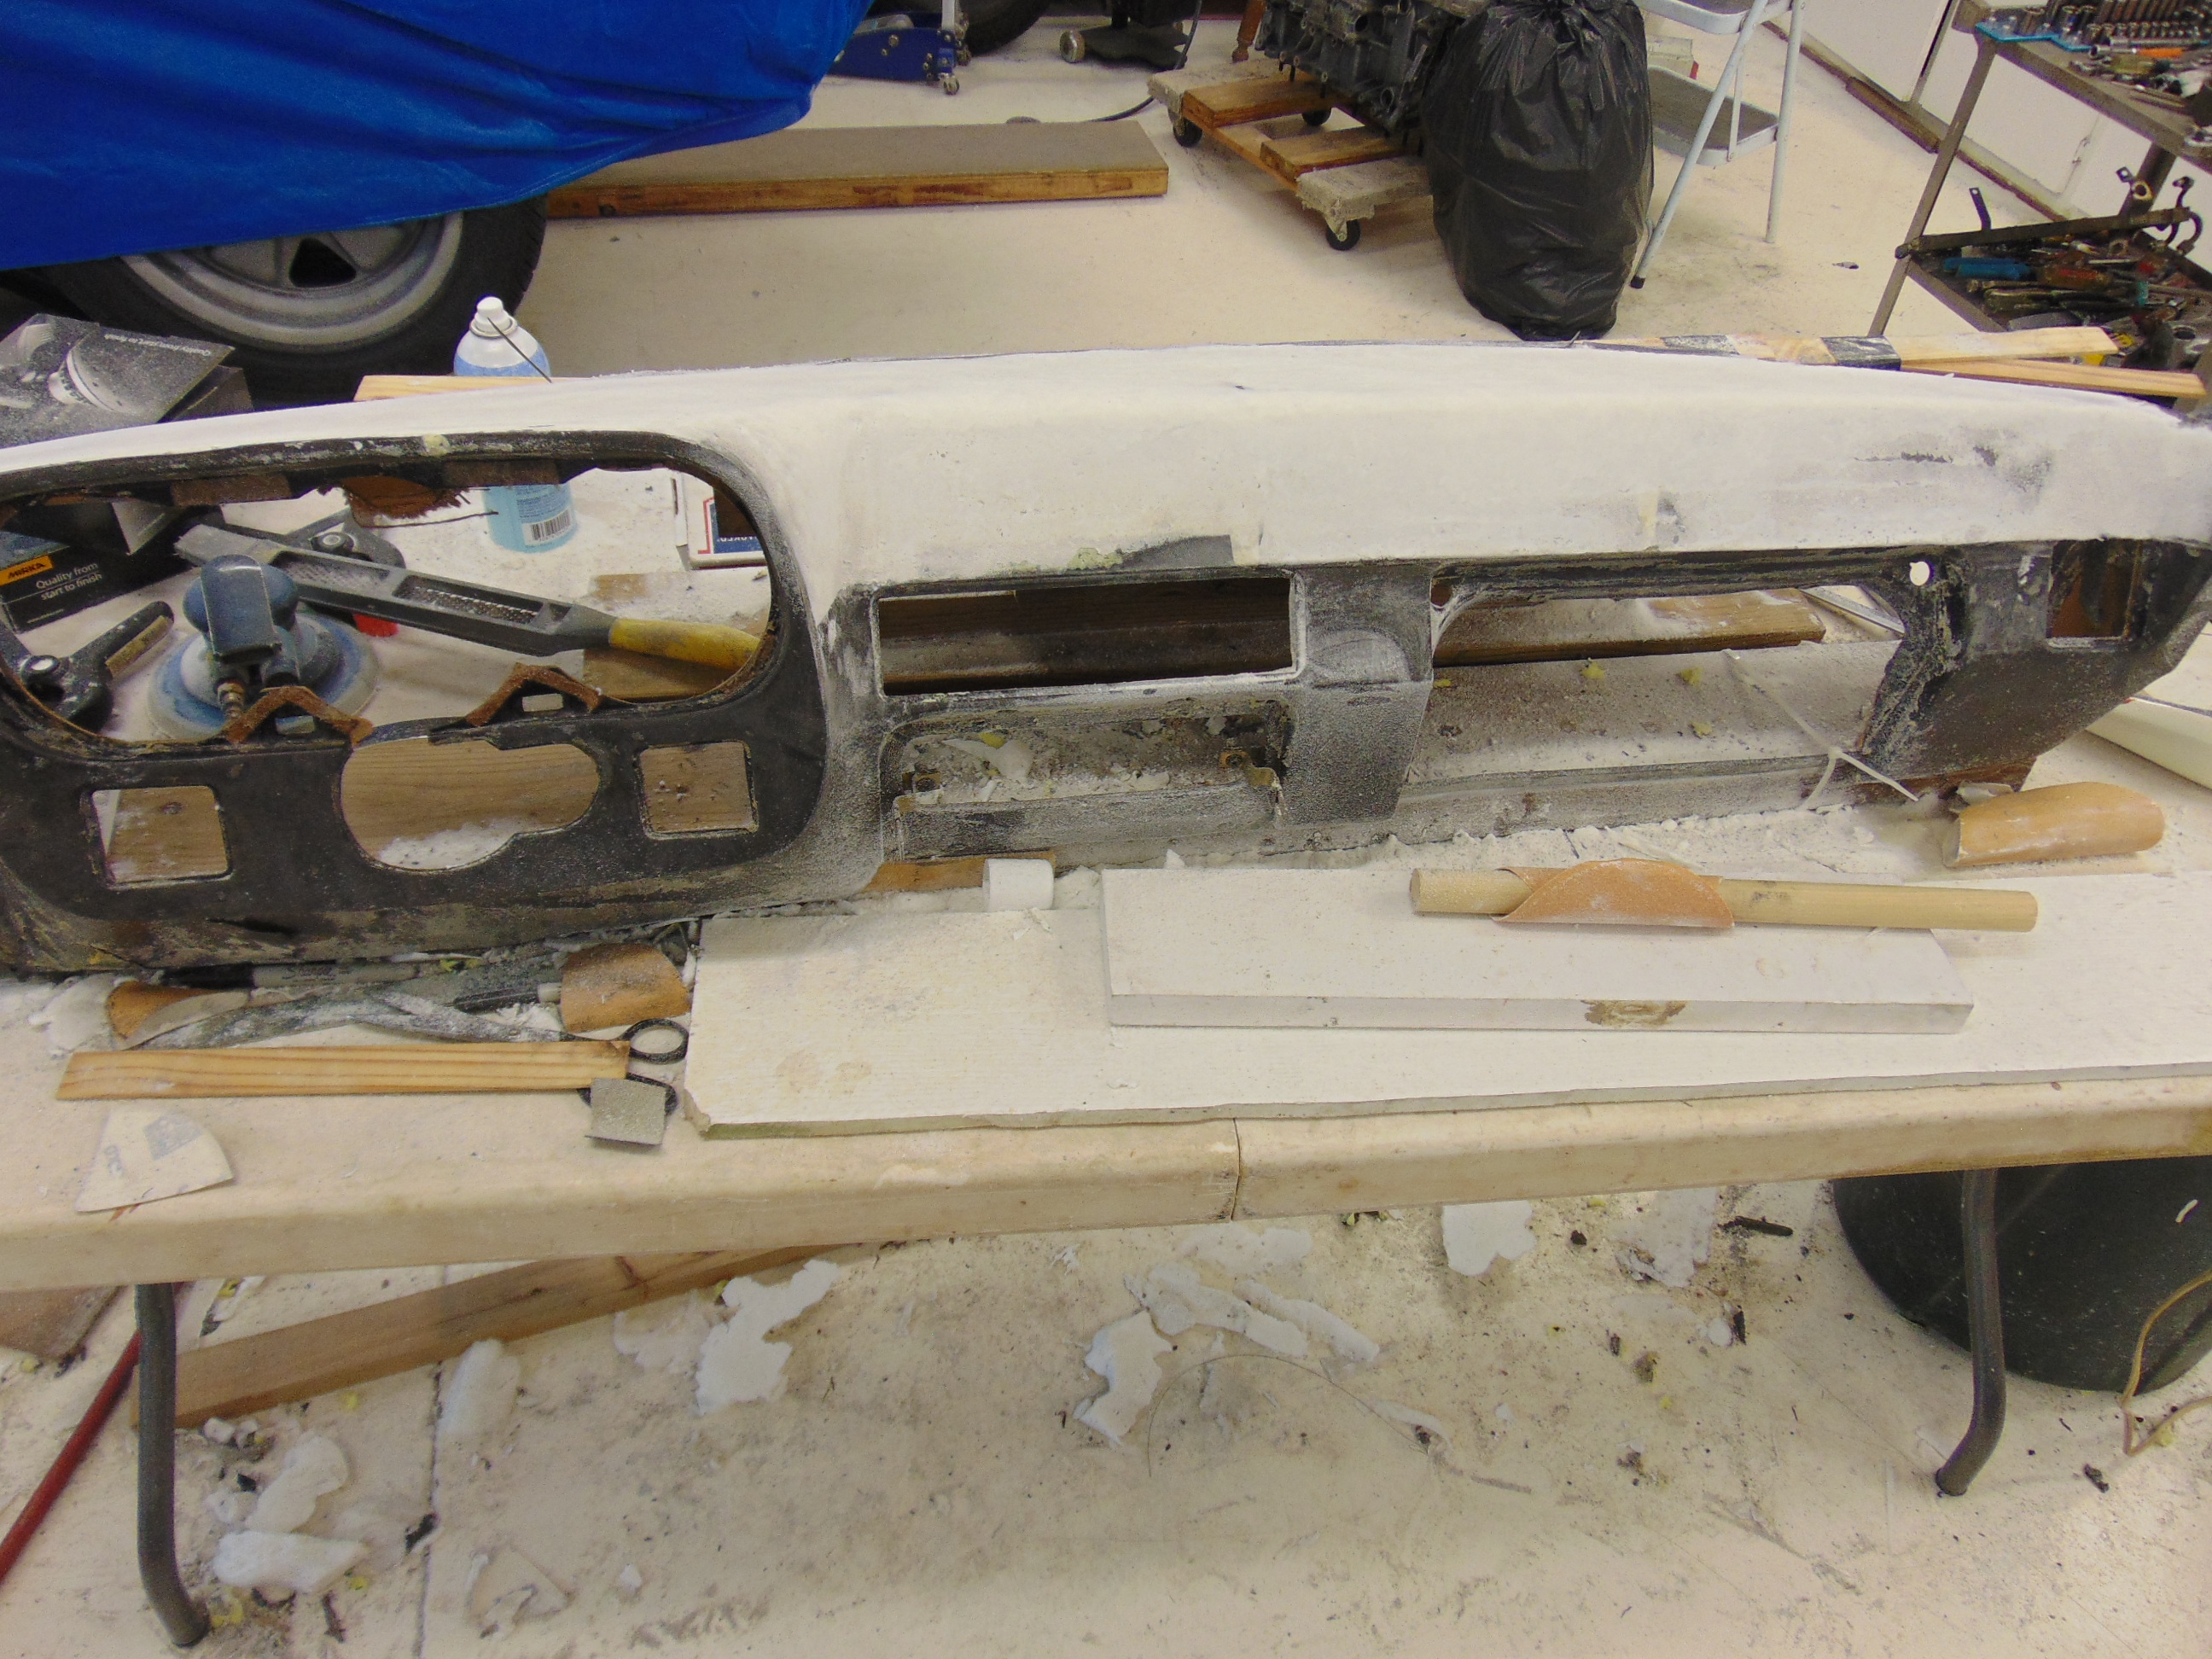

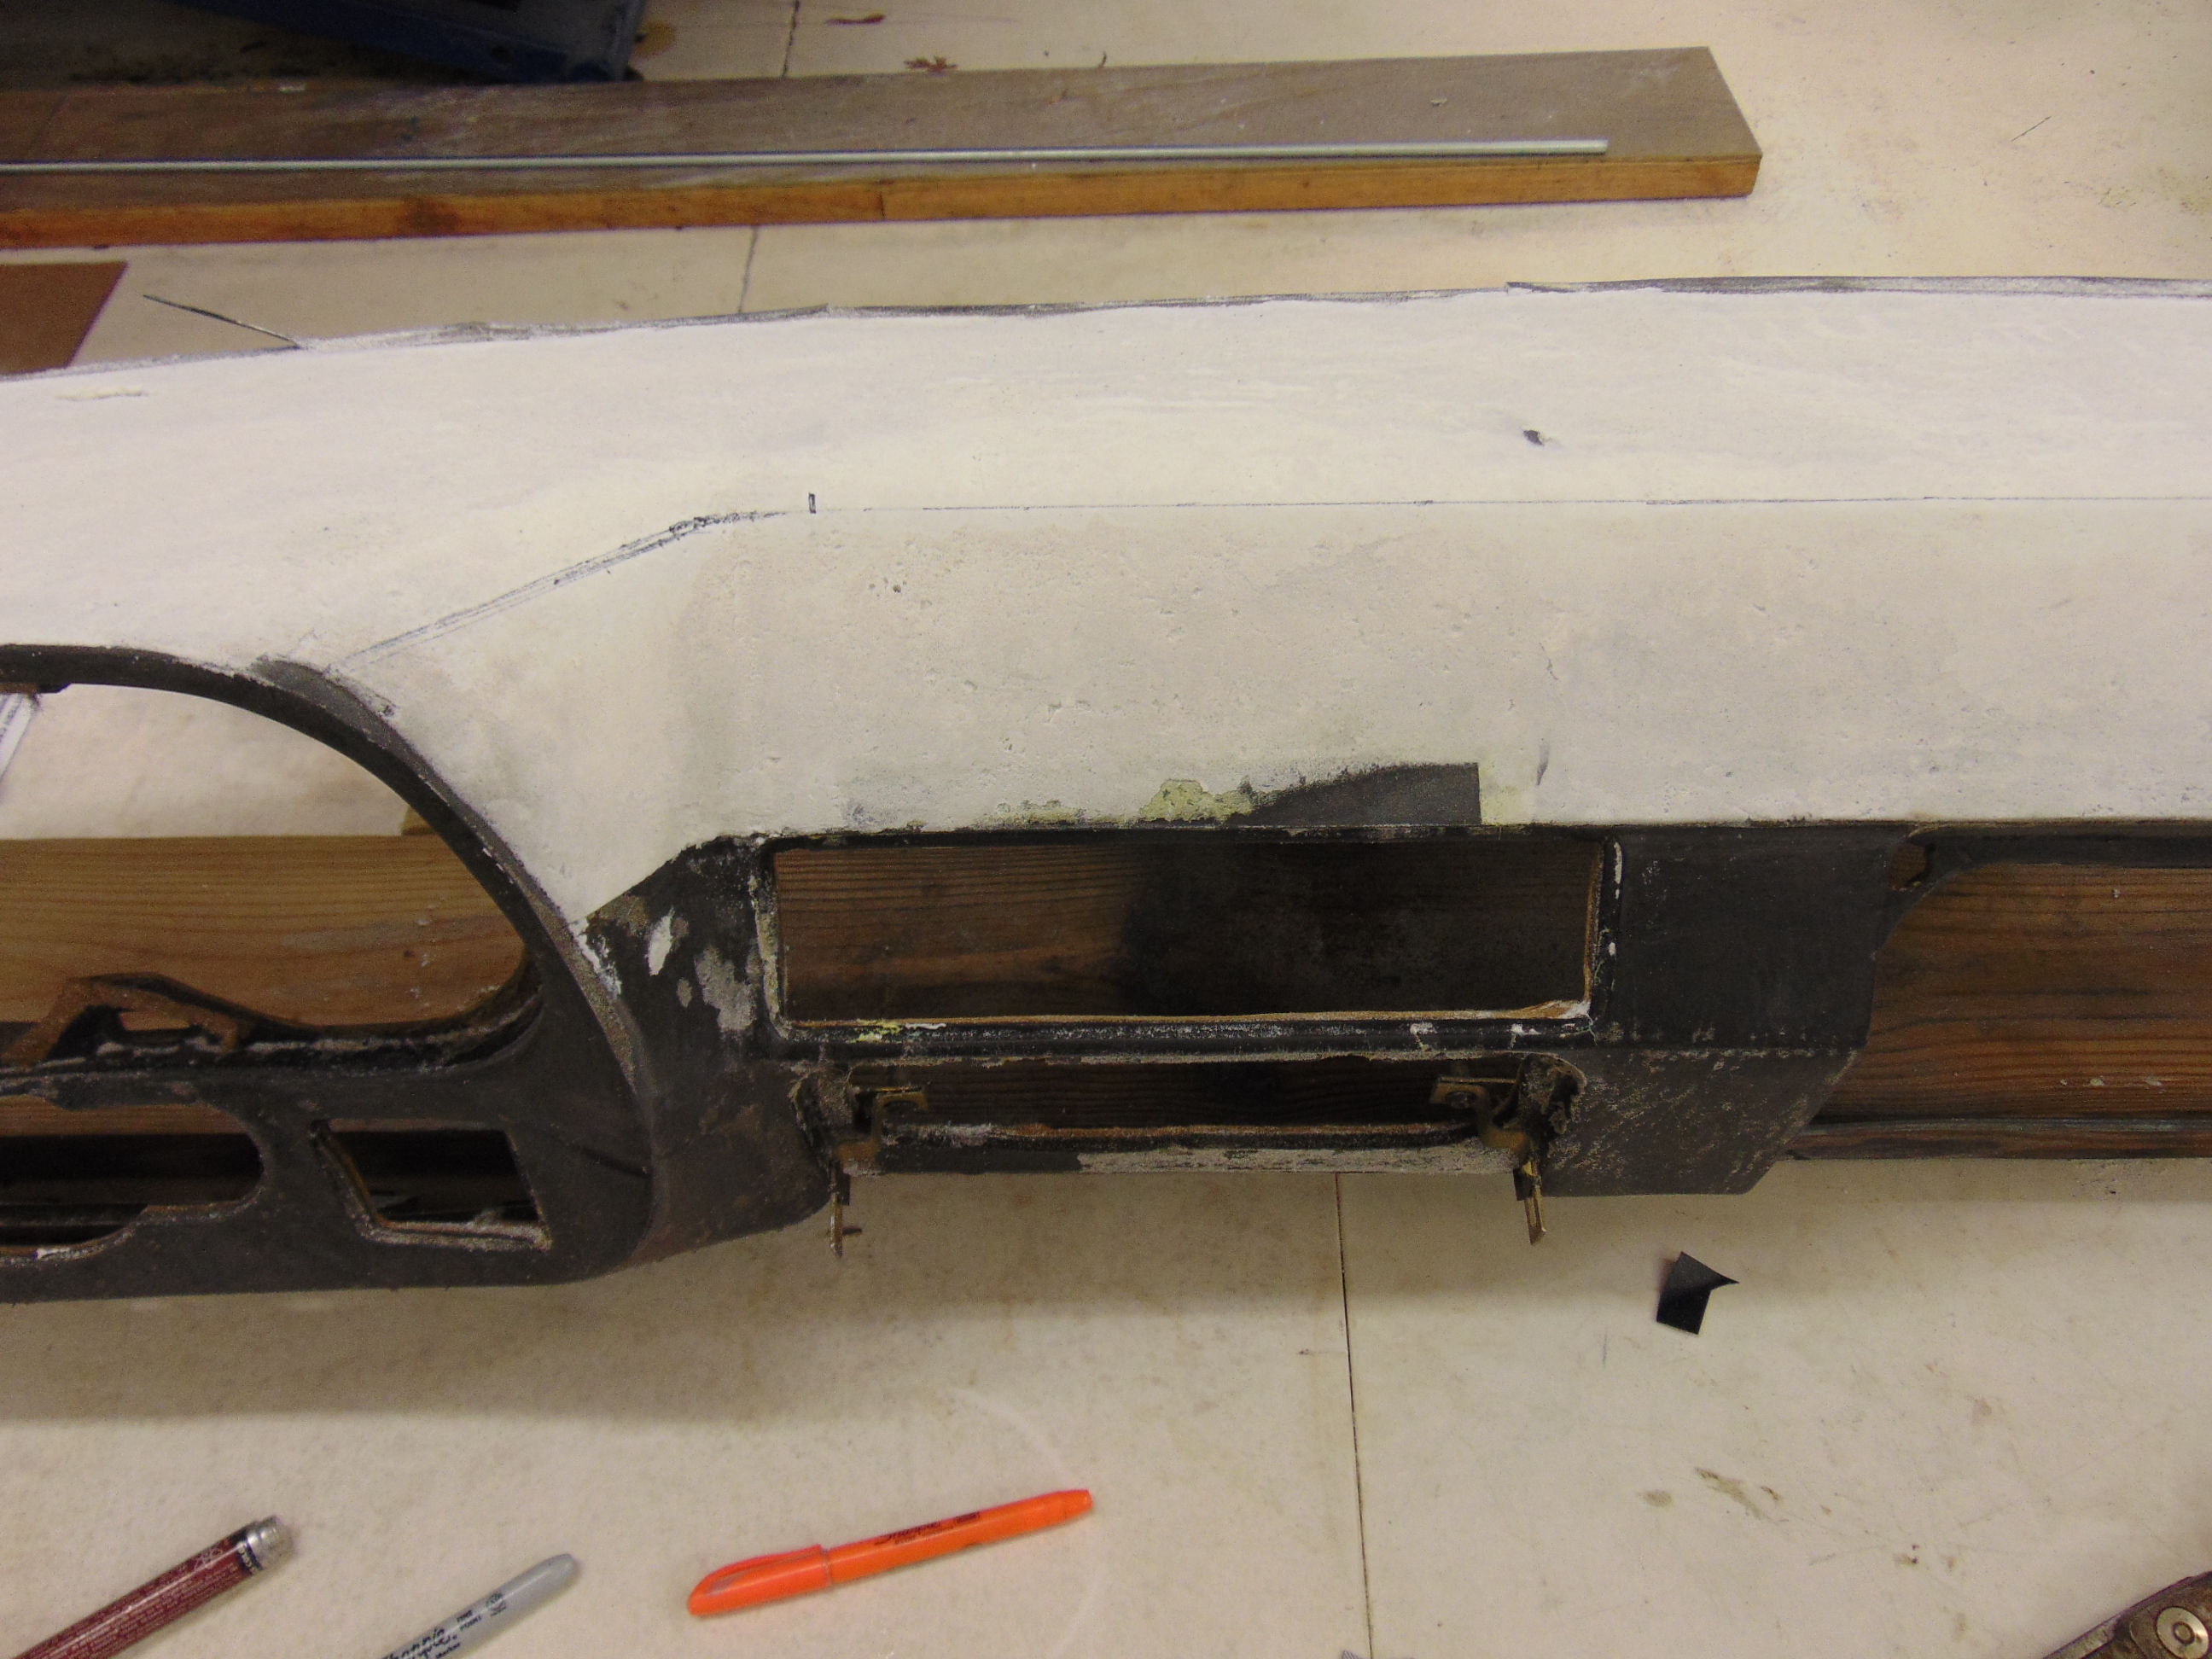
My goal was to leave none of the original surface, at least on the parts of the dash that are prone to cracking. To be clear, I did leave all of the original factory material below the top of the glove box door. These surfaces were in generally good shape and were not cracked.
So on to the vinyl repair. Marine grade vinyl is the best but I think more important is to match the pattern of your existing dash. As noted in the previous article, I found an existing heavy duty vinyl at Jo-Ann fabrics that was a very good match for the existing material. Take your glove box door in to use for purposes of matching. The code on the back of the material I purchased is PT542178. The good news is that this material is a good match from a pattern standpoint. The good news/bad news is that it has a fairly robust cloth backing. This is good from a standpoint of having a material with a stable surface. The bad news is that it is a PITA at the various openings where the existing plastic pieces go. I decided to finesse this issue. I used the heavy material on the top surface of the dash and down to a level even with the top of the glove box. At the level of the top of the glove box, there is a small “step” in the existing dash that makes a perfect place to provide a transition in material. For the vinyl below this level, I went with a thinner material with a nicely contrasting granular pattern, for lack of a better term. This thinner material worked out great at the openings. All of the various plastic pieces fit very well. Of course,if your existing material is in good shape, you may be able to use it as is. This change in approach also avoids having to make one continuous piece of vinyl cover the entire front face of the dash. Below the top of the glove box door, you can actually use 4 separate pieces, giving you a better chance to make each piece fit very nicely. BTW, I needed to cover the entire dash due to prior damage but if the material below the top of the glove box door is in good shape, there is no reason why you couldn’t use it as is. This would require a seam between the new and old material. You could hem the bottom edge of your new vinyl, either with a sewn edge or a folded and glued edge. I think it would be presentable, although certainly not OEM.

Thinner vinyl material used on the lower part of the dash where there are a lot of openings.

Thinner vinyl showing the backside with certain edges hemmed to give a neat appearance.

Hemmed piece being test fit into position.
The next “lesson learned” from my first effort was regarding “French seams”. An example of a French seam is shown in the photo below.

French Seam
When done right, it is pretty and also has the advantage of holding the material folded back on itself at the seam very securely. My problem with the French seam is that it is very difficult to sew the 2 additional seams precisely. I find if they are uneven it will catch your eye later as being a little bit “off”. Trust me, it was hard to get the 2 seams exactly uniform. After trying a few times to get it right, I decided life is too short. I gave up on the French seam concept. I suspect that at the factory, they have a dual needle sewing machine that improves the process dramatically. Not to mention that after you’ve done it a few thousand times, you probably get pretty good at it! I did have to to glue the material on the back side of the seam to get it to lay flat.
So speaking of seams, go ahead and mark a line on your dash where you would like the seam to be. This will be your guide when preparing the 2 vinyl pieces that go on either side of the seam.
Mark a line where you want your seam to go.
A long straight section forms the majority of the dash. Things get interesting at the curved sections on either side of the dash pod. Also make a vertical mark somewhere along the line to use to line up your vinyl laterally. The way I did it was to start with the flat piece that goes on the top of the dash. I started with a generously oversize piece. After laying it flat on the top of the dash, carefully transfer the line on your dash where the seam will go to the back of the vinyl. Take the piece off and mark a second line 1/2″ from the seam. In general, 1/2″ is your “seam allowance”. You can cut along this line, leaving exactly a 1/2″ from the cut edge to the actual seam. Lay this piece aside and now lay out the vertical piece that will go down from the seam to just below the top of the glovebox. Again, be generous on all the edges. Transfer the line of the dash to the back side of the piece. Remove it and mark off a seam allowance of 1/2″.
If you’ve done any sewing, you know that you lay the “good sides” of the 2 pieces together and sew your seam from the back side. If you laid out your 1/2″ seam allowance carefully, you can sew along the seam line that you can see and when you turn the piece over, you will have also sewn along the seam line on the back side. The heavy vinyl will not want to fold back on itself at the seam very readily but make an attempt to test fit it on the dash. If everything is looking good, you can use contact cement to glue the seams back on themselves to make a fairly compact seam that will lay down nicely on the dash. Repeat the above steps for the much shorter seam section to the left of the dash pod. Shorter but technically more difficult because of the extreme radius and changes in contour. This is the seam that I screwed up badly on my first job.
You will find where the seam passes over the front of the pod and underneath, it will be quite lumpy. You will also find that you need to make an abrupt change in the direction of the seam at this point so that when it wraps around the front, it lays in correctly. To ultimately make this seam look decent, I had to “fake it”. I wound up terminating the sewn part of the seam right at the point where the seams transitions over the front of the pod. After the material adjacent to the seam was glued in place, I came back and “mitered” the joint with a sharp knife and just glued the 2 edges together. It came out quite nice this way.
Seam at dash pod before trimming.

Seam at dash pod after trimming. To get this look all material behind the seam was removed, the stitching was removed, and the 2 edges were carefully cut with a sharp knife, mitred and glued together.
Don’t feel bad if you don’t get your vinyl pieces right the first time. Buy 2 or 3 times more vinyl than you think you’ll need because if my experience is valid, you will wind up throwing several attempts in the trash before you get it right.
So my next hot tip is “basting spray”. My wife turned me on the this. It is basically a version of quick drying contact cement that doesn’t totally set up. I used the basting spray to adhere my vinyl locally along the seam. It allows you to move and/or totally remove and reset the piece until you get it looking nice and straight along the seam line. You will want to really concentrate on getting the seam line as straight and uniform as possible. Once you have it right, you can go out to the 2 opposing edges and permanently gluing down the vinyl with regular contact cement.

By it very nature, the 1/2″ strip on either side of your seam is double thickness of the rest of the piece. I dealt with this by covering the bulk of the area under the vinyl with thin foam sheet, which I also found at Jo-Annes Fabric. I left a 1″ wide strip with no foam along the seam. This helps quite a bit to disguise the impact of the additional material thickness at the seam.

Thin black foam applied with a strip left free to accept the double thickness of the seam.
So at this point, I was pretty far along. Laying in the granular vinyl at the level below the top of the dashboard went in a pretty straightforward fashion. I had to make a few seams at the lower curved area just above the bottom edge of the dash. Since these areas aren’t so obvious, I decided to go with a glued overlapping joint, rather then sewing.
One item that was addressed was the opening for the defrost vents. I had previously purchased a very nice piece from Rob Budd Upholstery to replace the plastic vent pieces from the original car. I placed the vent strip into place, marked the openings, and carefully cut them out.

Vent strip being laid out.
Eventually, the entire dash was covered and it was time to start thinking about putting it back in. I will digress from the pure upholstery aspects of the job to talk about the poor physical condition of my center console. All I can say is 30 year plastic is either already cracked or fixing to crack. I wound up having to add significant aluminum reinforcing brackets to the back side of the console to make it structurally sound again.

Re-assembly of the center console is a little bit of jig saw puzzle to get everything back in in the right order. Having just done this job, multiple times, over the last few days, here is the general re-assembly sequence.
- Place the console in its general position
- Hook up the plug for the heater fan
- Route the wire/plug for the sunroof switch and speaker fader switch into general position
- Continue to push the console closer to it final position. Line up the heater control lever bracket and screw into place (2 screws on its front edge)
- Check all the various wiring harness/plugs to make sure they will be accessible as you install the various sub-panels and controls.
- Install the various screws that hold the console into position. 2 at the rear under the ashtray. 2 at the front top (left and right). Two at the front bottom (left and right).
- Grab the upper sub-console (clock, A/C fan knob, oil pressure gauge) and insert the sub-harness with the 2 light bulbs that go into the rear of the sub-console.
- Pull the wires for the cigarette lighter through the center oblong opening and the plug for the brake fault indicator light through the right hand oblong opening.
- Plug in the fog light switch.
- Place upper sub-console close to position and plug in the clock, A/C fan, and oil pressure gauge connections.
- Place the sub-console in it final position and install screws. 4 total.
- Install the faceplate over the heater control area. Insert 2 screws on the bottom edge. Install the knobs and levers.
- Install your radio if you have one.
- Install the ashtray.
- Refit the shift lever boot.
Whew! You’re almost done. If you haven’t already done so, install the left, center, and right hand vents. Install the hoses to the left and right vents. Install the glove box. Note, even after a lot of preliminary bench testing of the fit of the glove box into the overall dash, I found I couldn’t quite get the horizontal bend line in the glove box to match the comparable line in the dash. Very frustrating. I’m not sure how Porsche did this install and got it looking right, in an assembly line environment.
So after several weeks of effort, I was done. I am generally happy with my revised efforts. The vinyl, while still not perfect, lays much smoother. The glove box fit has been dramatically improved. The single sewn seam is straight and pleasing to the eye. The plastic inserts in the dash fit much better. And I made some significant structural improvements to the center console. And I have the satisfaction of doing it myself, saving money, and improving the overall cockpit ambiance of my 944 street/track car.


Spring clips that release the side air vent pieces.
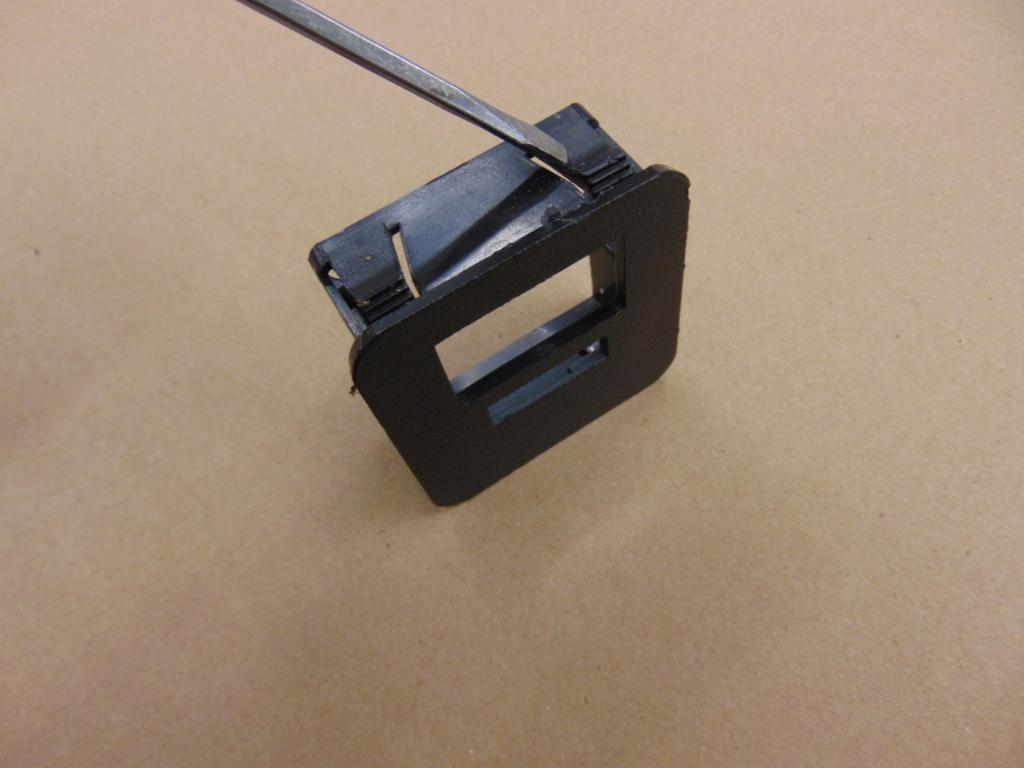
Spring clips for the headlight switch bezel.

Discussion
Comments are closed.