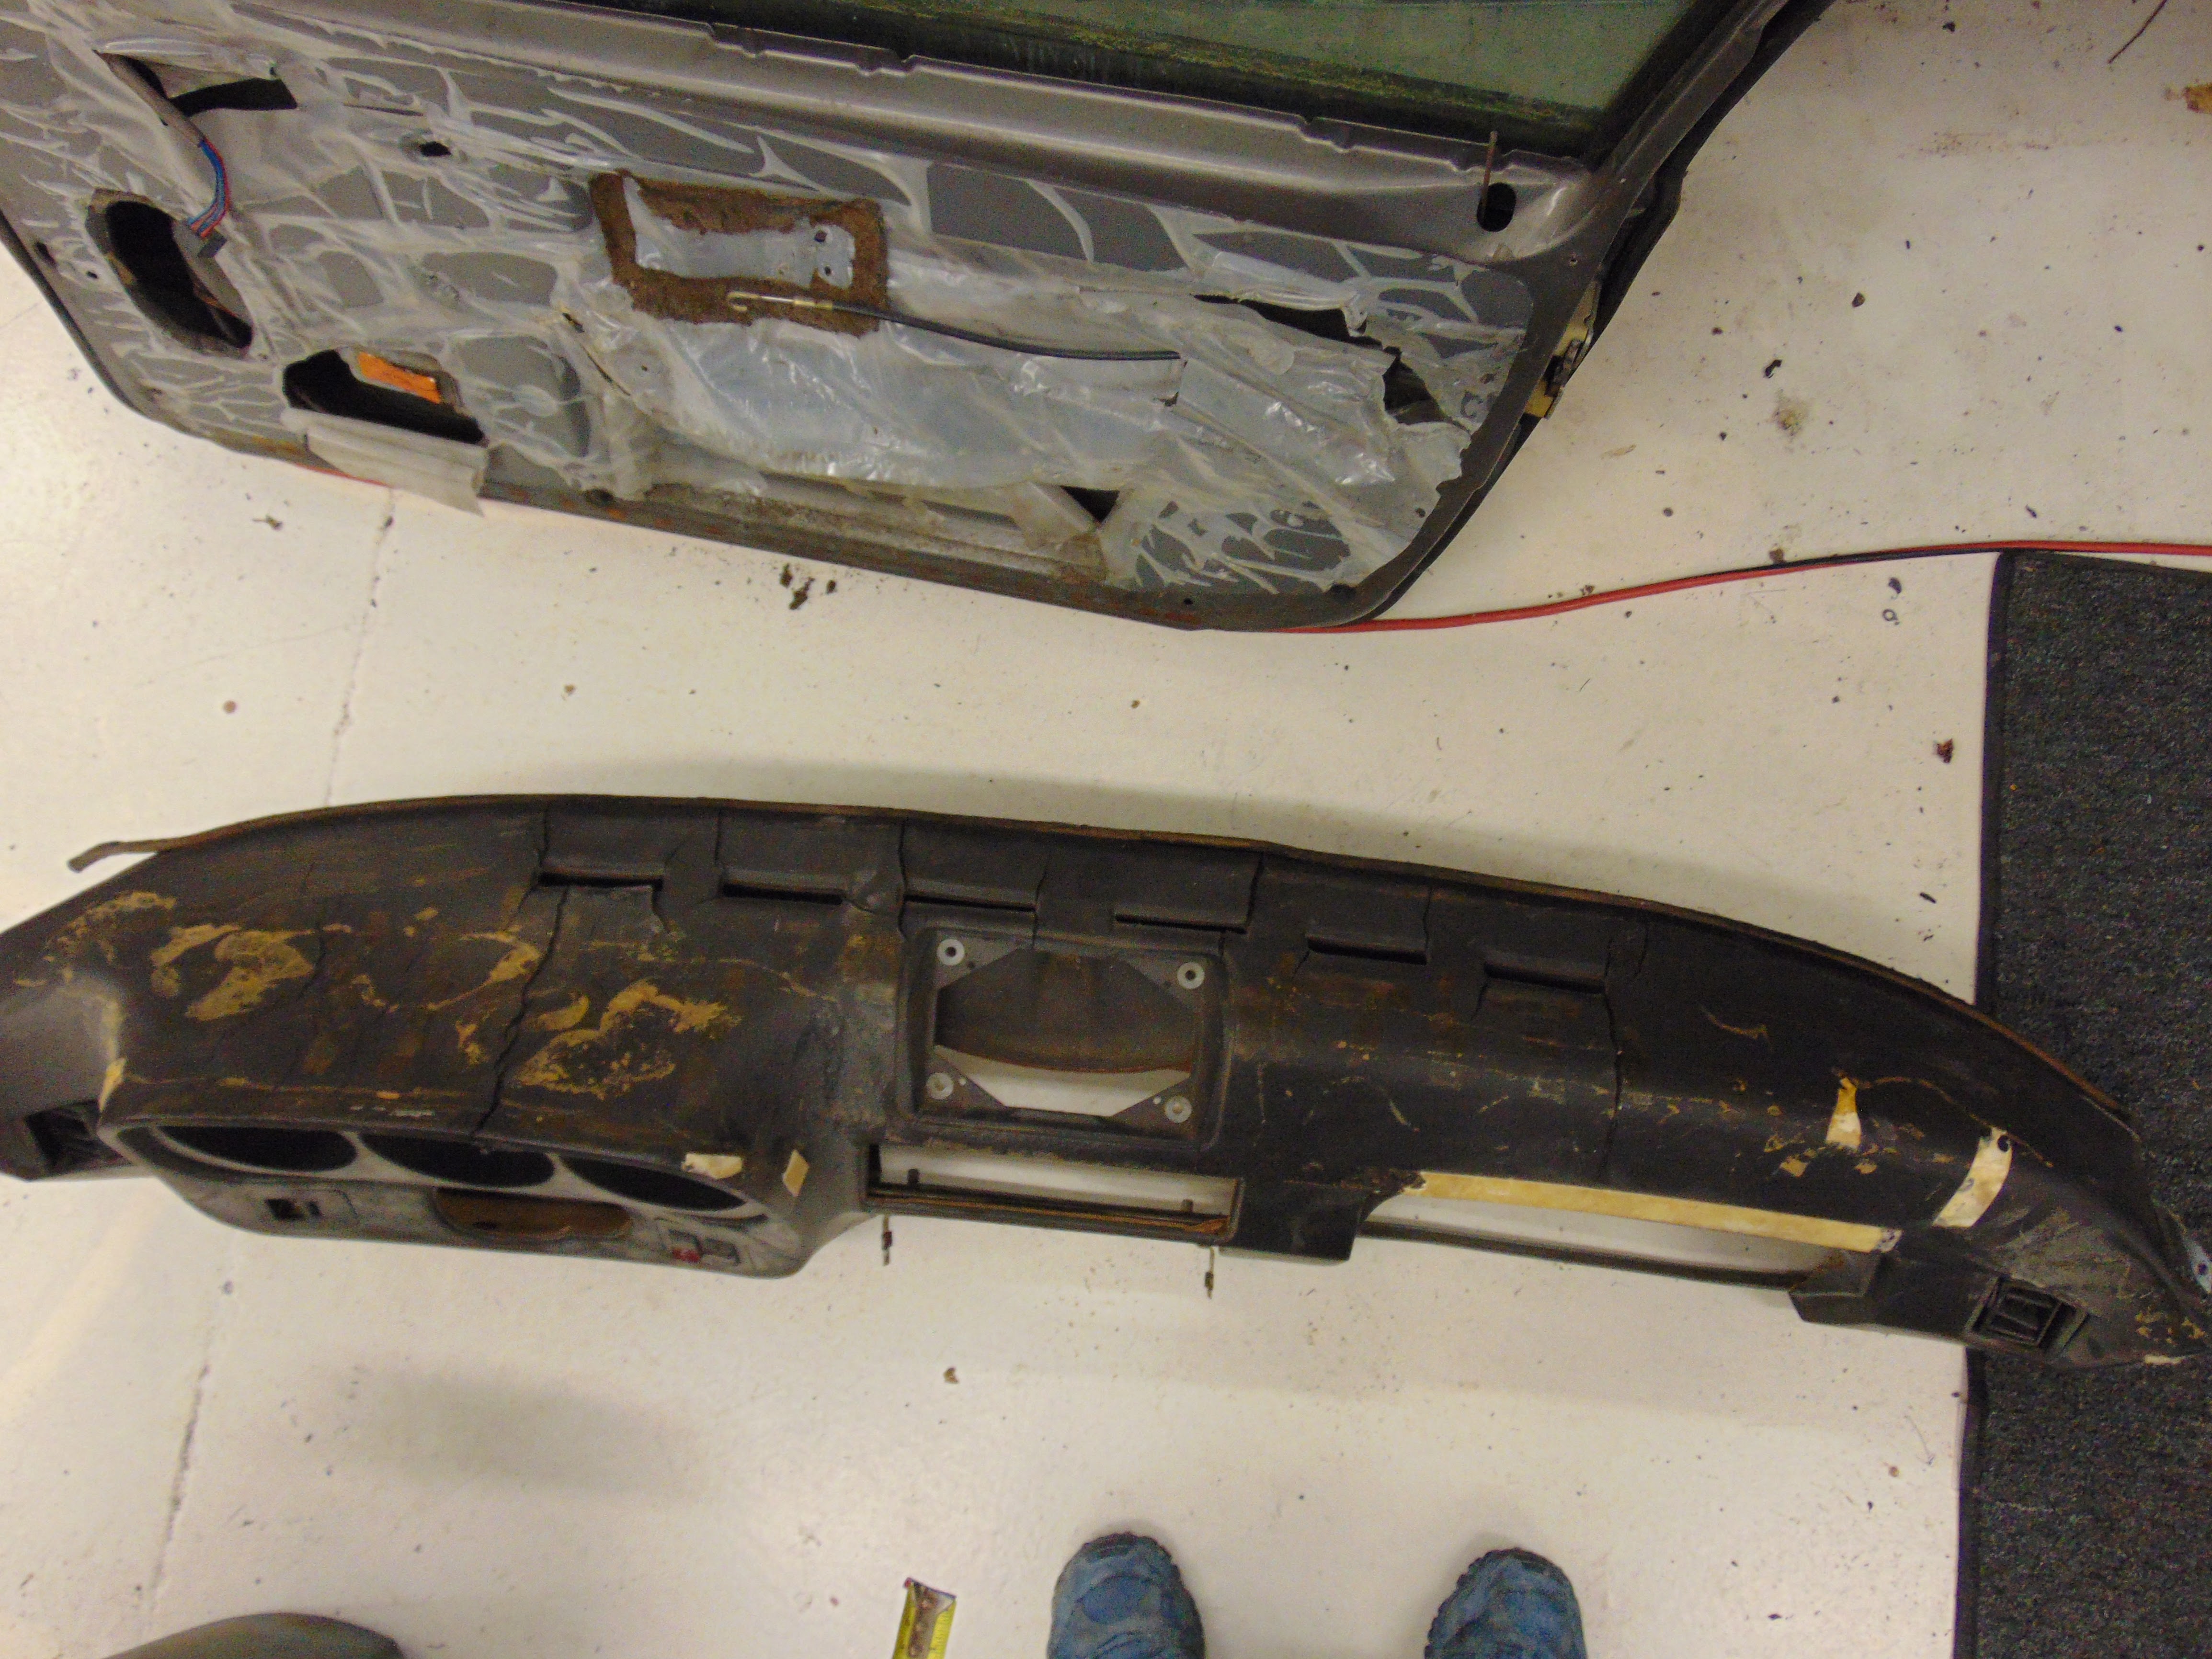
The dash on the Porsche 944 was in truly frightening condition. It had numerous cracks in all the usual places and then some. At some point, someone had obviously attempted to cover the damage with an overlay, as there many remnant areas of double sided tape. So something had to be done.
Apparently reproduction dashes are hard to find. If you are going to go that route, you might want to check with 924werk in Germany. But they are quite expensive and not within my budget for this build. Having done some work on my dash for my 928 (see article here) I had some ideas about what I would find and how to proceed.
First the dash was removed from the car. There are actually just 5 screws that secure the dash but there are a lot of electrical and HVAC connections to be released first. After I got the dash out on the workbench, it was time to asses the damage.
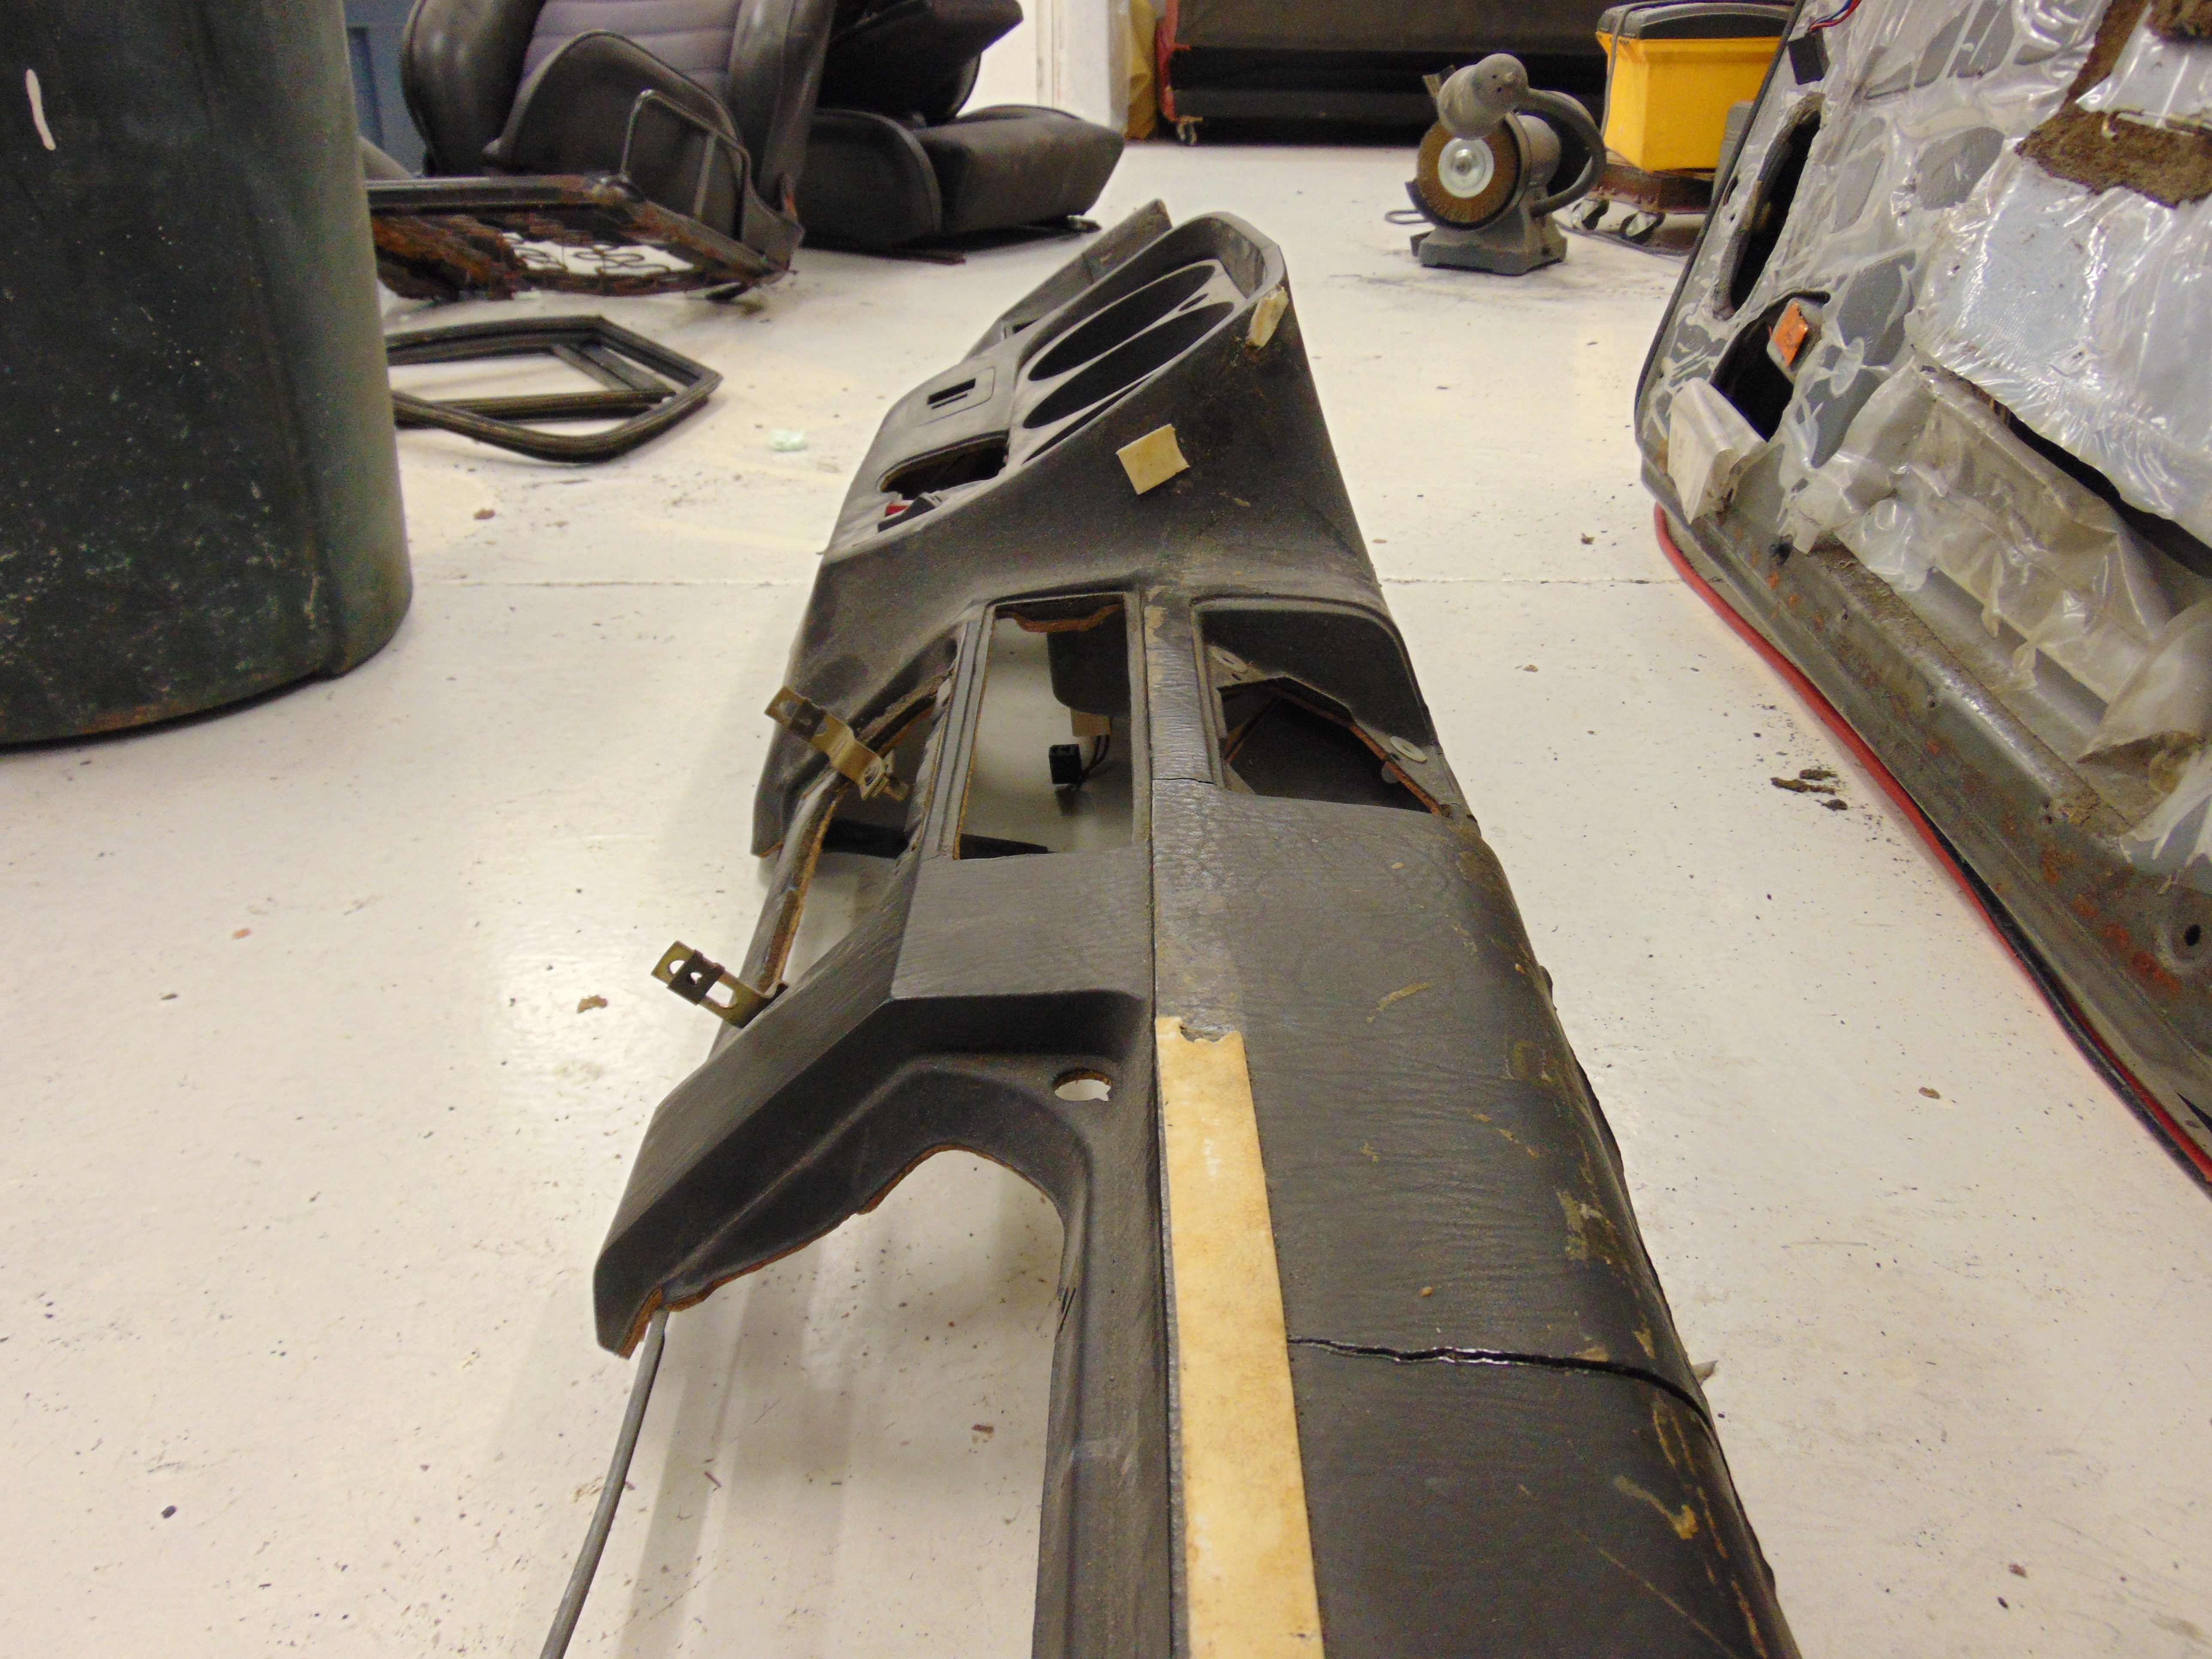
The 944 dash appears to start with a rough underlayment formed out of a thick paper type material. I think the paper must have been wet and sprayed into a mold, as it is actually a pretty complex shape. It would appear that a foam material is sprayed on top of the paper. The final step is a thin layer of vinyl material. It is quite possible that the vinyl was sprayed first, into a mold, followed by the foam, and then the paper. After 30 years the foam is quite brittle and I suspect its shrinkage causes the vinyl to crack. My plan was to recover the entire dash with vinyl. Not OEM but certainly presentable for a track car. I first used a rotary grinding disk to remove the most heavily damaged areas. In same cases, the original vinyl can just be pulled off in strips. The rotary disk threw a generous layer of black dust around the workshop!

I removed much of the vinyl and foam on the flat horizontal area of the dash.
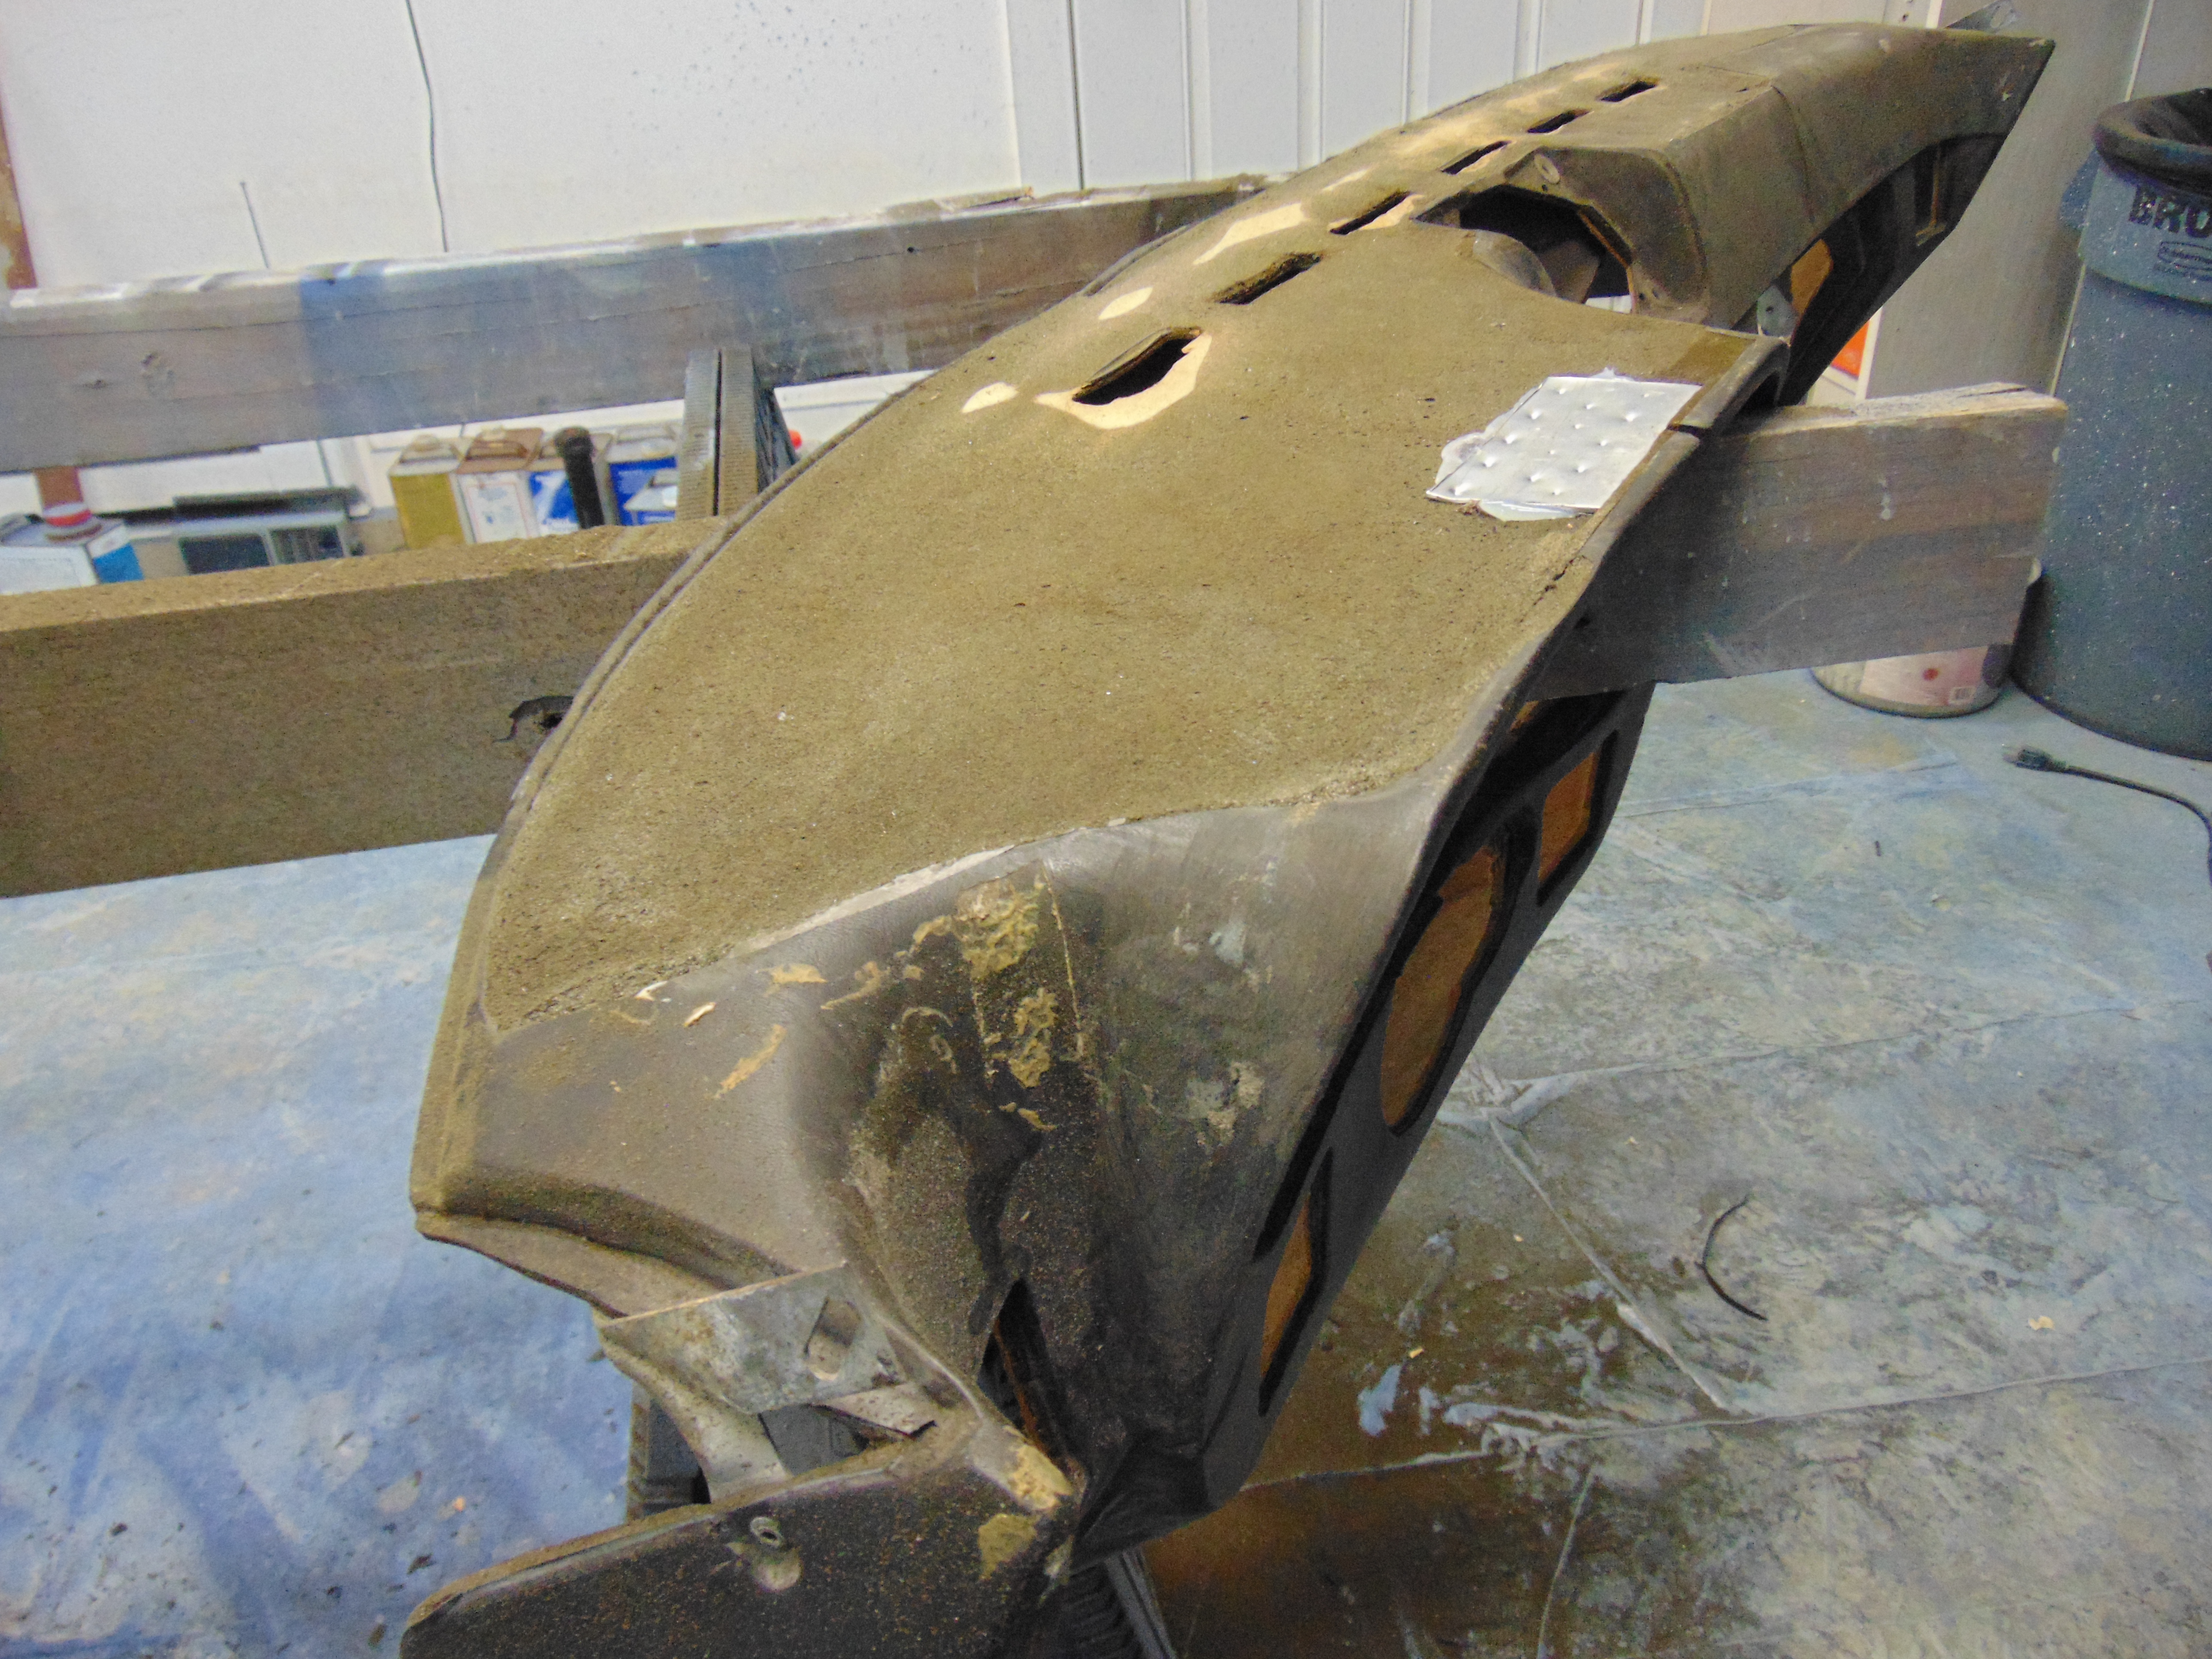
The shiny area is a metal plate added to reinforce a particularly cracked and weakened area.
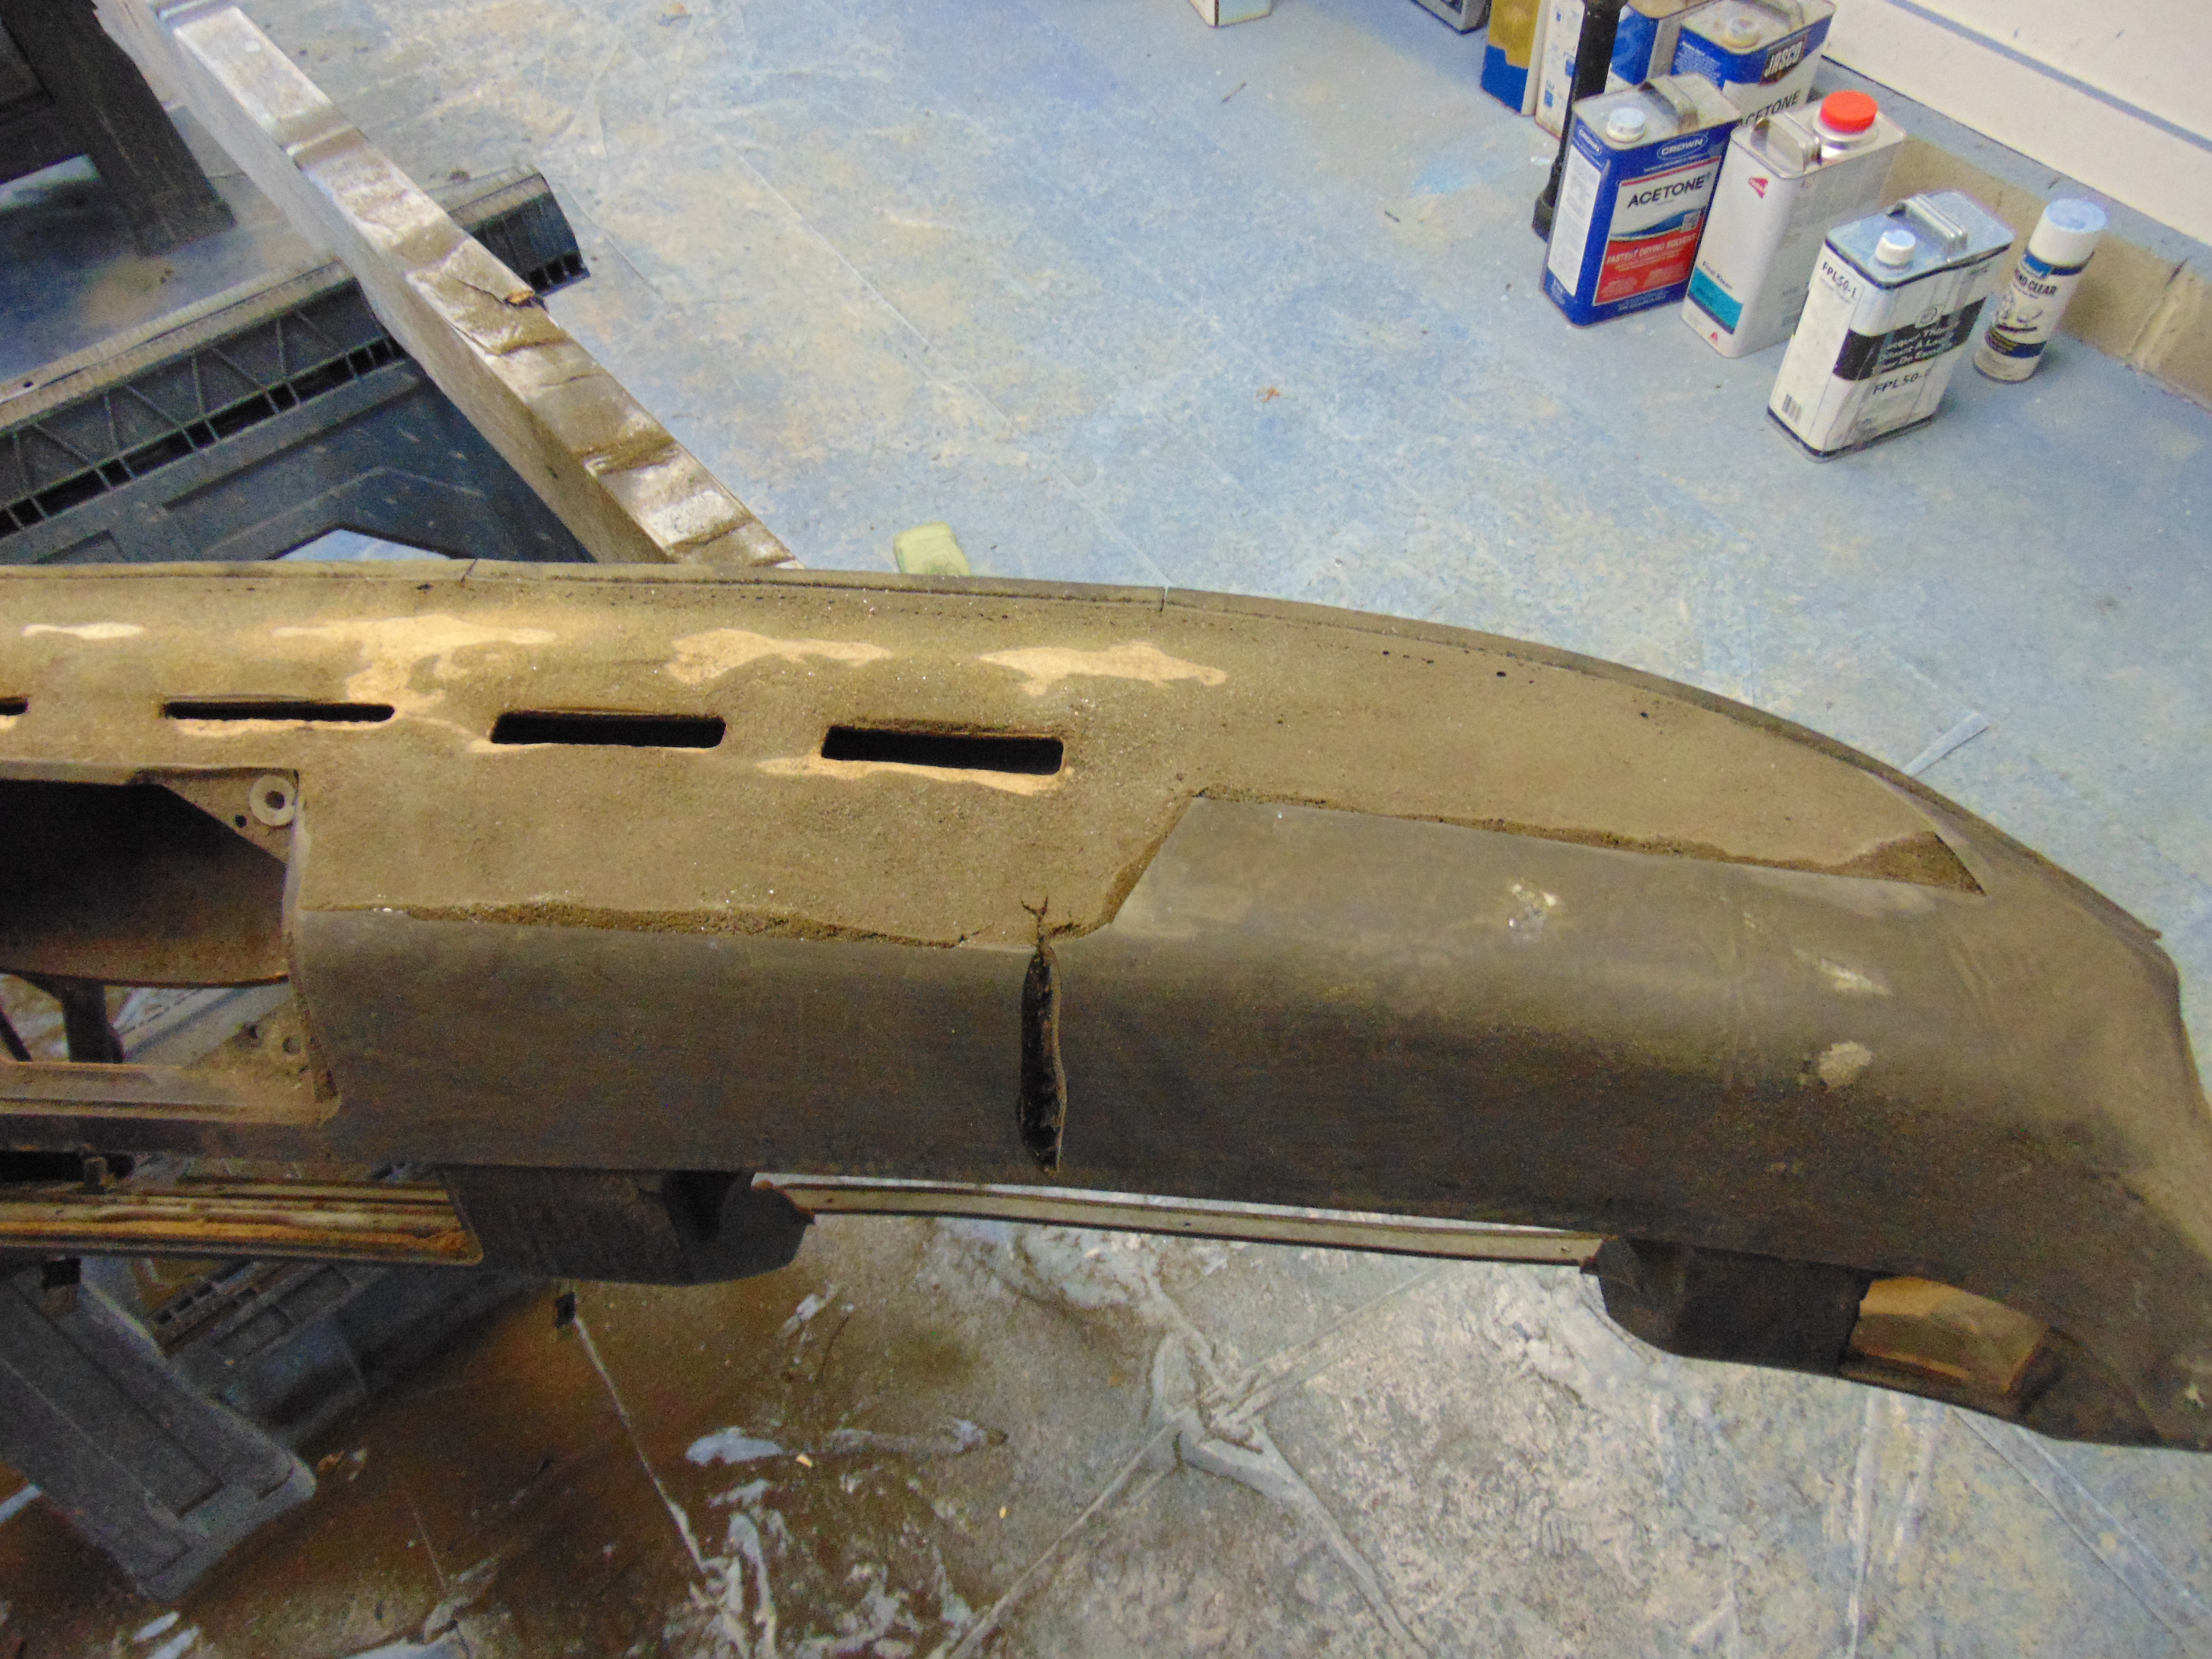
At the vertical crack, just a V groove of material was removed.
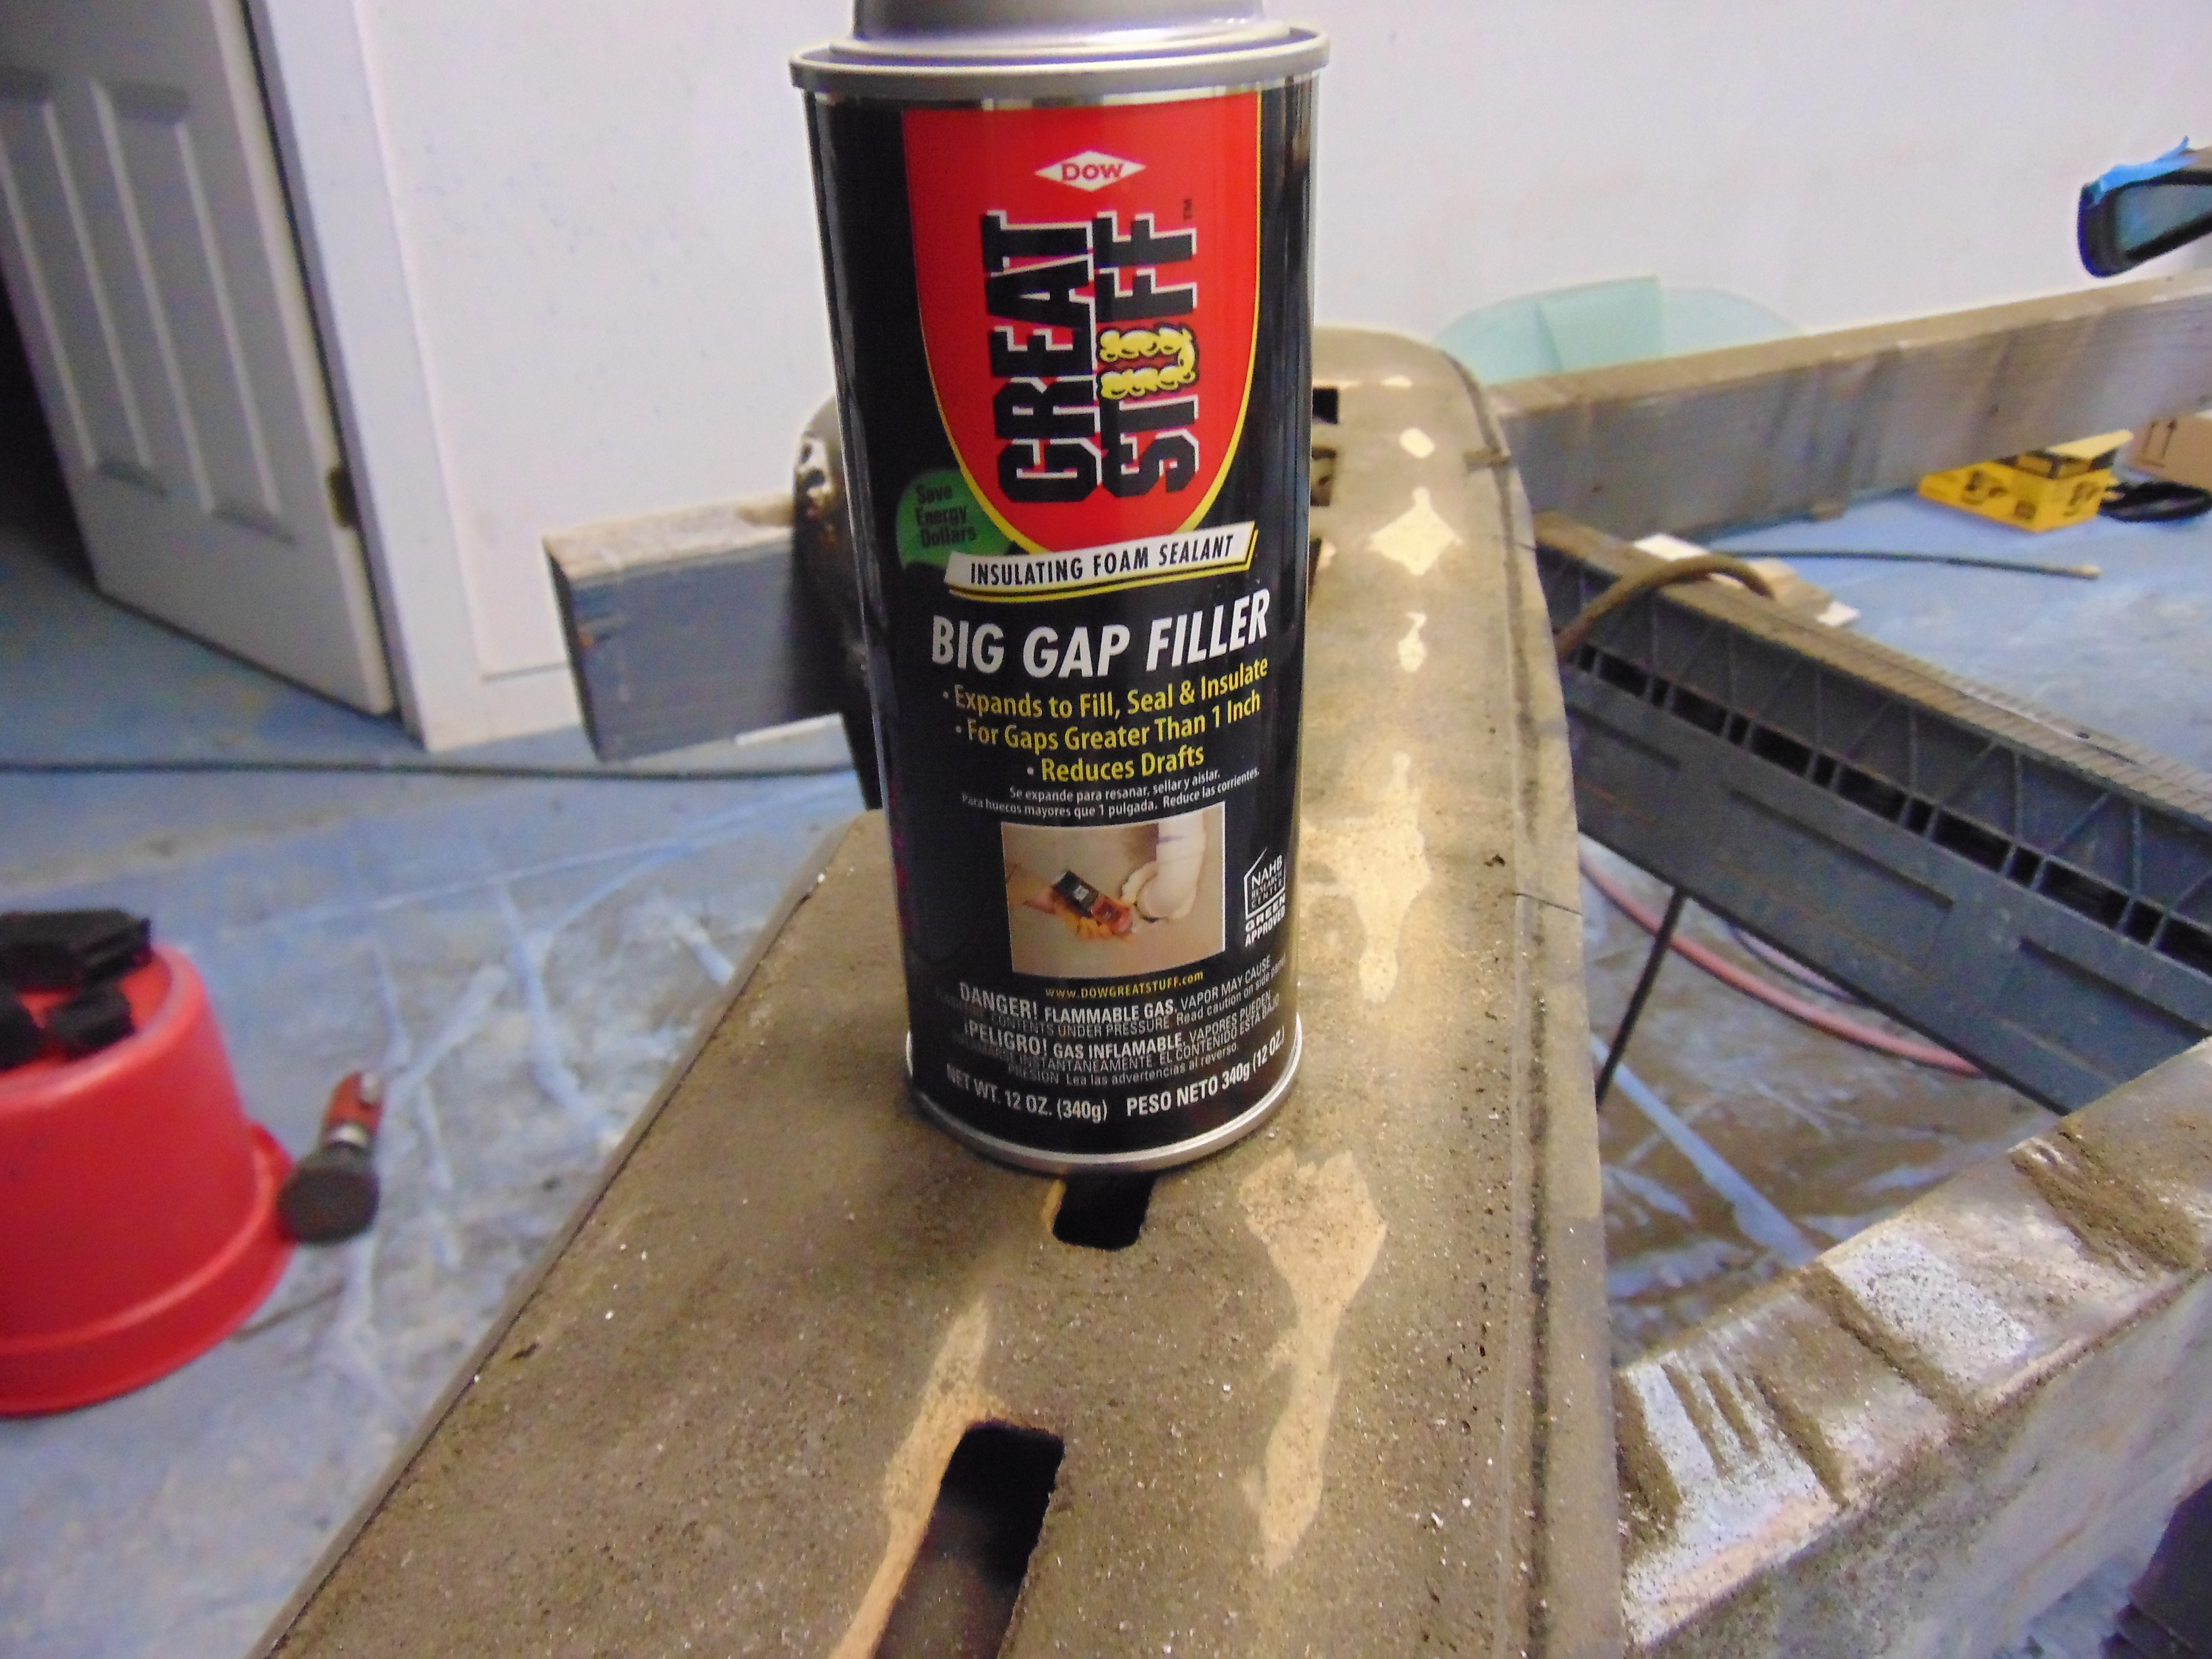
Now for the fun part! I used expanding foam to build the surface back to the proper profile. Below are some progress pictures. I found that the Locktite foam (purchased at Home Depot) dried to a more dense consistency and provided a superior surface for laying in the new vinyl.

I liked this foam the best! It shows as white in the photos.
This foam dried to a softer less dense consistency. It shows a yellow in the photos.

Foam just added.
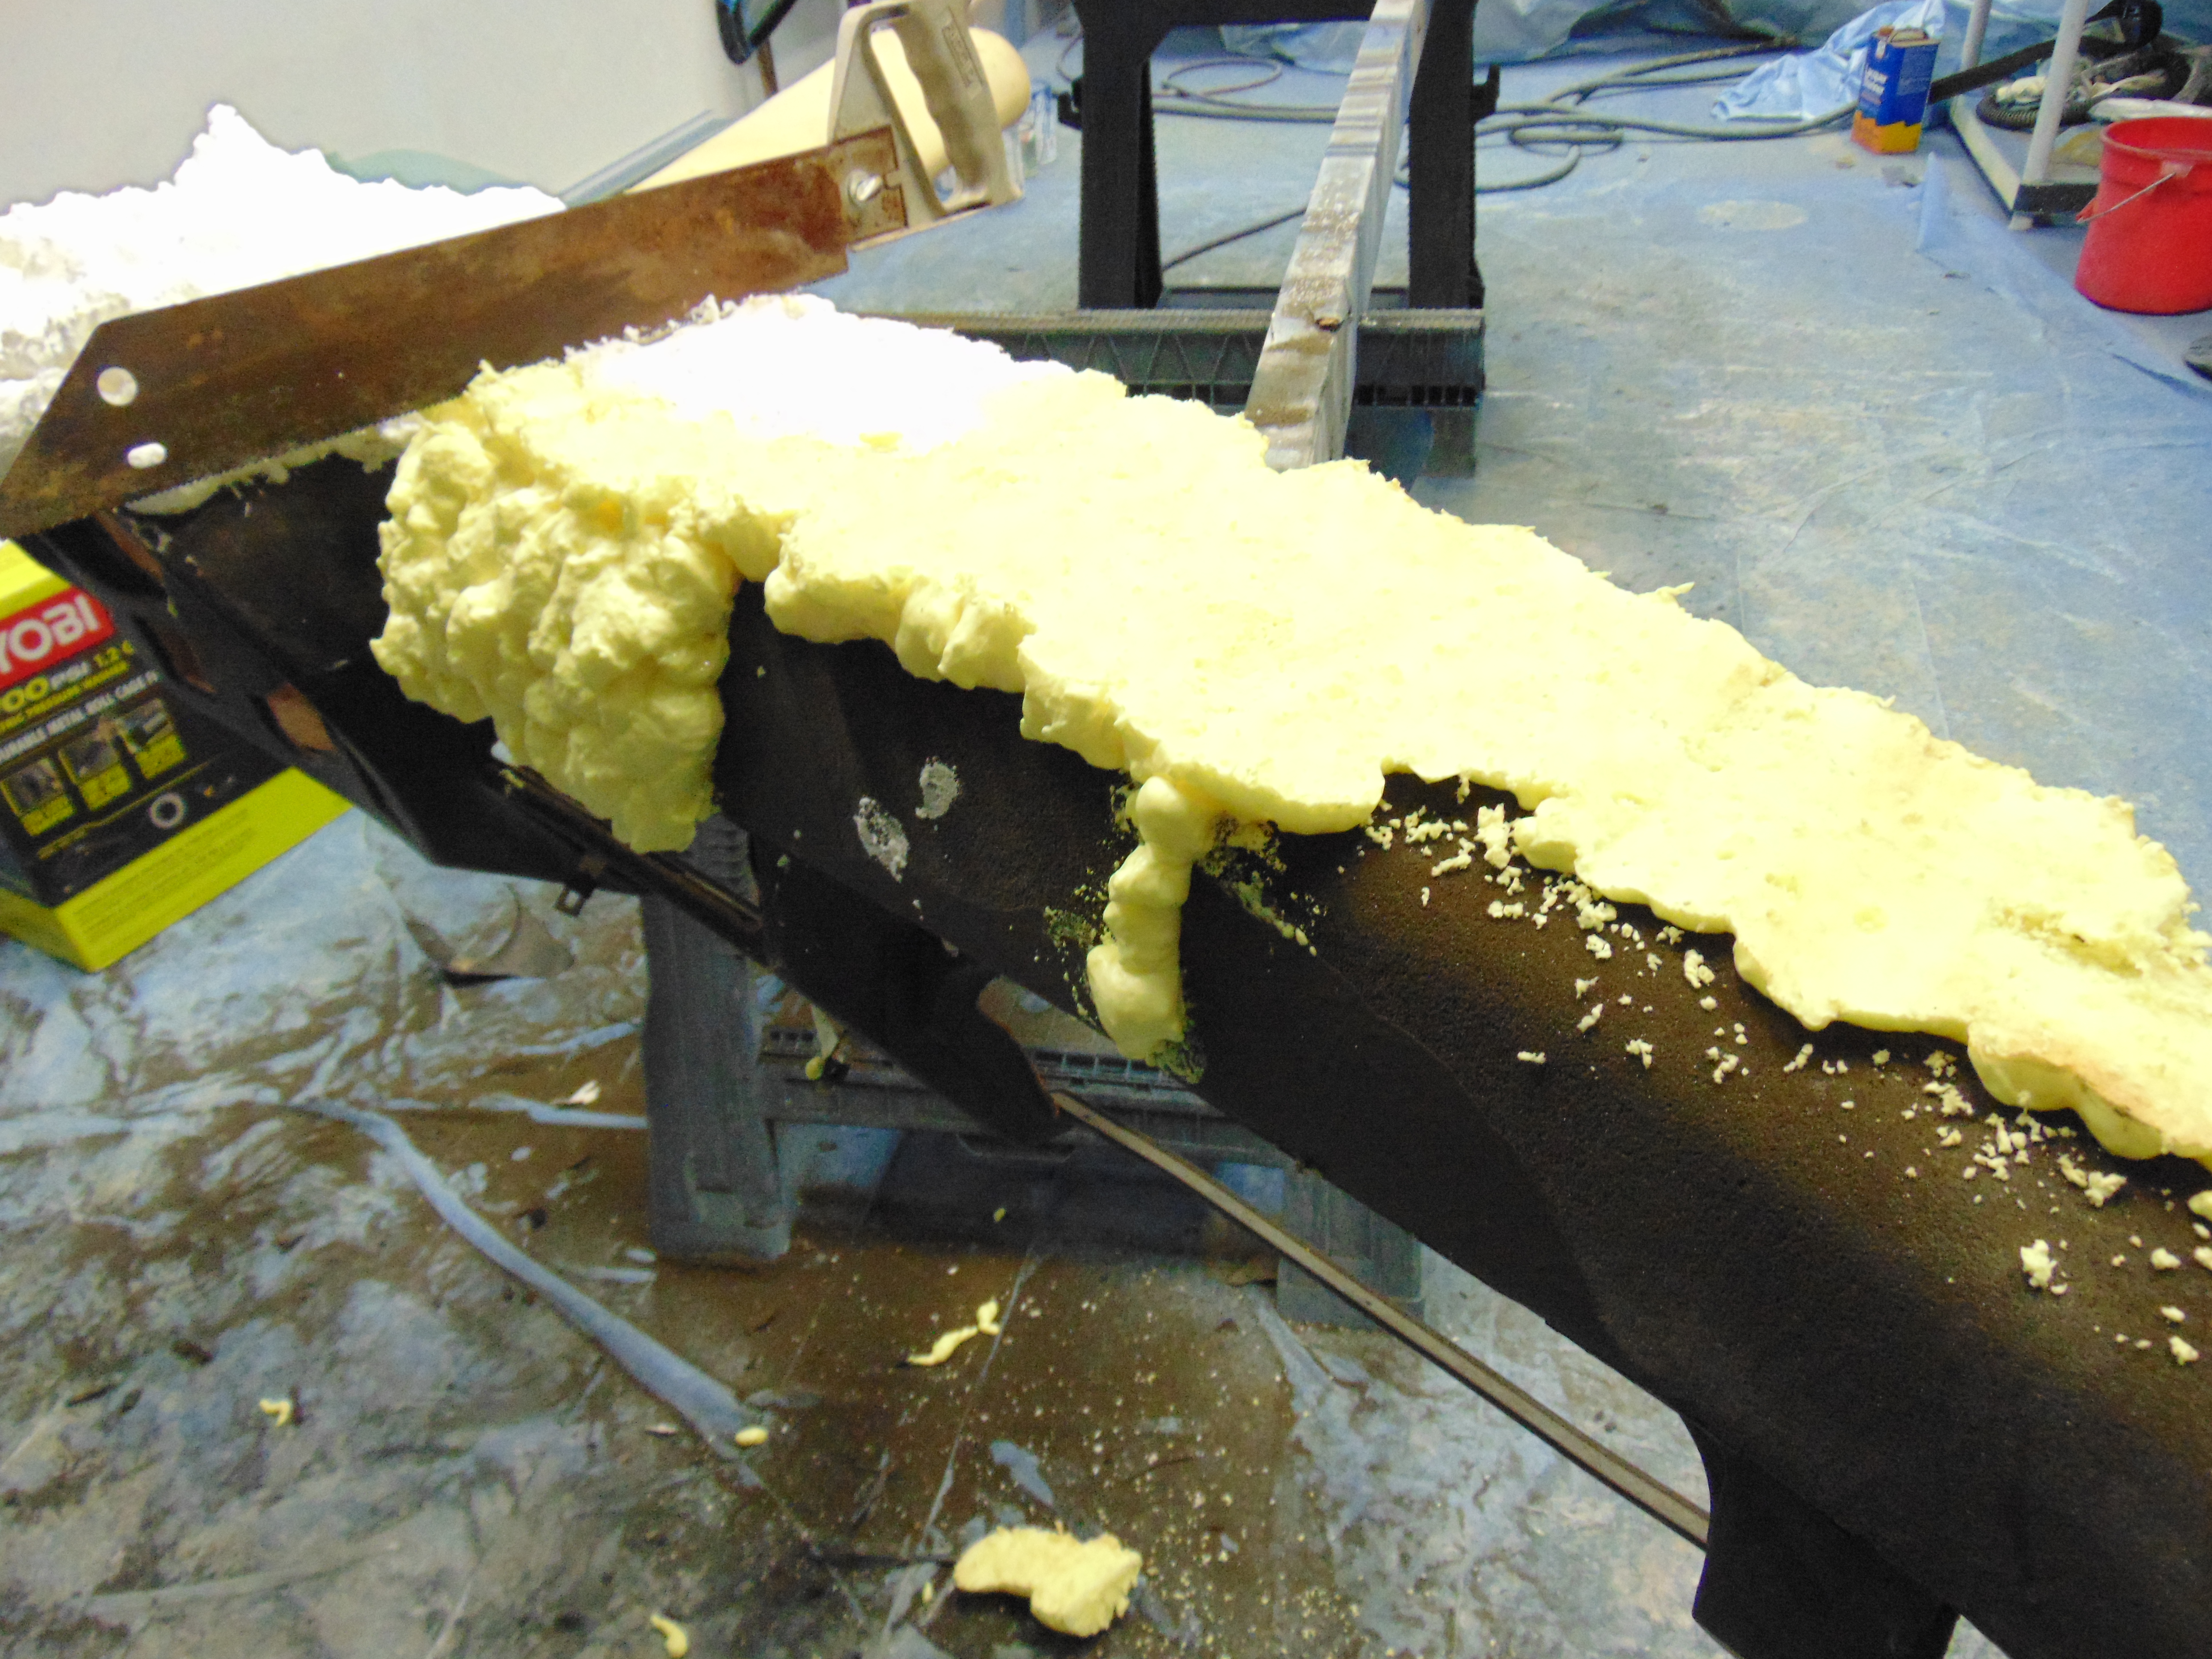
I used a saw for first rough forming. An electric meat carving knife (not shown) works very well also. I decided to fill in the radio speaker cavity.
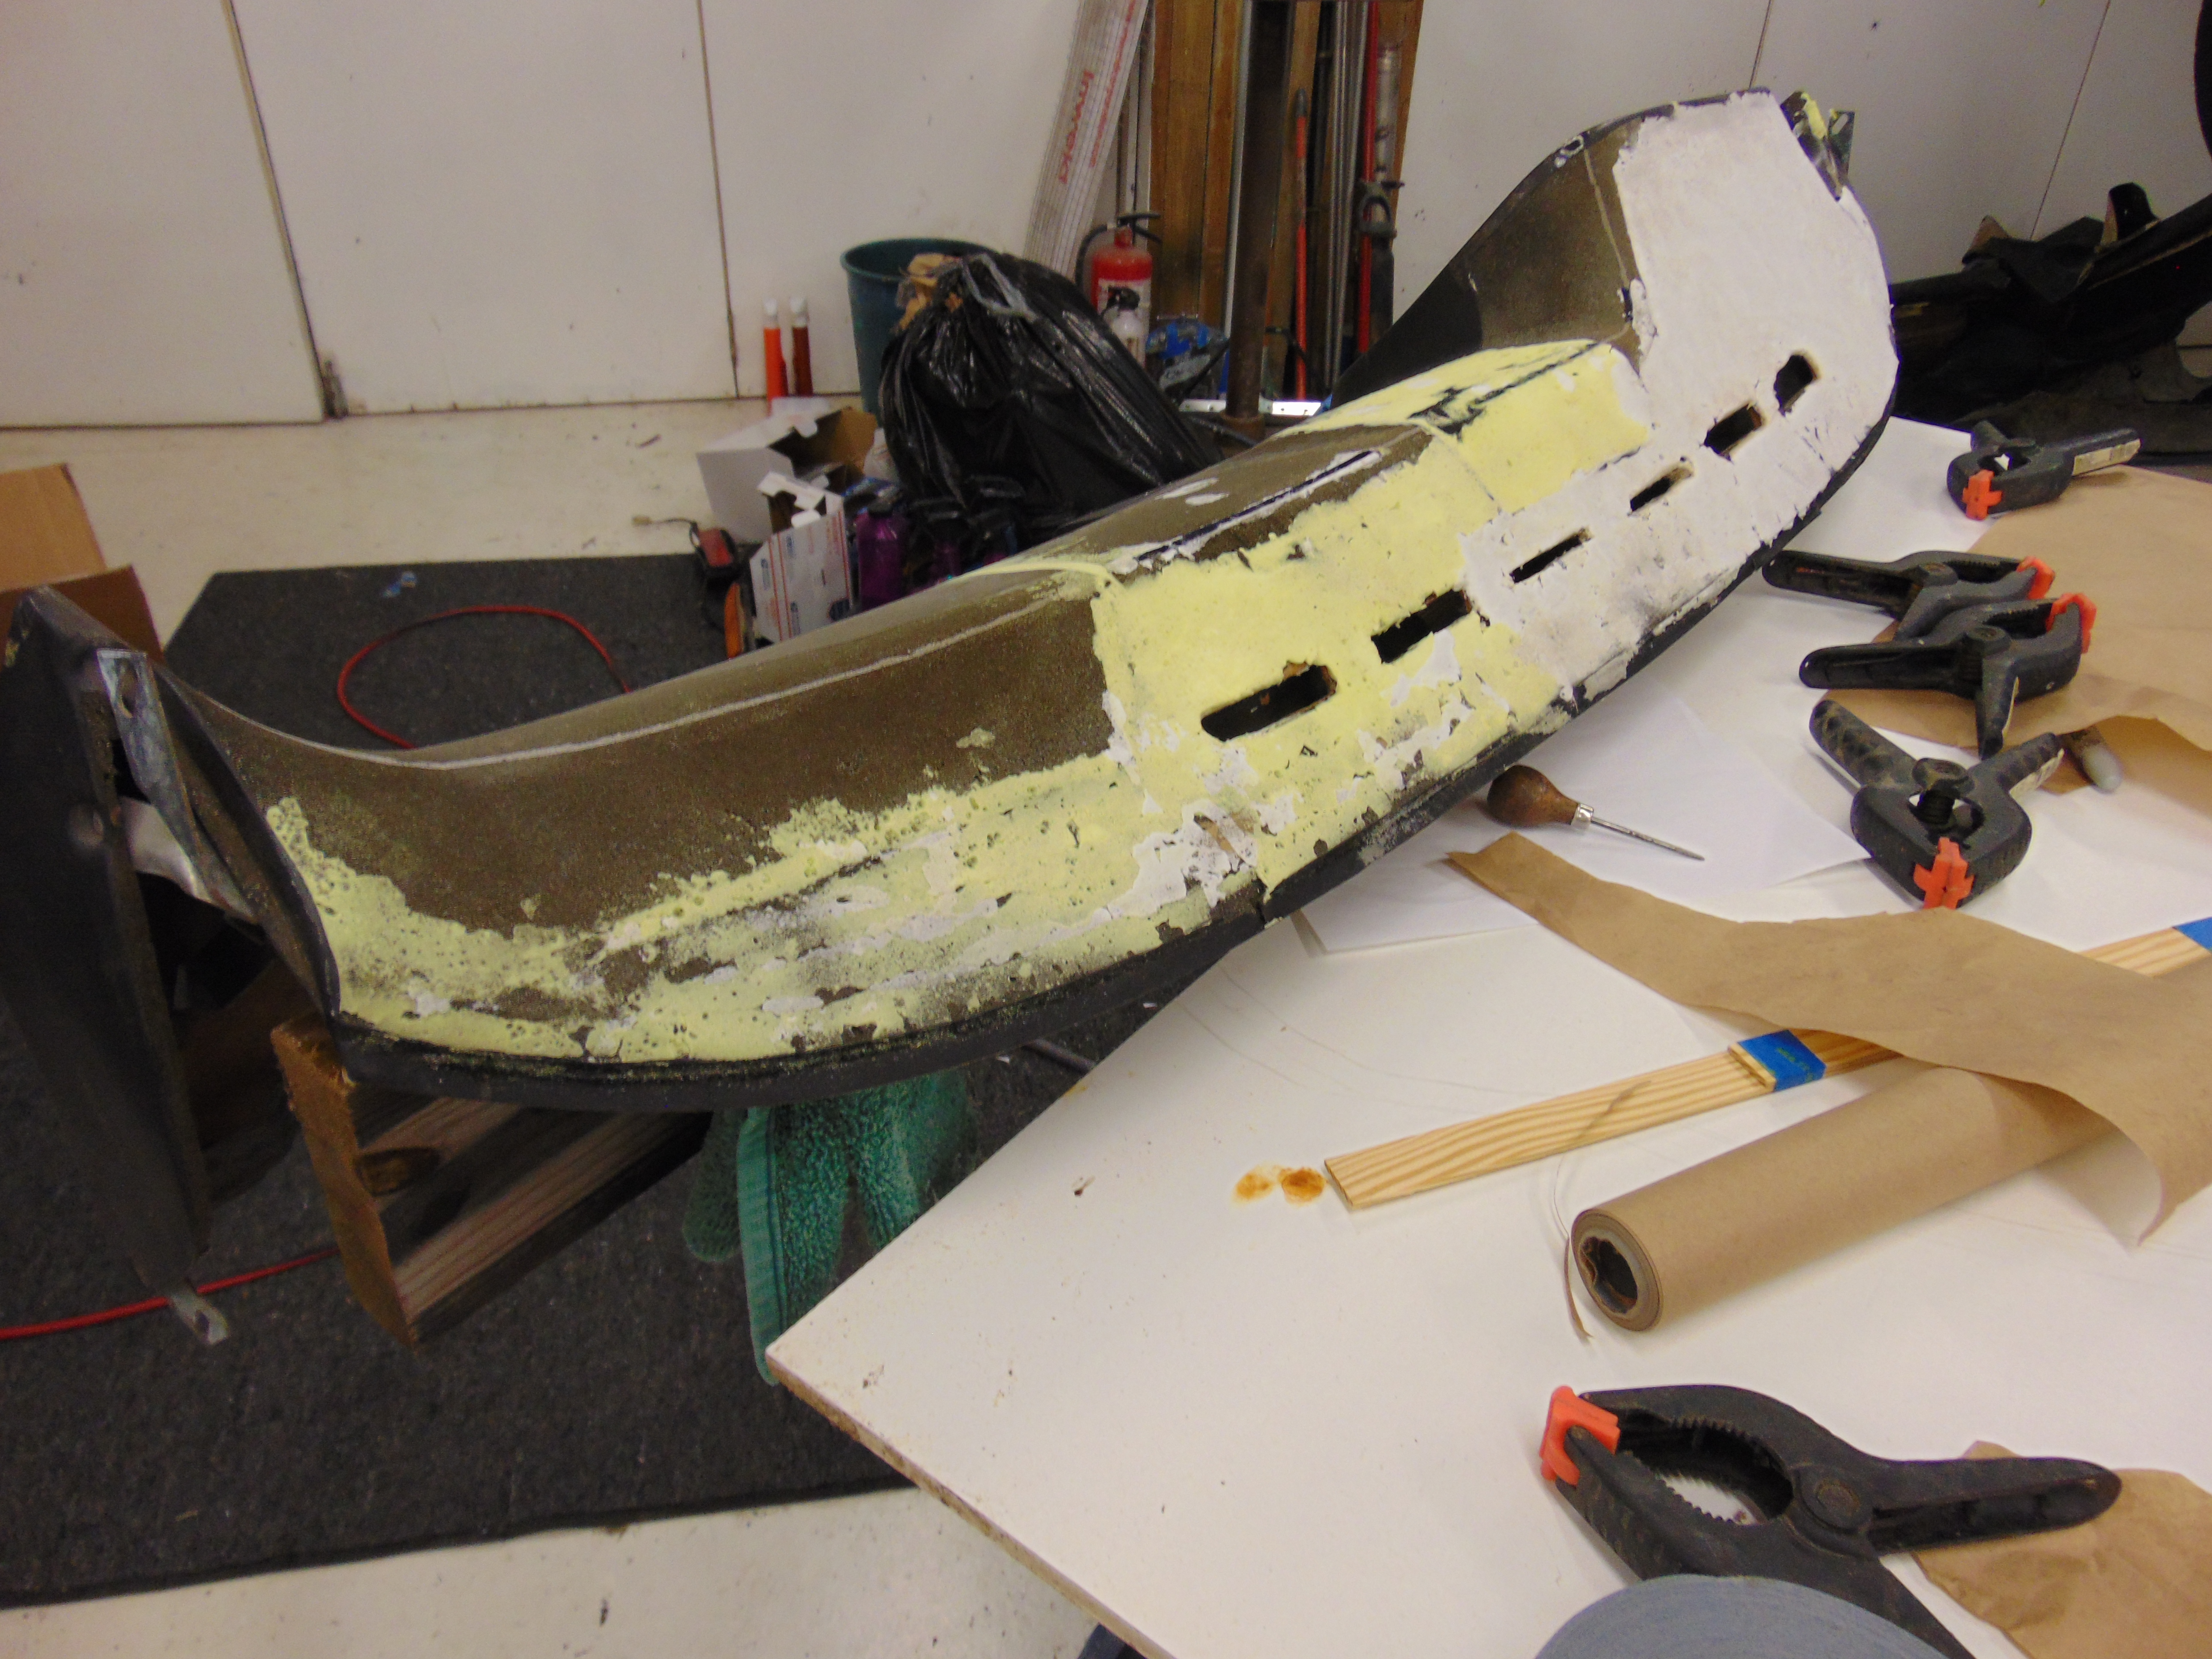
Sandpaper and a sanding block worked well for final forming.

In this picture, you can see that I peeled much of the thin OEM vinyl off the vertical face of the dash, as the foam underneath was sound. This allowed me to place the transition of old vinyl to new vinyl in a more inconspicuous place.
Once I had the dash foamed and sanded, I turned to covering it in vinyl. If I had to do it again, I would use the Locktite brand foam throughout, as the Great Stuff just didn’t hold its shape as well as I stretched the vinyl over it.
Some folks use a French seam across the entire width of the dash, including the instrument binnacle. I decided to just wrap the vinyl around the binnacle edge. I decided to glue some thin foam over the entire dash in an attempt to mask small imperfections that might telegraph through to the vinyl. Since at the French seam, the vinyl is is double thickness, I left a strip with no thin foam where the French seam goes, to avoid an unsightly lump along the seam.
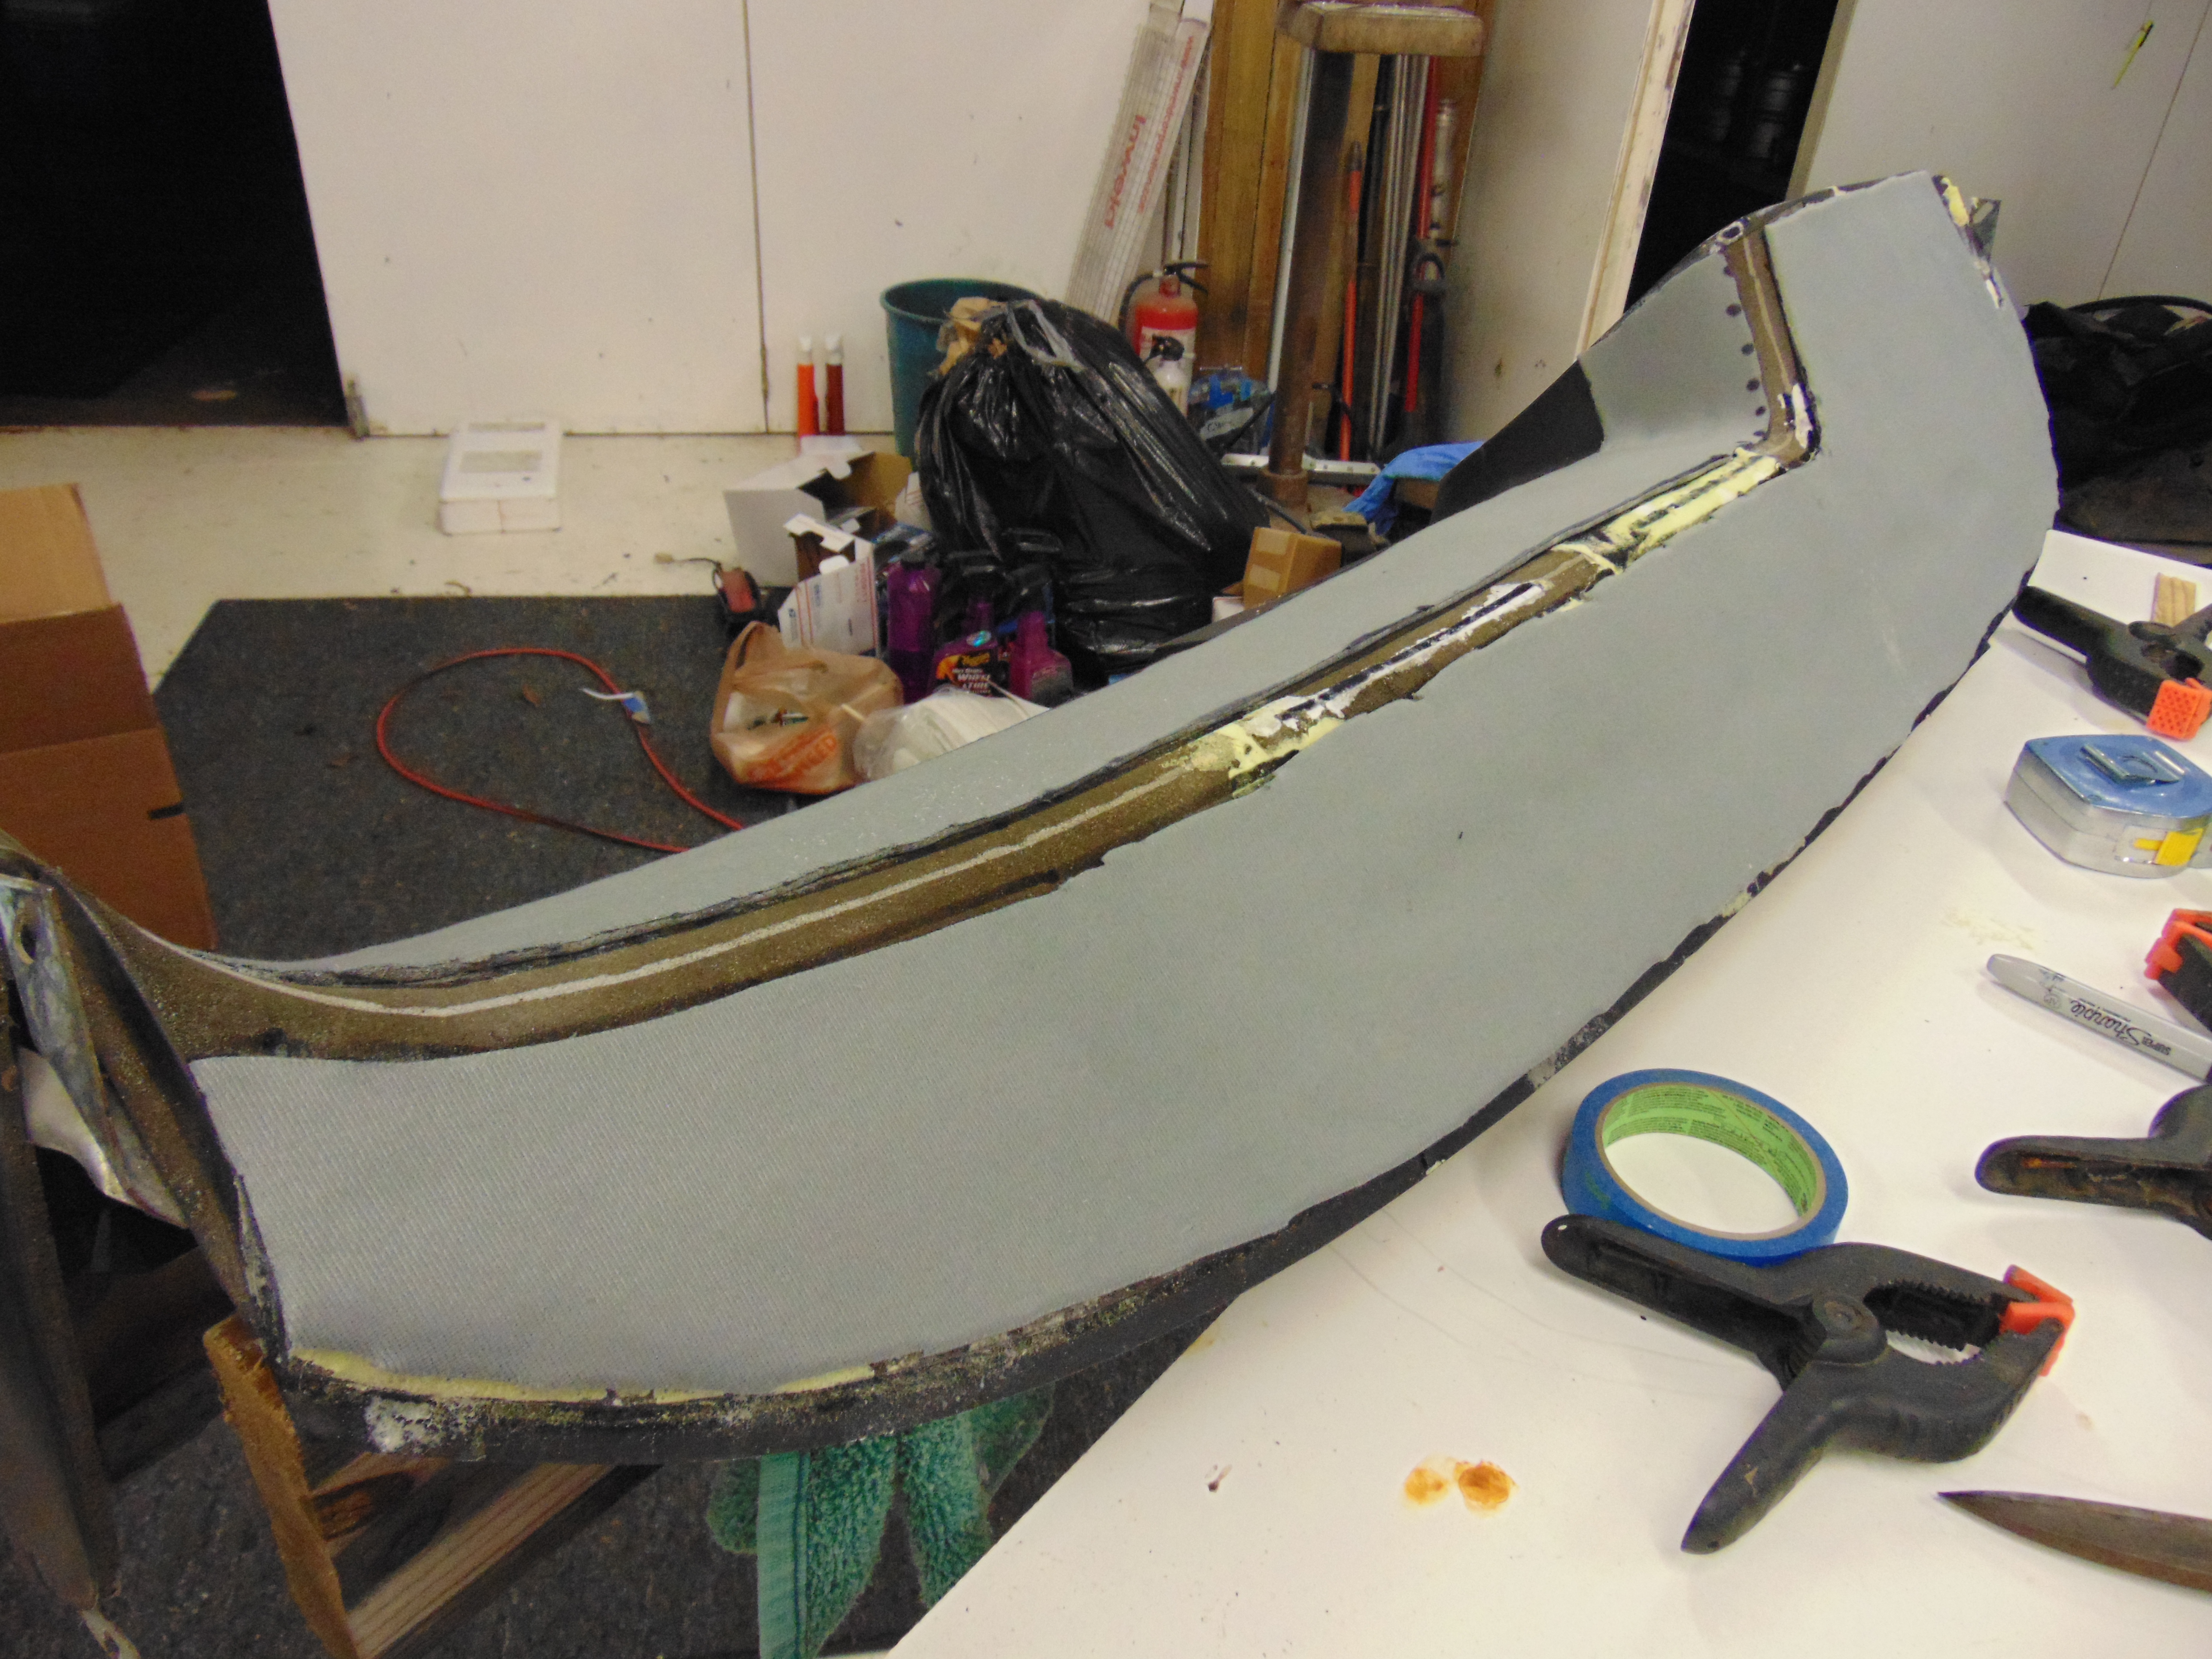
The black strip is where the French seam will lay. The light grey is thin foam. 3M spray contact adhesive works well for attaching the thin foam and the subsequent vinyl. Be sure to test your adhesive first, as some adhesives will dissolve your foam.
I found a black vinyl at Jo-Ann Fabrics that was actually a very good match with the OEM vinyl. I chose not to recover the glovebox door, as that would have been an additional challenge to get right. So there was a juxtaposition of new to old vinyl there. I was amazed that after all these years I found something that matched so well. The code on the back of the vinyl is PT534962. Like most vinyls, this vinyl has a cloth backing. You will find that it can be stretched to some degree diagonally to the direction of the cloth weave. Another trick that I had to use in areas that require a significant stretch was to abraid the cloth backing with sandpaper. You have to be careful but in effect you are breaking down the cloth fibers so that they will give parallel to the weave direction.
Unfortunately, there was a lapse in my photo documentation of the vinyl application. A really useful source of upholstery “how to” info that I have found is on Youtube under “Cechaflo”. There are many tutorials but of specific interest to this project, there is one on French seams and one on covering a dash in leather.
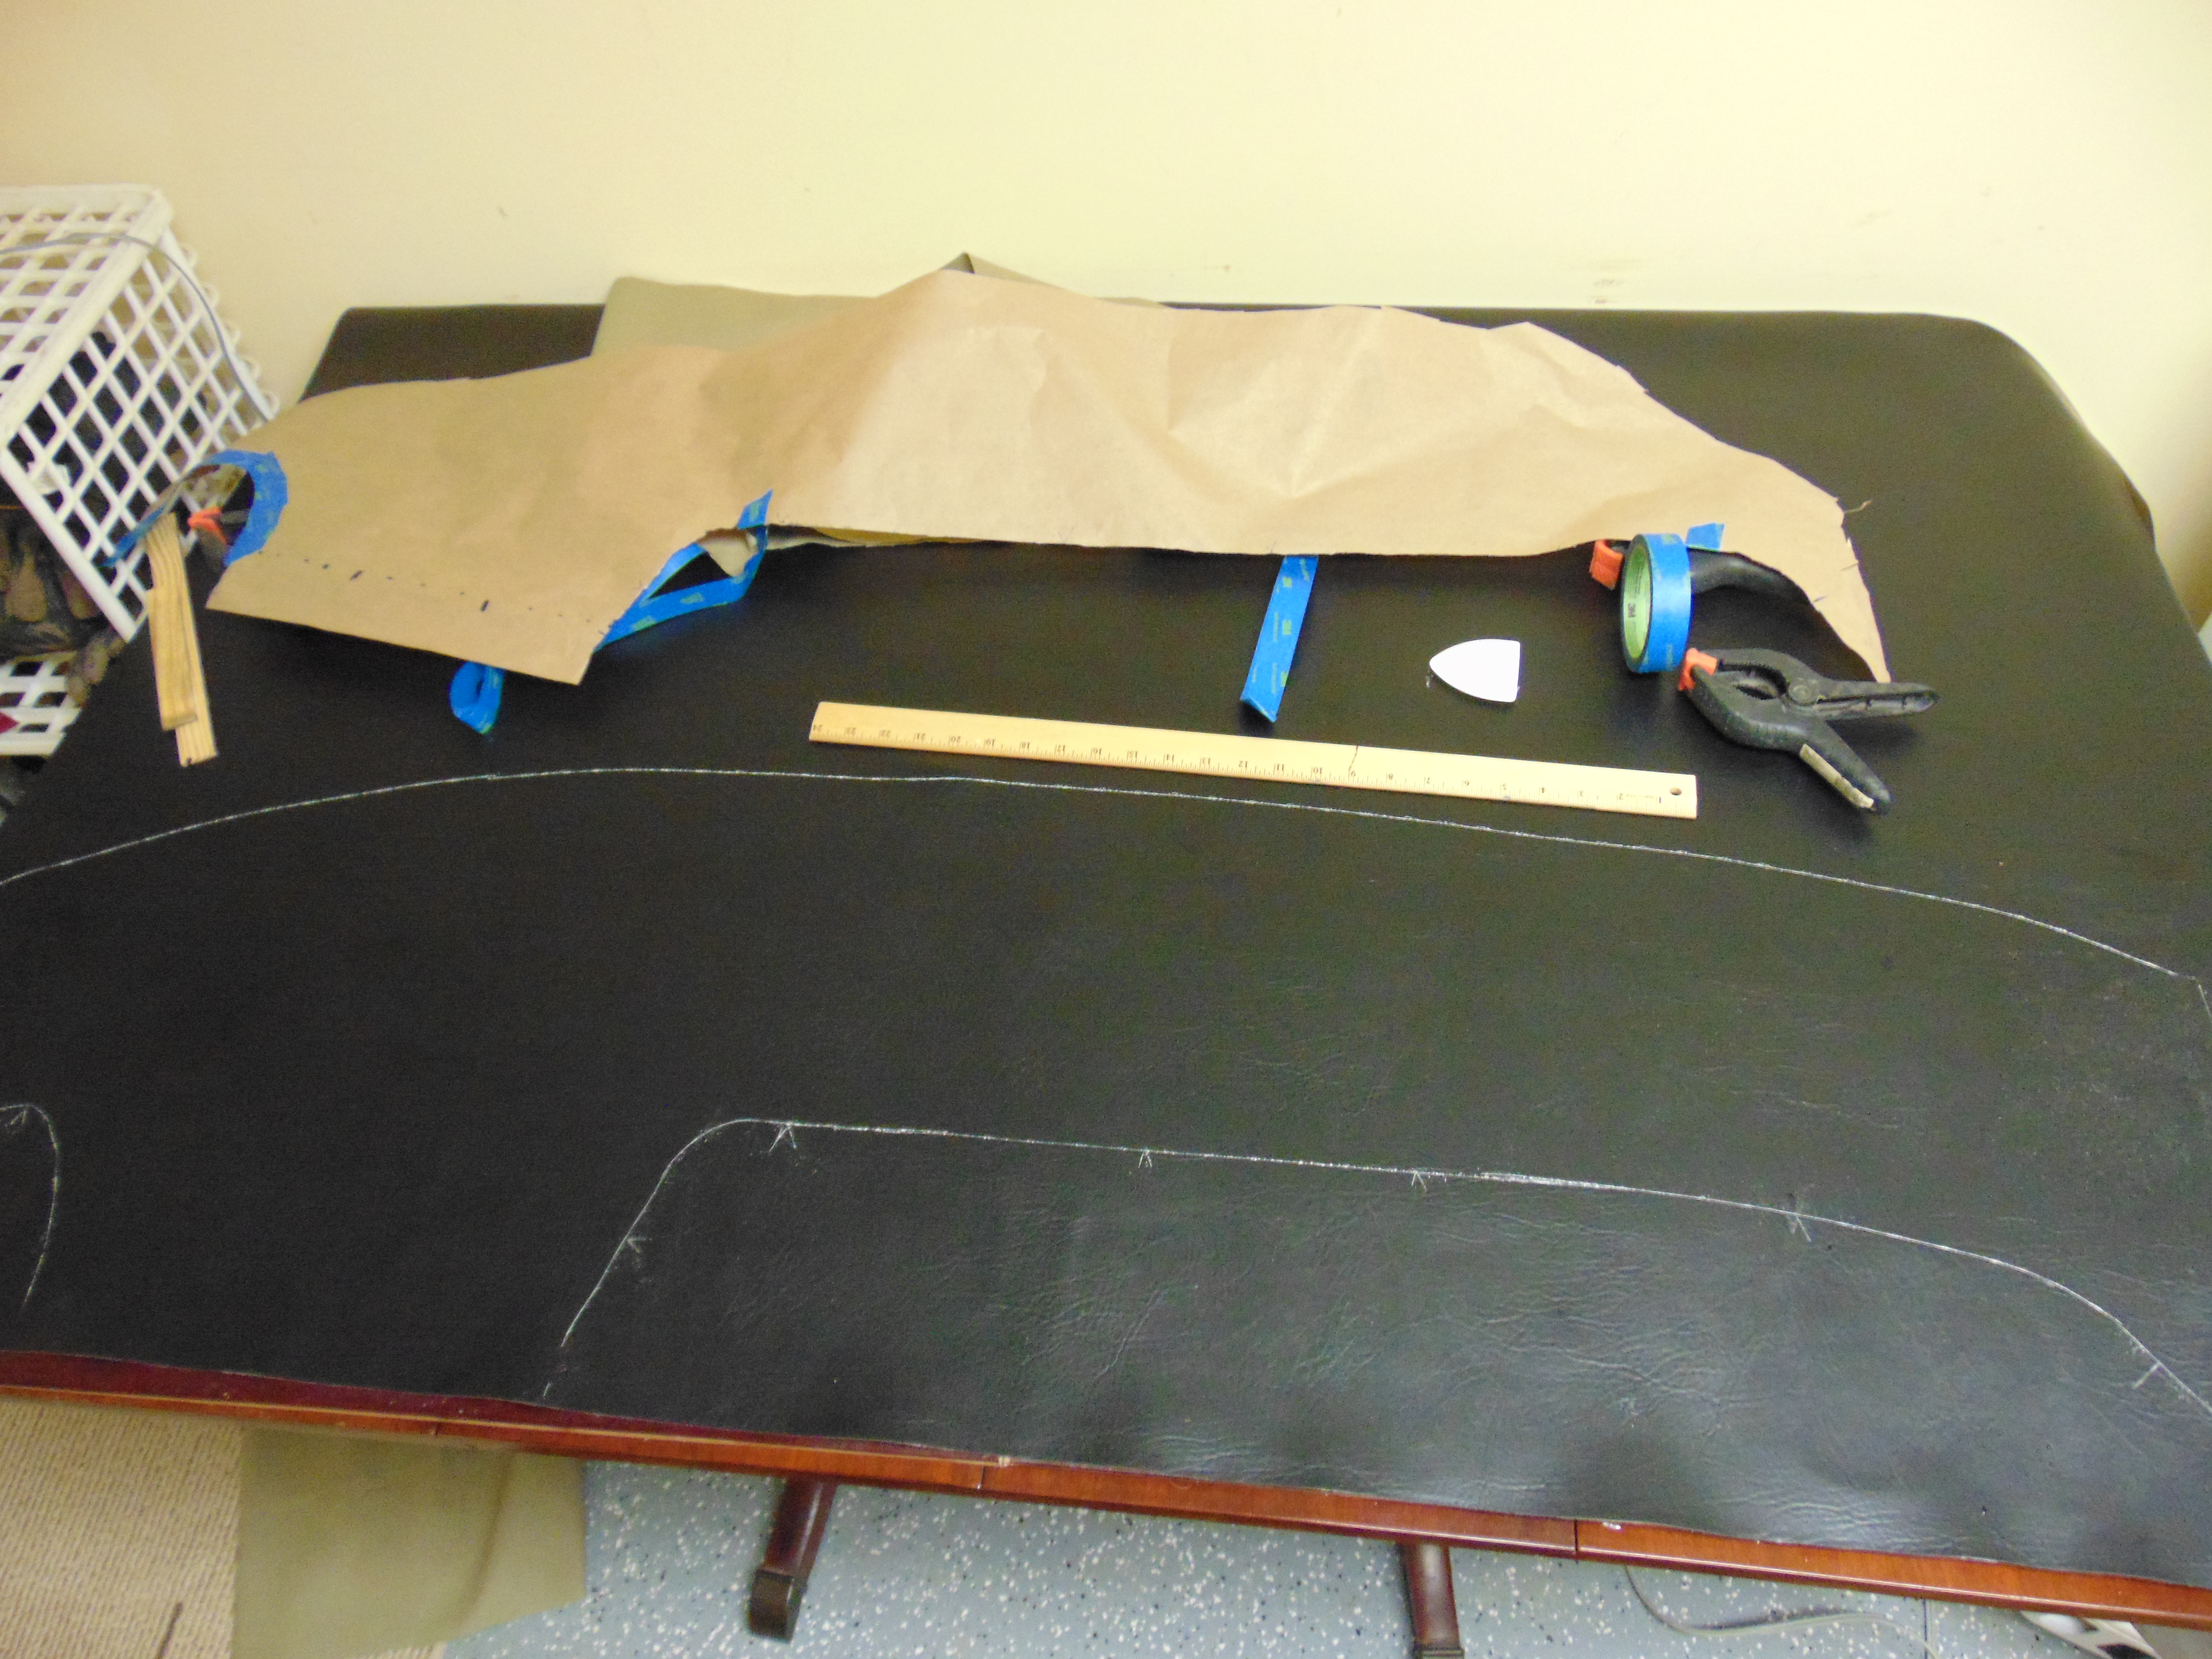
First make a paper pattern. Then transfer this to your vinyl.
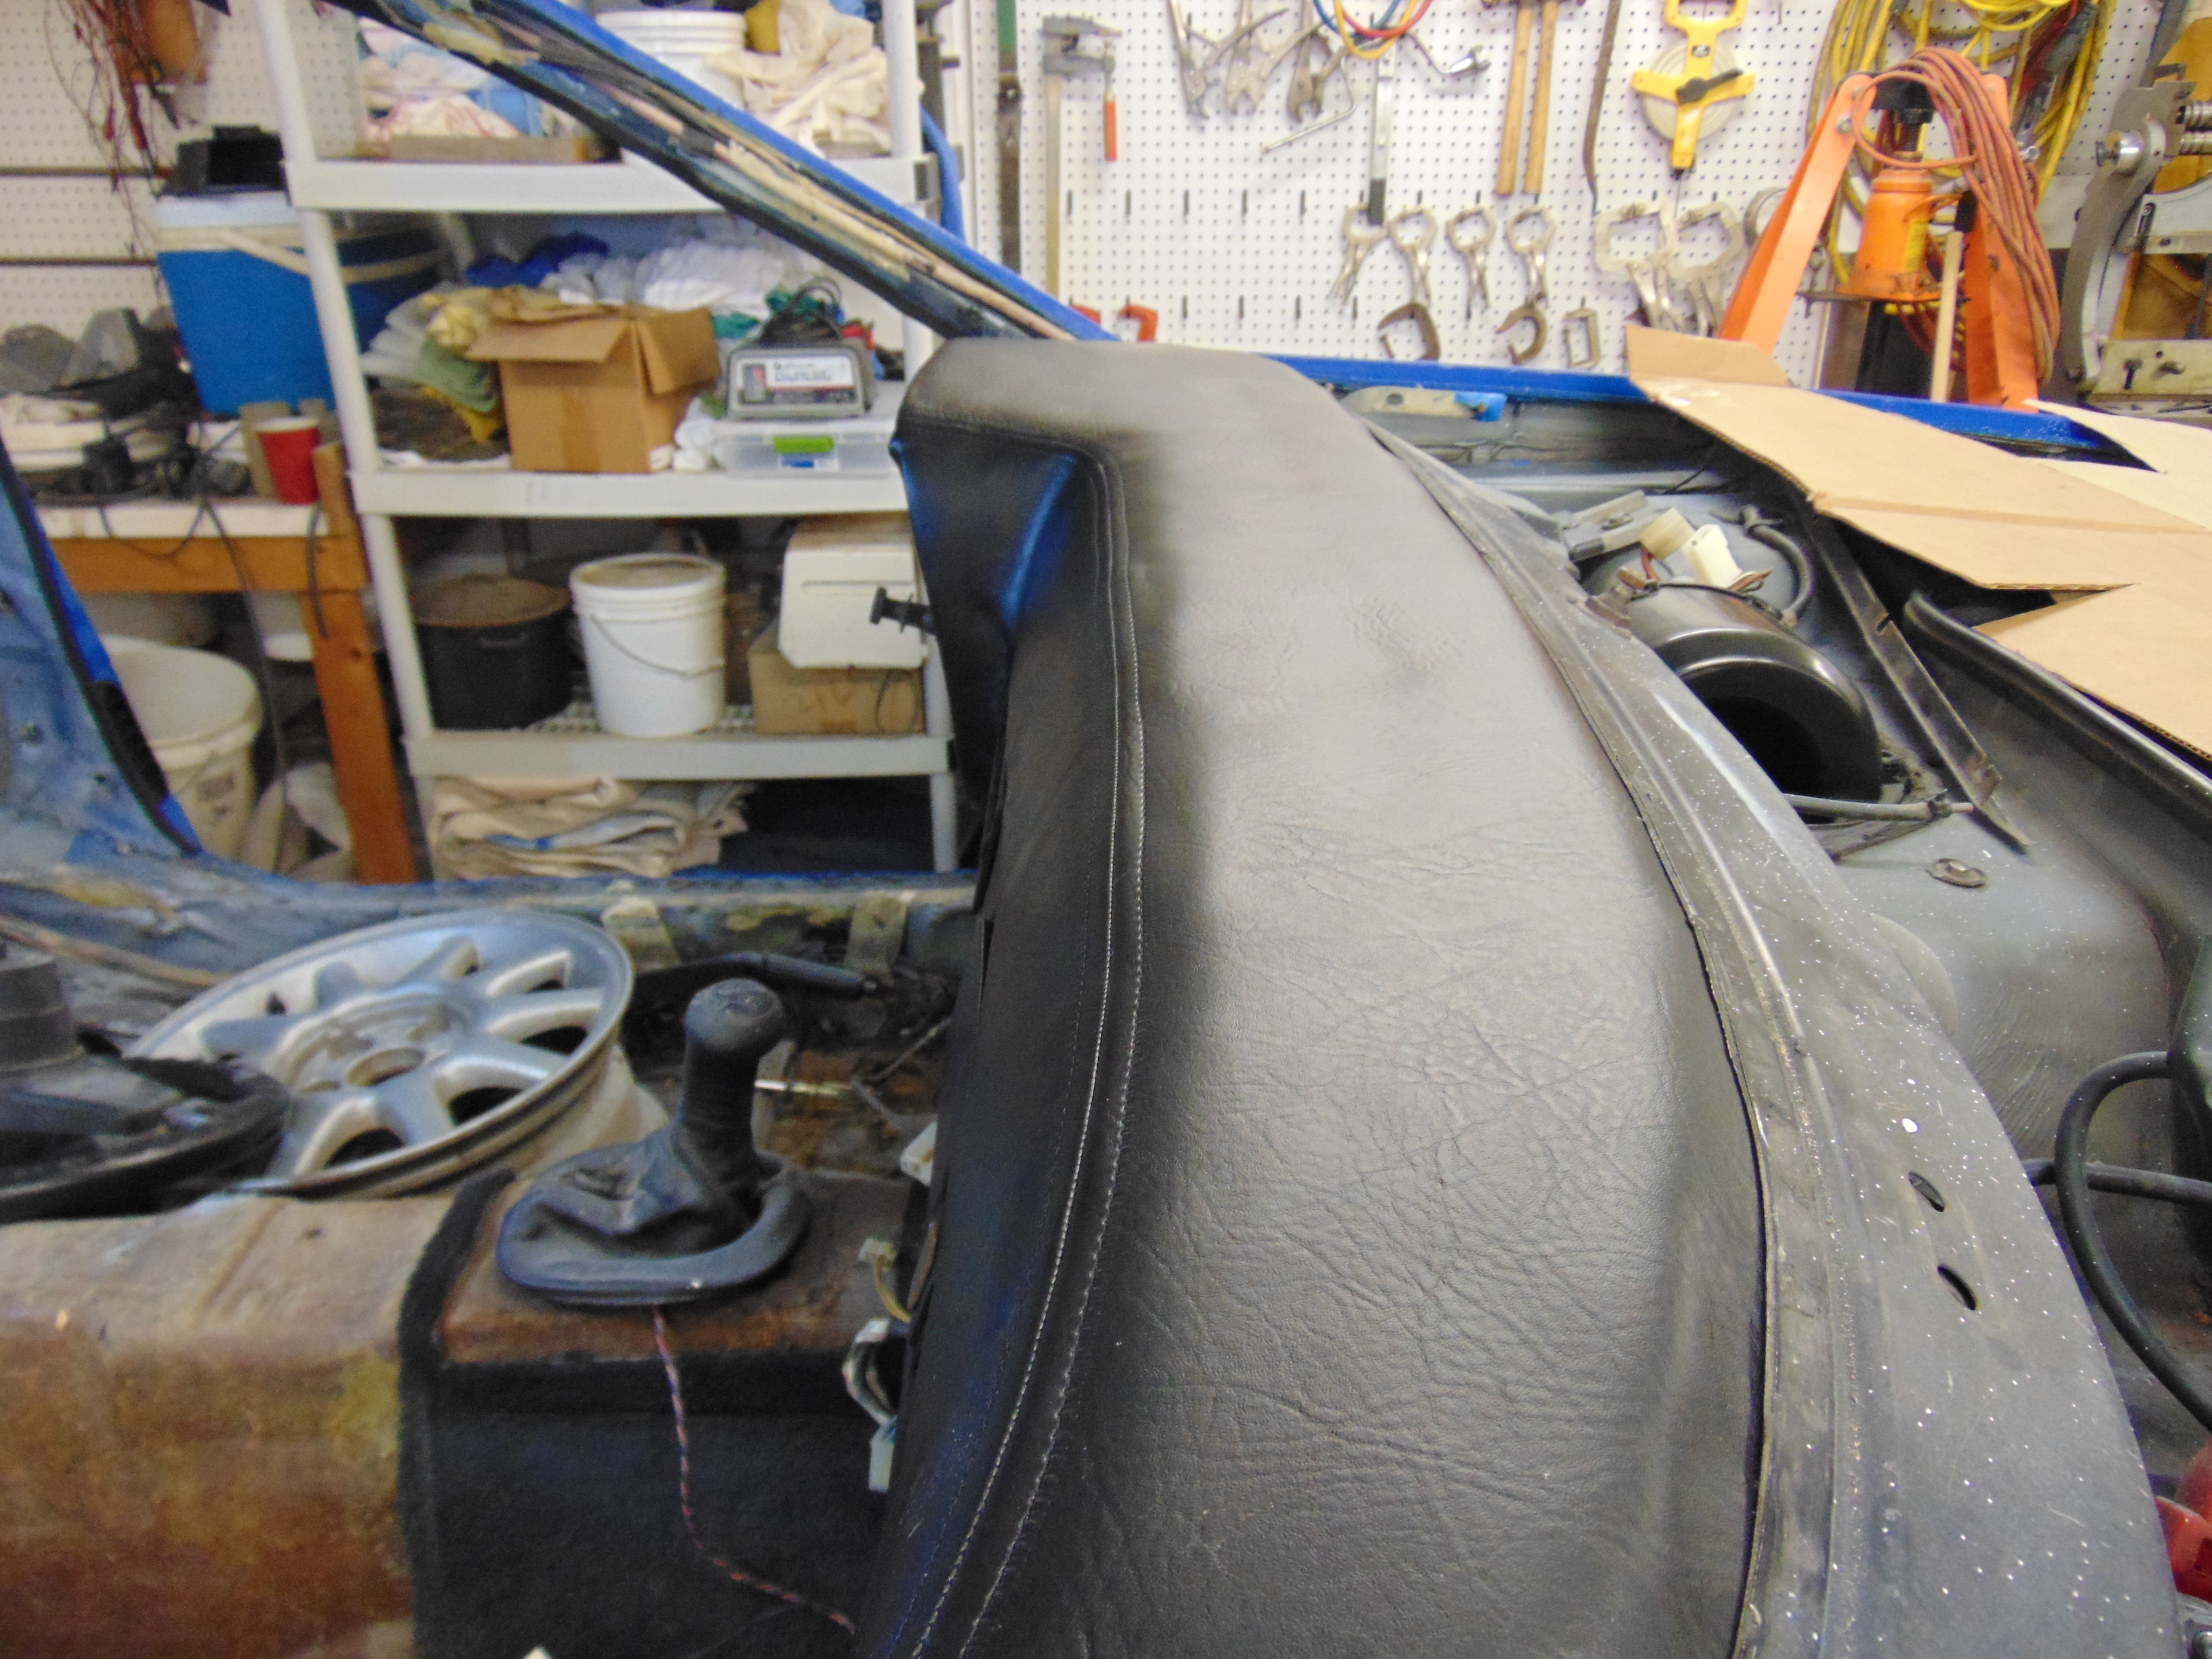
As you will see in the Cechaflo videos, you glue the vinyl down in stages so you have something to pull and stretch against. I started at the French seam and worked outward, as I really wanted to lay the seam down as straight as possible. That said, it still has some slight deviations. Prep work with the foam is the key. This side had the softer yellow foam which in restrospect I don’t think was stiff enough to do the job and hold the vinyl in the exact position required.
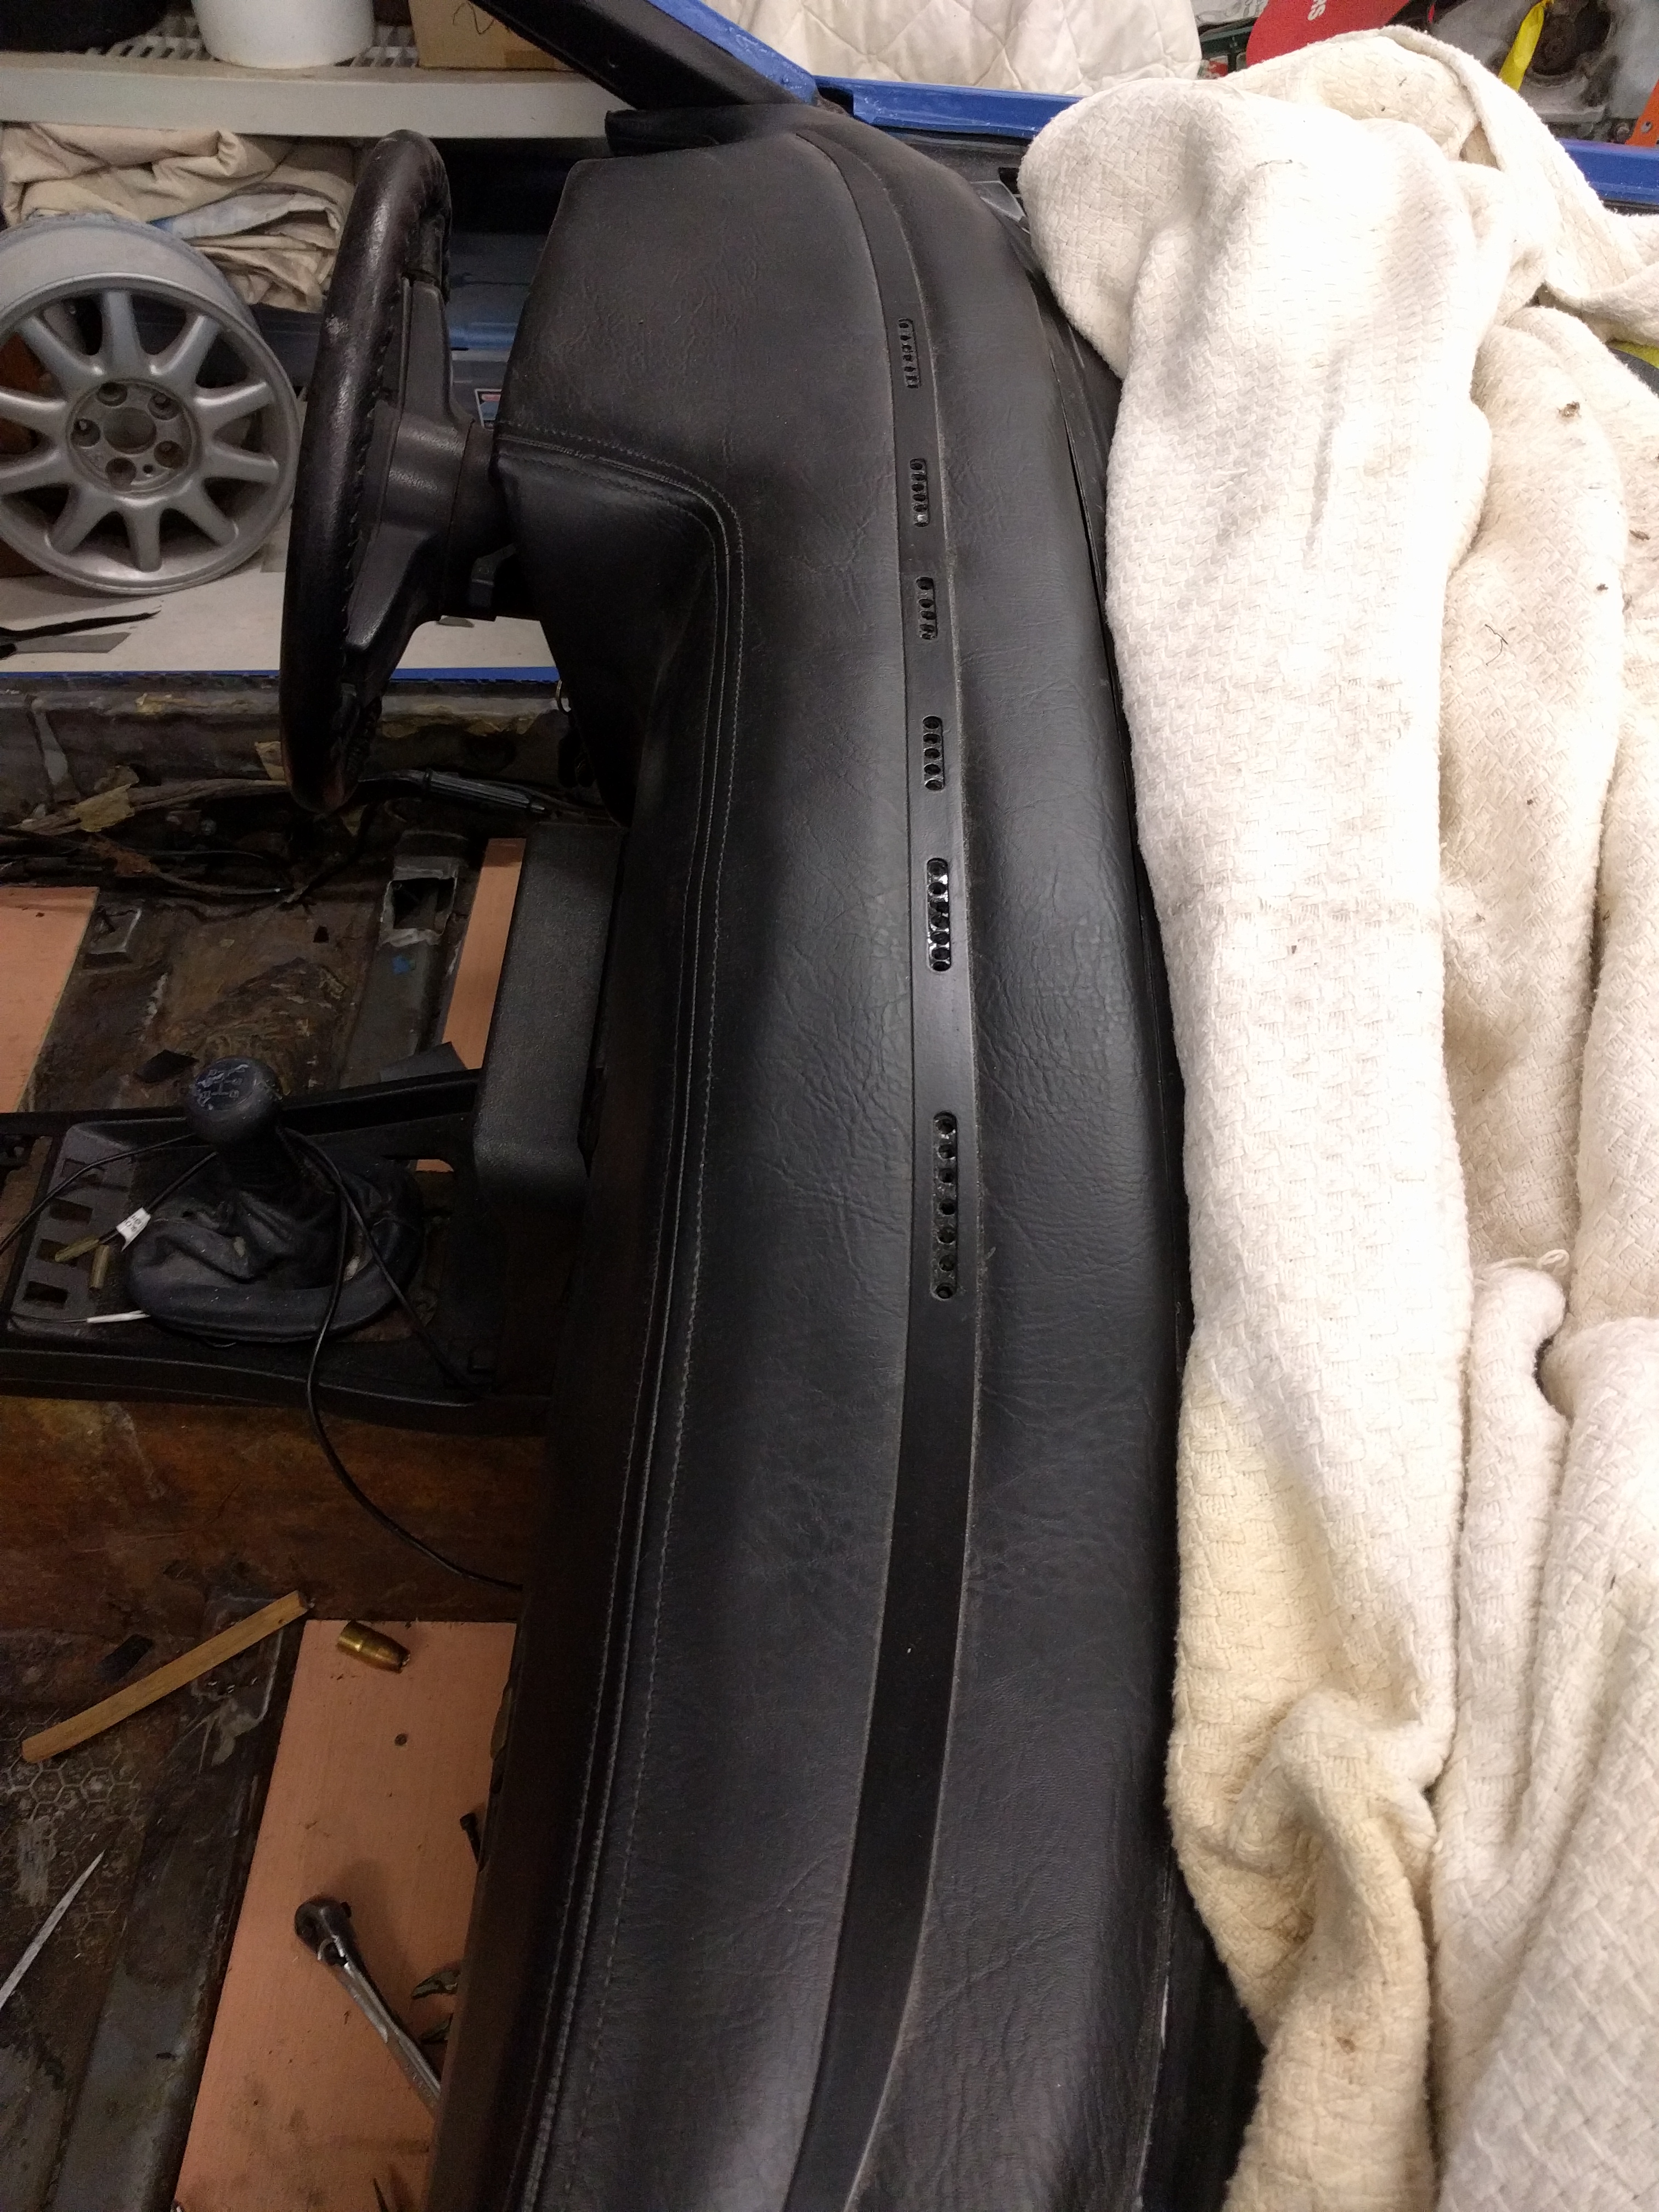
Again, sorry, no in process photos of laying on the vinyl. Here you can see the French seam. There is another short French seam on the other side of the instrument binnacle. Since the vinyl is thicker than the OEM product, there are some openings in the dash where you will have to remove some of the original dash material such that the final opening size will accept the item that goes into it. The defrost openings are not cut out yet in this photo.
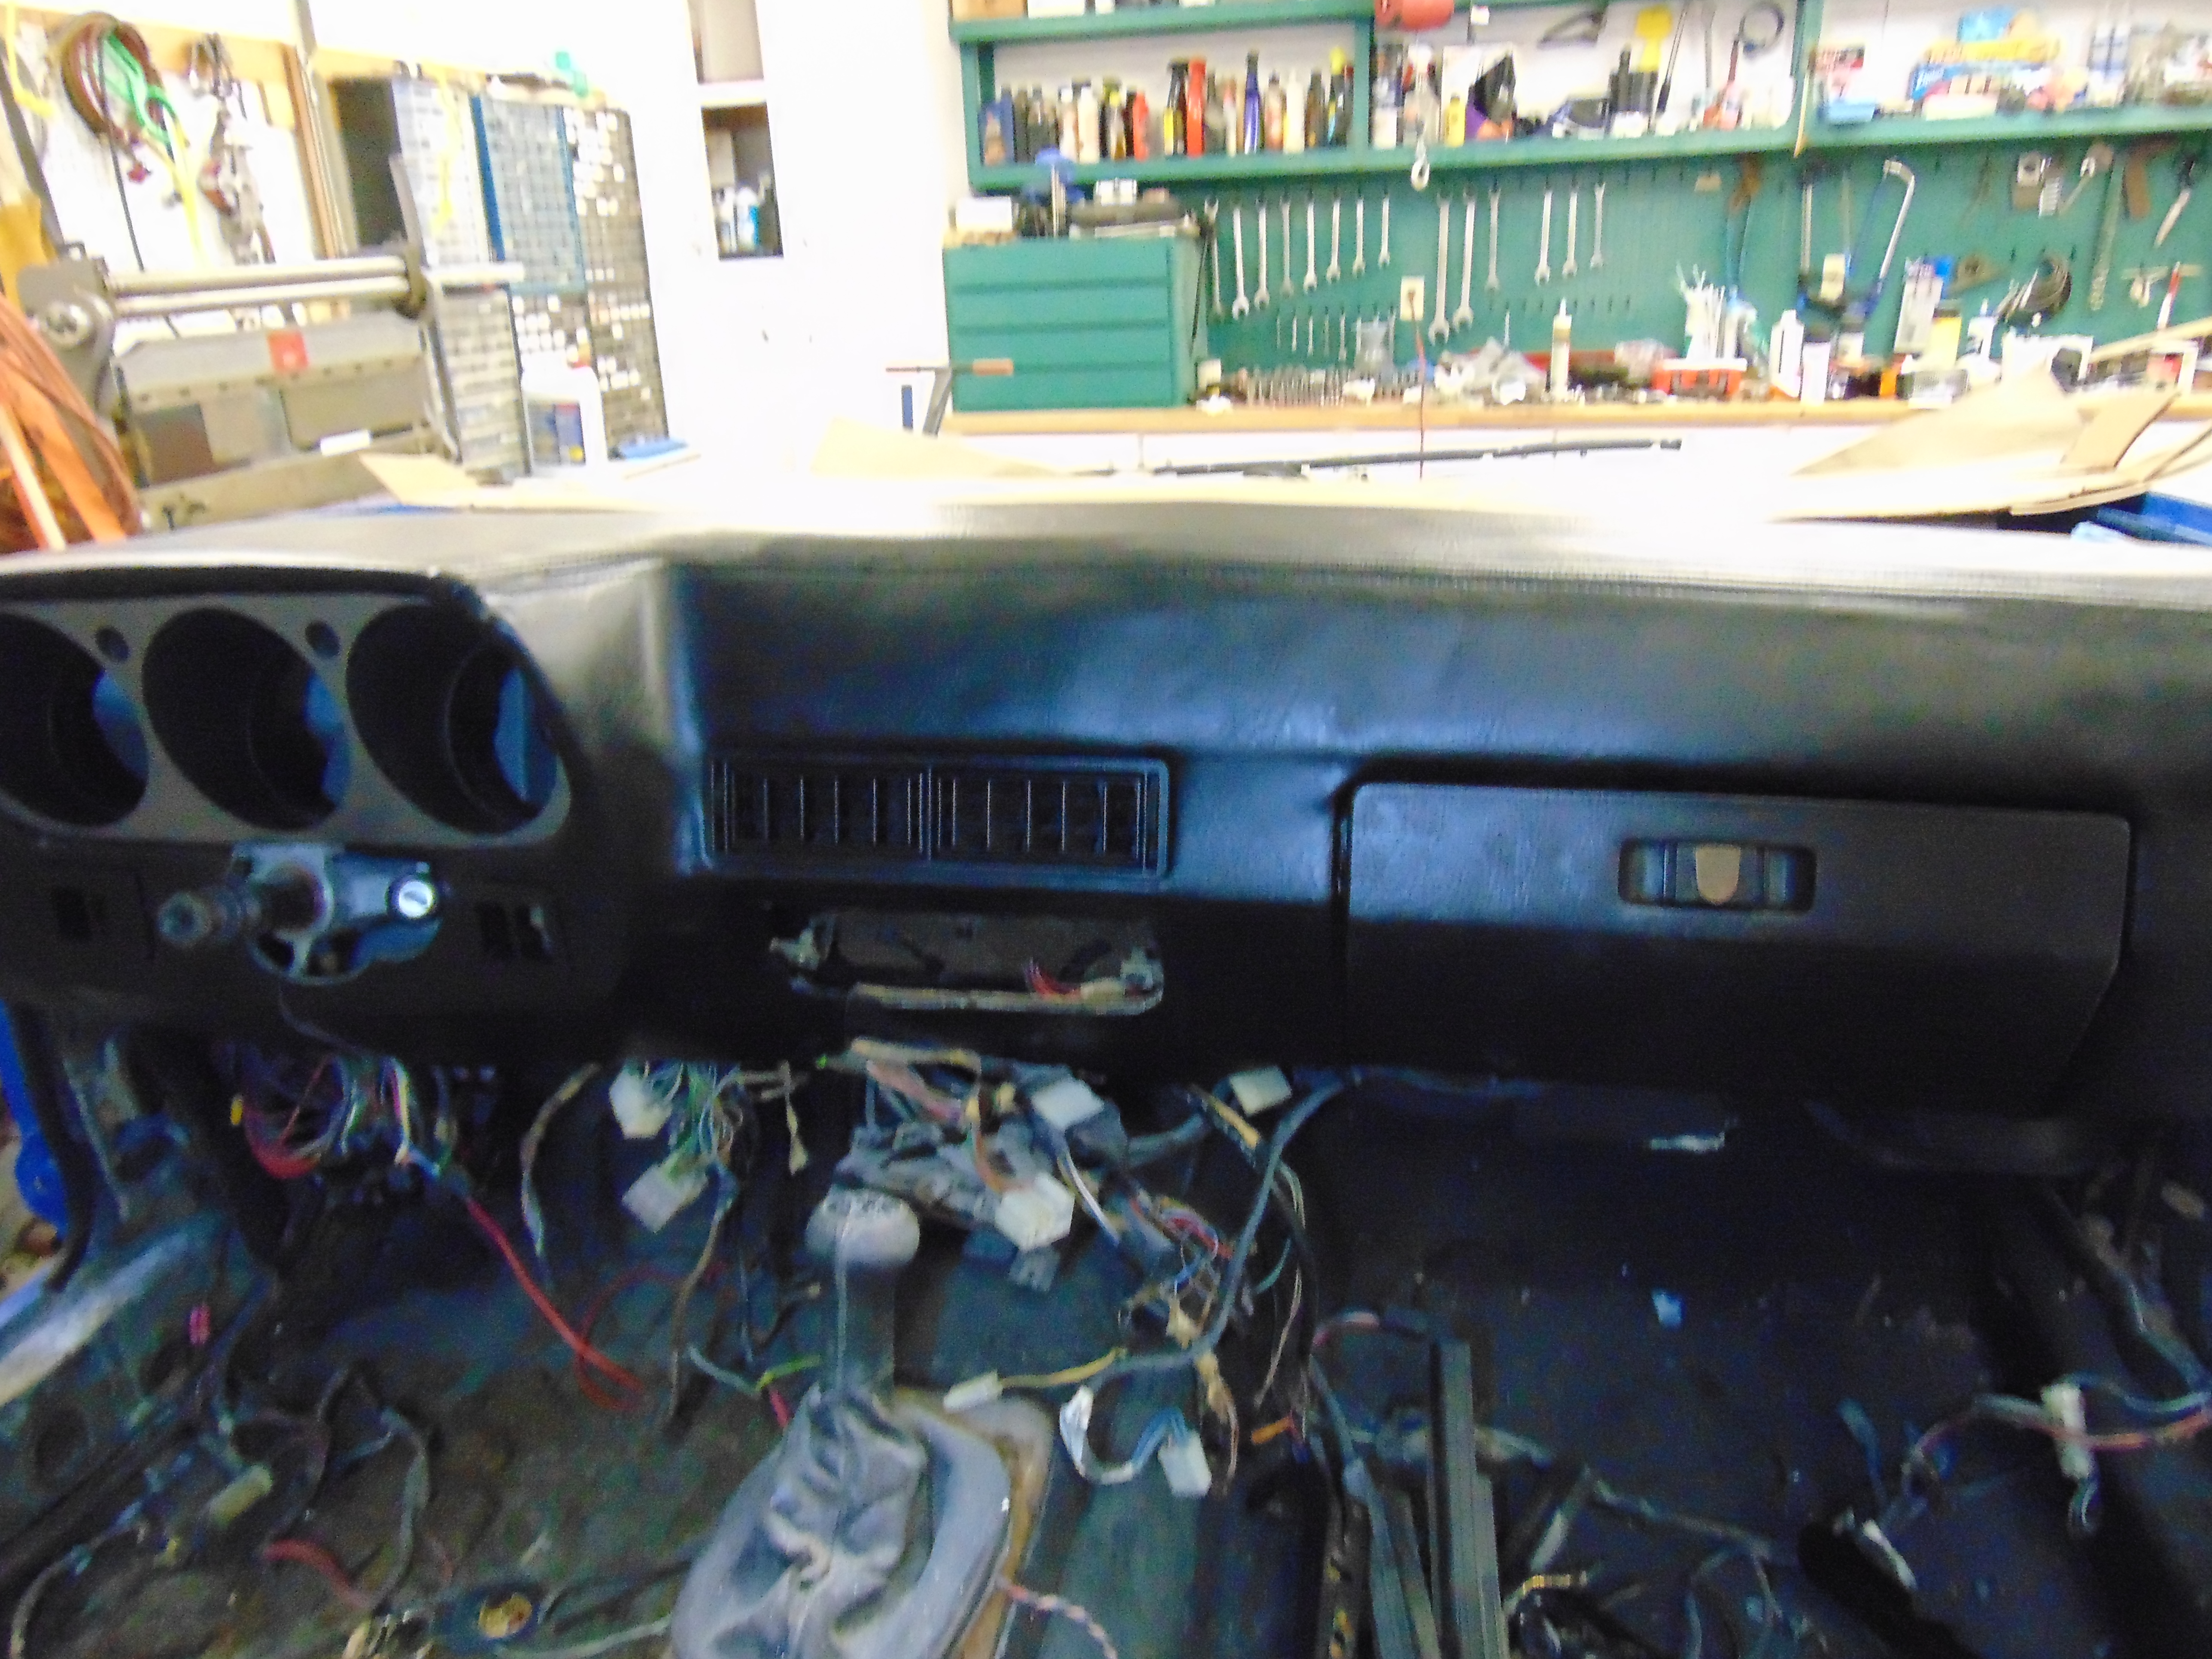
So here it is after initial installation and some preliminary fitment. At this point, I had to switch to dealing with all the electrical connections, which actually resulted in me removing the dash for quite a while while I sorted them out. It’s much easier to access the fuse/relay panel on this early car if the dash is removed. See my electrical work article here.
I did purchase a metal trim piece to go over the defrost outlets from Rob Budd at Classic9LeatherShop.com. It is a durable piece cut out of metal. Although not OEM, it is functional. In an effort to avoid the phenomena where the vinyl shrinks and pulls away from the defrost openings, rather then cut out the oval shape I punched a series of round holes. Hopefully the small ligament of vinyl material left between the holes will keep the vinyl in place.
I will post an article later when I get everything fully completed. But I am very please with how the dash worked out!!

Discussion
Comments are closed.