This last summer I treated and dyed all the leather upholstery items in the interior of my 1986 Porsche 928. See that story here. Of course, as I knew would happen, the shiny new leather made the tired old carpet look even worse. Something had to be done!
 After a minimal amount of research on Rennlist, I realized that Rob Budd at Classic9Leather was the guy to go to for my carpet set. He was able to source a carpet set in the factory correct Sliverknit material. He bound all the appropriate edges with vinyl. He added the rubber inserts in the few places where appropriate. And he supplied rubber underlayment pads and a hardware kit. Everything I needed except the glue.
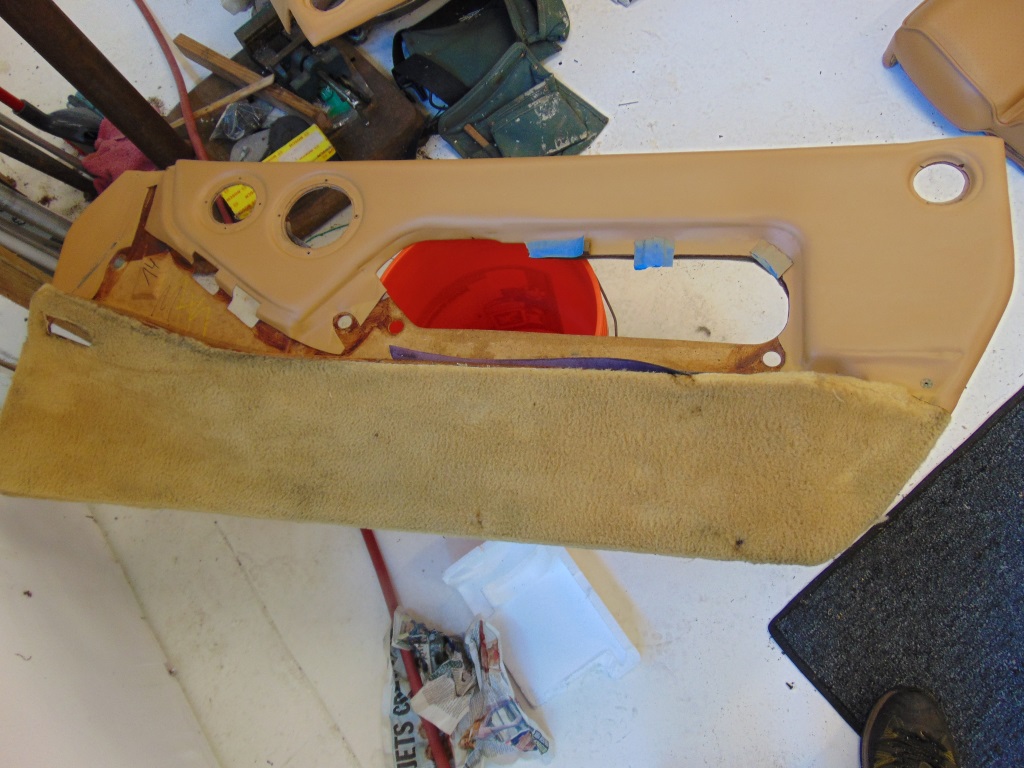
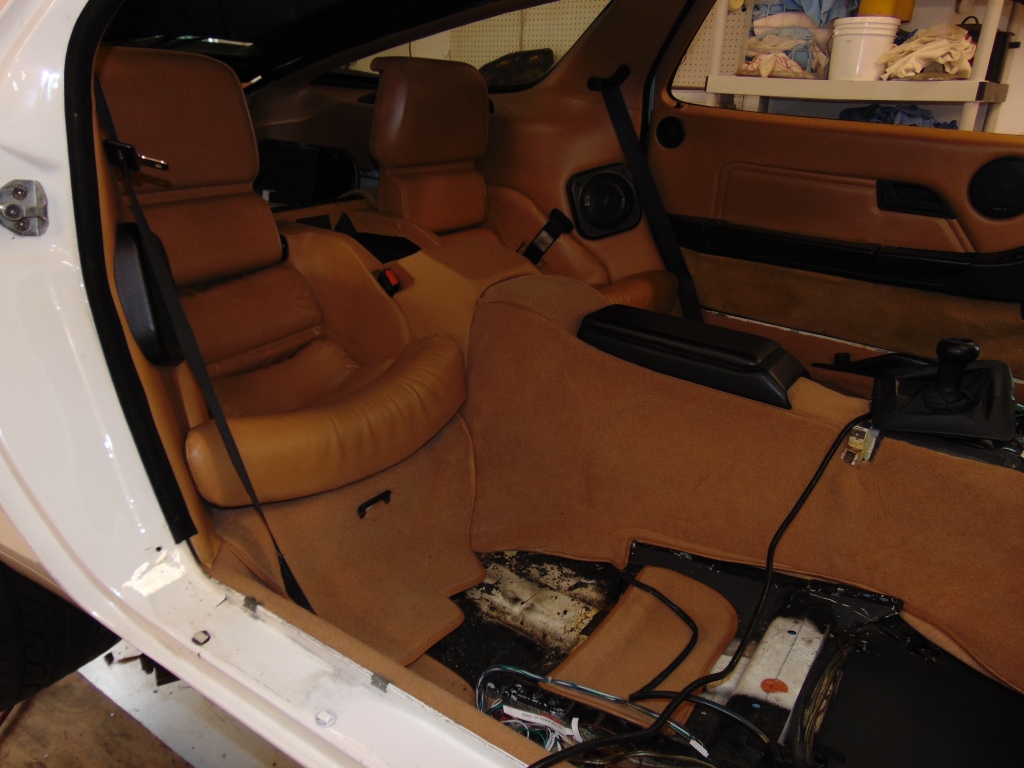
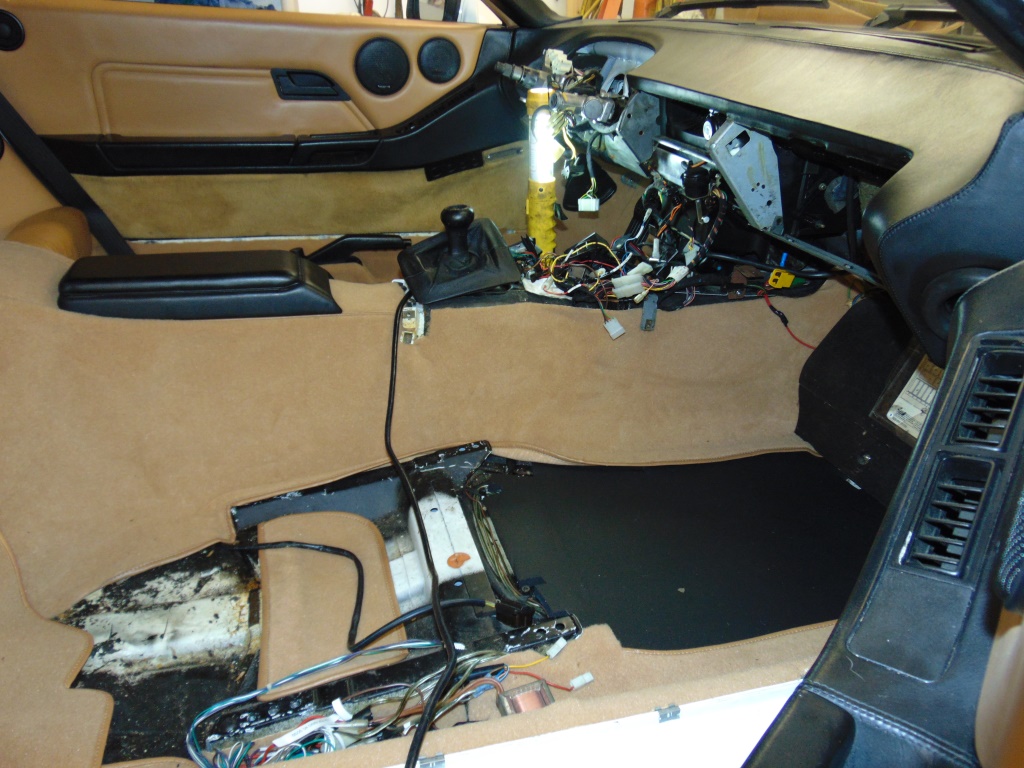
Well if the car looked bad with grungy carpet, it looks really bad all torn apart waiting for new carpet!
 While I was waiting for my new carpets to arrive, I tackled another issue, which is the dreaded “eyebrows” on the vent outlets. The dash material looses it grip at the defroster vent outlets and an “eyebrow” develops, staring at you as you drive the road.
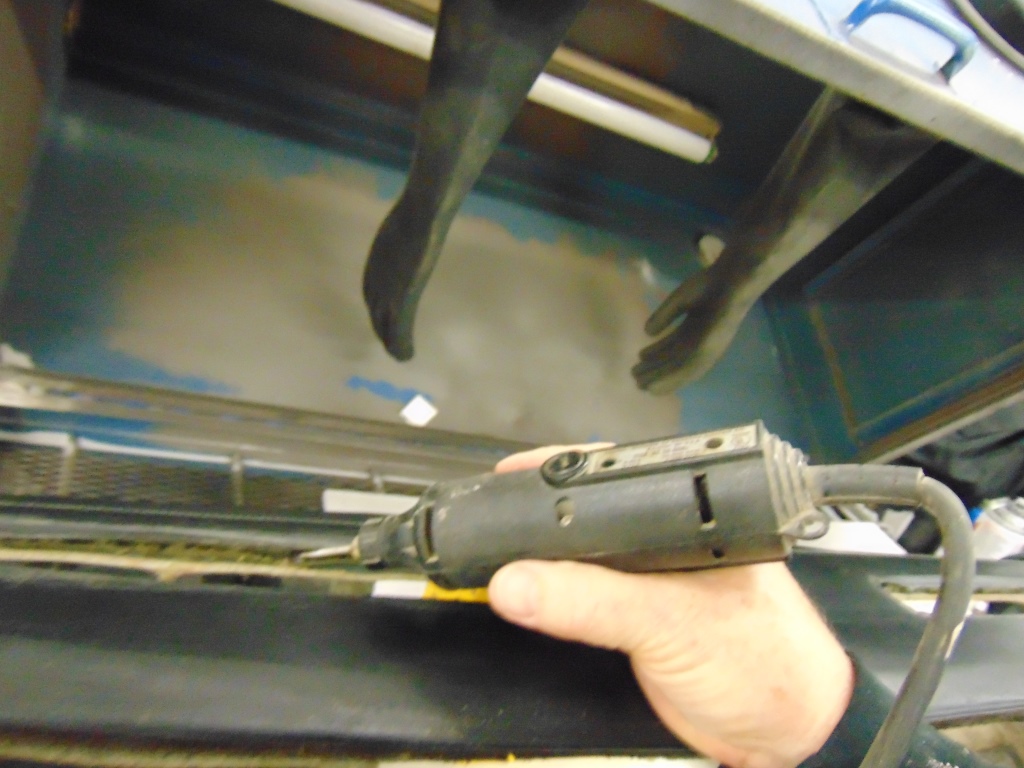
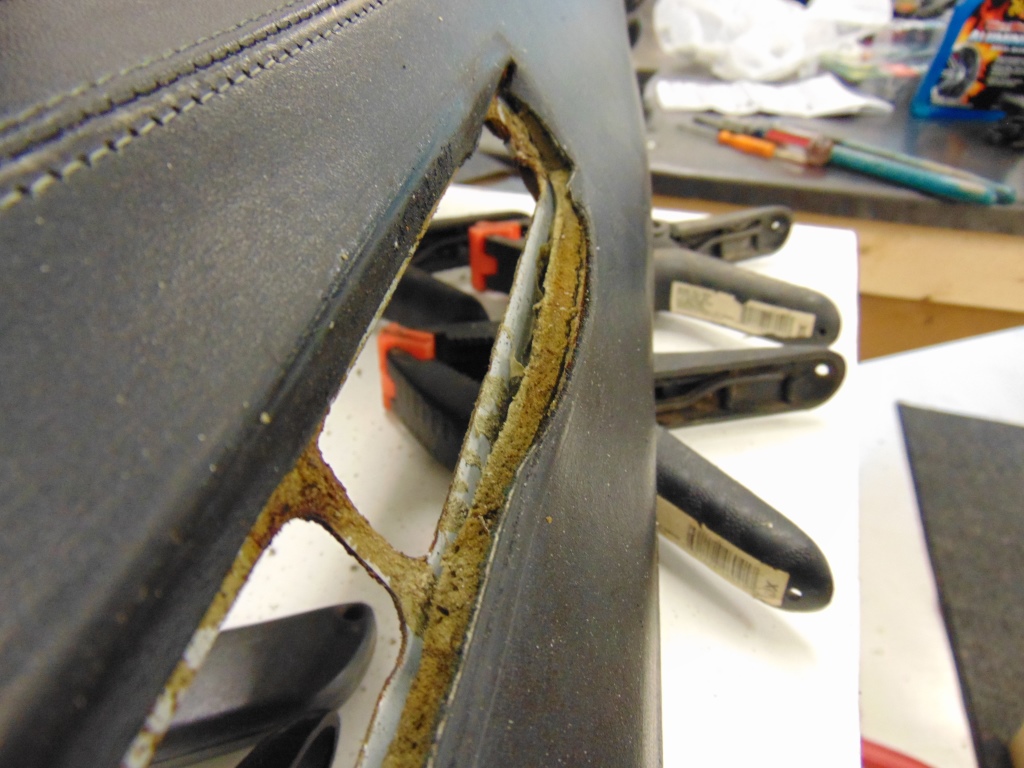 I followed a writeup I found on Rennlist and removed the dash. What I found is that its really not the leather causing the problem, its the 30 year old foam underneath. It was swelled up and petrified. After some study, I decided to remove the offending material with a Dremel.
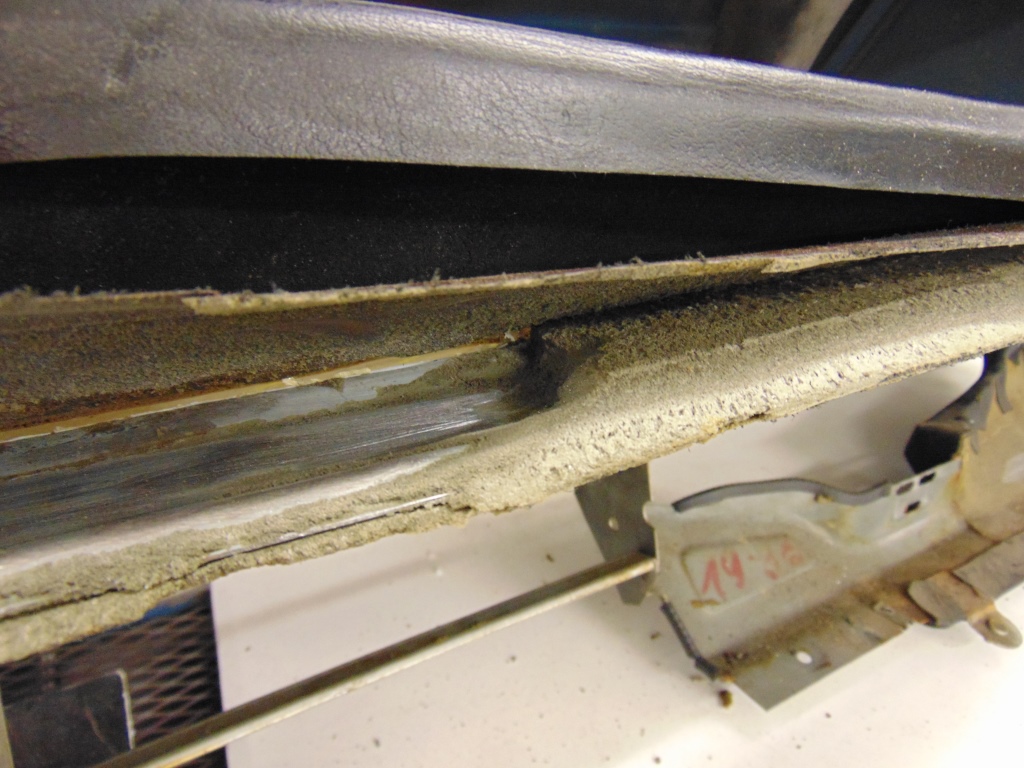
 When I was done, I had a cavity where the foam had been.
 Although I don’t have a picture of it, I filled this area with closed cell foam such as is used for underlayment on vinyl tops, etc. But when I laid the leather back down, it still wasn’t right. Stretching was needed. A version of mid evil torture reminiscent of the Rack.
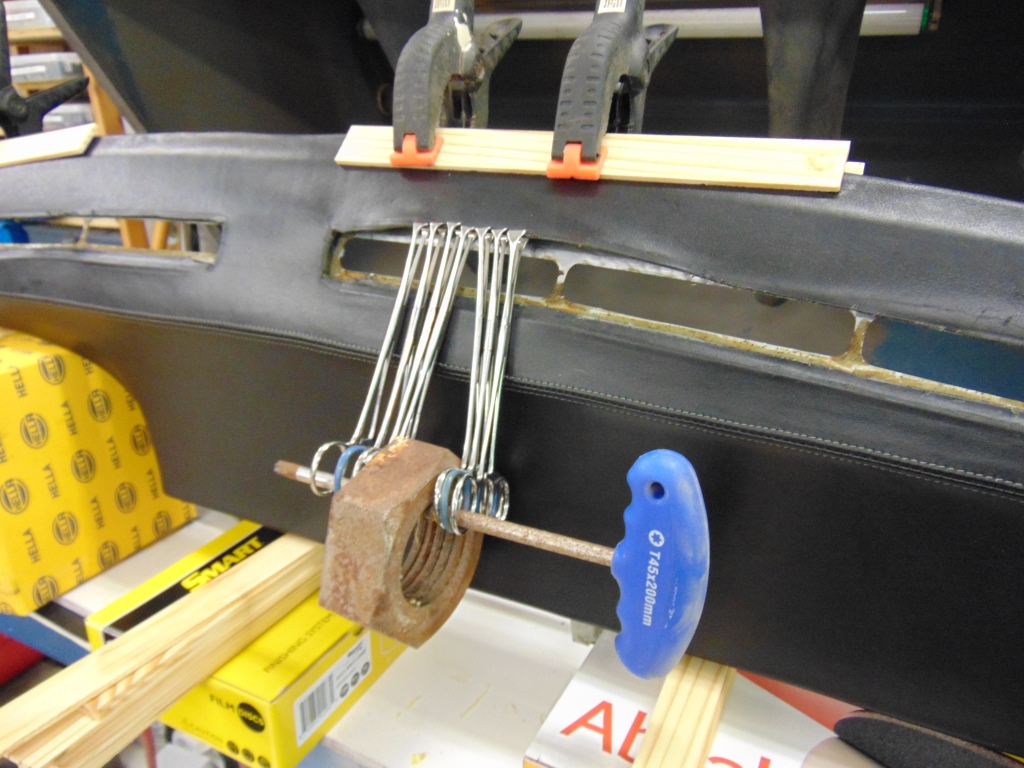
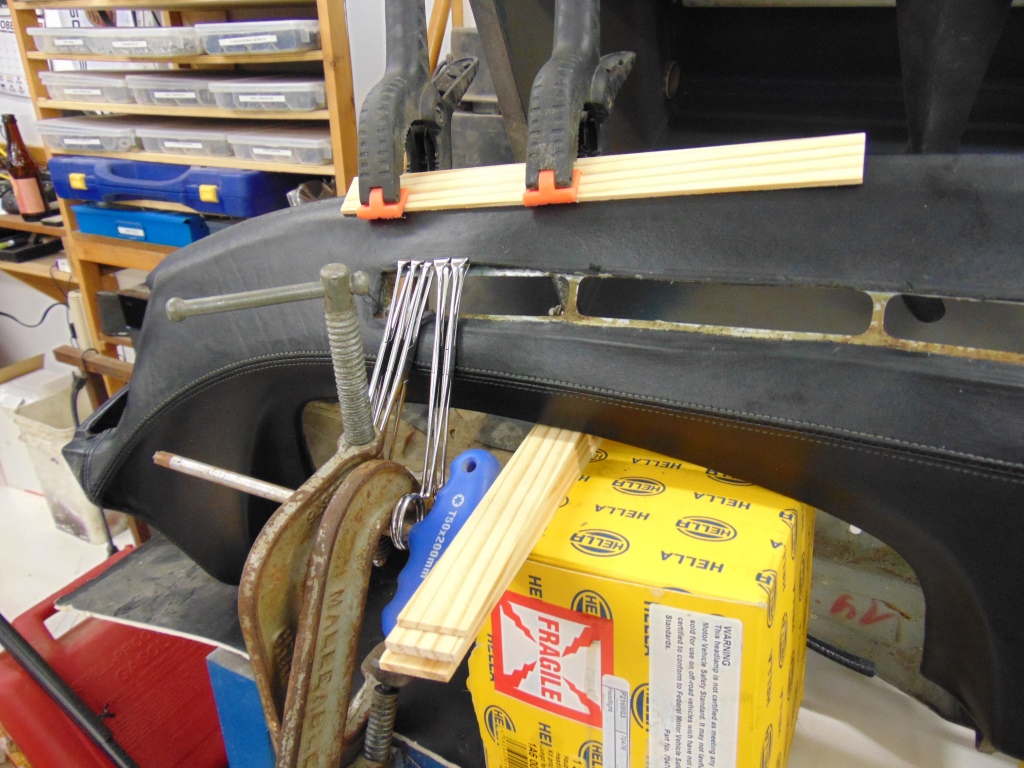 Those clamps are courtesy of my wife, a veterinary surgeon. The rest of it is jury rigged. Fortunately, this did the trick and when I test fit everything it was looking much better. The final step was to glue down the edges and apply the trim pieces.
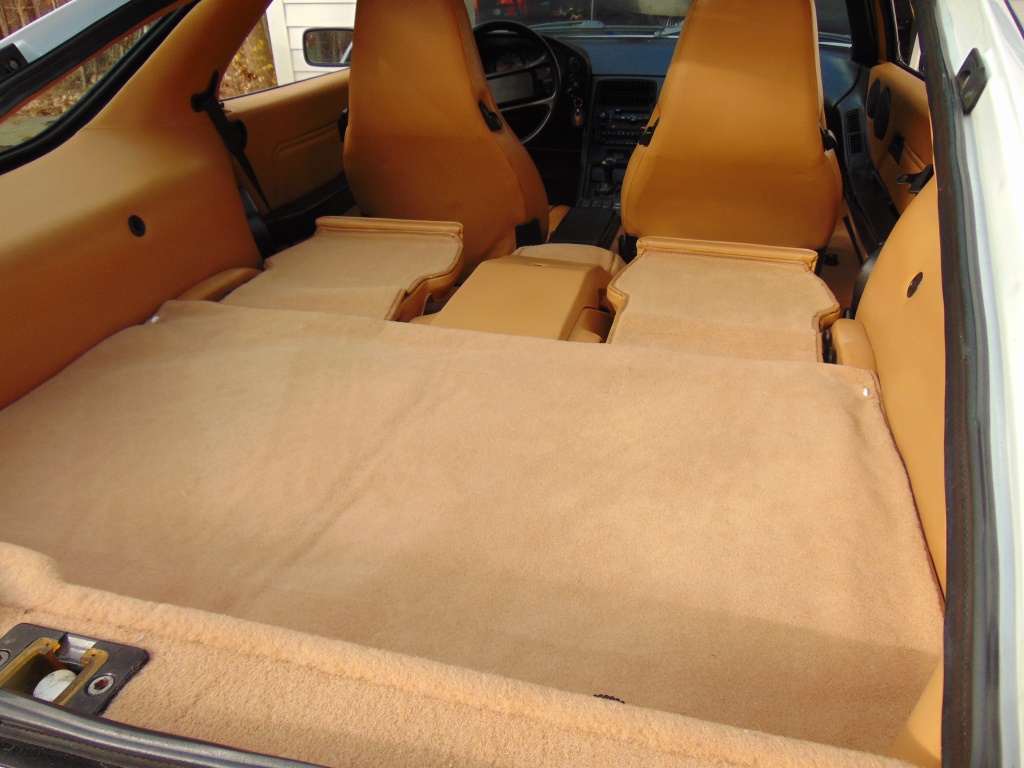
 My carpet kit had arrived. I don’t have too many in progress pictures but here are few.
 Rob Budd recommends use of 3M Super Upholstery cement in the aerosol can. I prefer the gel form of contact cement that comes in a can. With nitrile gloves I can just scoop it out with my fingers and apply, without fear of overspray getting on something important.
Oh, here is a fun little bit of history. Apparently someone named Alexis had something to do with the original installation of my interior.
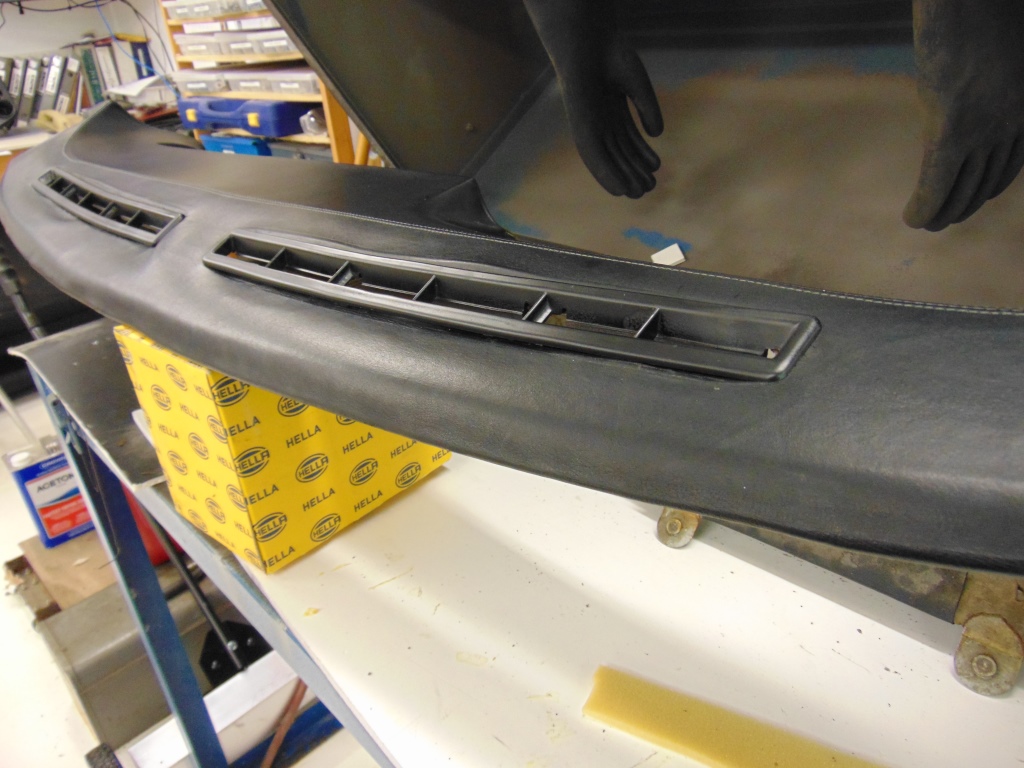
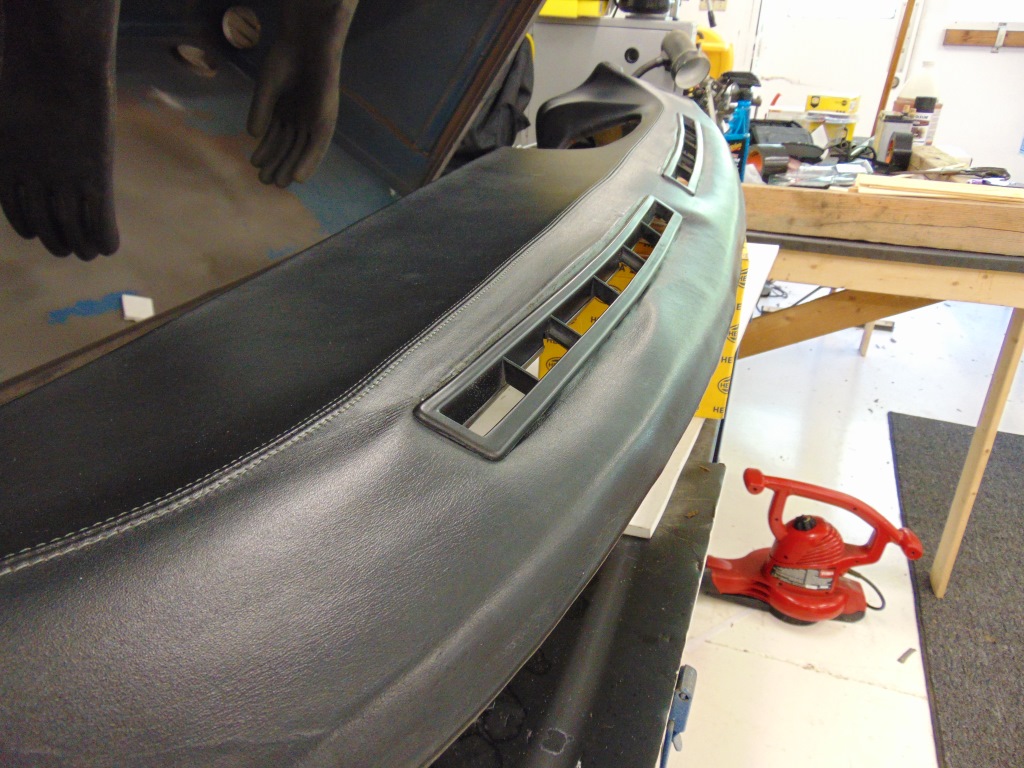
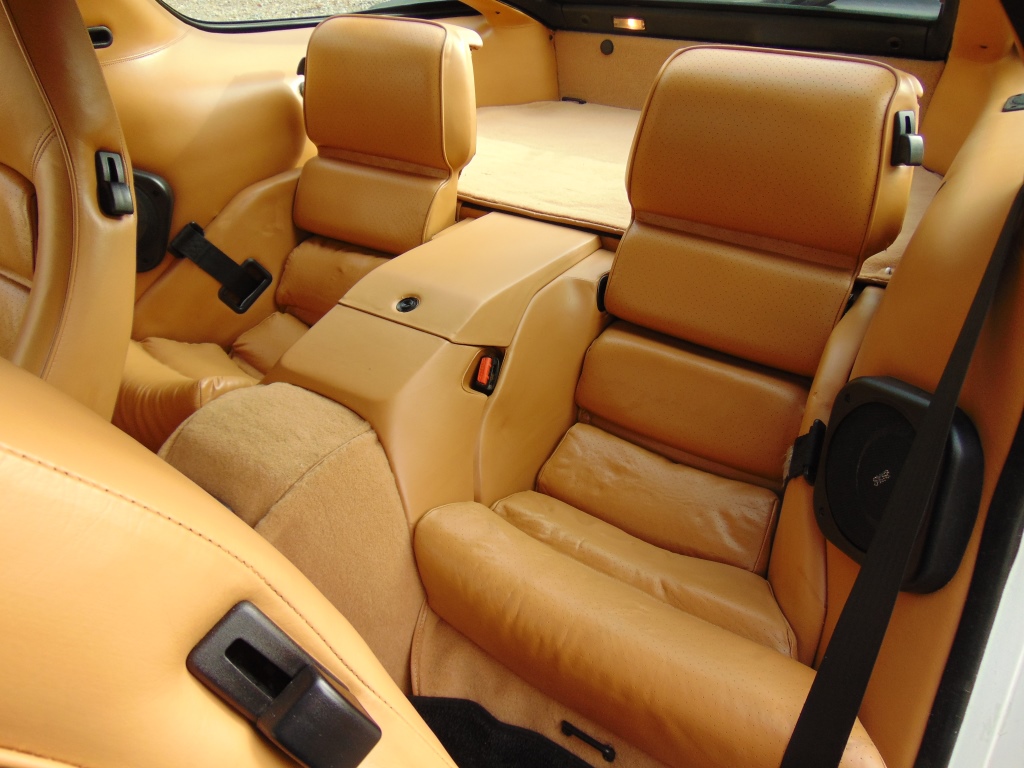
 So from there is wasn’t just a matter of putting things back into their place, waiting for the contact cement to tack up, and moving forward till everything was done. The results are just outstanding, if I may say so 🙂


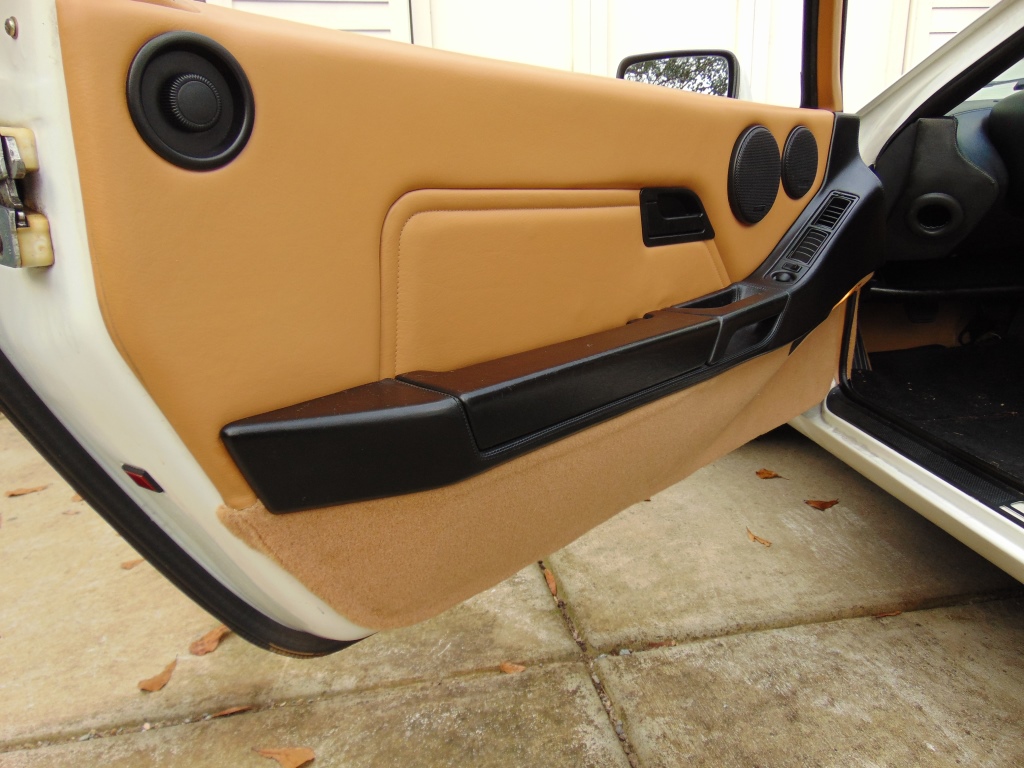


Note that the door threshold pieces was treated to a new coat of satin black.
BTW, I’m no photography expert. But after a little reading, I decided to shoot the interior using natural light. I shot these mid-morning on a cloudy day with my camera set on Auto/Cloudy. The results turned out well.
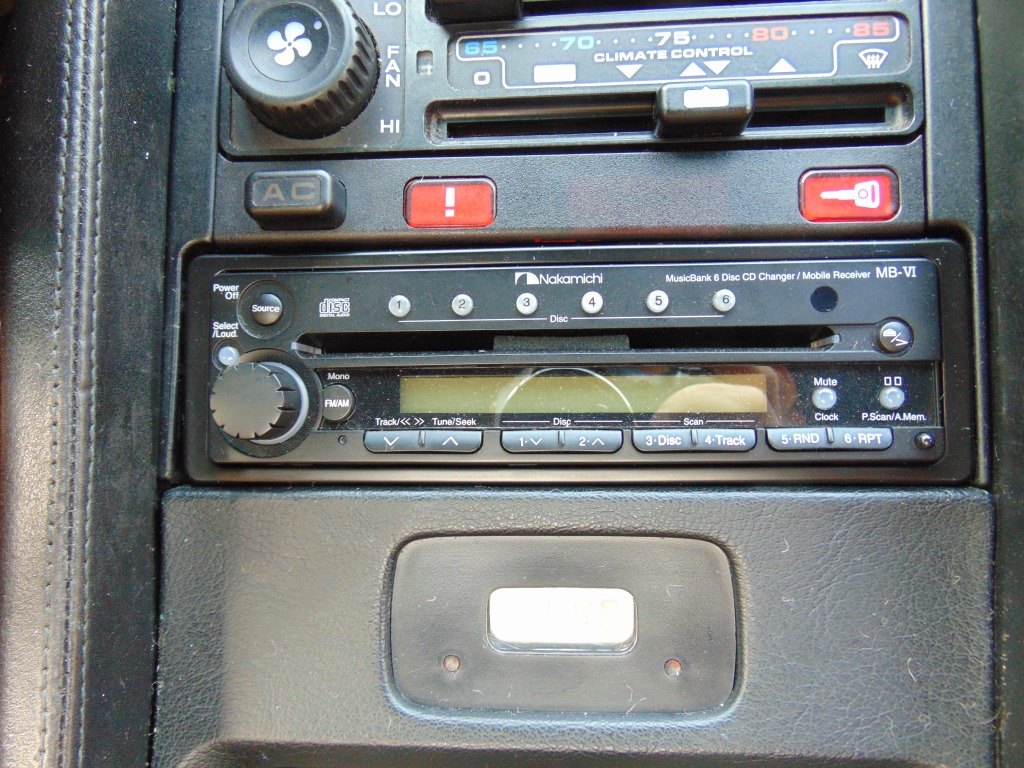
Here is a close-up of my Nakamichi head unit. I think it fits in quite well with the 80’s vibe of the car.
 Finally, an overhead shot from the outside.
 Looking good!

Discussion
Comments are closed.