This spring, I decided to do a cosmetic refresh of my engine compartment. This was part of my “rolling restoration” effort with this car. BTW, I had already done a “top end refresh” (discussed here) quite a few years ago. This effort was necessary to make the car mechanically sound as far as fuel delivery, air intake, ignition, etc. Over the years, the paint on the intake manifolds was getting to be very shabby. I decided it was time to make everything “factory fresh”.
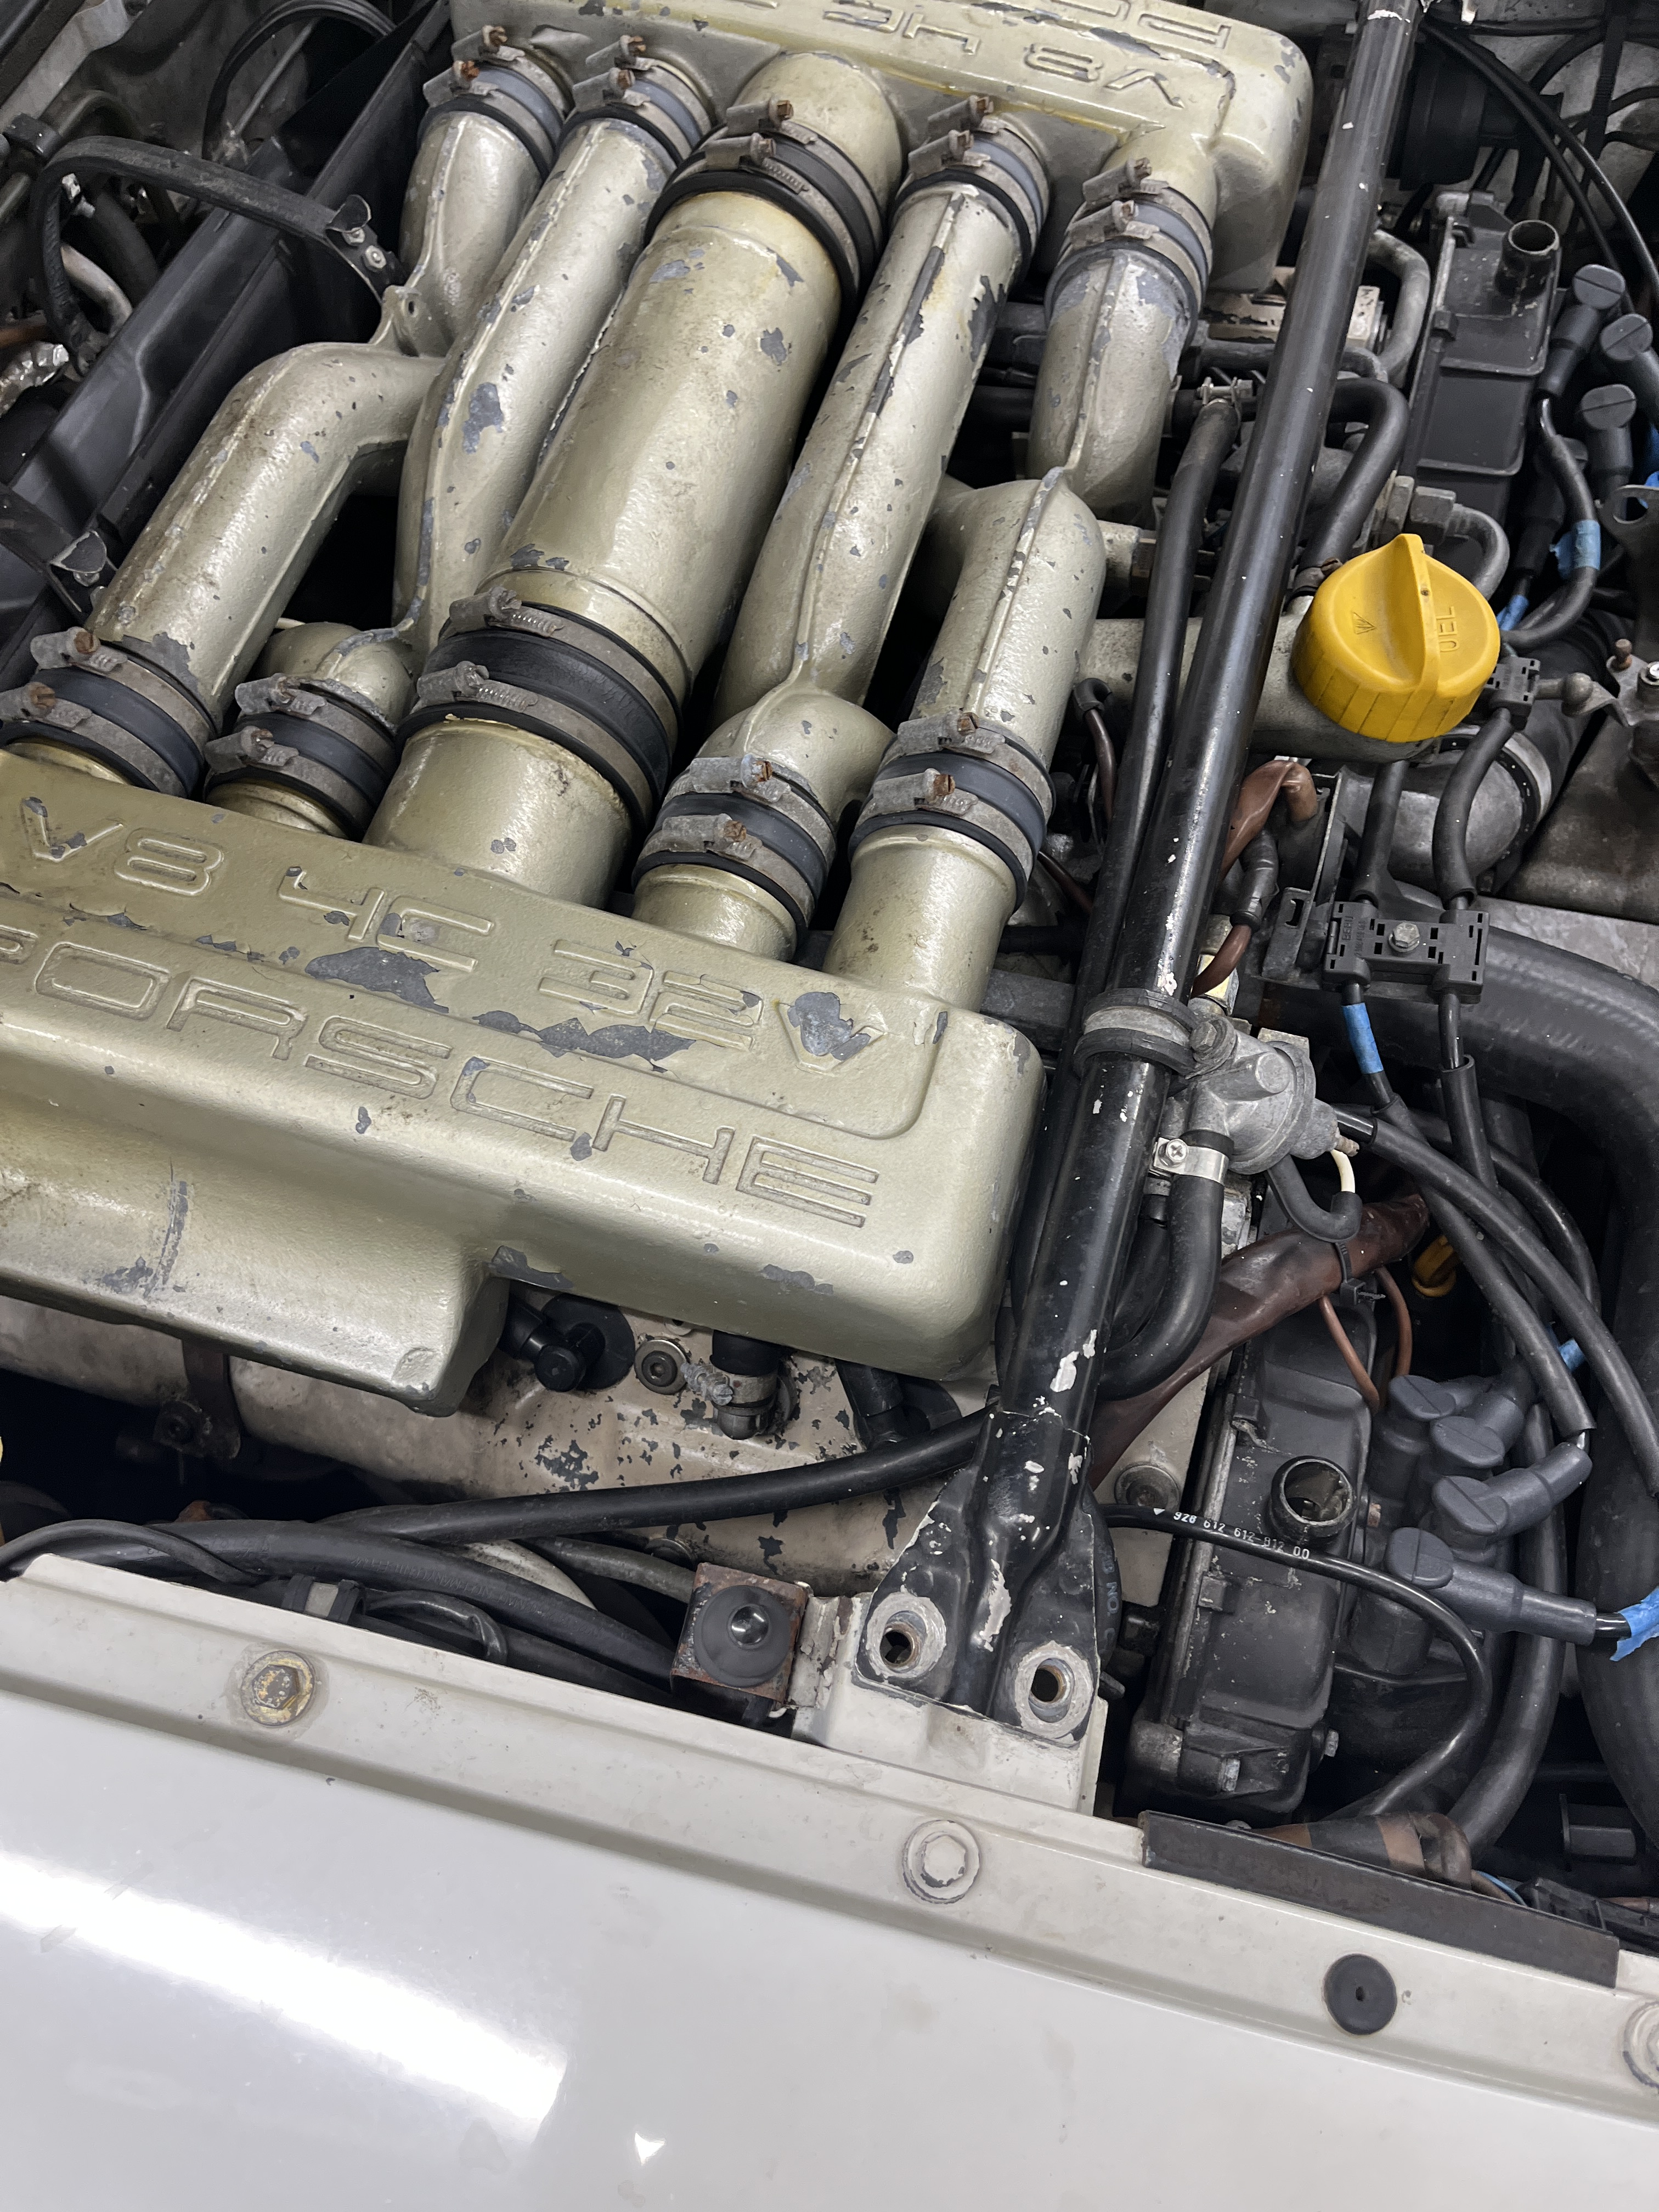
The first step of course was to carefully document and remove the various items that needed to be cleaned up or restored. I had done this job before, so I knew the general process but I was very careful to take photos as each layer of the disassembly was completed. You reach a point where the cylinder heads and the V between them are all that is left.
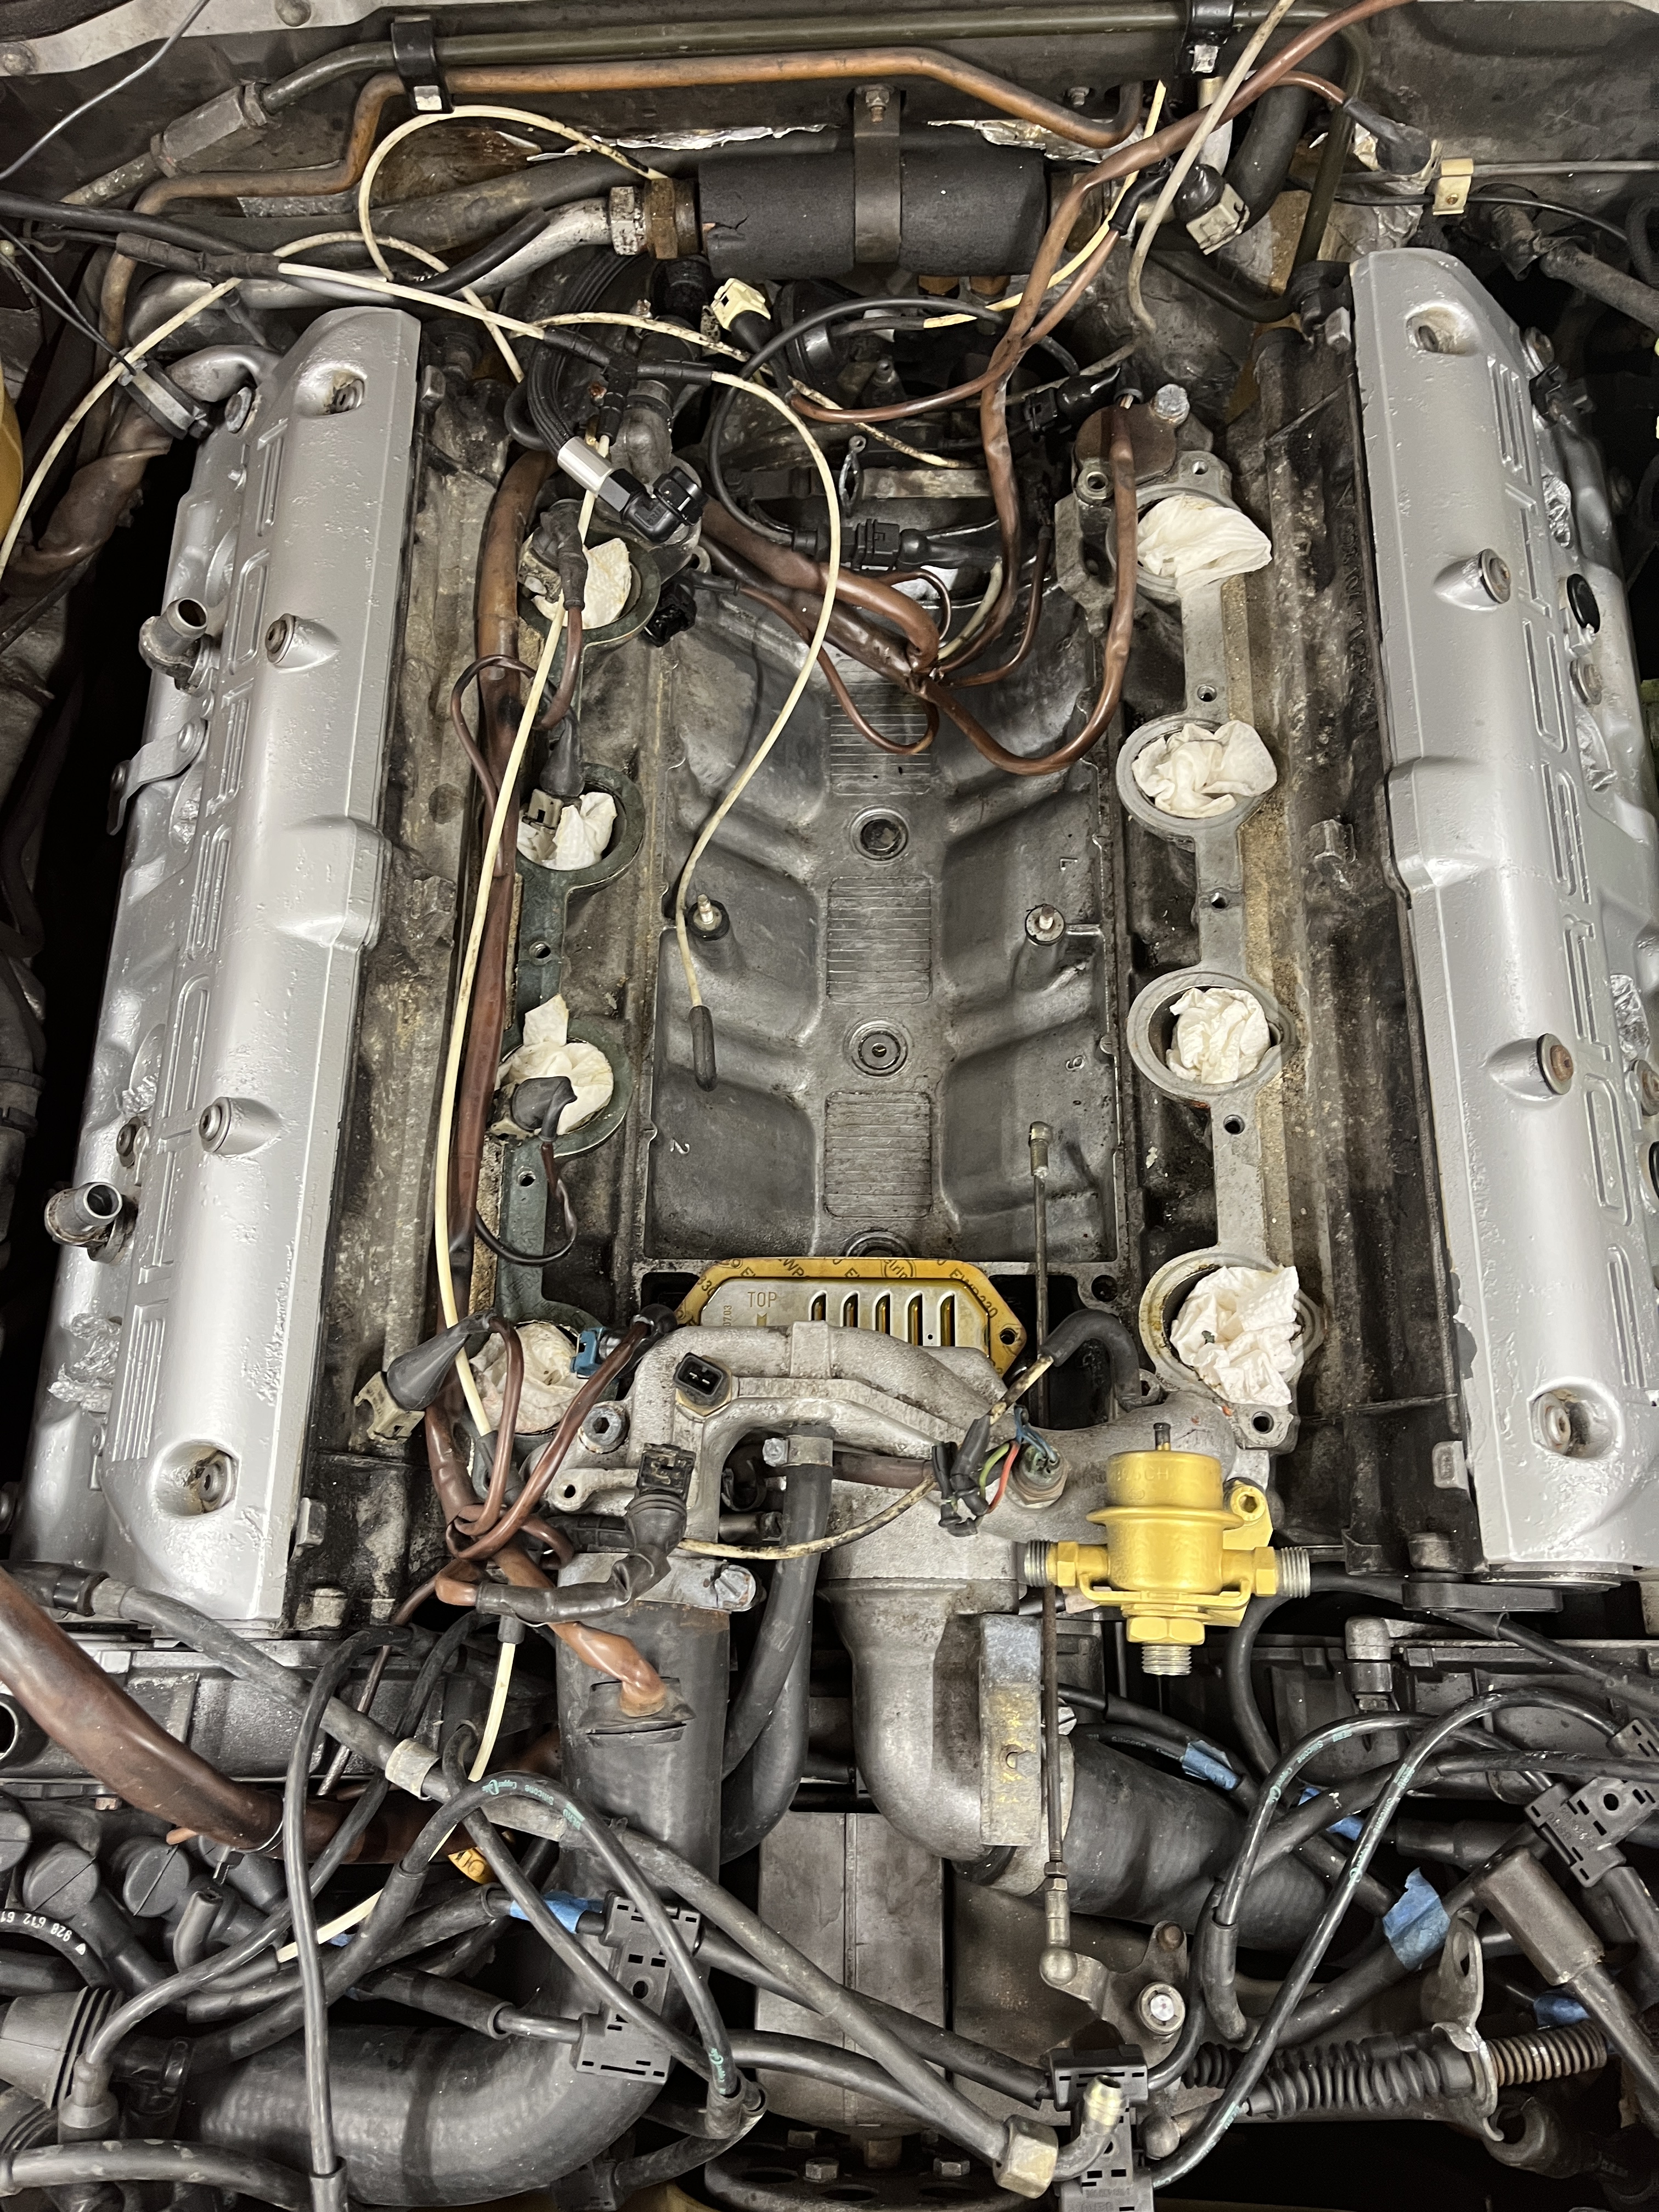
BTW, in the above picture, there is a yellow component in the fuel system. As we will see, there were a number of items that came new with a bright yellow zinc plating. The bolting for this particular item absolutely refused to break loose. Rather than stripping the threads in the block, I decided to leave it in place. This yellow color is part of a 3 part system available from Eastwood that mimics the appearance of yellow zinc. It’s not perfect but as we will see from the finished pictures, looks pretty good. Also in this picture, I have yet to remove all the stuff at the front of the engine. At some point, I realized that I needed to replace the timing belt so at some point all this was removed too. Here is a photo from that effort.

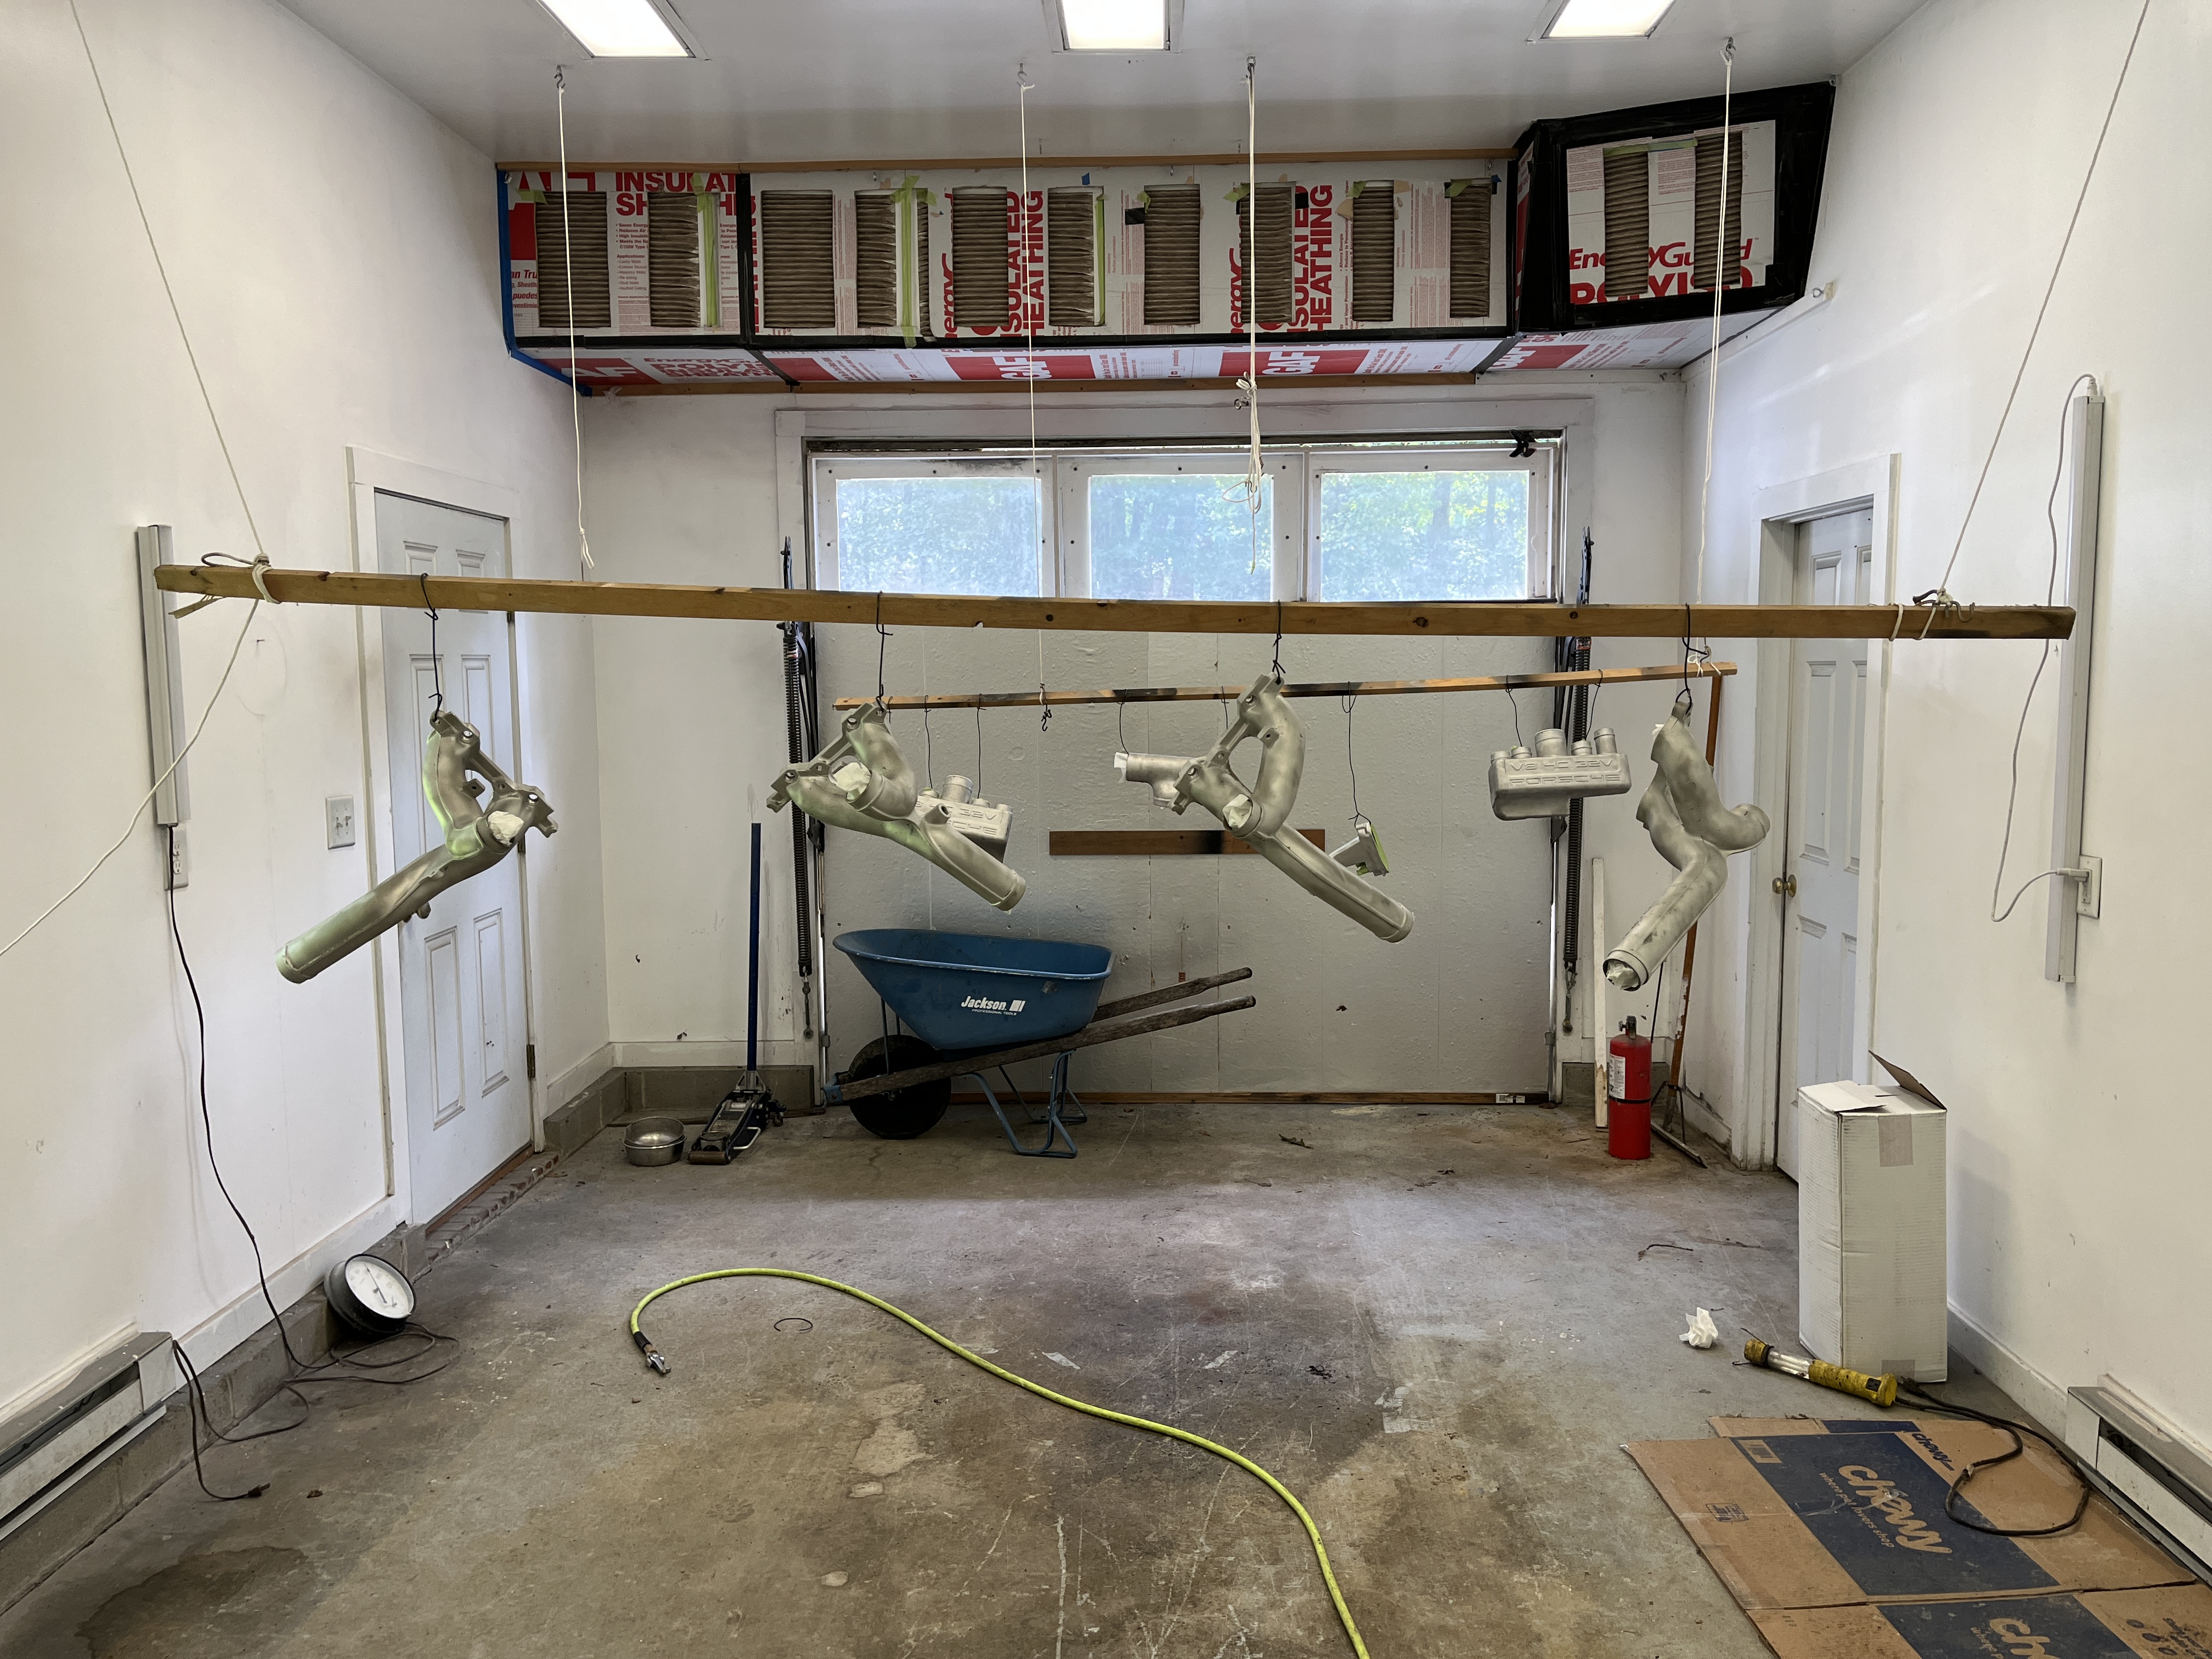
The main effort was to paint the intake manifolds. I bead blasted the various pieces. When I was done with that step, I was extremely rigorous to clean out the insides of the manifolds to remove every last bit of blast media, to prevent it from being ingested by the engine. Then it was out to the paint shop, where they got a coat of epoxy primer and then basecoat/clearcoat in Zermatt Silver.
The next step was to collect all the items that would receive yellow zinc plating. The tedious part is that my plater needs the parts bead blasted down to bare metal. But once I do that hard work, his process is very automated. He did all the parts shown in the picture below for less than $200.
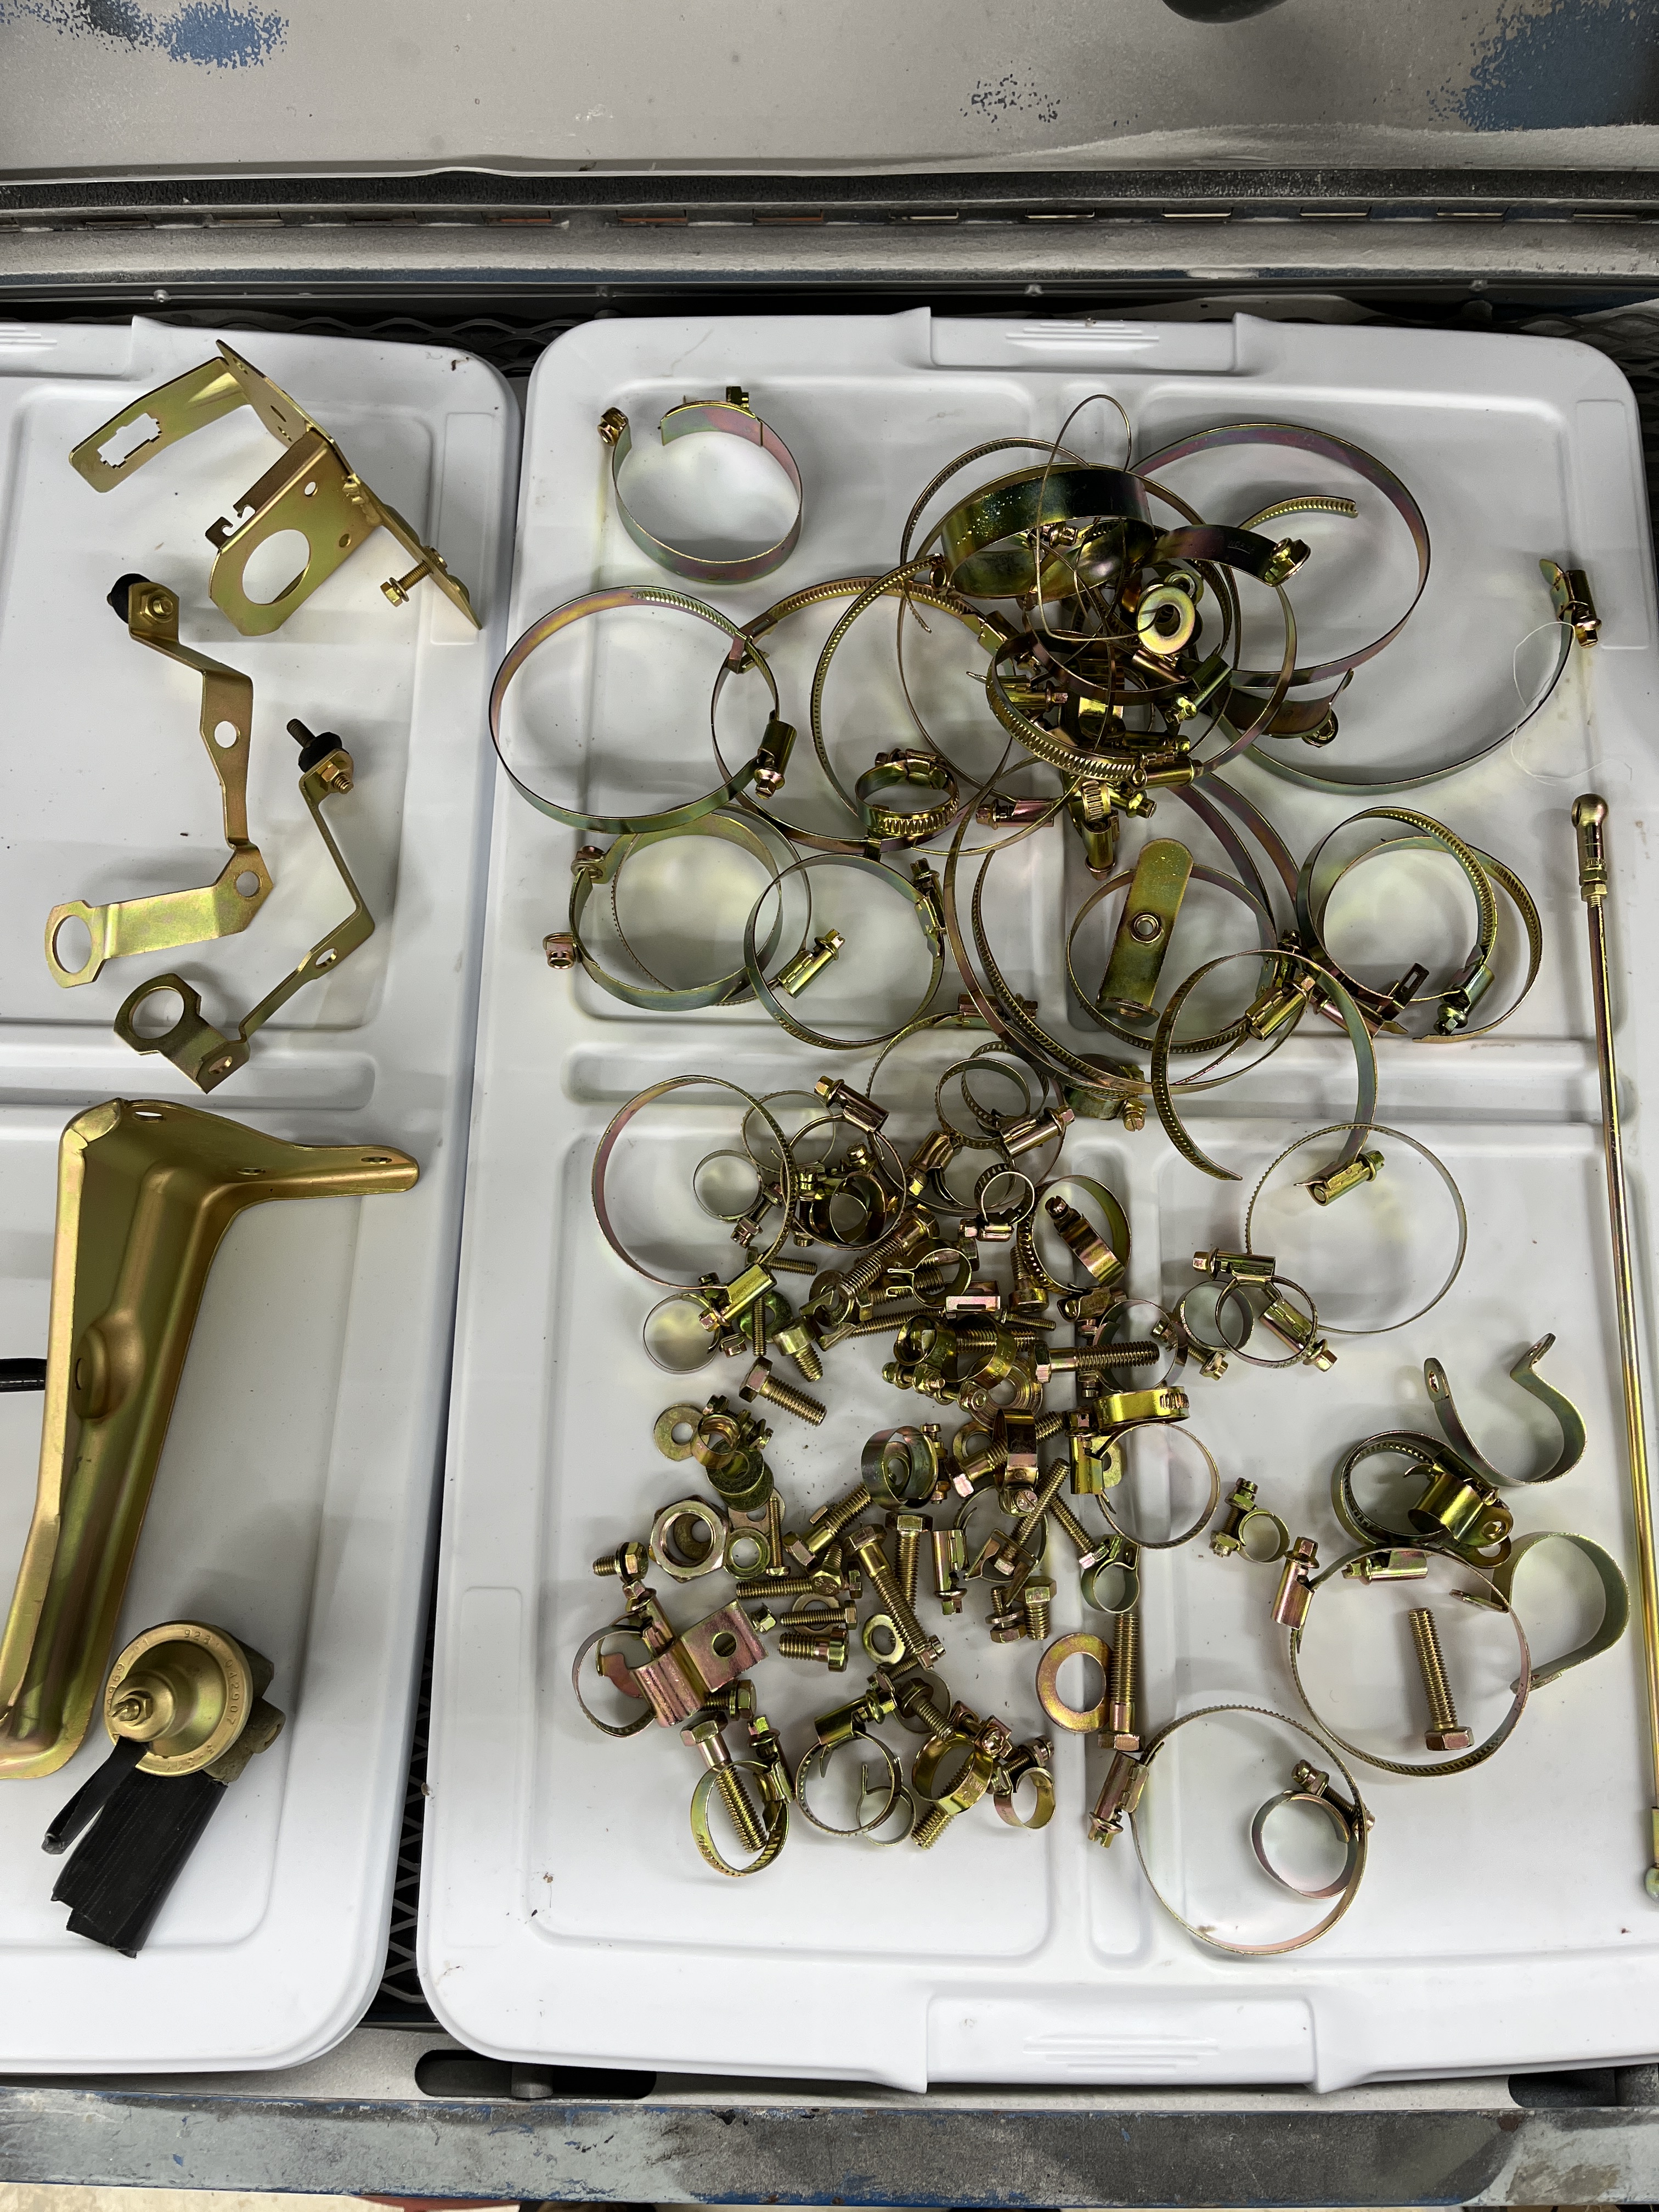
BTW, the diaphragm piece shown in the lower left hand corner of the photo was an inoperative one that I sent in as a test. The plater and I decided not to attempt to plate any of my functional items with internal diaphragms, for fear of the plating chemicals attacking the internal membranes.
While the plating was going on, I was repainting all the black plastic items. There are specialty spray can paints for black plastic, they mainly have chemicals in them that allow the paint to flex a little bit more than it would on metal. I believe I used a SEM product. I also hit to the tops of the valve covers with a little silver paint from a spray can.
What remained while I was in there was a lot of grease and grime removal. When new, the engine compartment sheet metal was white. Getting it back to a reasonable shade of white took a lot of 409 cleaner and elbow grease. Also, while they were easy to access, I pulled all the spark plugs and did a compression check. All 8 cylinders came in nicely at around 180 psi.
Now it was time for reassembly. There are a thousand and one details, that I won’t attempt to describe. One thing that I will mention is that I had been experiencing some “hunting” of the idle. I suspected a vacuum leak. I inspected all the vacuum hoses and replaced any that looked suspect. Still not confident that I had found the problem, I purchased a nifty little device that introduces smoke to the intake tract. That flushed out a few more leakers that escaped my visual inspection. The idle is much more steady now. Again, as I noted above, I took the opportunity to change the timing belt. The previous owner of this car had installed the Porken Tensioner. It seems to be well engineered and makes setting the timing belt tension a no-brainer. I had previously replaced the radiator, due to a leak. A little searching on line found me the appropriate decals to add to my new radiator. I even found a decal for the ignition coils. A frustrating example of attention to detail: Those straps that hold down the top of the air cleaner housing. I had 2 of one style and 2 of another. When I consulted with Roger at 928srus, it seemed that neither style I had was factory correct. $500 later, I had 4 correct matching straps. Ouch. At least they were available. And I believe the air filter element is right side up. The little wide spot in the center of the orange filter element goes down. And I treated myself to a factory fresh oil filler cap!
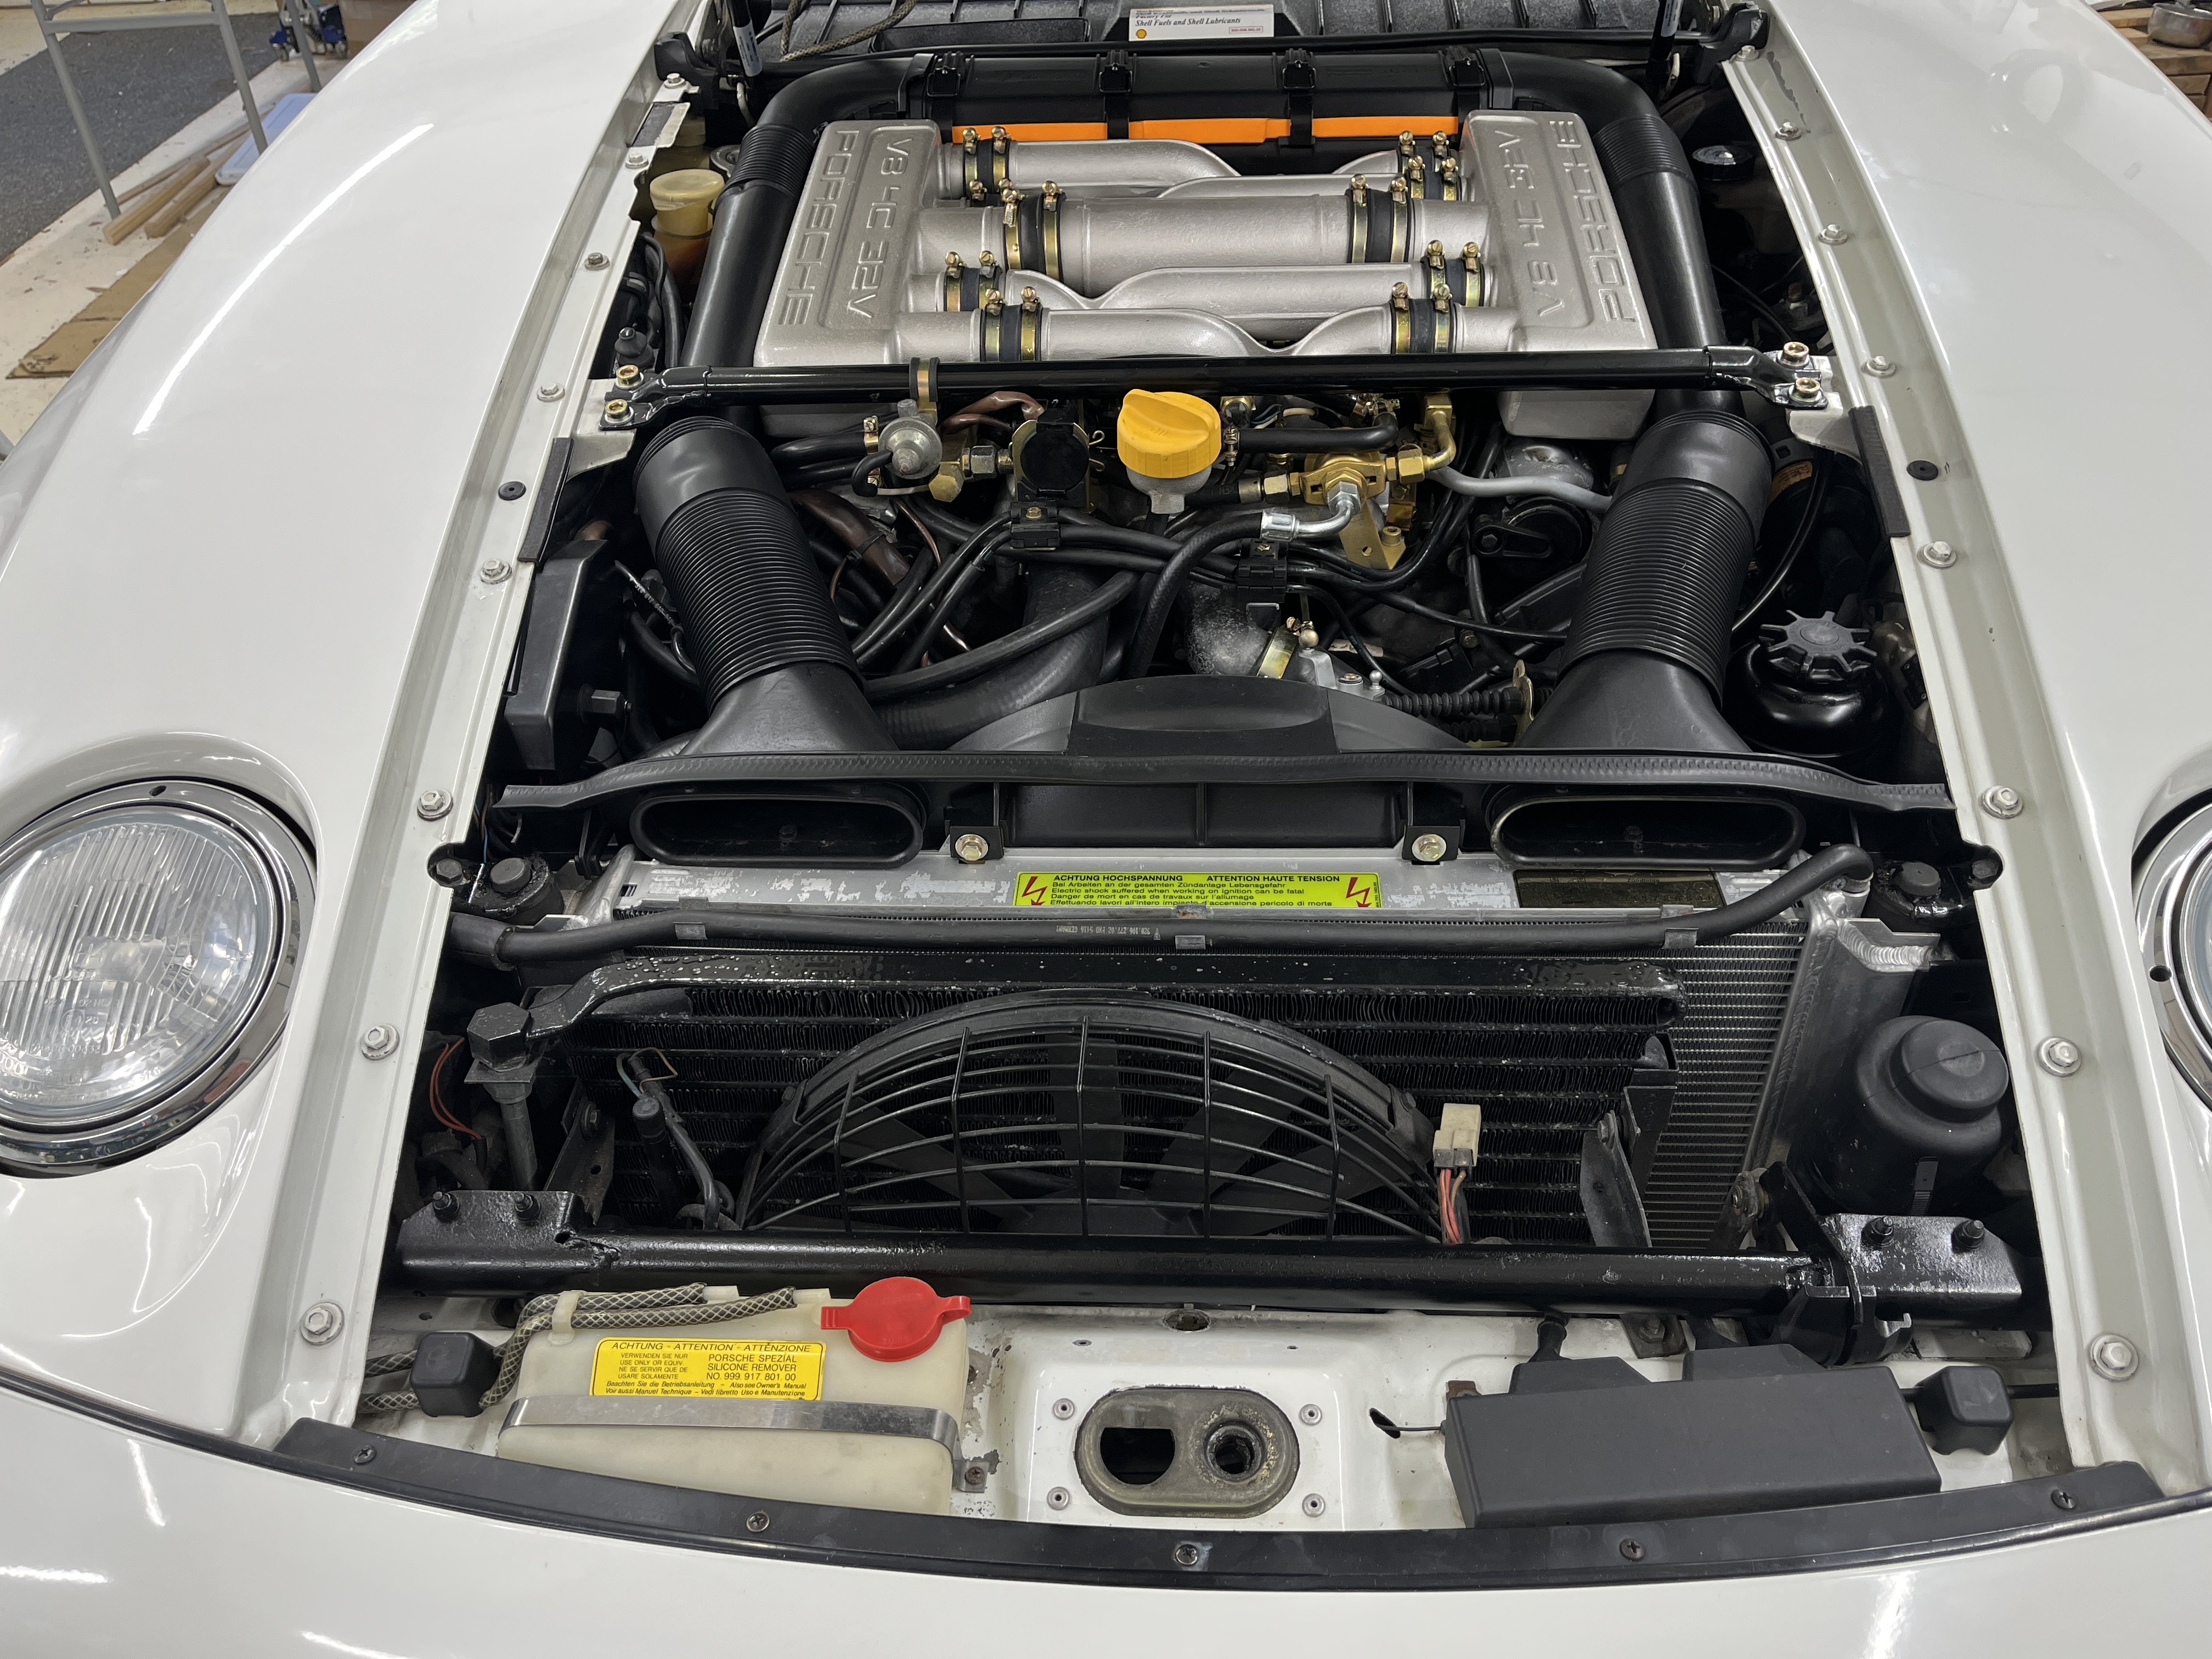
I am very please with the final results. It was a lot of work but the kind of work that I find to be satisfying. Now on to paint!


Discussion
Comments are closed.