When I left off in Part 7, we talked about bare metal paint jobs. In my case, I had found that the bonnet center section needed to be replaced with an aftermarket product. My efforts in this regard will be instructive to describe how this process may go for you or your body man.
Areas of the E-Type that are prone to rust are the entire floor section, the “sills” (the rounded box sections under the doors), the lower part of the doors, the boot floor, and the front and rear wheel wells. Basically the lower 1/3 of the car! In addition, all 4 sides of the car may have been exposed to collision damage, poorly repaired. As the number of clean rust free project cars dwindle, it is somewhat inevitable that body work will be required.
There are a few firms, mostly in the UK, that can build you an entire E-Type body shell from scratch. Probably not cost effective but it can be done. Many of the panels in the list above that tend to require replacement are still being produced. A firm in the UK by the name of Martin Robey has apparently acquired the original molds from Jaguar. If you look at their on-line catalog, a lot of items are listed for purchase. Martin Robey has a certain negative reputation for timeliness and fitment but to a large extent they are the only major player for replacement panels. That said, Monocoque-Metalworks.com has a pretty good selection of pieces that they fabricate themselves at their shop in Maryland. I think SNG Barratt has also developed relationships with 3rd party fabricators. For instance, the bonnet center section I purchased from them came from Poland.
Complaints about fitment will invariably arise. There are many sources that will tell you that these cars were basically hand built and that no two cars are exactly alike. There were also minor changes made during production to parts that were subtle enough to not require that a new part number be established but still significant when you are trying to get things to line up. The video series on Monocoque-Metalworks Youtube channel addresses some of these issues. So it is understandably difficult for the fabricator of a reproduction part to sell a single item that universally fits. This leads to a certain amount of what I call “fettling” in order to get the replacement parts to fit.
Using my bonnet center section as an example, it was intentionally cut long at the back edge. This allows the installer to bring the back edge into precise alignment with the cowl. But get it wrong and cut off too much and you have just wasted a $1500 part. I made my cuts in multiple stages as I crept up on the final solution. I also had to install a spare engine and transmission into the frame in order to flex the engine frames and cockpit structure. This action alone narrowed the gap at the cowl perceptively. I found the slightly curved edge of the center section did not exactly line up with the wings. I used clamps to help bring both parts together in a grudging compromise of where they wanted to be. This resulted in a small but visible amount of flex in the panel next to the power bulge. I had to hammer and dolly this back into submission. The seams of the replacement piece did not come drilled with holes to mate with the wings. This was intentional and good, as it allowed me to match drill the existing holes in the wings. That said, it was another step in the process that consumed time. Finally, the center section does not come with any of the various stiffeners attached. Once the bare piece was clamped/bolted into alignment, I had to attach the stiffeners. Most of the stiffeners were attached at the factory using a pliable adhesive. I used a modern equivalent. On the back edge stiffener, I actually added small welds, as keeping the profile of that edge is key to maintaining a good alighnment with the cowl. This of course added additional work to grind/smooth/blend the welds. The point is that I spent many hours on this one piece. If one had to repair all the areas prone to rust that I listed above (not uncommon for many cars) I can imagine that the number of man hours required would be staggering. And thus you can see how getting a body ready for paint can be a time consuming and expensive proposition.
As I have already discussed, I also replaced the footwells and the footwell closing plates on the firewall. Getting the old items cut out was quite an effort but putting the new pieces in was pretty straightforward.
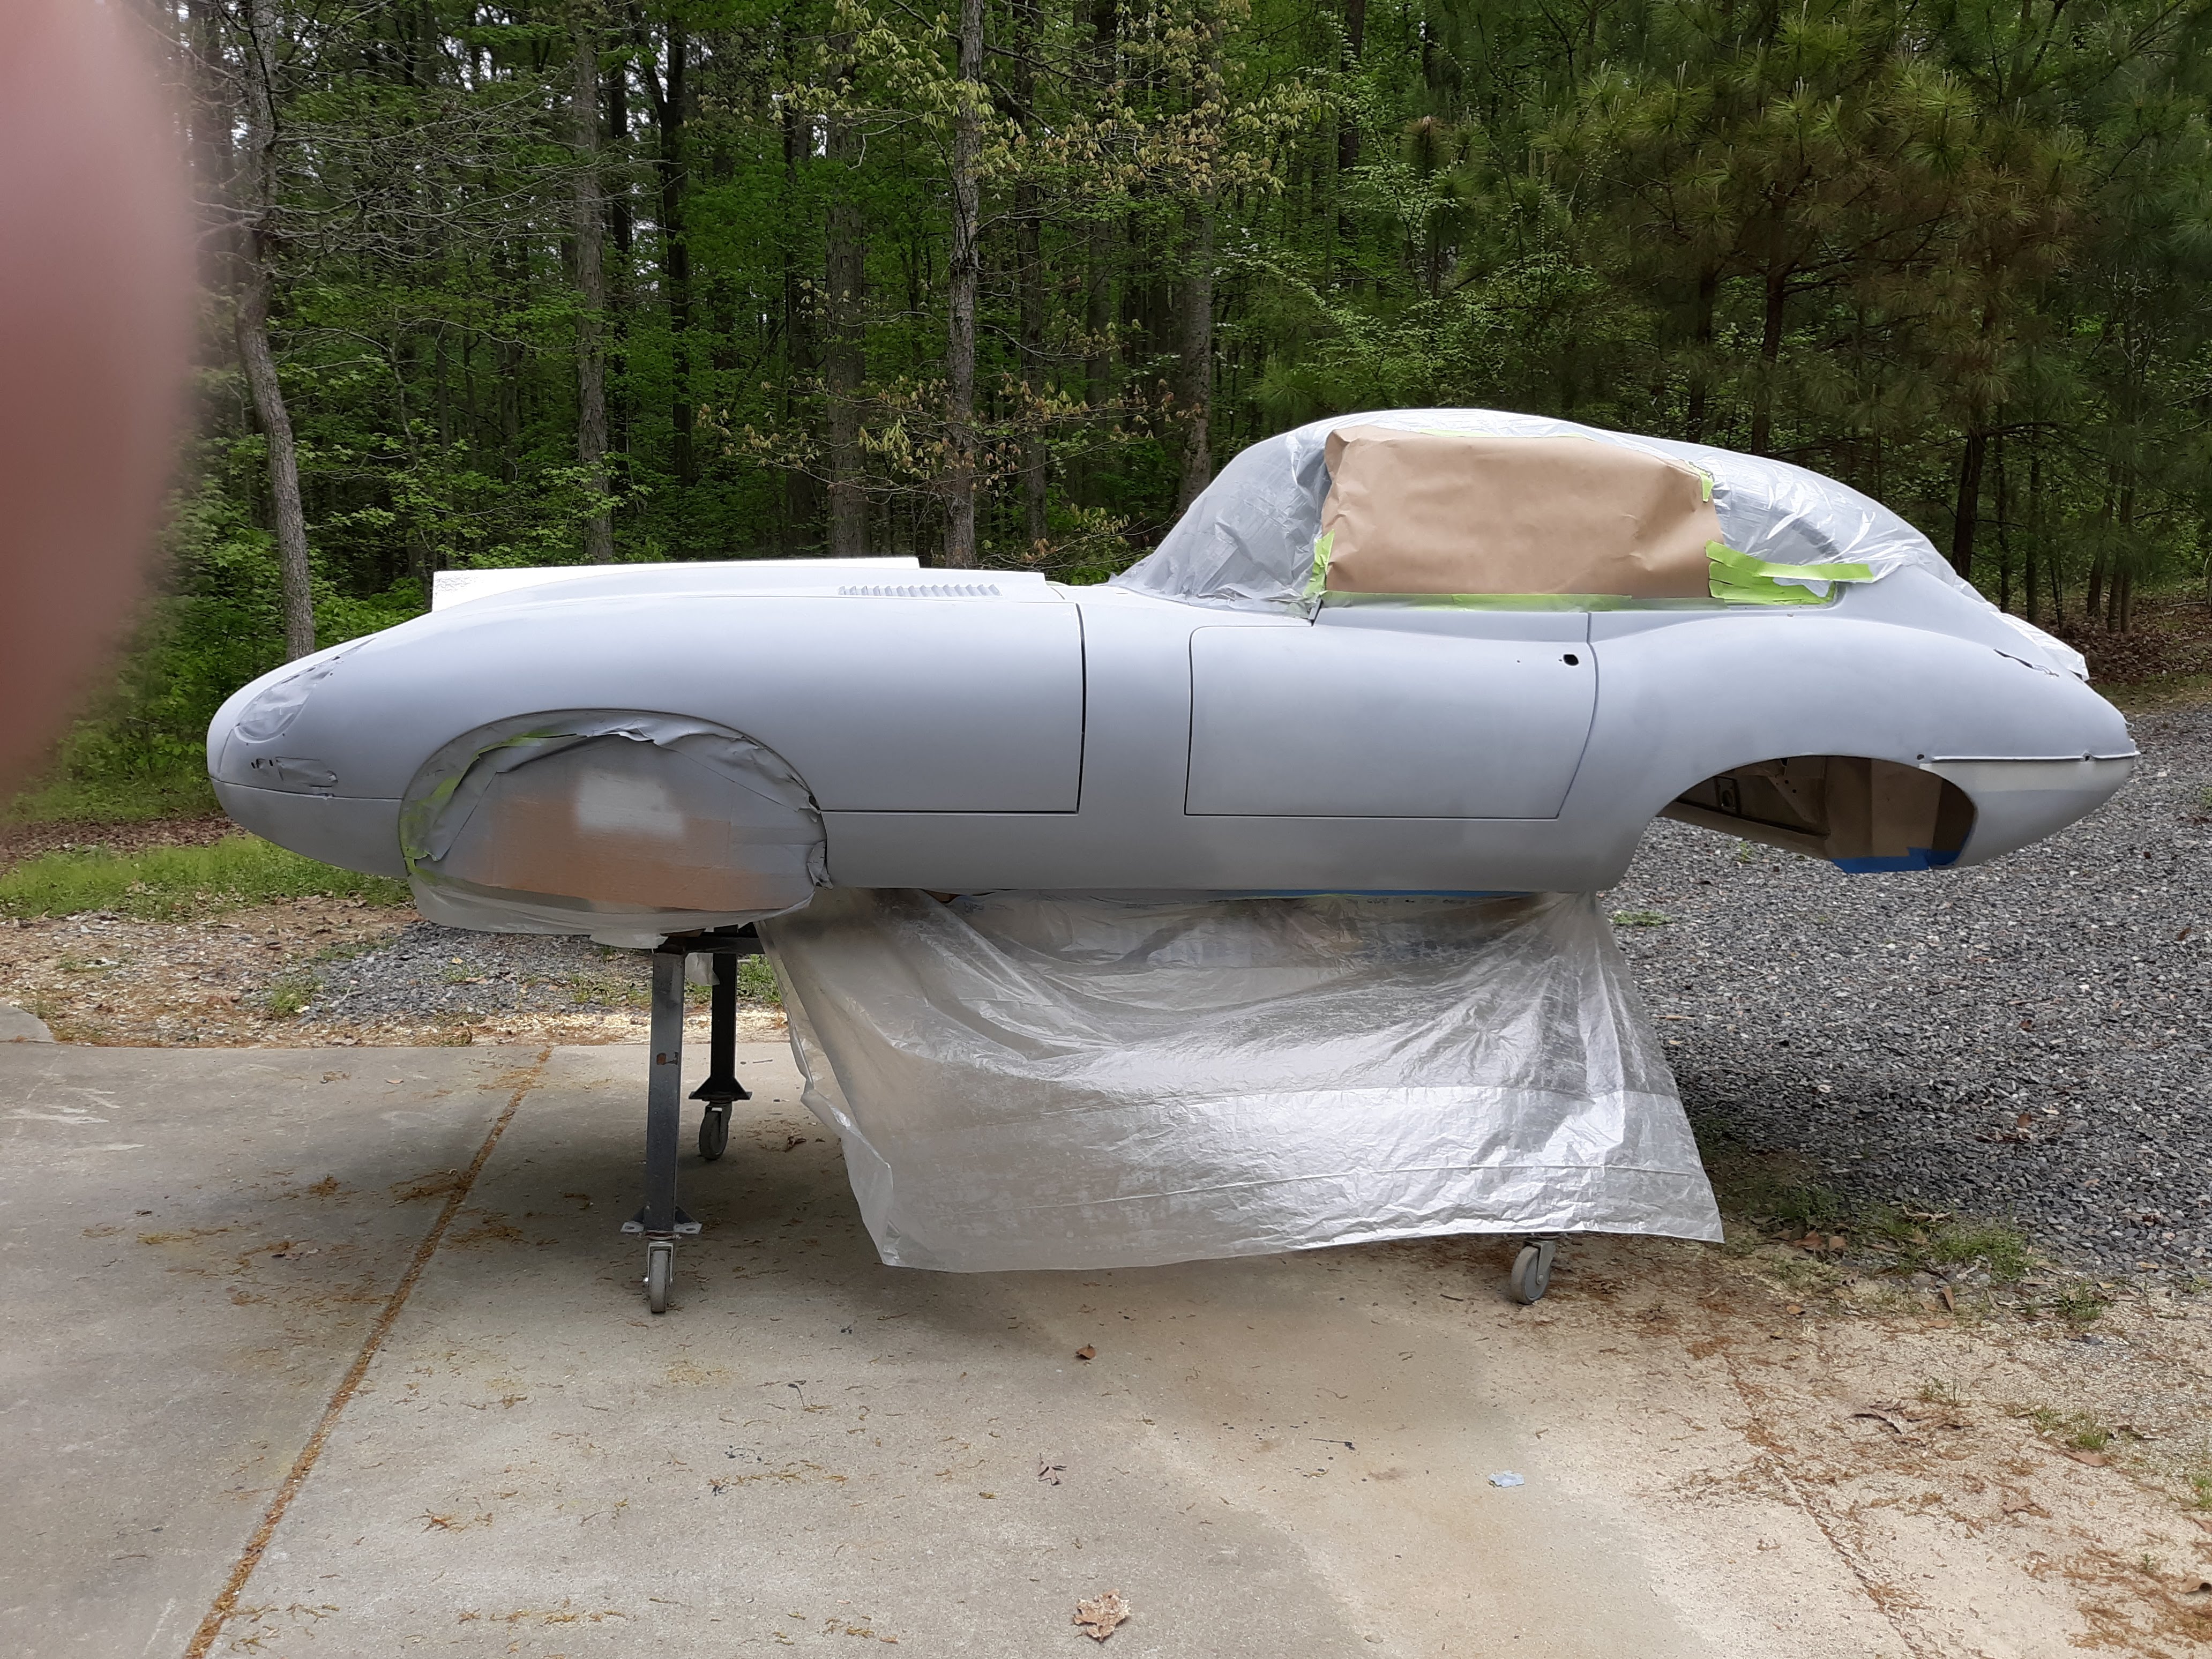
I probably need to back up a bit. Although the bonnet represented a major effort, I actually did it in the latter half of my body work project. I tackled the main body shell first. Although I talk about getting the body “straight”, there is really nothing straight on an E-Type body. The body shape was designed by Malcom Sayer. Sayer came from an aircraft background in general and was trained as an aerodynamicist. He wanted to design the E-Type to “cheat the wind”, in other words to slip through the air in the most efficient manner possible. I understand he used complex formulas to select the curvature of every point on the exterior with this goal in mind. I can’t tell if the fact that this also resulted in a drop dead gorgeous shape was just a coincidence or did he introduce some artistic license in the process. The end result is that there are no flat surfaces on the body. So getting the body “straight” in this case really means trying to reproduce the original curvatures. If you were starting from scratch this would be a tough thing to do. Fortunately most of my body and bonnet sheet metal pieces were in good condition, if not dinged locally by a life spent on the road and in parking lots. My paint and body work consultant ran his practiced hand over the sheet metal, pronouncing various areas as low or high. Almost no area was low or high enough to even see but I could certainly feel it, with his guidance.
The way he coached me to approach this process was to apply a thin layer of body filler (I used 3M Platinum). The filler is shaped with special flexible sanding boards that I own, mounted with 80 grit paper. Initially, you sand about 90% of the filler back off (it makes an extreme mess) until spots of bare metal begin to show. These are your high spots. In some cases we were able to tap this down with a hammer. Eventually, more filler is added and you are getting into the fine tuning. For this step you apply a “guide coat” which is basically just inexpensive black spray paint or a black powder sold by 3M. As you sand, the low spots will remain black and the high spots will be wiped clear of paint. It gives you a very graphic image of what you are chasing. You finally reach a point where the paint is removed uniformly, with the goal of having high spots as bare metal. The next step is to spray on multiple coats of what is known as “high build” urethane primer. This product is easy to sand. You also use a guide coat with it but now you are sanding with 320 grit paper. Once the guide coat process reveals a smooth contoured surface, you finish up with 400 and 600 grit, using wet sanding. The resulting surface is basically ready for paint. It is easy to describe but, once again, the manhours can really build up as you work your way around the entire body.
In my next article I will continue with my discussion of body work as required to get the car ready to paint.


Discussion
Comments are closed.