A week has gone by since my last dismal post and there is great news! I have been able to justify extra large portions for my dinner, what with all the hand sanding I have put myself through. (Don’t let anybody tell you I’m not a glass half full kind of guy!) So yes, sanding off the defective primer sucked and it was a lot of work but the removal process is behind me and I am started back. I used a combination of hand sanding with 80 grit paper on my short and long blocking boards and air powered DA sanding, also using 80 grit. The hand sanding worked best because I could really bear done and cut. DA stands for Dual Action. My Air Vantage palm sander moves in very small circular motions as well as a general roation of the 6″ diameter hook and loop pad. It is the tool that I use the most but it isn’t about massive material removal as much as about finesse. As I noted before, the primer was laid over a combination of polyester filler and primed bare metal. The defective primer proved to be pretty tough stuff but eventually I was able to remove it, either by reaching a white or yellow layer of polyester or shiney bare metal.
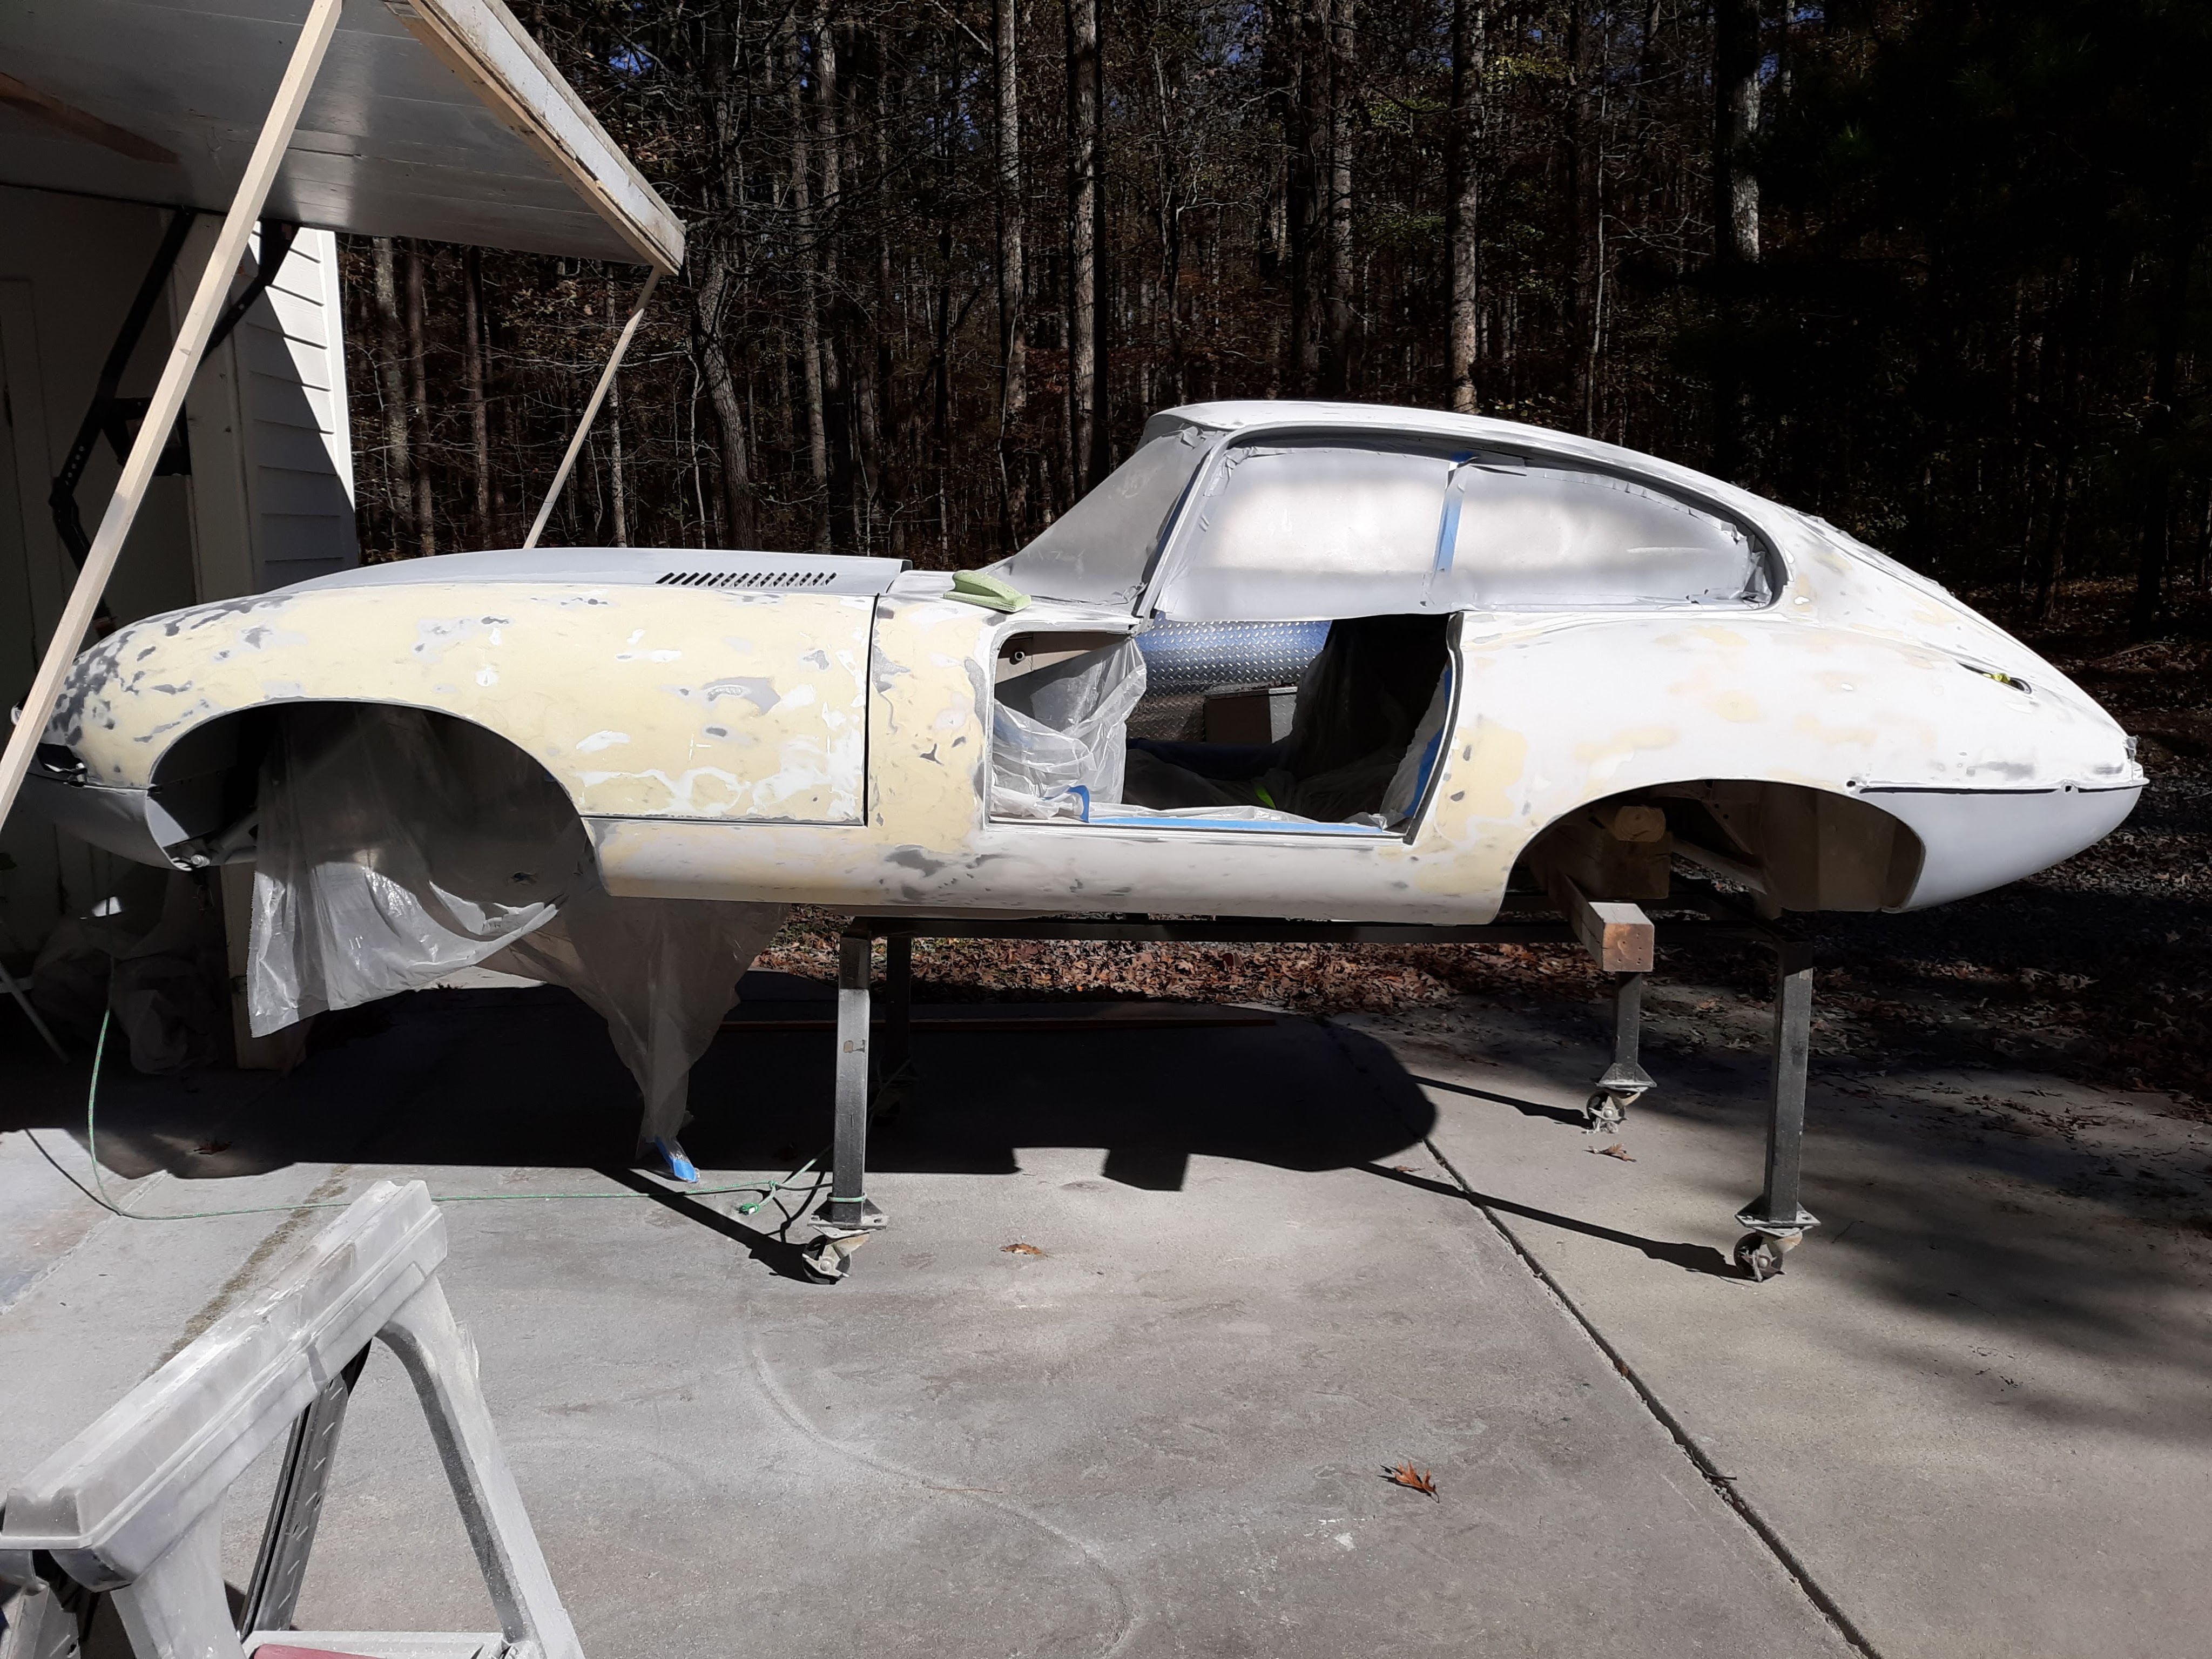
I also learned my lesson from my previous work and made a serious effort to find and eradicate all the pinholes. As I found out before, the high build primer does not generally flow into and fill pinholes. Also, because the removal process had caused me to dig some “holes” as required to get the primer out of the low spots, I knew I needed to re-establish the correct profile of the filler. I opted to lay on more of the Glasurit sprayable filler, which applies a uniform layer of polyester, roughly 4 mils per coat. This stuff is not cheap but it is very precise, which helps to minimize sanding in the final stages of bodywork. I applied 2 coats and block sanded. Then I applied 3 more coats. I am currently about 1/2 way through block sanding but so far everything looks very good. Which leads me to a side journey that I took i.e. the door hinges.

In the above picture, the doors are just strapped into the door openings. I realized it it time to block sand the doors and the surrounding openings as a unit, in order to get a uniform fit of the doors in the opening. It turns out the door hinges that I had were extremely hard to rotate. The pin had some serious corrosion in it’s hole in the hinge, I guess. I generally used the approach described in my article about refurbishing an Etype door hinge. BTW, this article won me a national award from JCNA that year for Techinal Newsletter articles. After that, our club newsletter editor changed my byline to “Award Winning Author Harvey Ferris”. I’ll take my 15 minutes of fame any way I can get it! Anyway, in that article, the problem was the pins were worn such that the door could be moved around on the hinge. In my current situation, the pin was too tight. But the process was very similar. I removed the factory welds at the end of the pins. I then drove the pins out. Even with chemicals, one of them didn’t want to come out. I finally was sucessful by heating up the hinge. I buffed the pins to a smooth surface but they still bound up when I tried to insert them in the hinge. So as described in the article, I used a reamer to clean up the hole. Eventually I was able to insert the pin. Since I had the two halves of the hinge apart, I decided to paint them in body color, which I did just yesterday. Today, I assembled the pins and welded the ends of the pins securely to the hinge. Then I used some epoxy putty to form a reasonable facimile of the OEM pin ends. After some more touch up painting, the hinges will be ready to install on the car and hang the doors. While I was at it, I painted the little hinge mechanism for the fuel filler cap.

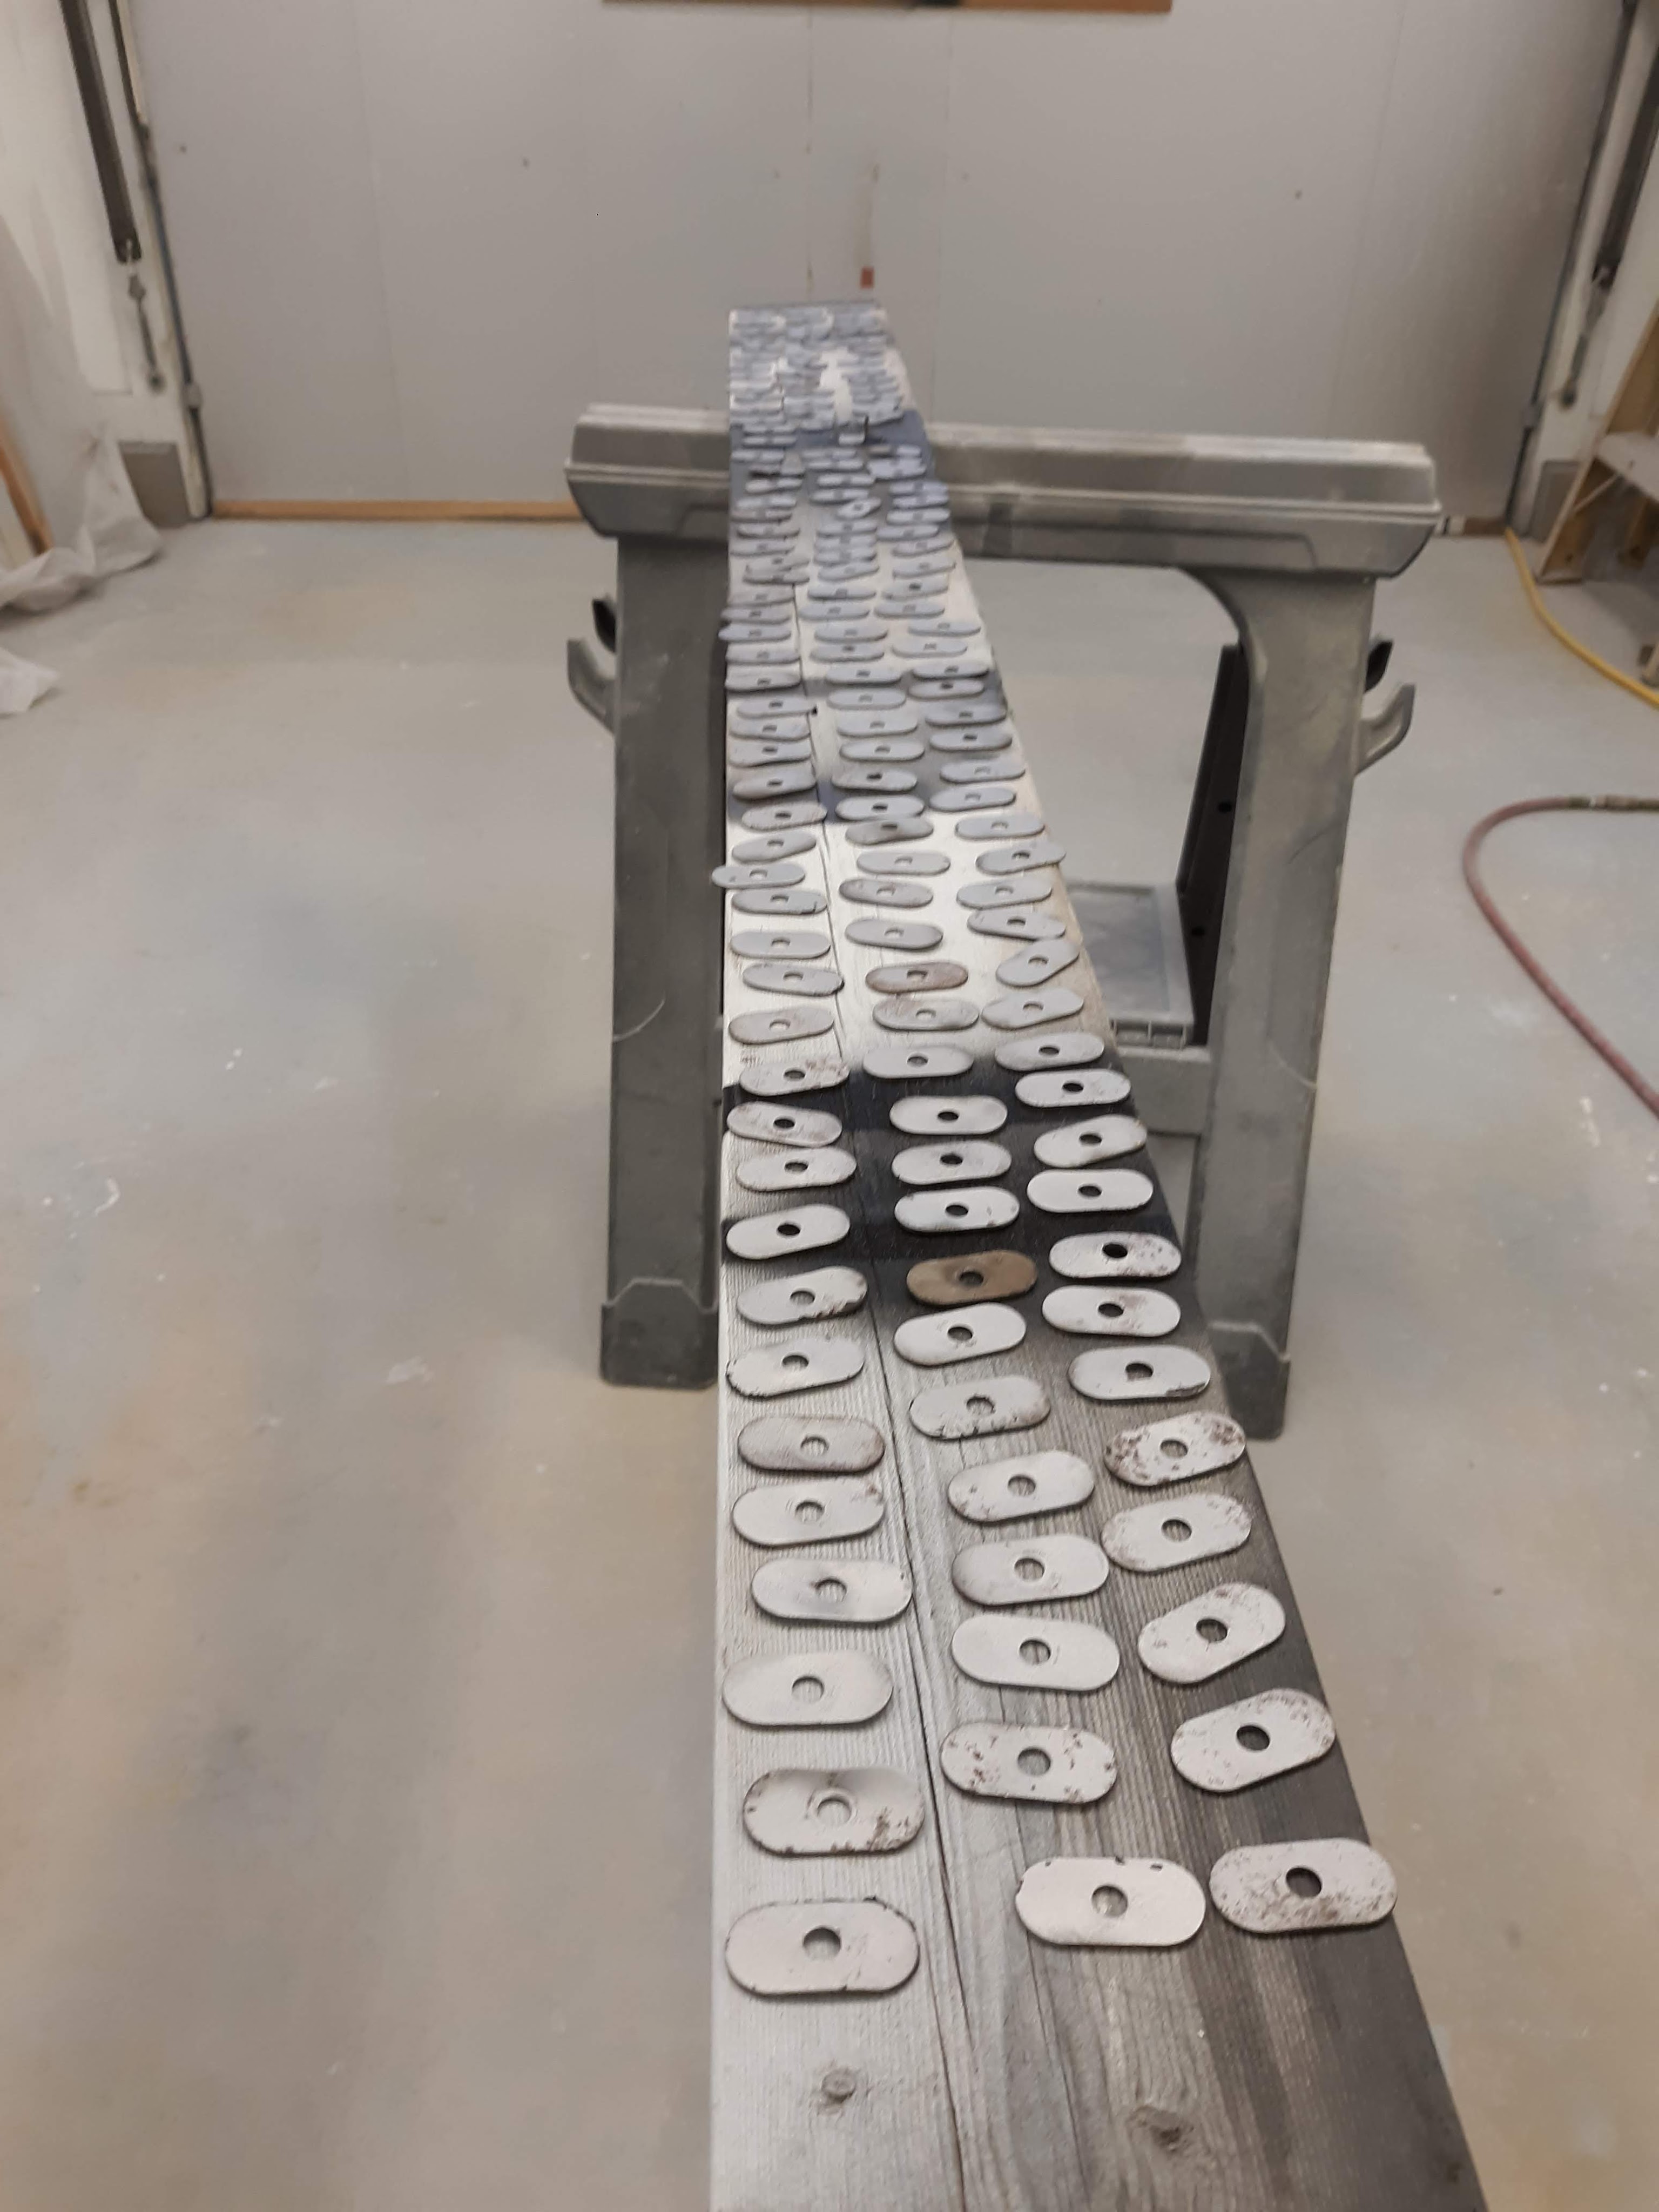
As long as I had the paint rig out, I decided to prime the “special washers’ that are used in the assembly of the bonnet. These are oval washers and hide many sins of hole enlargement/elongation required to get the bonnet assembled. If you belive the parts manual, close to 150 of these washers are required to assemble the bonnet. Each one had to be bead blasted to bare metal and primed. The primed washers will be used in the final assembly of the bonnet and will be painted body color, as was done at the factory.
So I am feeling better about things. There is still much work to be done but I have only lost a week with the primer problems. In the great scheme of things not much time and I am very thankful that the problem got noticed when it did!

Discussion
Comments are closed.