I have spent the last week and a half dealing with the bonnet nose section. The body shell of the car is in great condition, with no sign of corrosion or collision damage. At the bonnet end, the Front Underpanel Assembly and the two Wings appear to be in good shape. The bonnet Center Panel Assembly is fine, right up to the nose, which is pretty rough. After removing the heavy layer of body filler, evidence of poorly repaired collision damage was evident. I had an option to buy a new panel from SNG but decided to see if the existing panel could be repaired. BTW I contacted Chuck at Monocouque Metalworks. After looking at some pictures, he felt generally confident that he could repair it but he had no time in his schedule to do so. I have retained the services of a retired paint and body guy, Richard, who looked at the damage. He felt he could do some good but, not being an Etype specialist, asked the obvious question, what shape are we looking for? Good question, which led me down a pretty deep rabbit hole.
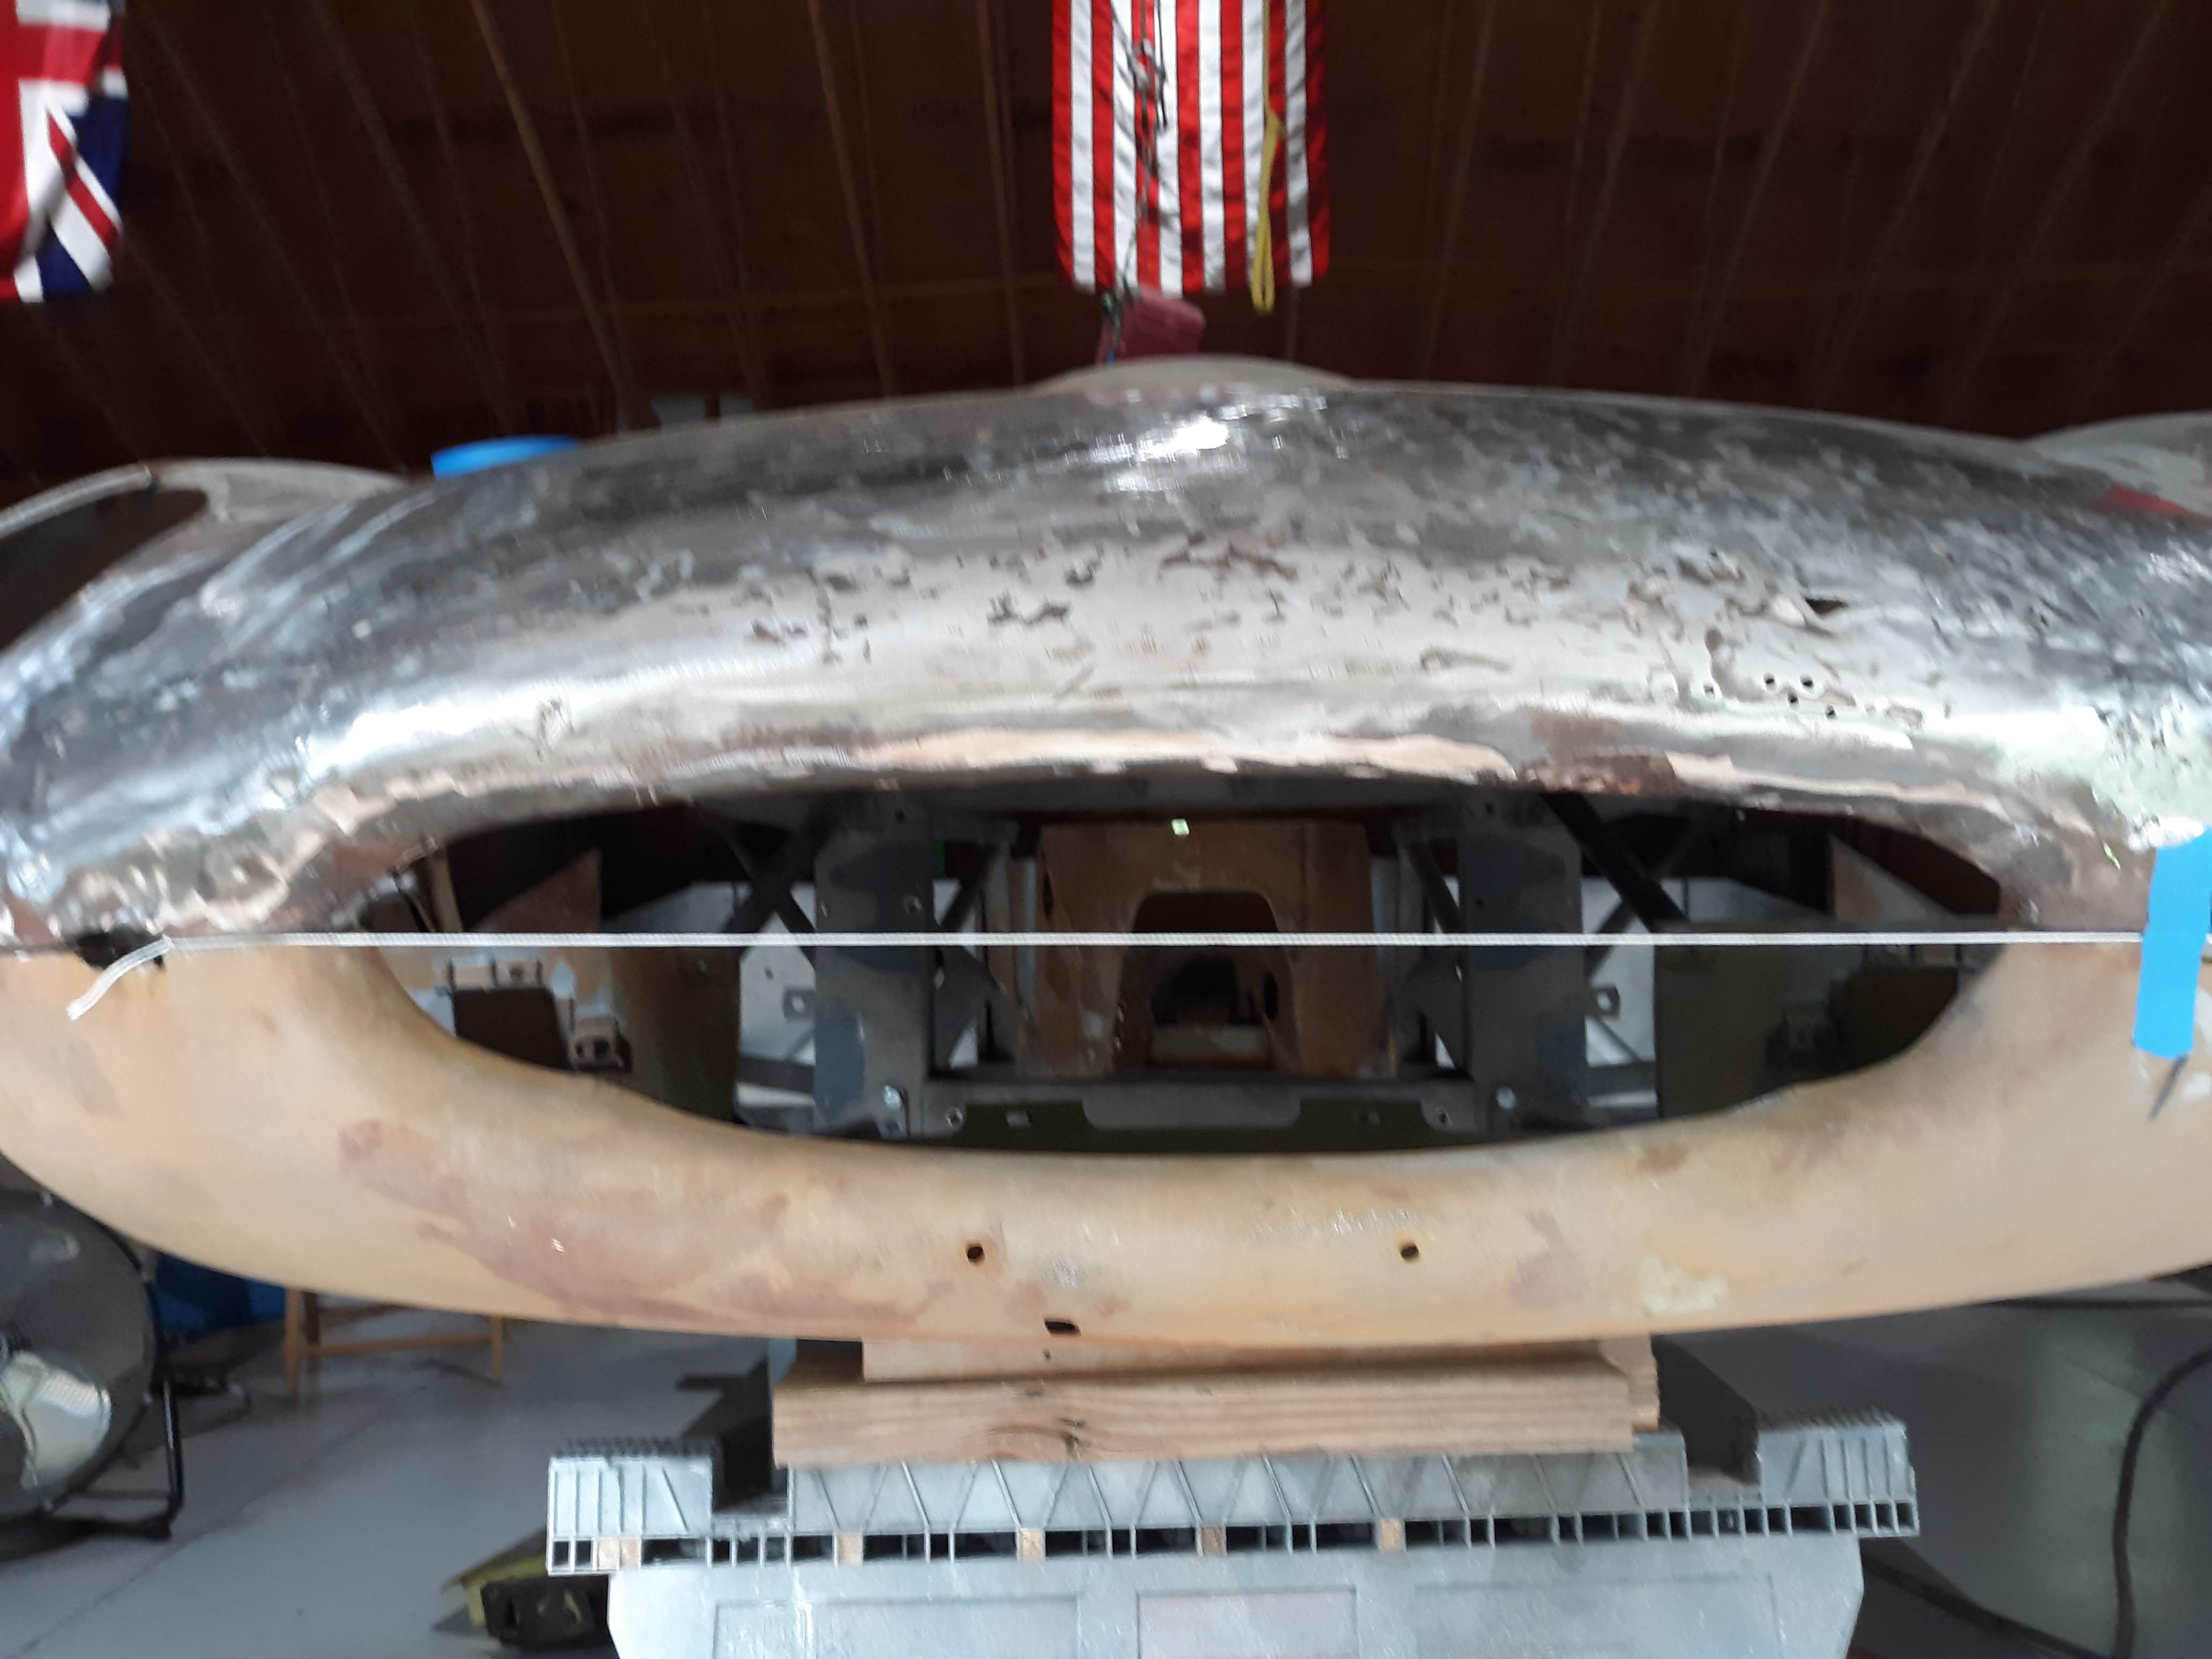
The 4 parts of a bonnet, assembled on the car.
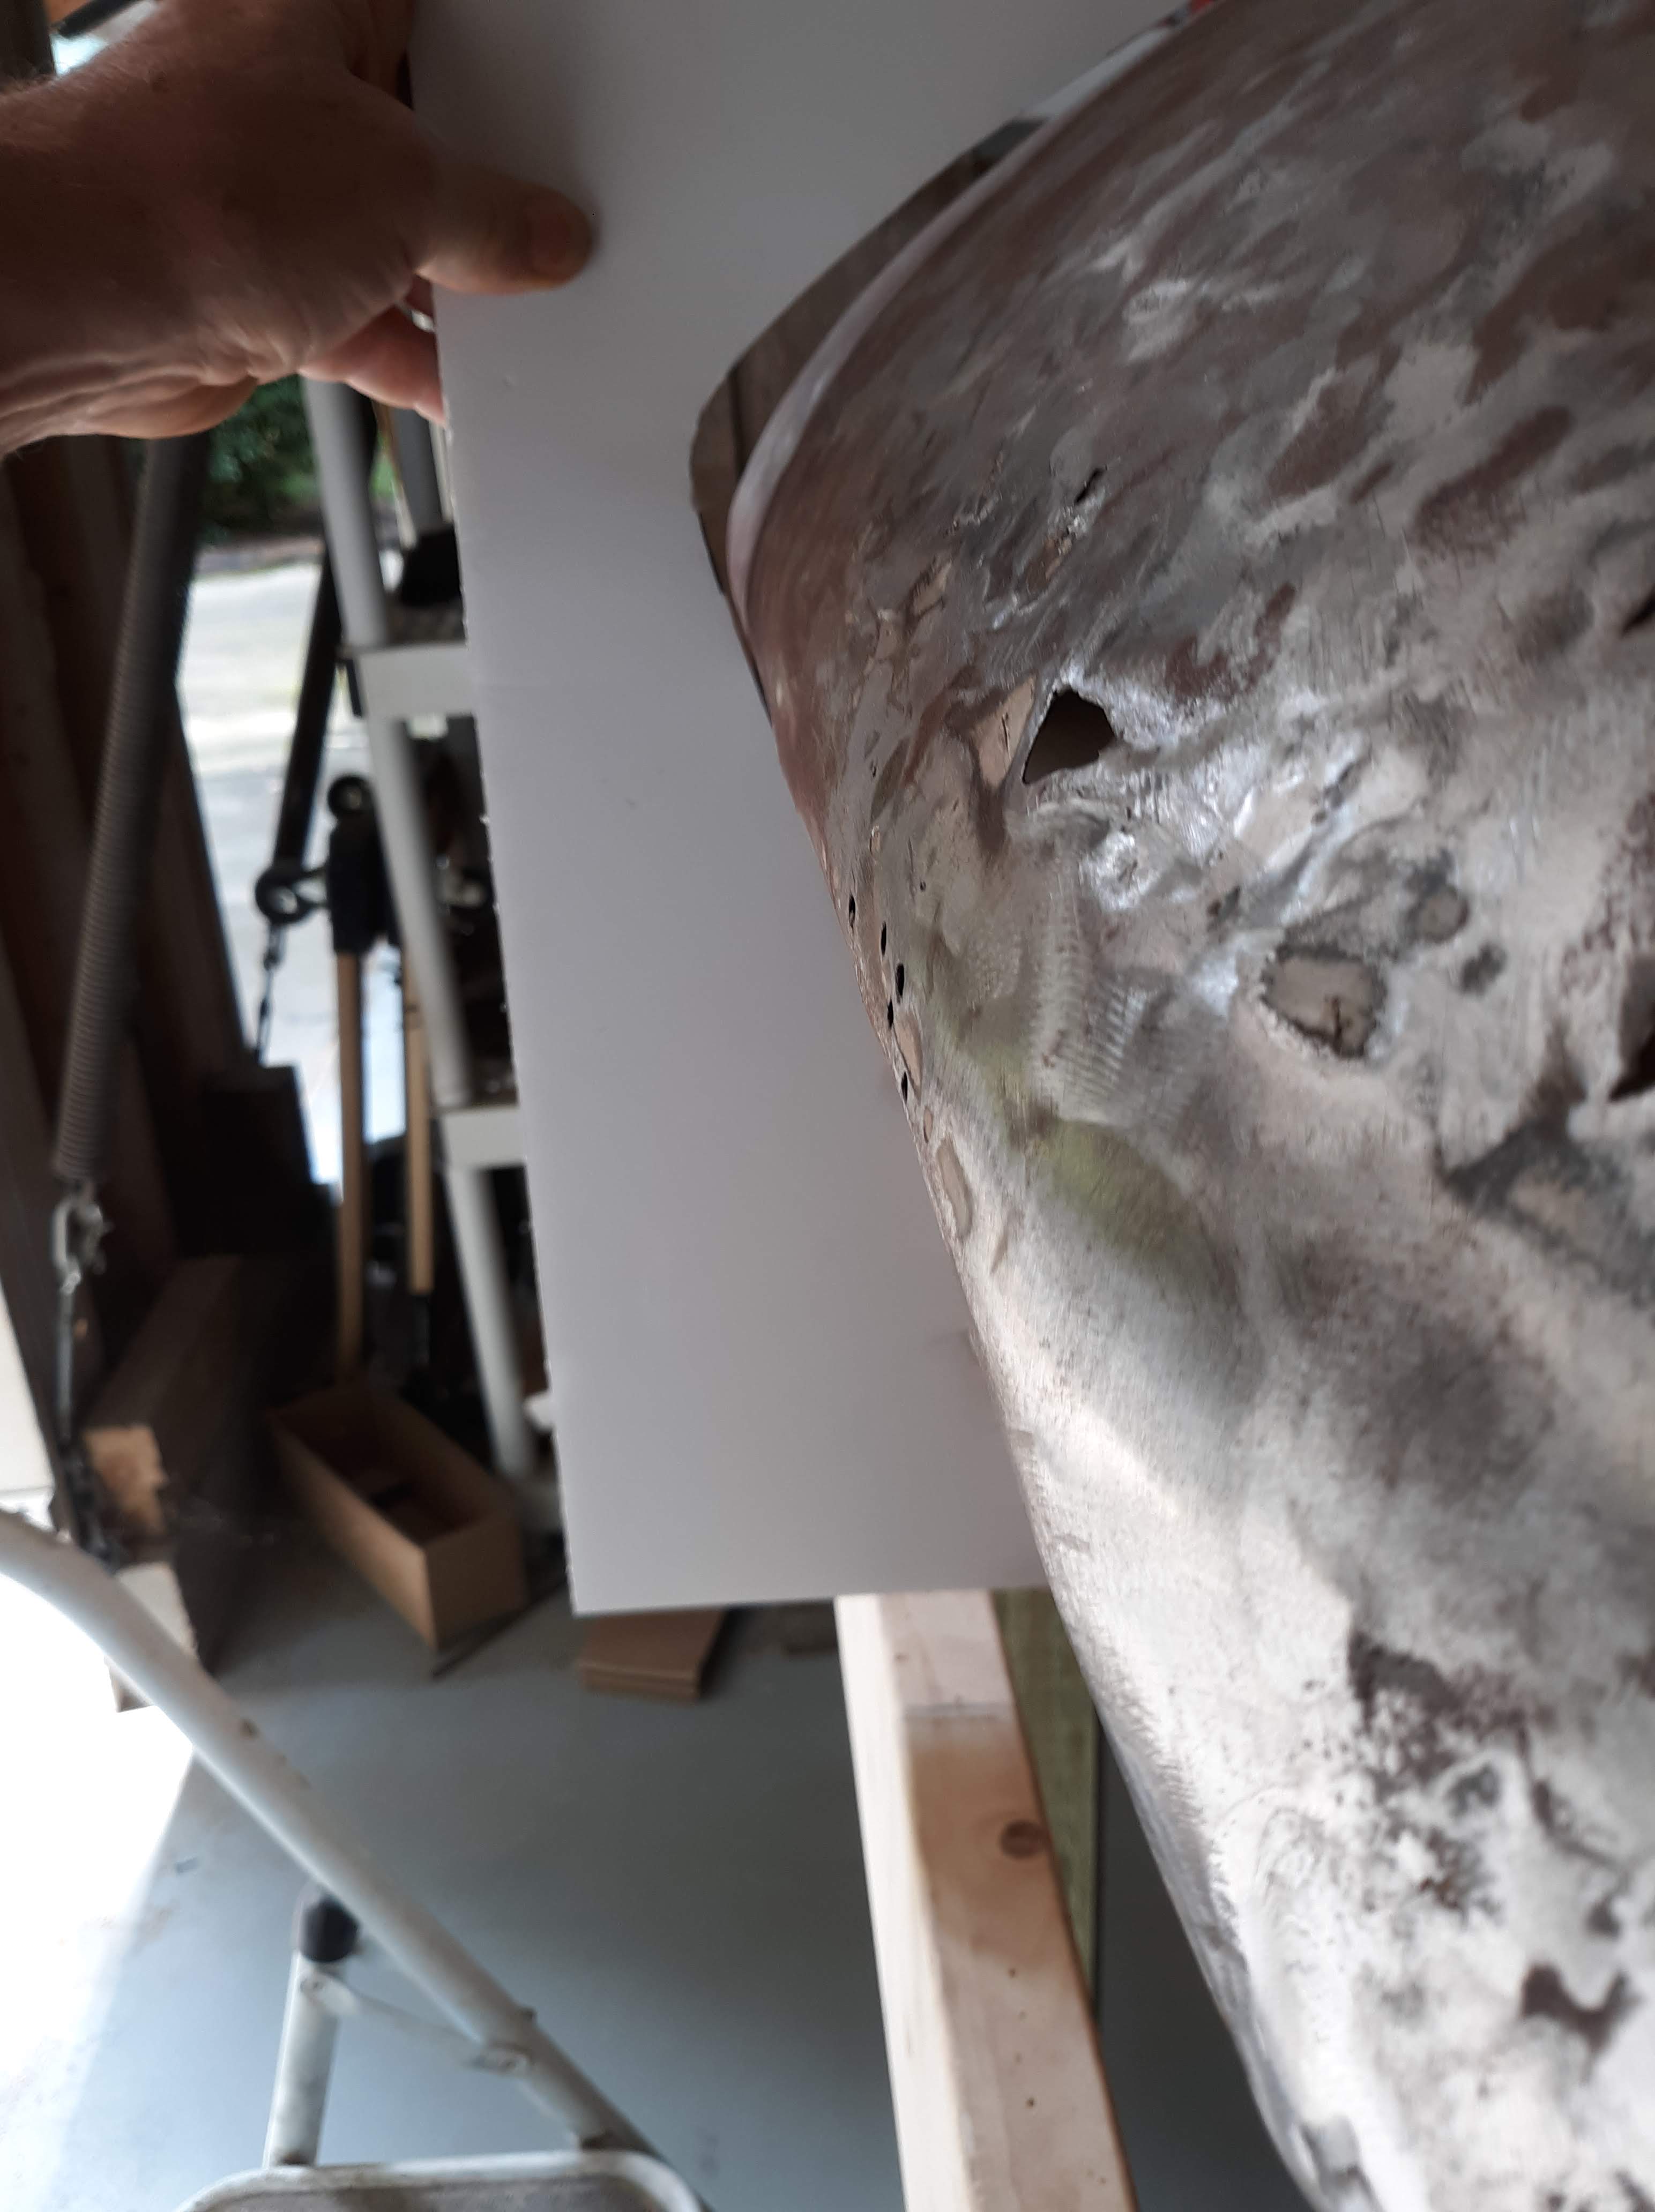
The first question is what should the air intake opening look like? I reviewed a lot of photos and also had access to several period Jaguar design drawings. All pointed to the fact that the opening should be symetric about a horizontal centerline coincident with the joint line of the sheet metal, which also is roughly the centerline of the motif bar. From the above photo you can see that my center section has been squished down, probably by contact with the ass end of some American vehicle. Richard asked for a template to work to. I immediately envisioned a nice “body buck” made out of segments of wood that he could work to. Done correctly, a wooden body buck would be garage art in it’s own right. I started by building a frame and templating the firewall shape, which I cut out of 1/2″ plywood.
Frame with firewall template.
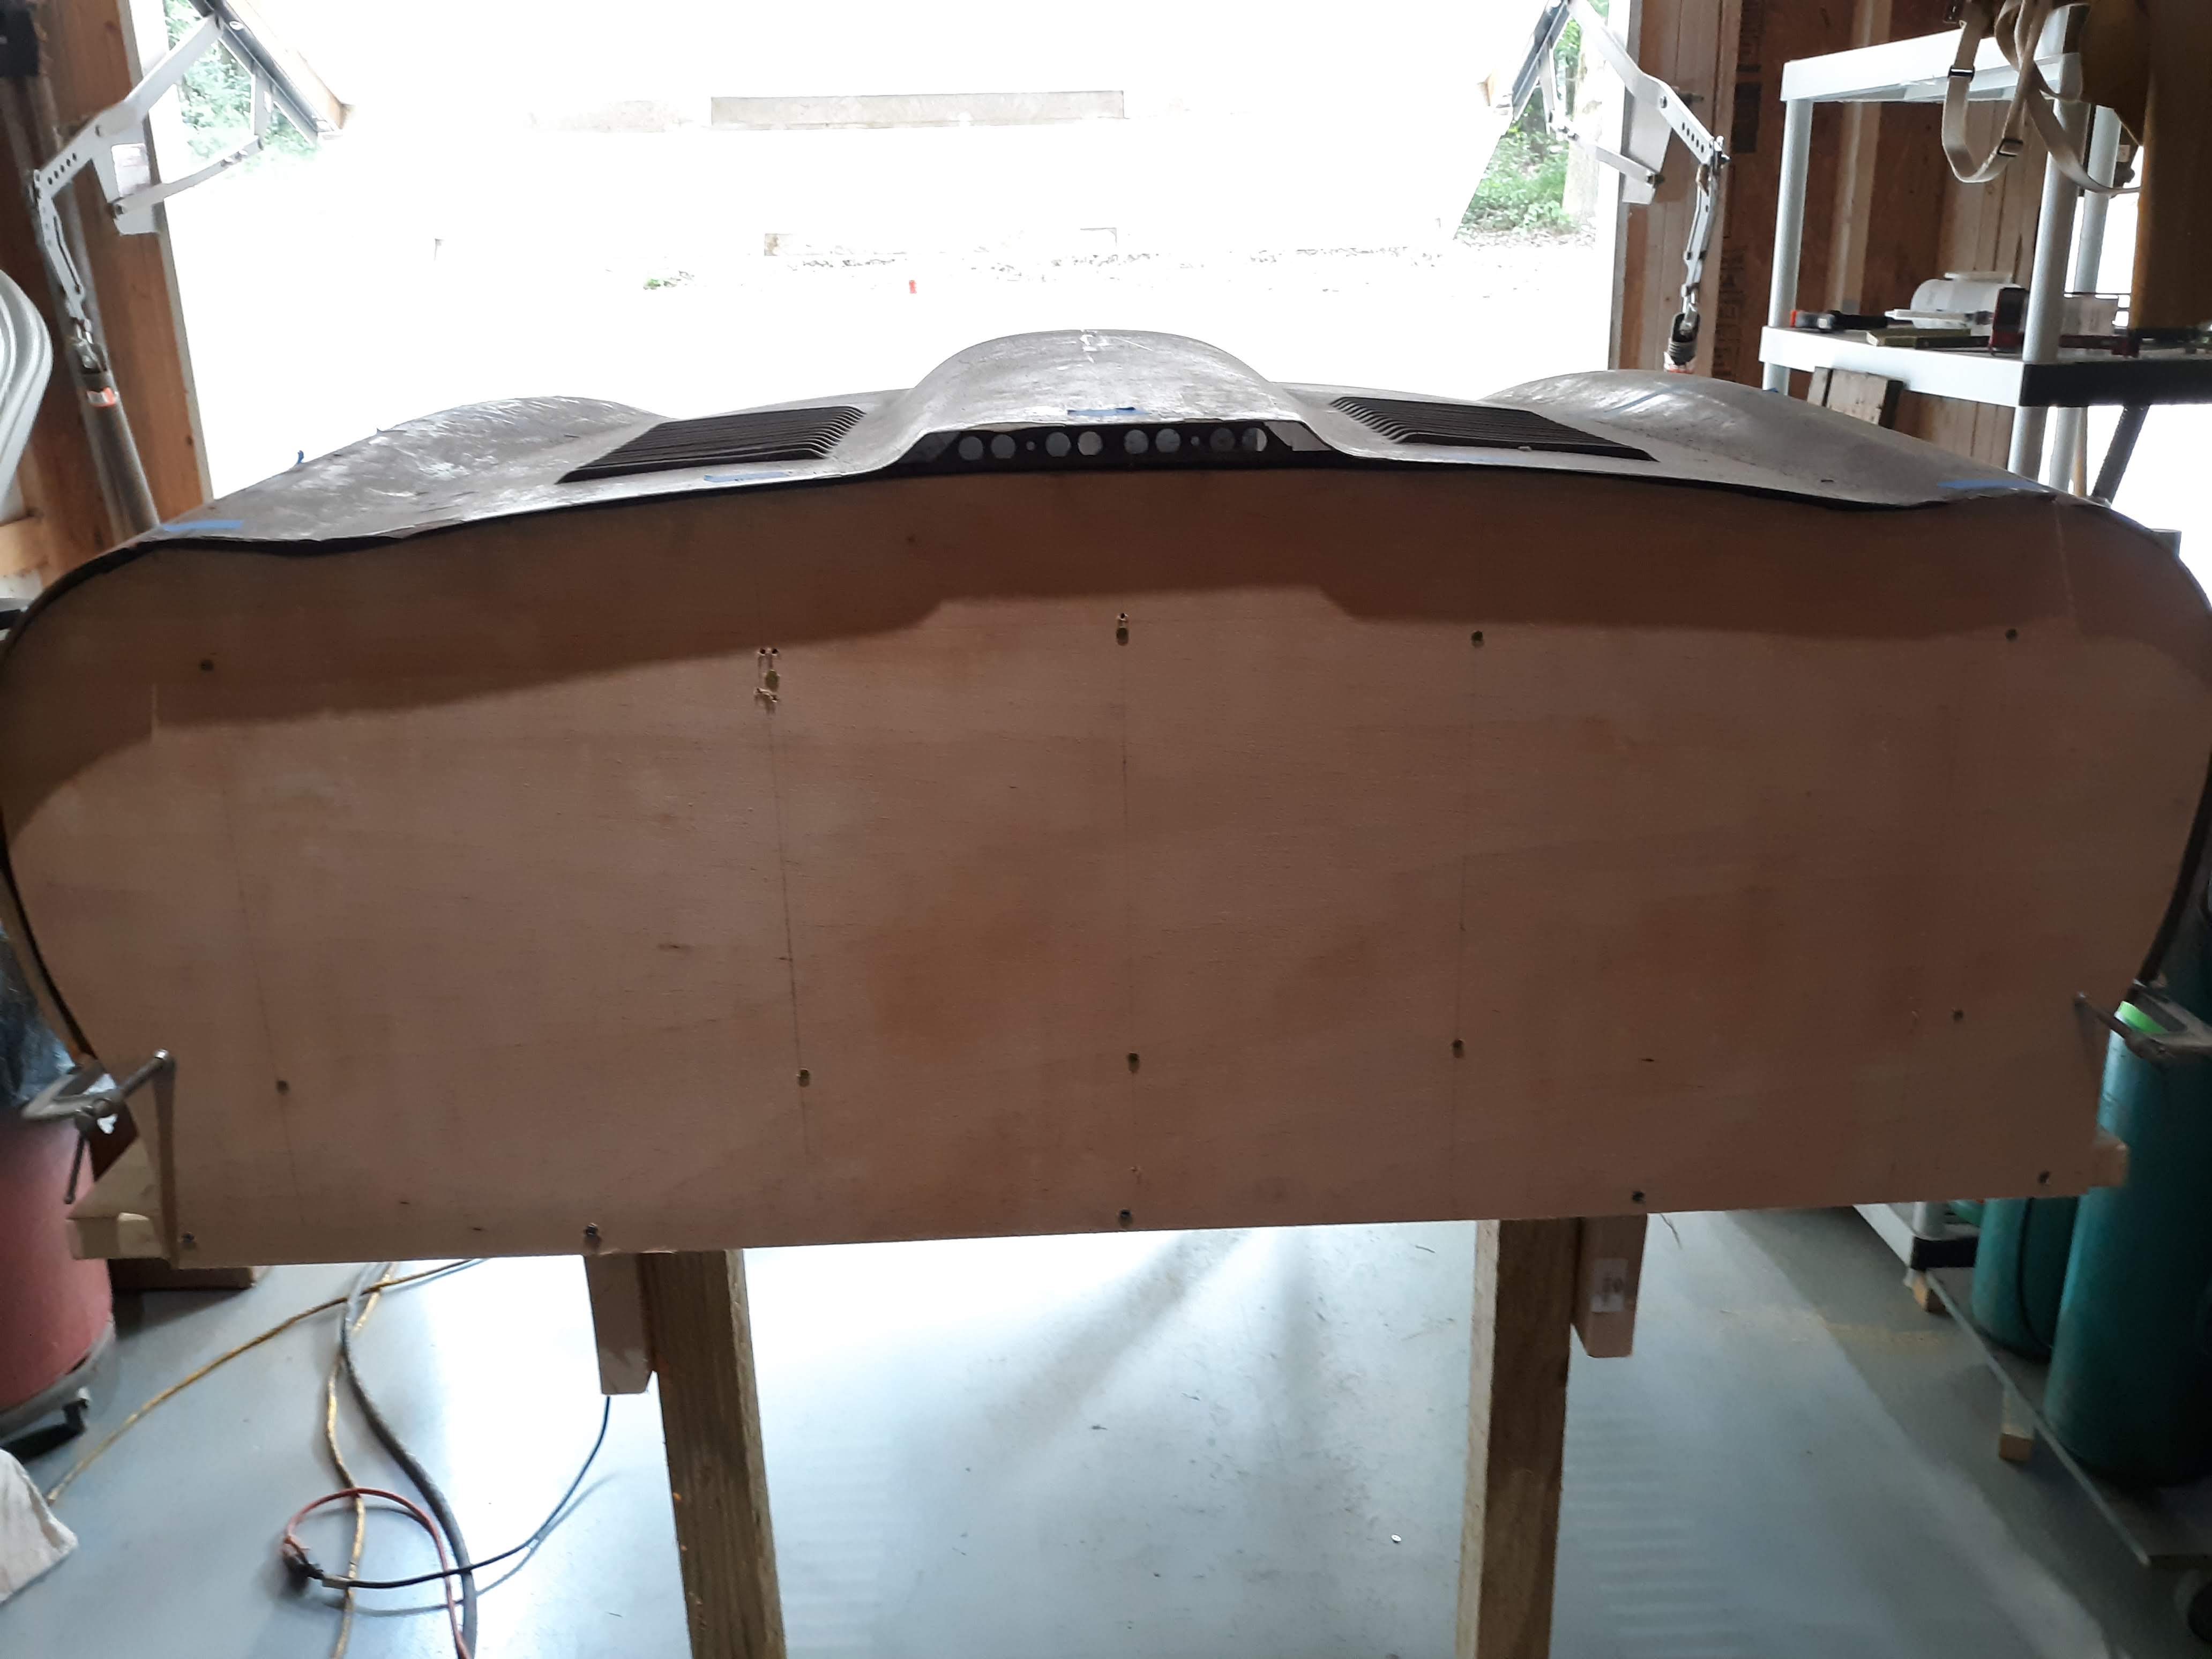
I pulled a lot of dimensions from my body shell with the engine frame, picture frame, and bonnet support frame to make my buck dimensionaly the same as the car. Next I built a wooden mockup of the Underpanel Assembly, thinking Richard would need something solid to hammer against. This mockup establishes the plane of the joint line to the bonnet center section and also the location of the holes for attaching the center section and the wings. From there I assembled the center section and the wings on the buck. I then fabricated 5 longitudinal diaphragms out of plywood, one on the centerline at the power bulge, two symetric ones out near the joint for the wings, and 2 in between. They are hard to see with the bonnet assembled but here is a photo I took later after removing the sheet metal.
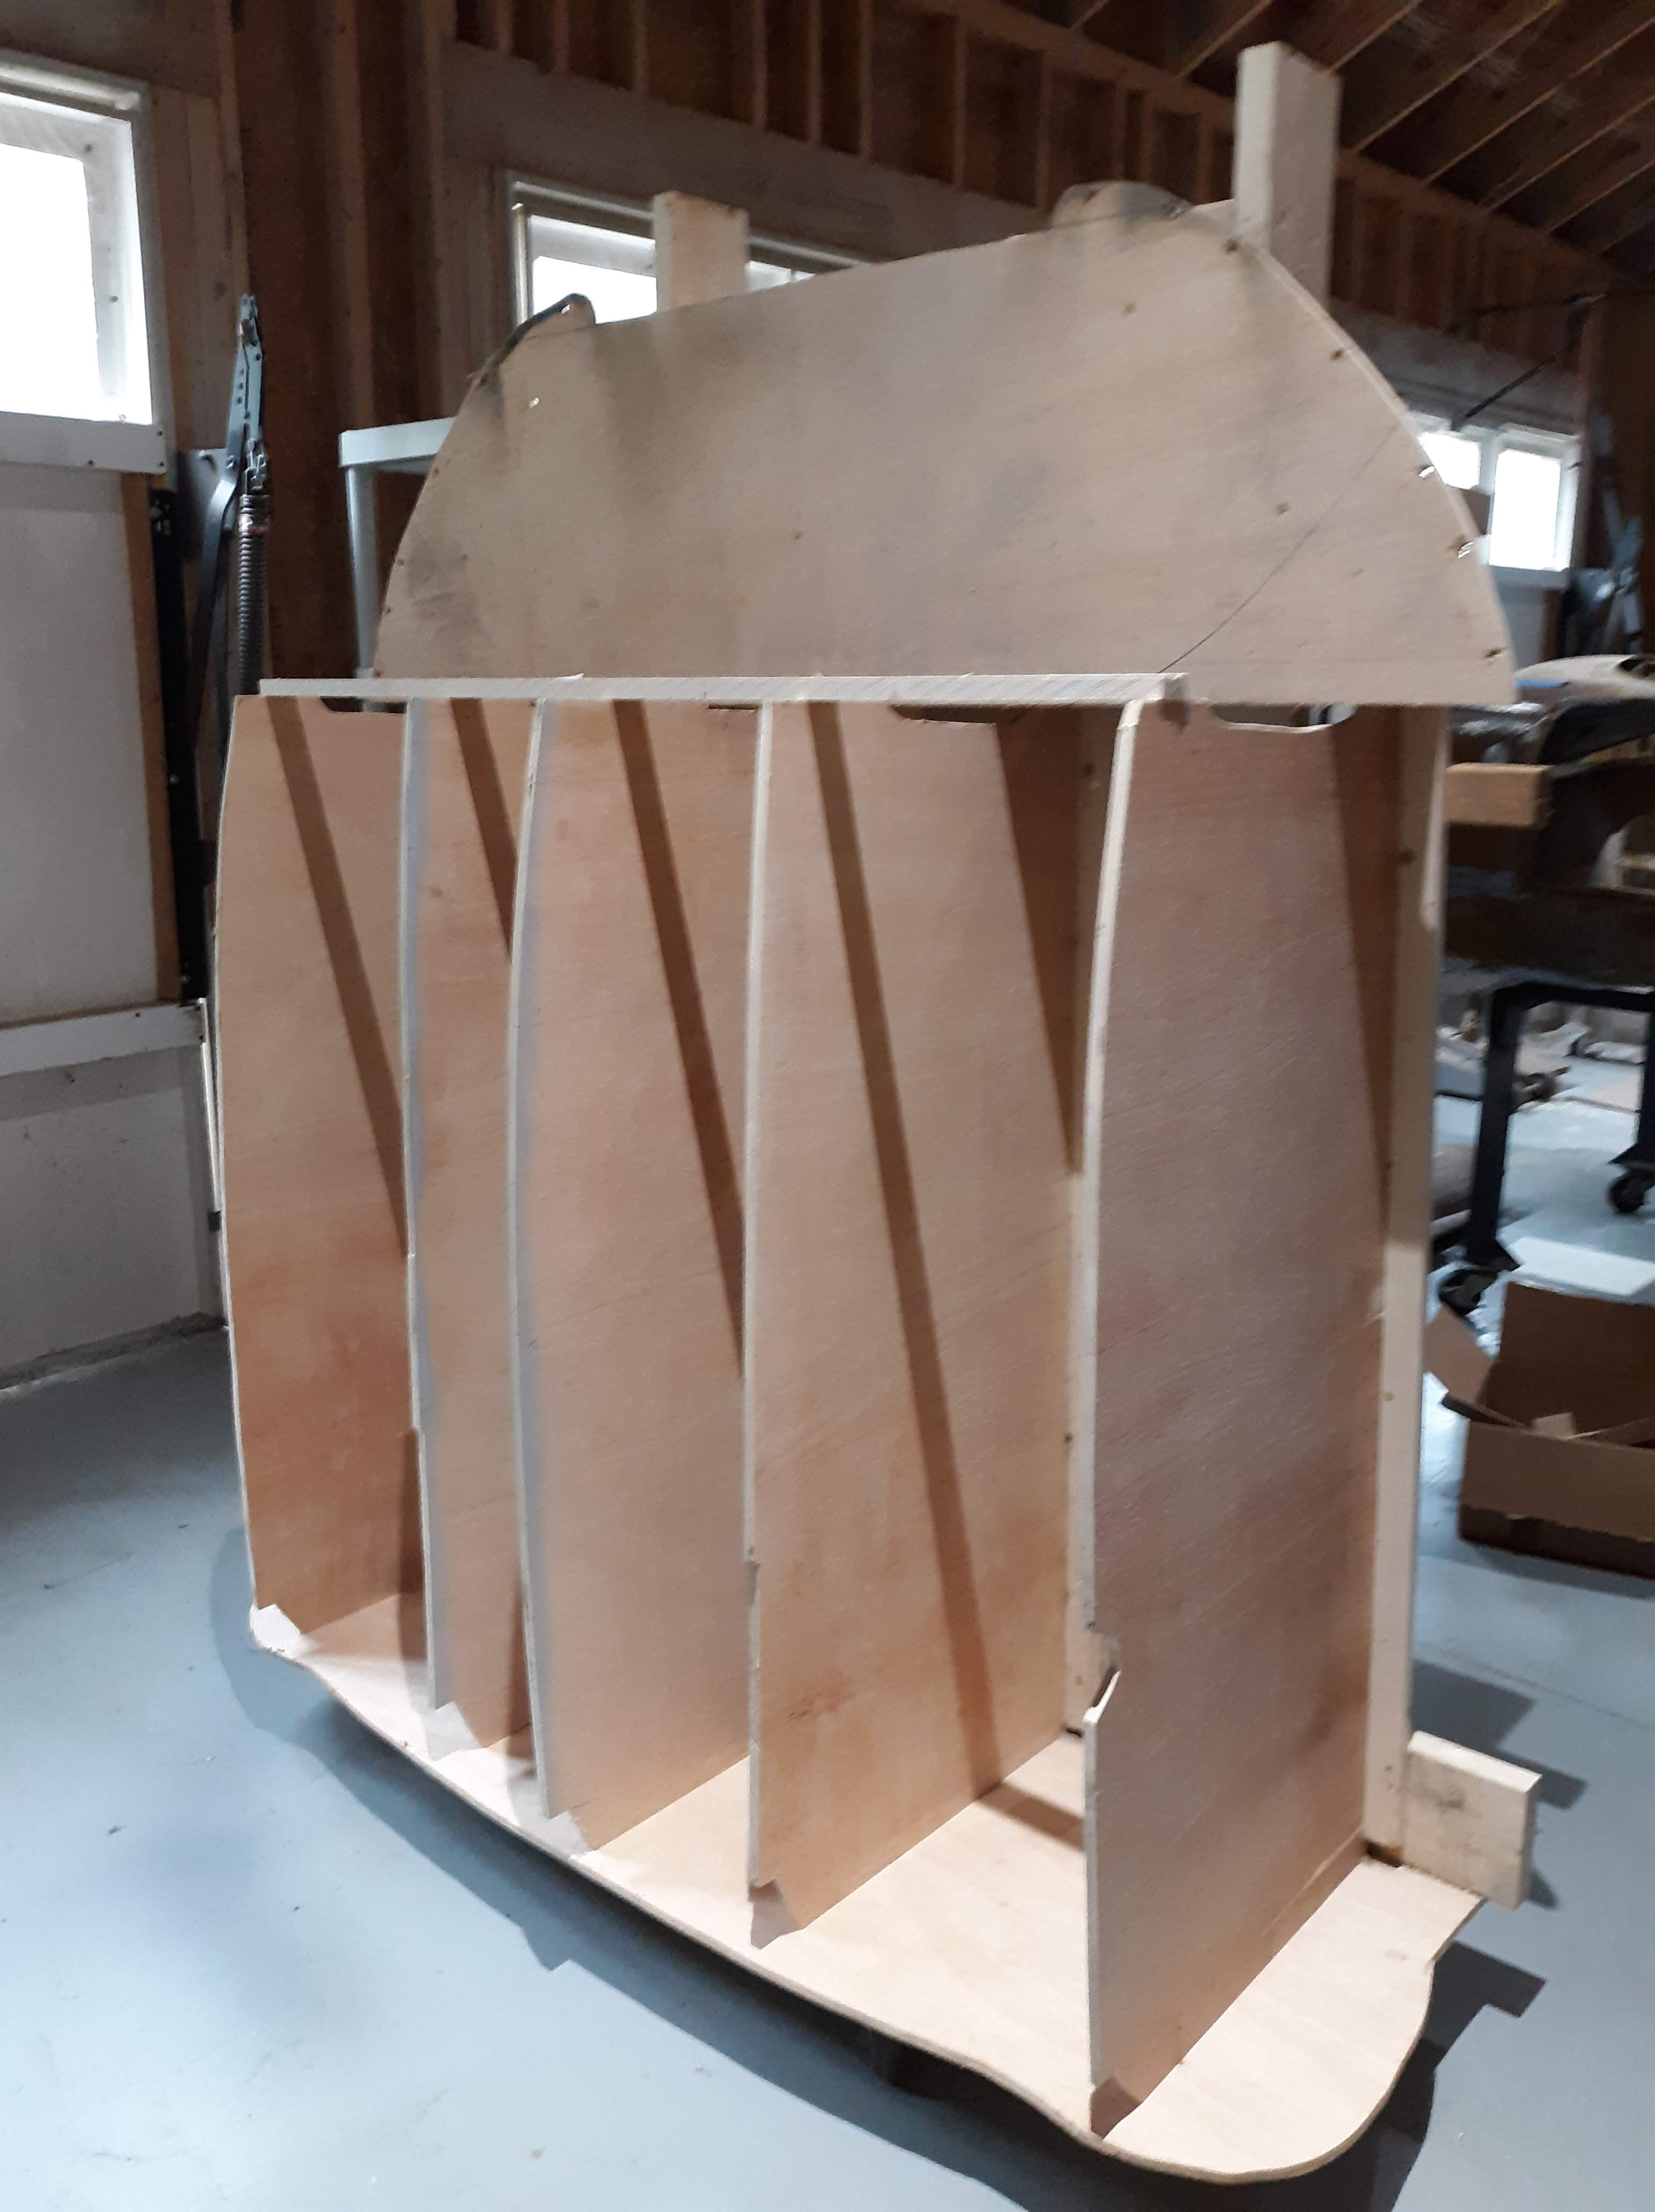
Bonnet buck, rotated upright. It is resting on the firewall template.
The 5 diaphragms extend out 48″, which allowed an efficient use of plywood and also mimiced the parts of the existing bonnet that I felt were undamaged and thus dimensionally accurate. Now things got tricky. I got lucky and obtained a Jaguar design drawing of the bonnet, drawn to 1/4 scale, with a side view of the bonnet. Simply making copies off this drawing and scaling them up 400% on my desktop copier, I was able to piece together a full size paper template of the bonnet nose shape at the centerline.

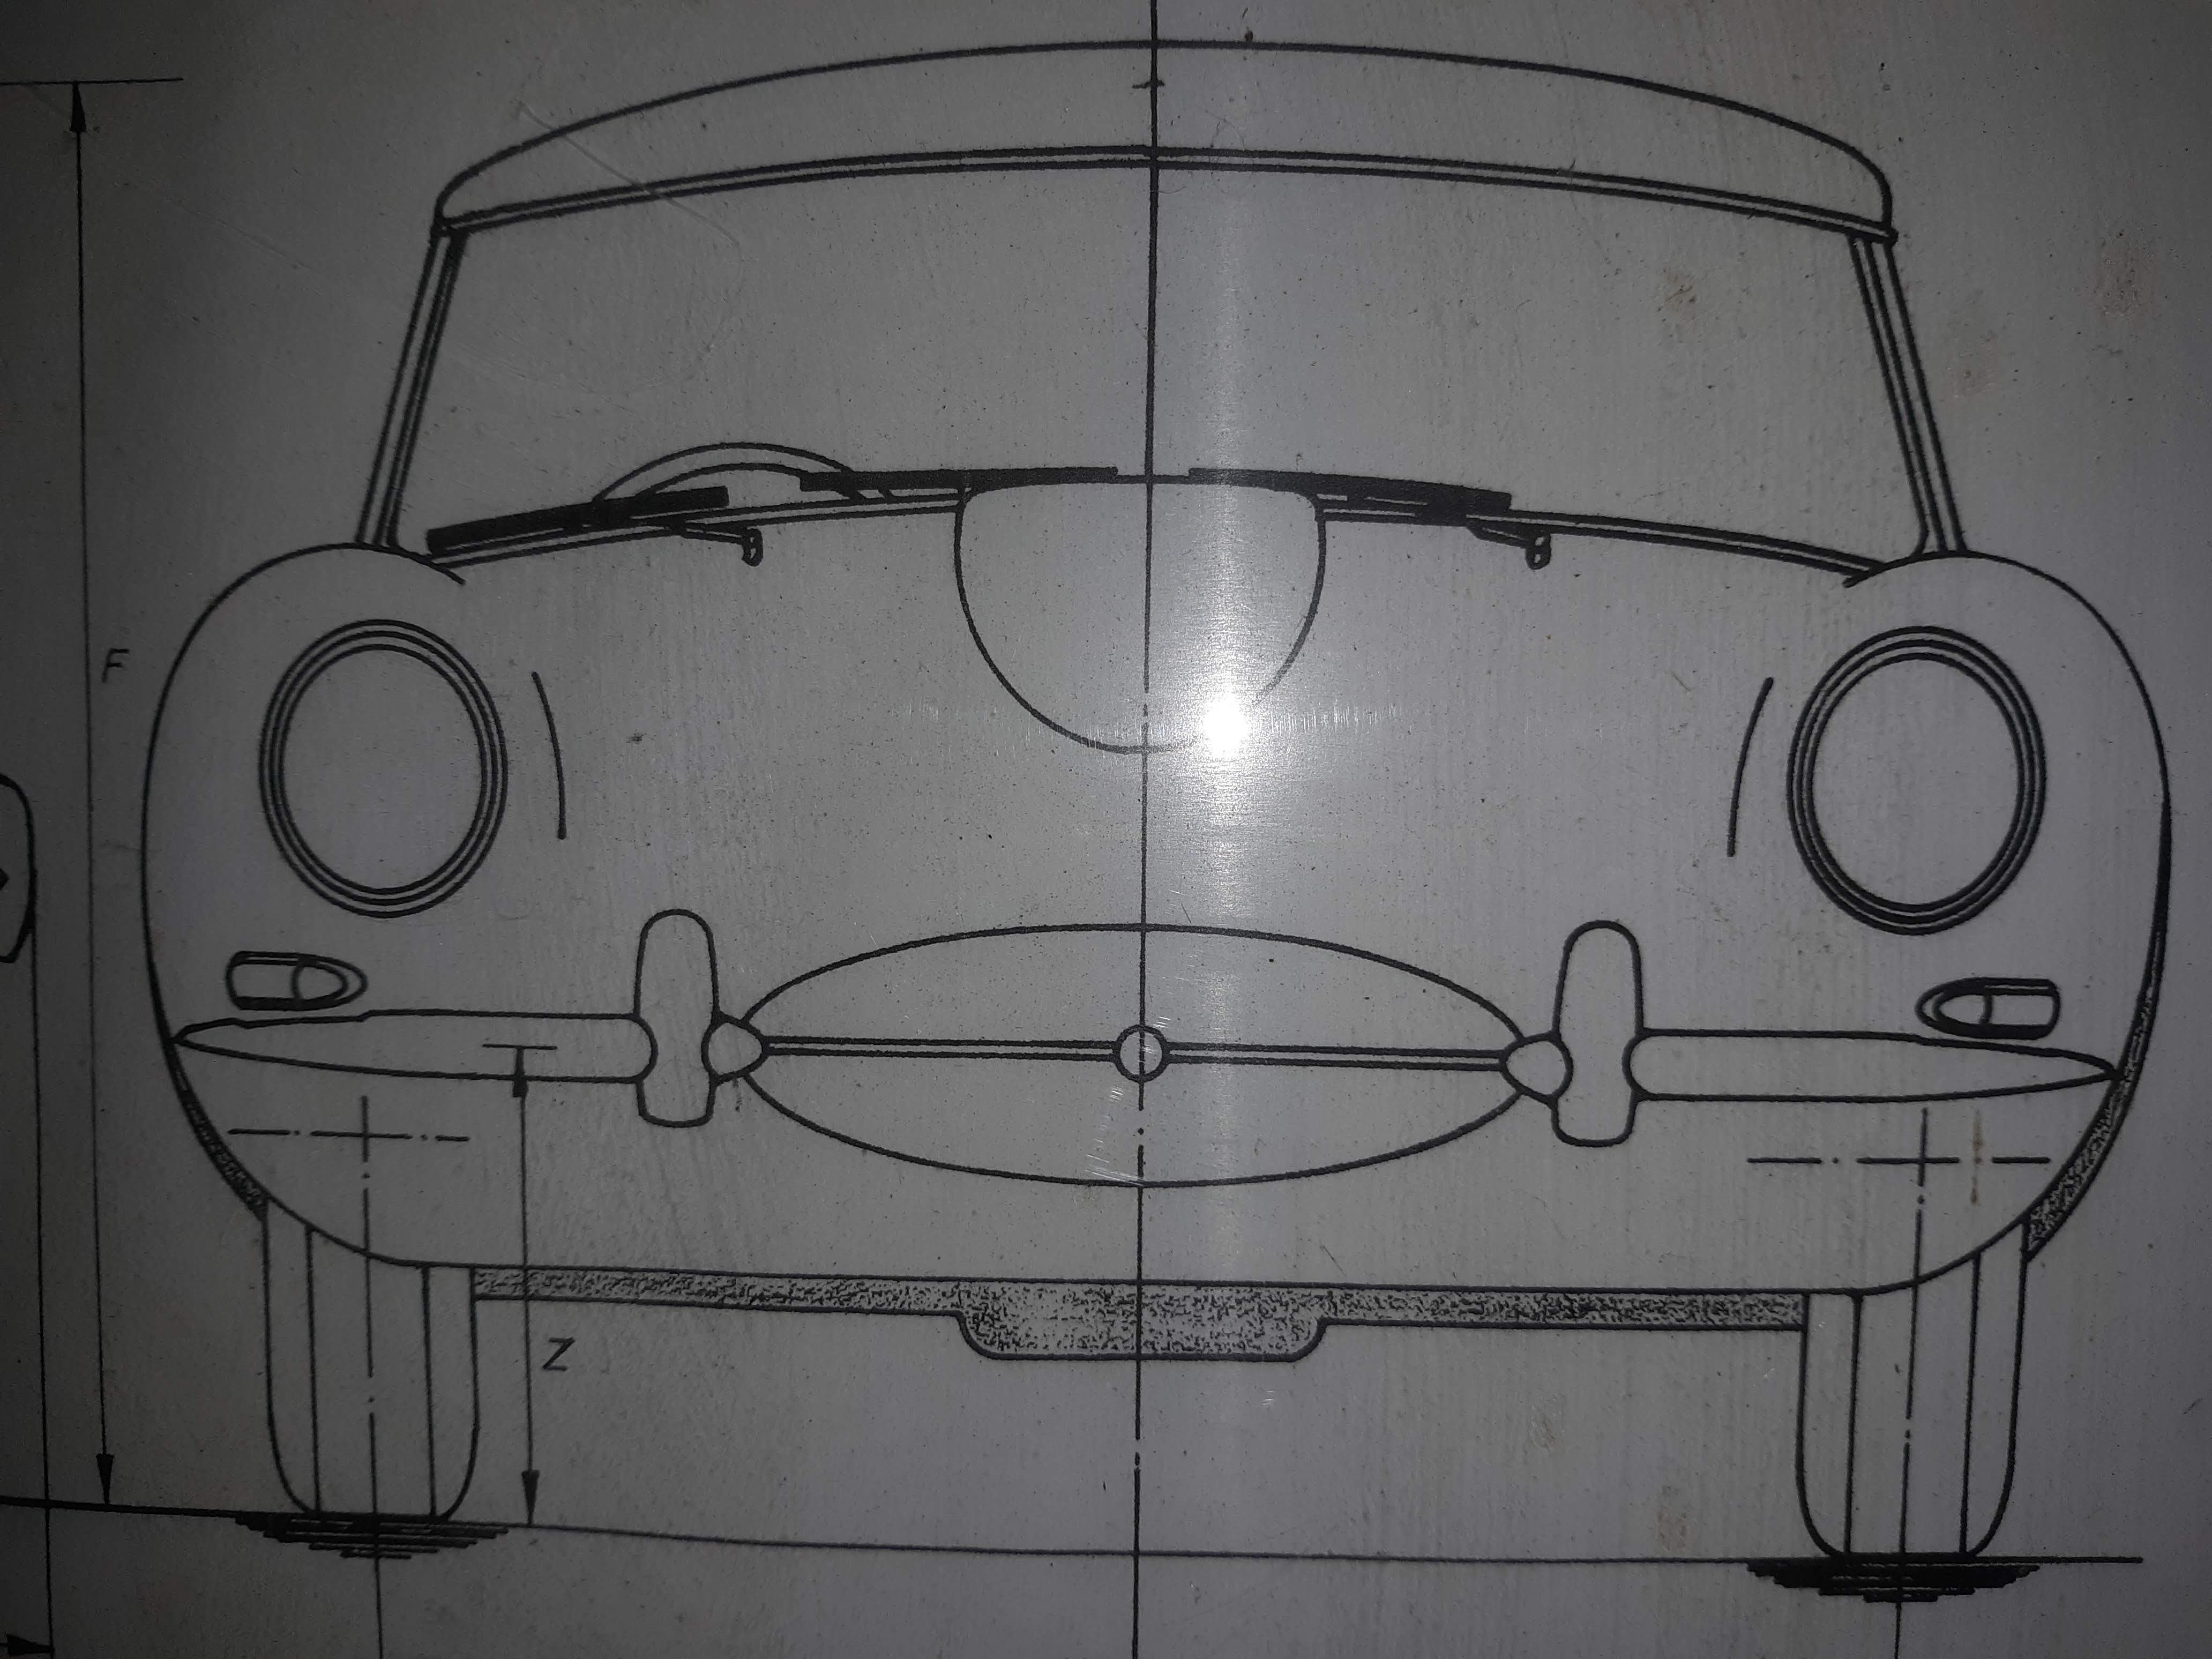
A portion of a Jaguar design drawing for the bonnet.
Armed with my paper template, I made a female template out of paper/foam poster board of the nose section. I tried this on my 67 2+2, which appears to have a bonnet that has never had any collision damage. It was a good fit. Then I tried it on the 63. Not a good fit!!!
It was here that reality slapped me in the face. We would have to move the entire opening up almost an inch! After reading a very informative post by Chuck at M-M about how much effort he puts into restoring a bonnet nose, I realized that Richard and I were in over our heads. I reluctantly halted my buck building efforts and have a replacement bonnet center section on its way from SNG. I am sure the replacement piece will present its own issues but at least the bonnet nose will be correct.
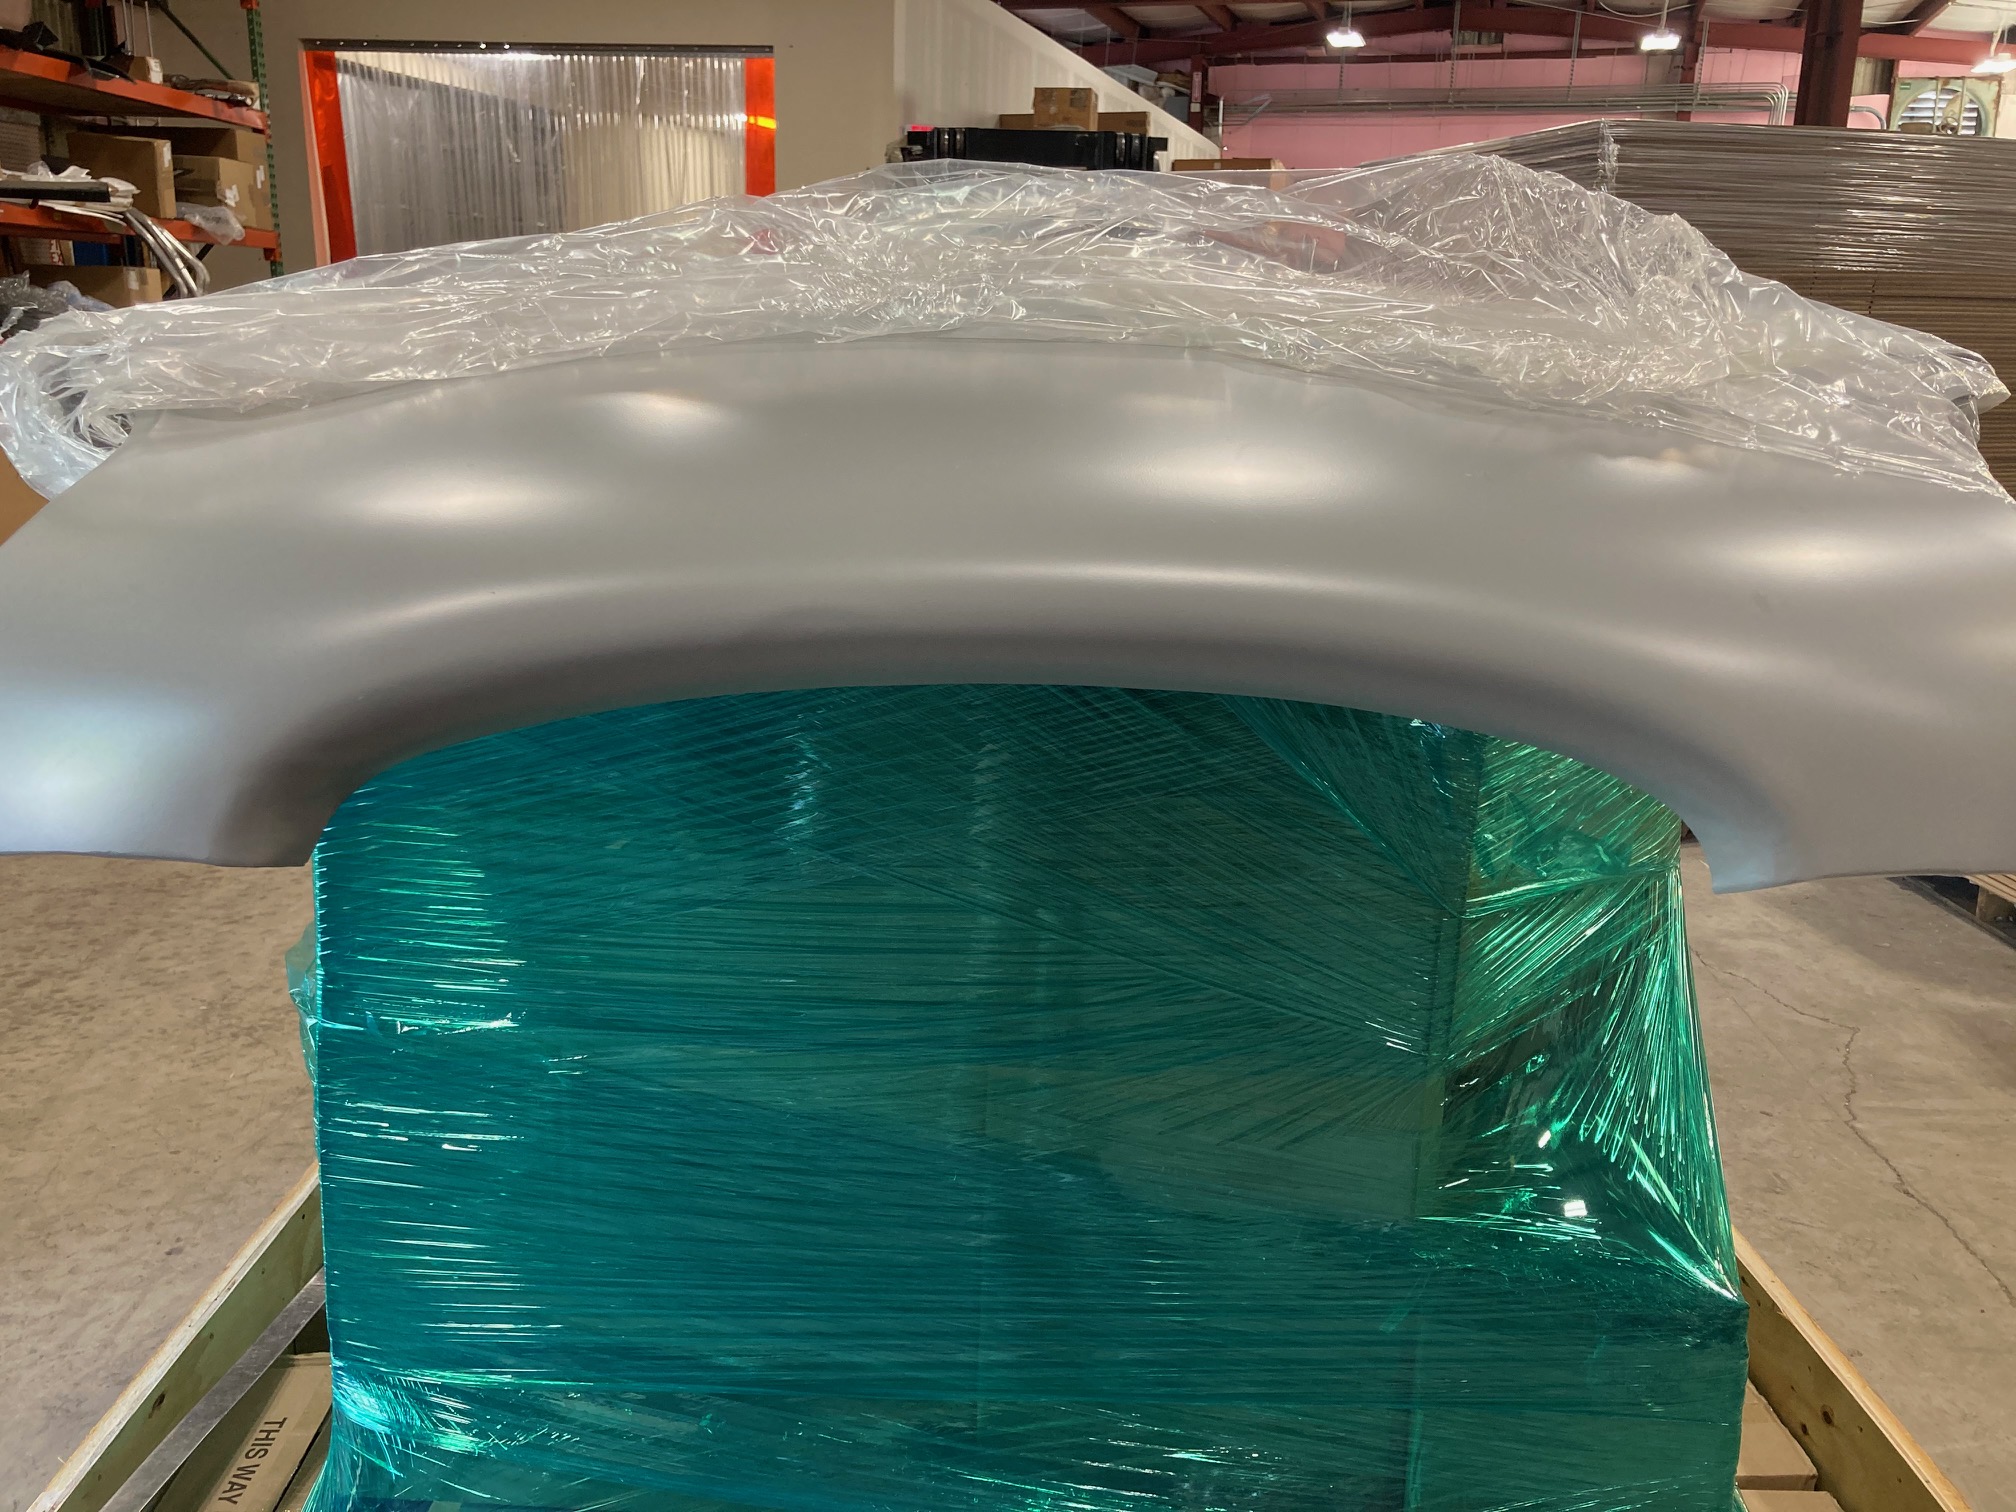
SNG replacement bonnet center section.
It’s a good thing I’m not trying to make a living at this because this was basically a lost week! But it was interesting and I learned a few things. I am not quite sure what to do with my buck. I thought about using it to assemble the bonnet but really, that can be done on the car and will insure accuracy. I might just hoist it up into the garage rafters as “art”.

Discussion
Comments are closed.