The good news is that I accomplished a lot over the last two months. I got to see all 5 of my grandchildren, I went to a fantastic track weekend at Barber Motorsports Park, and I started a new consulting job at the local nuclear plant. The bad news is that this left dramatically little time for working on the Etype. Such is life!
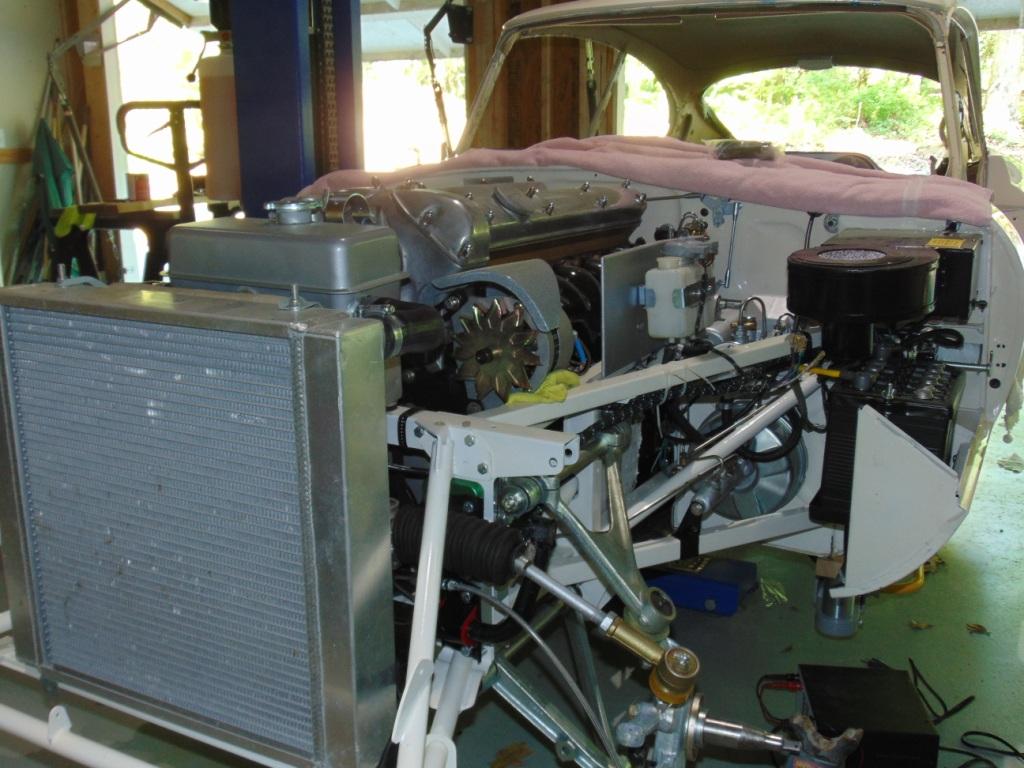
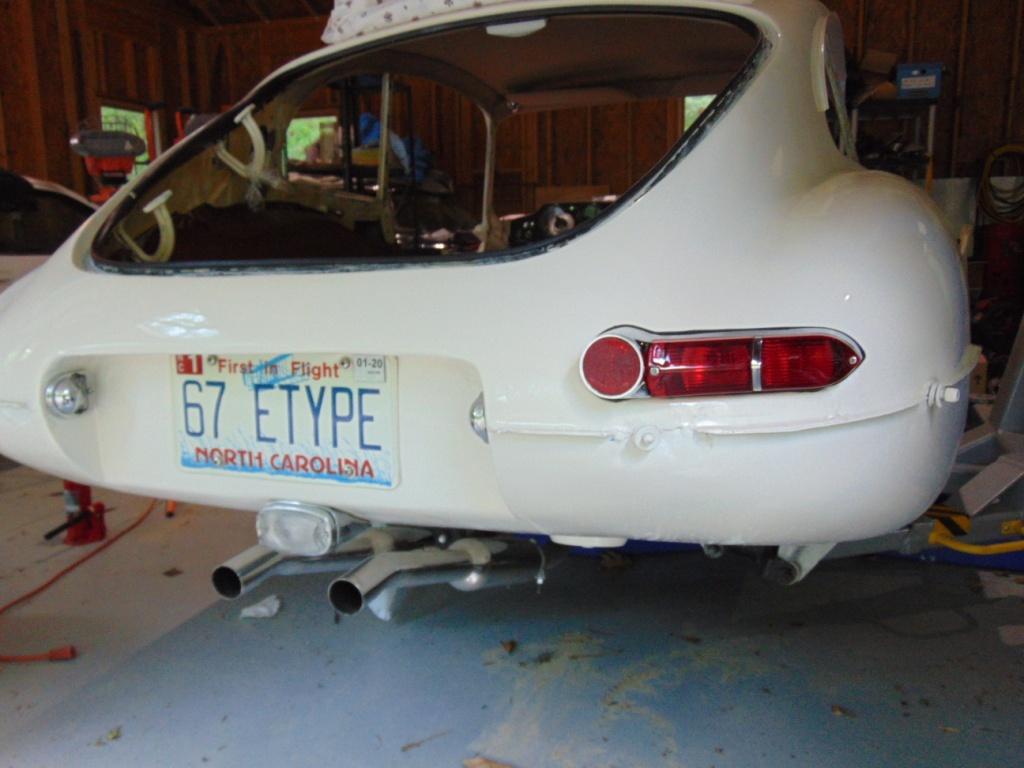
I have pretty much whipped the engine compartment into shape. The exhaust is fully installed. The intake and carburetors are installed. The cooling system is installed. As you might notice in the pictures, the front suspension is not fully completed. I need to get the full weight on the car and set the ride height via the torsion bars before I finish up with the brake discs and wheels. That means I am waiting for the bonnet and its associated bumpers to be installed. Soon, but I want to finish up the interior first. I also installed remote brake bleeding hoses at the rear brakes. With the in-board discs on the Etype rear suspension, the standard access to the bleed screws has always been a real knuckle buster.
One aspect of this recent work that I’ll mention in detail is the cleaning, buffing, and polishing of the aluminum parts, specifically the valve covers, the carburetors, and the intake manifold. These aluminum parts on an Etype were cast from molten aluminum. The surface finish of the as-cast product is largely a result of the quality of the mold. Many parts are cast in molds made from special casting sand. The sand mold is only good for one use but it does allow intricate shapes to be cast, as the sand can be broken out of the odd shapes of the part with a blast of air or water. The surface finish will be granular, just like the sand. The housing that is mounted just behind the heater, where the accelerator and brake pedals come through, is a good example. For this part, I cleaned it up with glass beads and painted it with a cast aluminum colored paint, commonly available from Eastwood and other places. The SU carburetor bodies got the same treatment, except I treated them with a product called ACF-50, instead of paint. Why the difference? Mostly because the carbs have a lot of moving parts and I didn’t want to gum things up with paint.
If the mold for the casting can be made out of metal, than the mold can be re-used again and again. And the surfaces of the mold can be made very smooth and thus the part that comes out of the mold will be smooth. The valve covers and the domes on an SU carb are examples. Some restorers use sanding, buffing, and polishing to make these parts shine like jewelry. This level of effort can be considered as “over restoration”. The JCNA judging guide has a section (VI.B.4 if you car to read it) which speaks to this subject. In general, no additional credit is given for highly polished parts. Deductions will be given if a sand cast part is over restored to make it a shiny part. I spent time buffing and polishing the valve covers, the carb bells, and the intake manifold. There are many tutorials on Youtube about polishing aluminum. If you search Youtube under “harvey ferris alum polish” there is a 4 part series that I did years ago for a club meeting. Keep in mind that although aluminum will not rust per se, it does interact with the air to develop a corrosion layer that is hazy. So if you choose to polish your parts, just like silverware, you’ll have to keep after them to keep them looking nice. Just a brief note about anodized aluminum parts. Anodizing is a plating process. This is a long story that I will not get into but anodized aluminum should never be polished with any kind of aggressive cutting compound. You will just ruin it.
Oh, did I mention that I’m going to Portugal and the Azores for 2 weeks in May? The Carolina Jaguar Club annual concours is coming up in July. My goal is to be there with the car. We’ll see.


Discussion
Comments are closed.