Wow, I see it’s been quite a while since I posted about the restoration of the 63 Etype FHC. Things have been progressing, albeit slowly. And I have been away on several long trips. Whatever, here is an update.
As noted in my article here, my first chrome plating firm went out of business and I had to drop off my chrome work at S&H Chrome Plating near Nashville, TN. Lack of chrome really affected my progress. For instance, the early cars require removal of the gas tank to access one of the attachment bolts for the left rear bumper. The upshot of that is that I couldn’t install the gas tank until the bumper was ready and installed.
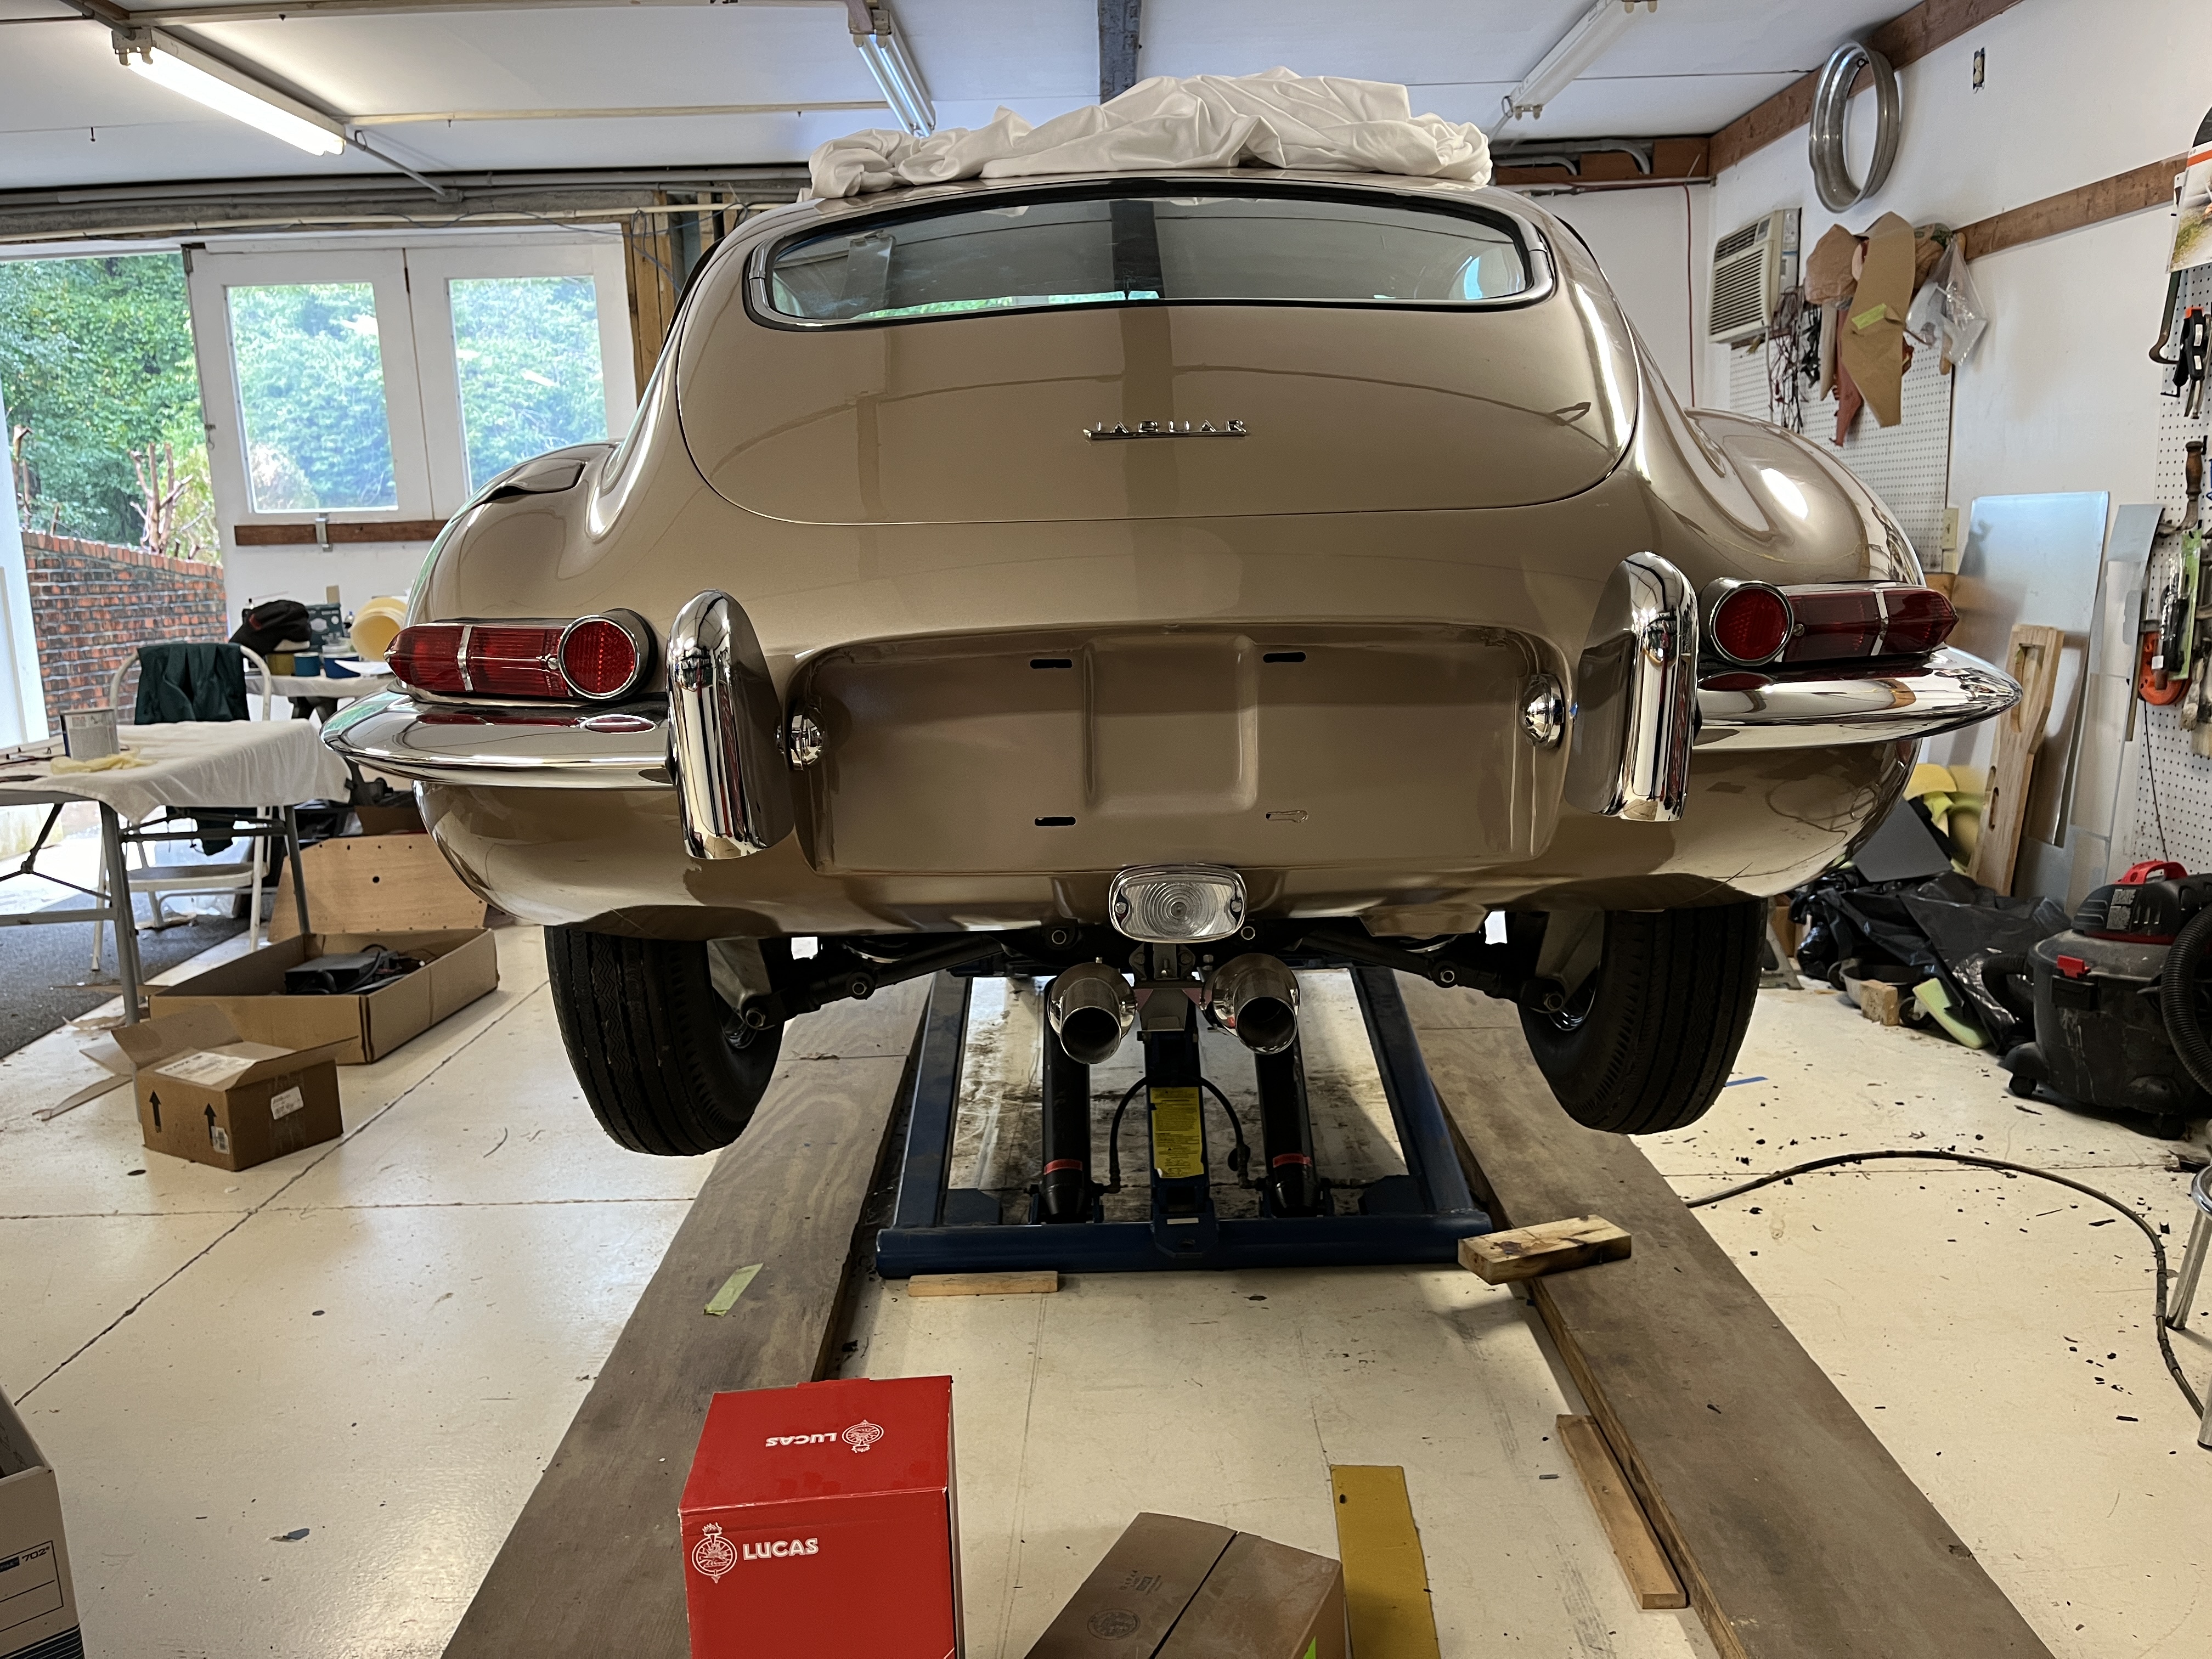
One thing I could do was install the exhaust. Besides the pretty pictures below, I would note that I went with an exhaust system fabricated from “mild steel” tubing. I used a full stainless system on my previous restoration of a 1967 Etype 2+2. I had to agree with others that it sounded a little tinny. I haven’t had a chance to fire up the engine yet but I am hoping I will obtain a more classic sound. I also installed used exhaust manifolds. I want to get all the break-in and carb tuning work complete before I install my fancy porcelain exhaust manifolds.


S&H finished my chrome work in April. That released me for a lot of additional work, again interrupted by travel.
Installation of the rear bumpers and the associated overriders- The goal is to have the bumper to body gap be about 1/4″. This gap is sealed with a rubber seal. Obtaining this gap is something you need to do during trial fit before paint and chrome work is done. Fortunately my prep work in the regard was solid and I was able to mount these items.

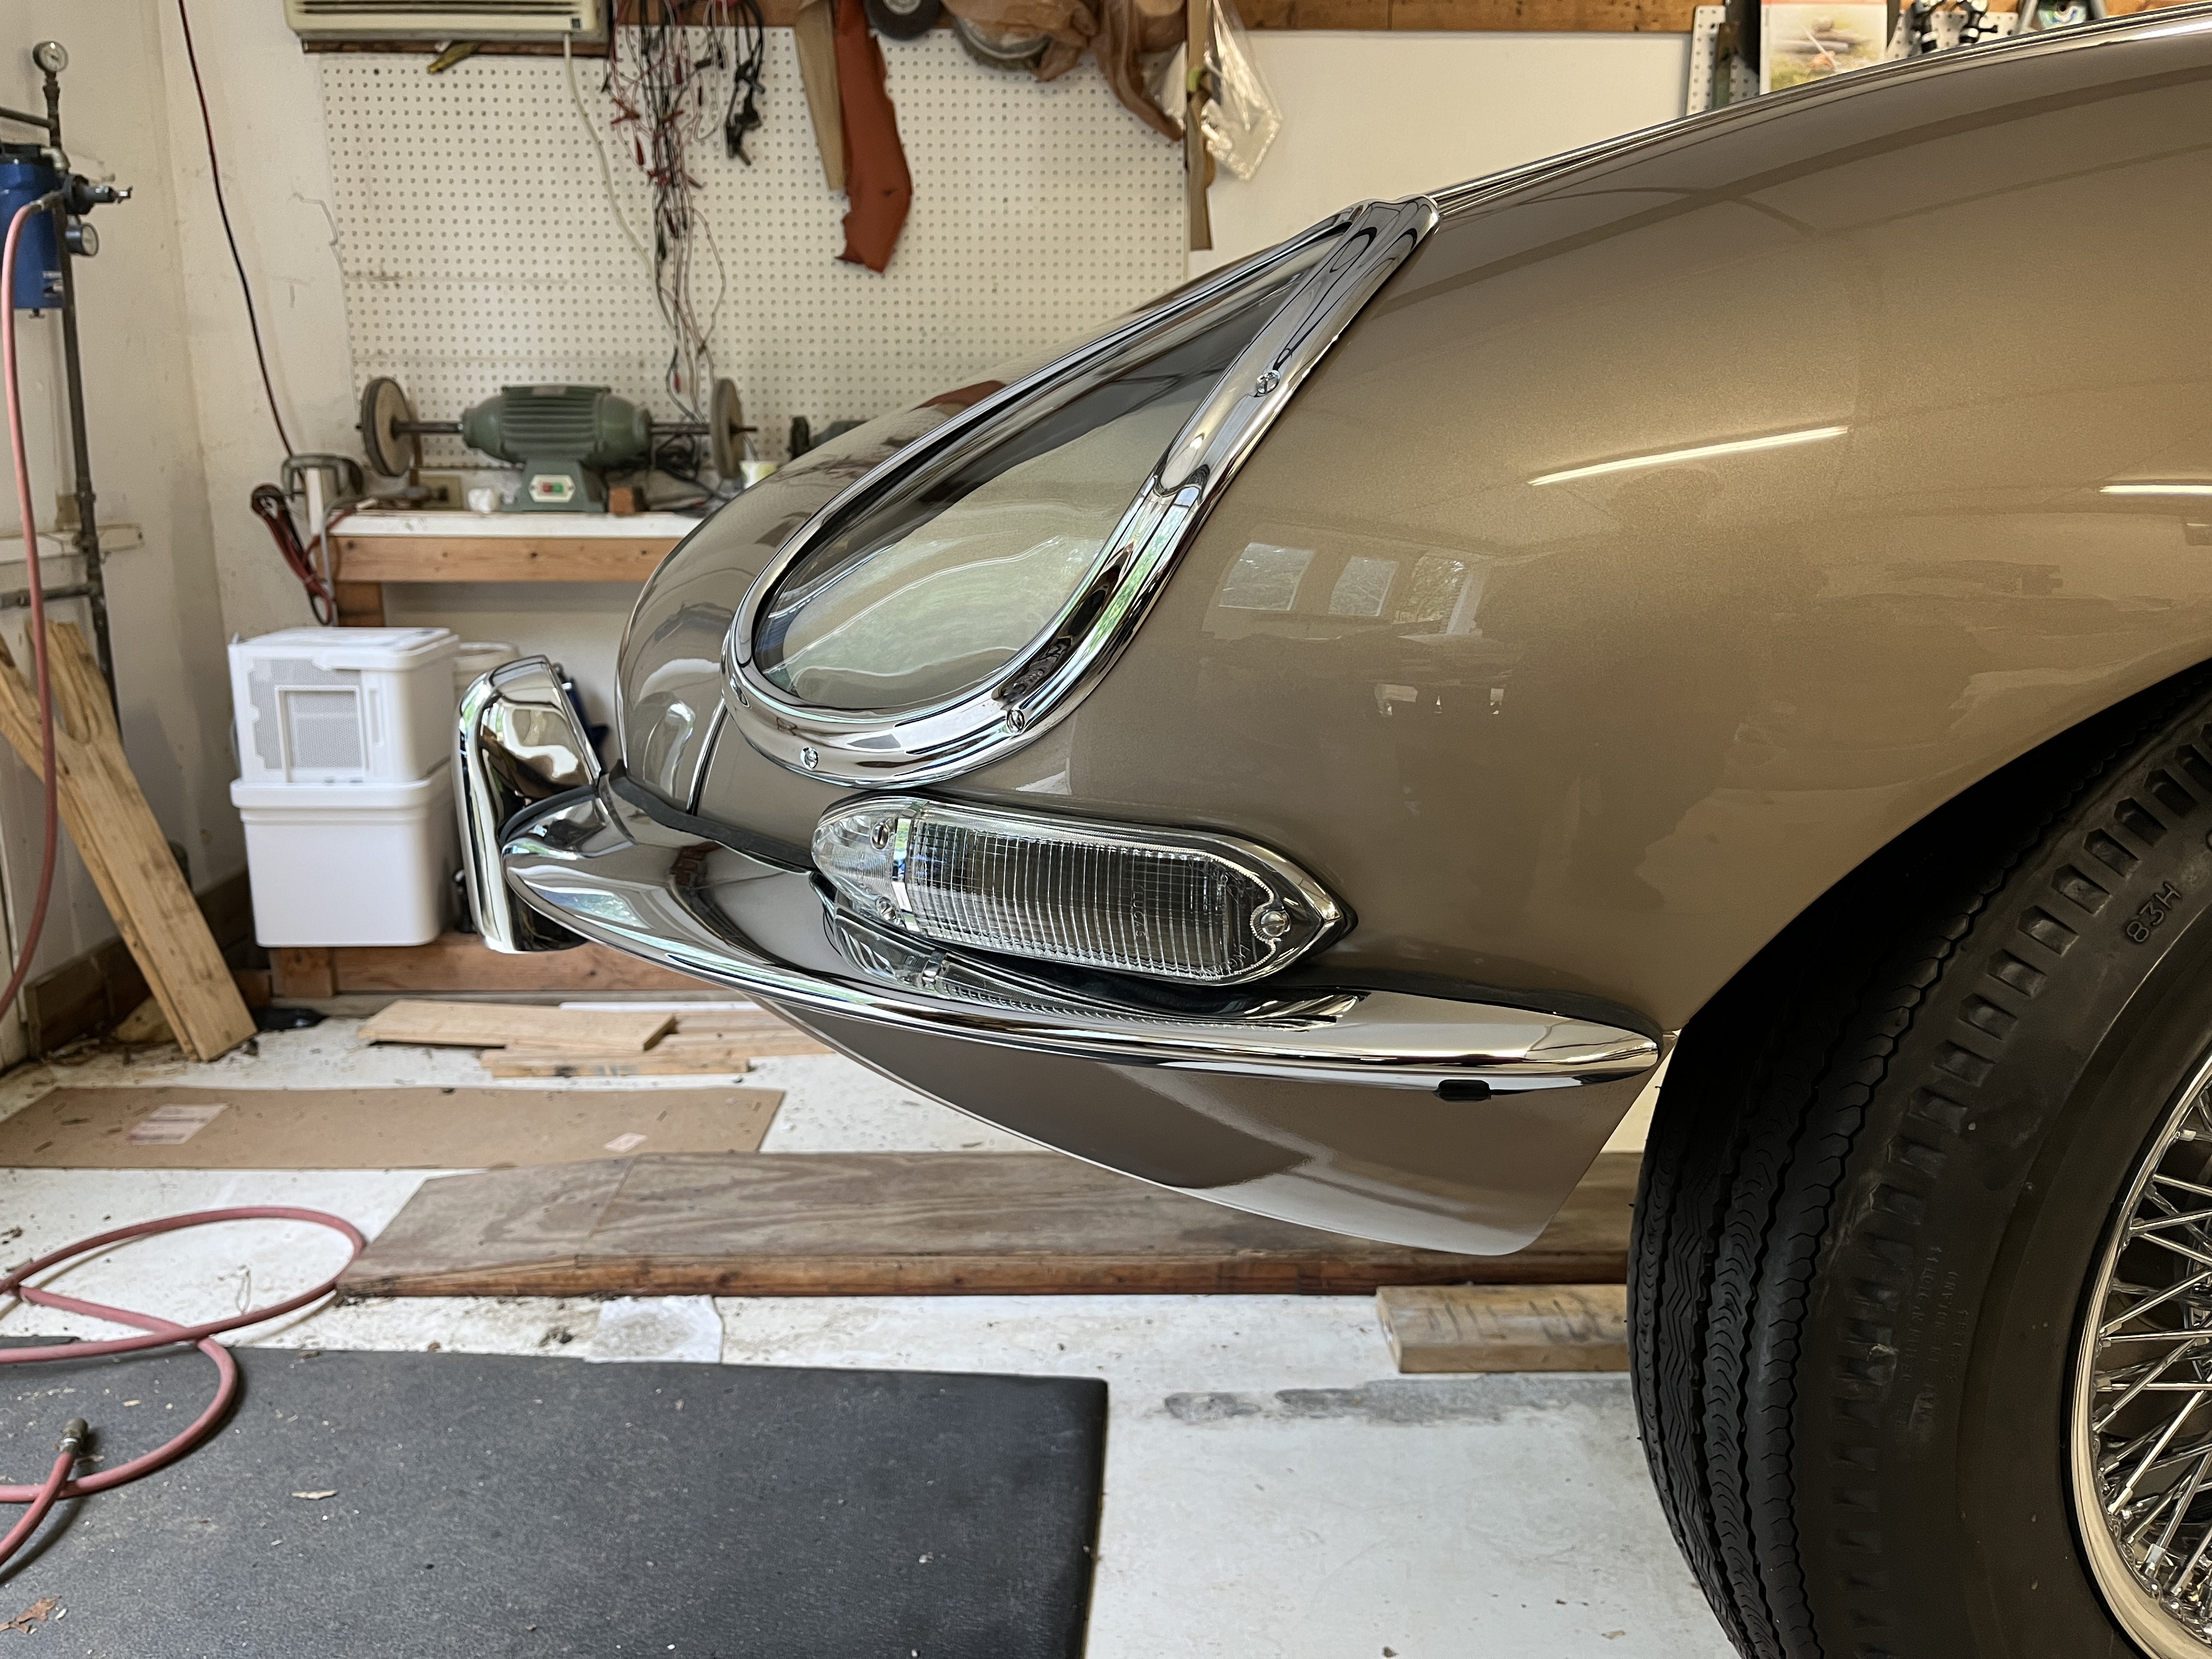
Installation of the front bumpers, overriders, and motif bar- Even though I had test fit all these items before paint and chrome, it still gave me fits. I am really a stickler about the bumper blades being horizontal and the overriders being plumb and vertical. The short story is that I had to execute some “shim magic” to get everything looking good. I am pleased with the final result.

Installation of headlights and sidelights- Actually, I think the first thing I did before I closed off the headlight opening was to install the horns, which are otherwise very hard to get to. Then I installed the wiring harness that feeds the headlights, sidelights, turn signals, and horns. There are several finicky parts involved in the installation of the sealed beam headlight units. Oh, and there was a sidetrip to paint the sugarscoops. I had the original sugar scoops and I felt that that backsides were a pretty good representation of the original color. I would up mixing a custom mix of enamal paint, using silver, black, blue, and green to get the right tint. Once I got the sealed beam units and sugar scoops installed, it was time to install the iconic glass headlight covers and their chrome rims. I had new gaskets, which grip the glass, and separate the chrome rims from the body. All I am going to say is that the gasket was very generous. I had to shave quite a bit of material off it to get the fit I wanted, which was basically chrome rims just kissing the paint on the body. The picture shows the final result, after many hours of fettling.
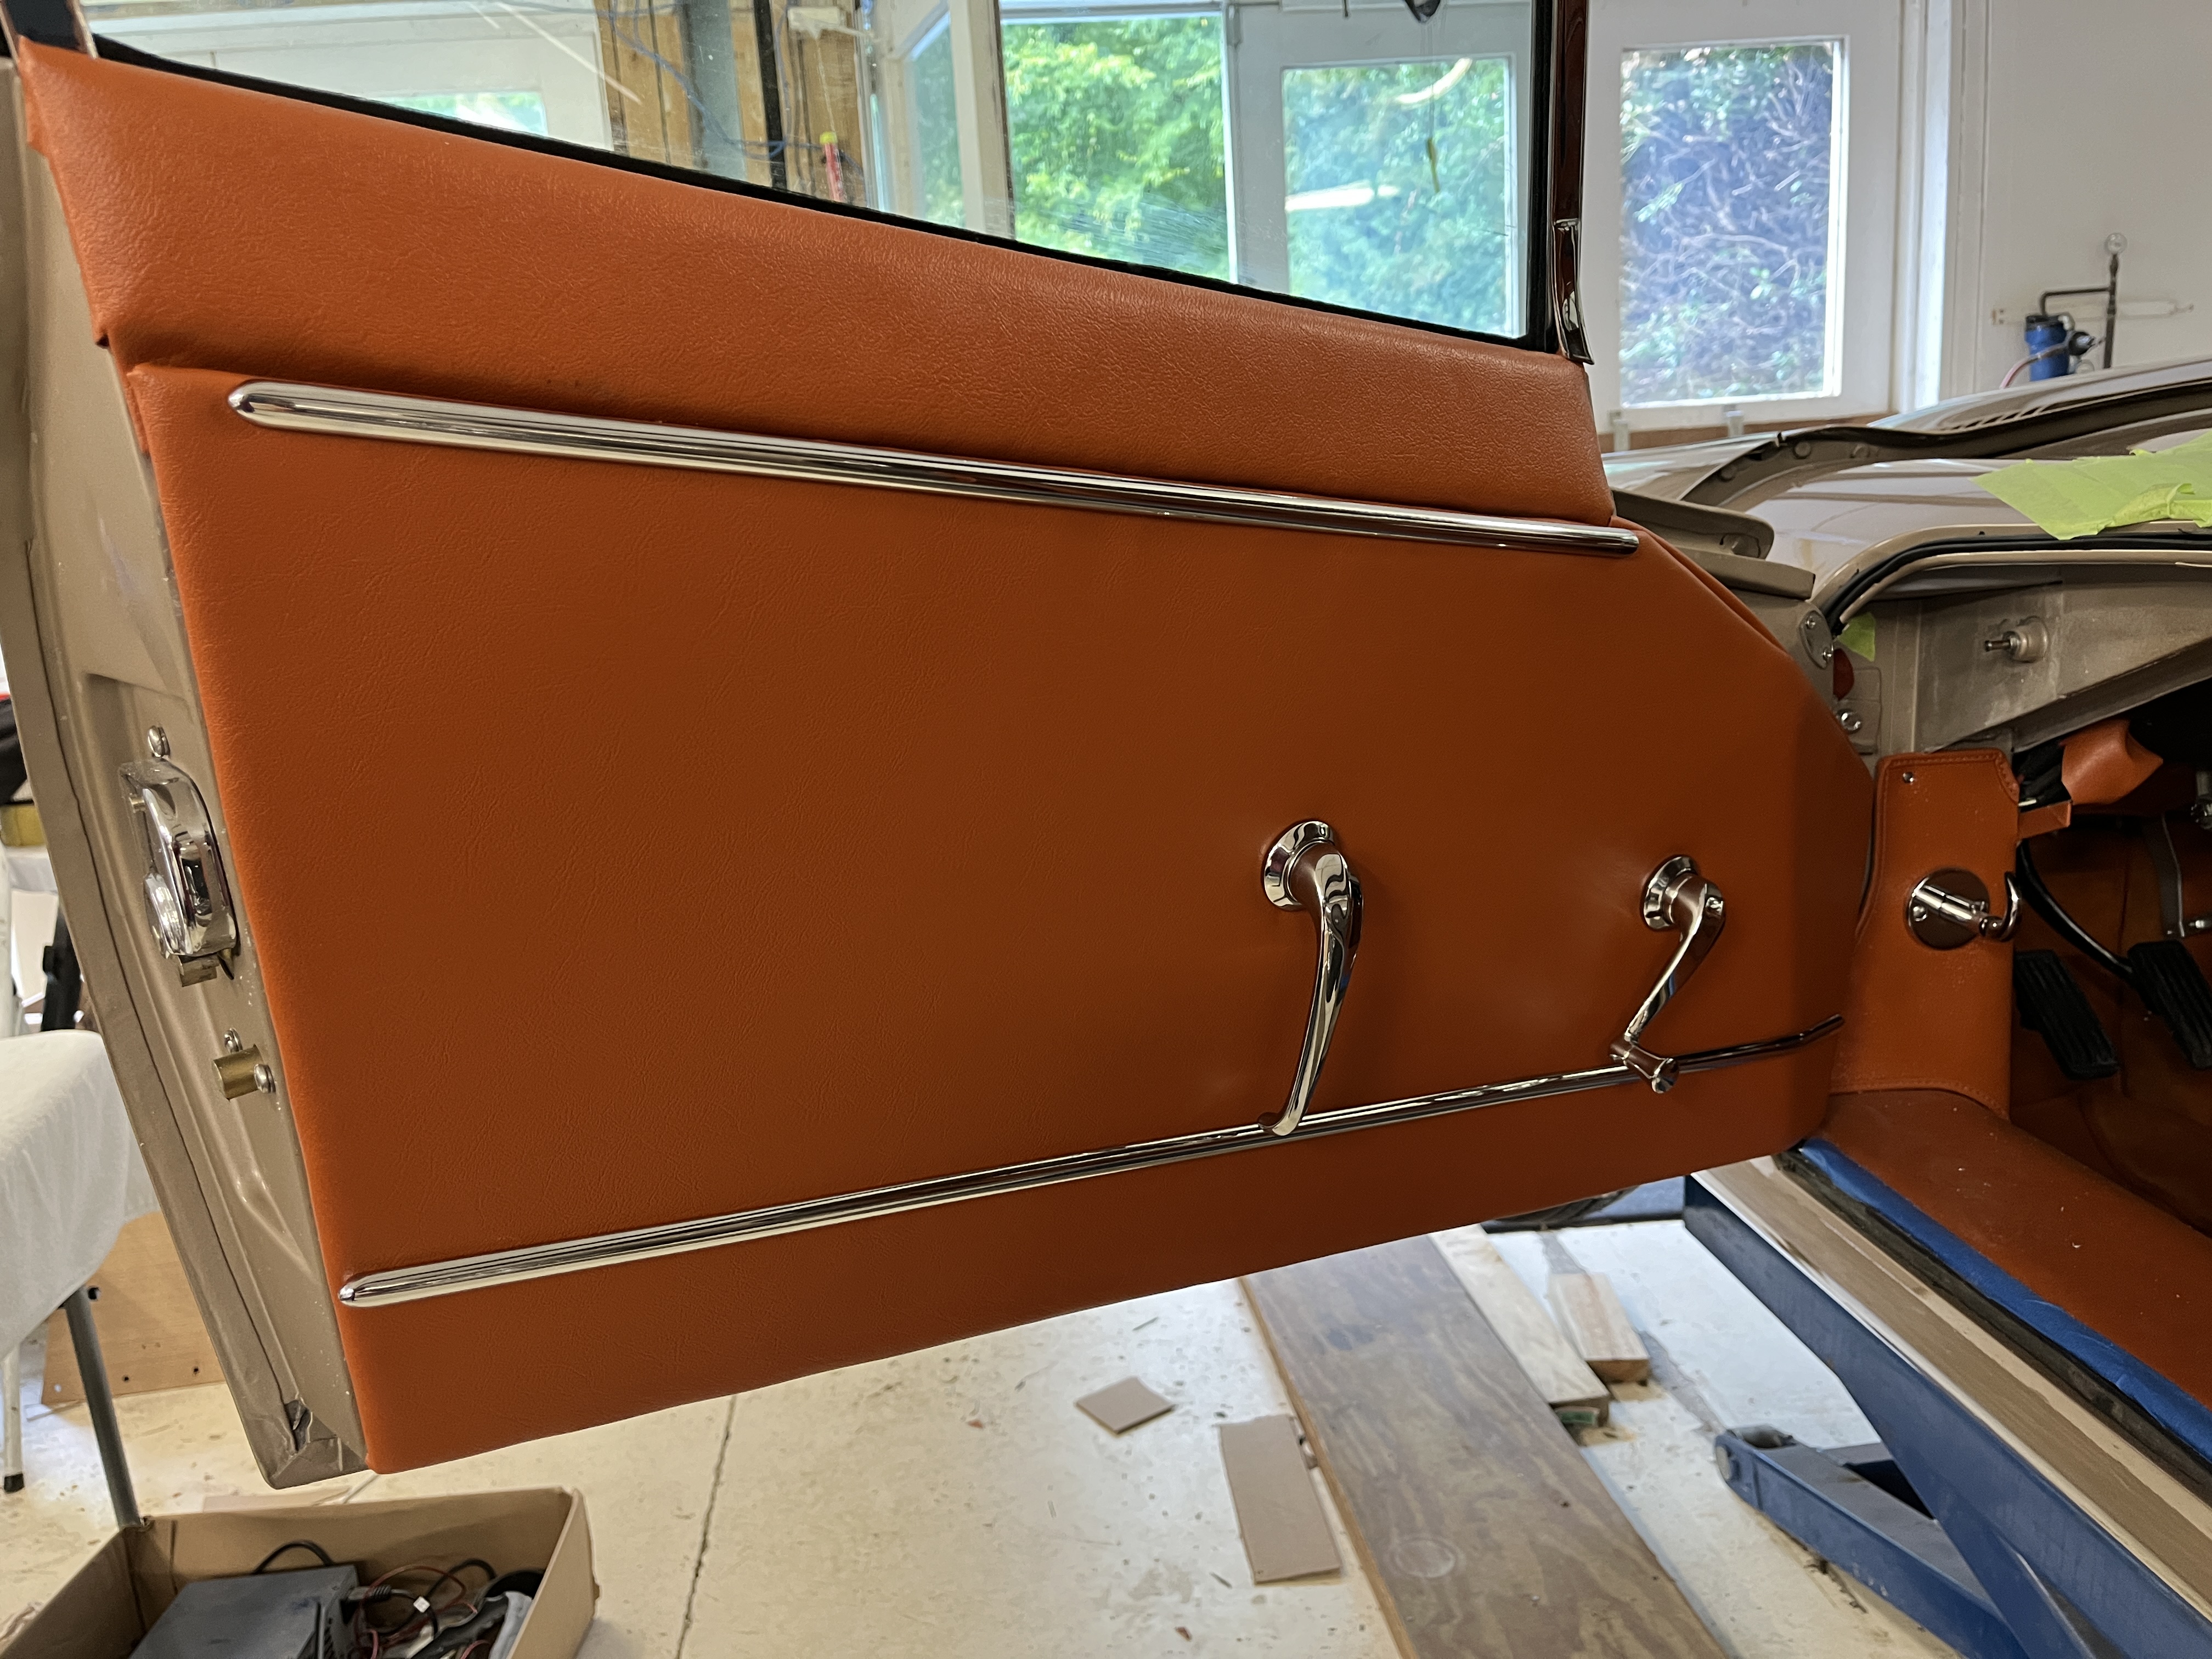
Installation of doors with windows- This turned out to be a total PIA. I am going to post a longer instructional article, as I think I learned a lot of tricks. But the short version is that I added the chrome frame to the doors that holds the window glass. I added the window winder mechanism. I of course added the window glass itself, which is the original glass the car was built with. After some initial skirmishs with the original door latch hardware, I decided it was just too used up and sloppy and the chrome was ugly. I bought new pieces from SNG (outer handle, latch, and receiver). I also had the interior handles rechromed. As I will explain more in the detailed article, fitment of these parts was all over the place. These cars were handbuilt, in a hurry, to a price point. We take for granted the fitement of doors and windows on modern cars but working on a car build in the 60’s gives you a new appreciation for modern manufacturing tolerances. Just as one example, before I cut it up and re-welded it , the gap of the chrome window frame to the opening in the body varied between 1/2″ and 1/16″. It was a nightmare but I worked my way through it. I am posting a most satisfying video below, that being a recording of my door closing with minimal effort. Believe me, it took a lot of effort to get to that point.


Installation of quarter light windows- Another restoration challenge. I had previously removed the window frames, which are held together with rediculously small screws and rubber mastic around the glass. I did reuse the original glass. The original rubber mastic was perished and I installed new mastic. I had to use multiple cargo straps to hold the window frames in position so as to make the small screws. There is a clever hinge arrangement at the forward end of the window. Unfortunately build-up from the chrome plating process caused the hinge to bind. I had to grind back the chrome in places where it wouldn’t show to allow the window to pivot without binding. I also had to do this with the latch at the rear of the window. Once I got the window to articulate correctly with no gasket, I then had to modify the gasket to allow the window to latch.

Chrome drip rail- Sometime during the window frame and quarter window installation and the 1/16″ tight spots, my friend Rick said “Hey, what about the chrome drip rail?” Oh crap! Yes Rick, I did need to leave room for the drip rail. I had purchased new drip rail from SNG and then had it rechromed by S&H Chrome. So here was another case where build-up from show chrome can bite you in the ass. I guess the chrome trim is supposed to “snap” over the driprail. Mine wouldn’t and the chrome cracked badly after tying to force it into position. I went and looked to see if I had the original drip rail chrome. I did but it was bent and cracked. I straightened it and did a weld repair on the cracks. I then opened up the trim using sockets as mandrels such that it was basically loose on the drip rail. I sent this back to S&H Chrome. I haven’t received it back yet but I am hopeful that even with the build-up from the show chrome, it will fit.
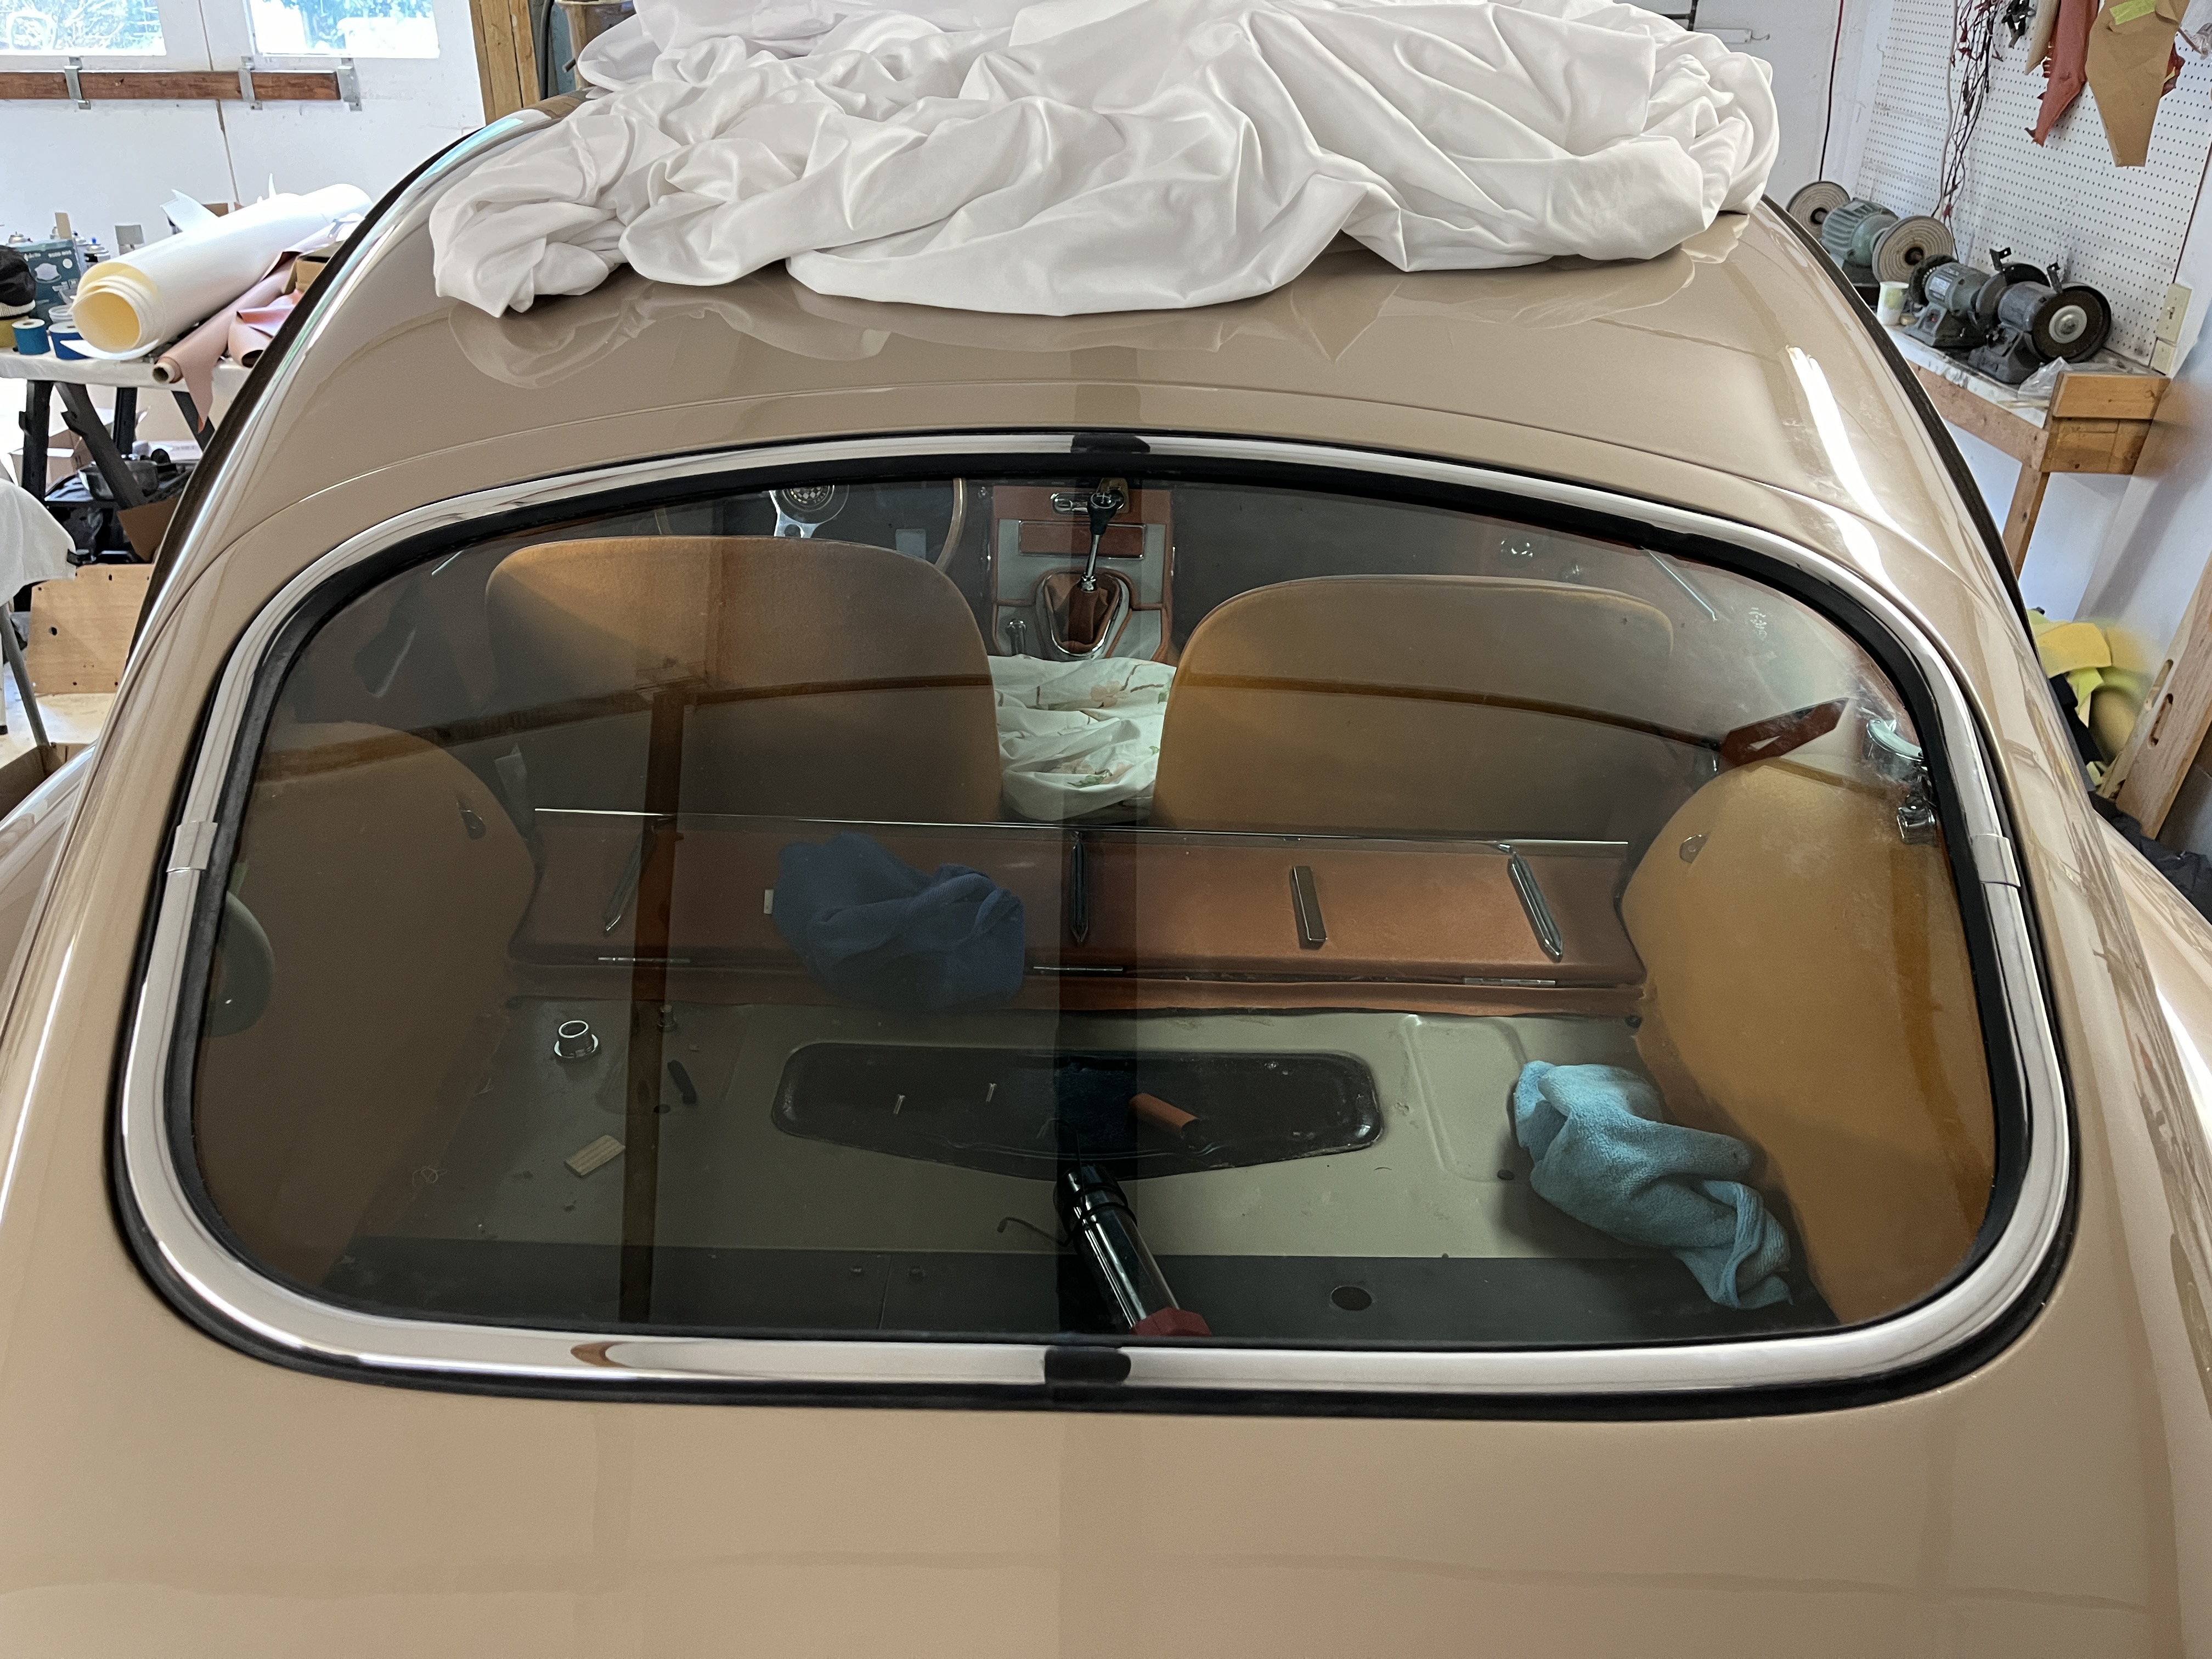
Rear hatch window and trim- At some point, I installed the window in the rear hatch. I just recently installed the chrome trim that fits around the window. Remarkably, this went pretty well.
Front windscreen and trim- I installed the windscreen glass last year. This summer when I tried to install the chrome trim, I could tell it just wasn’t shaped right. I ordered new pieces from SNG. These are currently installed and I have the secured with painters tape to let them acclimate. They are fighting me and I suspect I will have to make some targeted applications of superglue to convince them to stay in place.

Door cards- I will write a more detailed article but I wound up making new door cards. The main reason for this was that the ones the upholstery shop sent me “telegraphed” the metal clips that hold the cards to the doors, due in my opinion to insufficient padding. I came across other interesting issues which I will discuss in more detail in the detailed article.
And there you have it. A lot of work done. Still more to be done!

Discussion
Comments are closed.