One job I did recently on the 63 FHC was installation and trimming of the rear hatch. Here is how it went. The first step was to re-install the bare hatch into the body opening. It had been installed when I did the bodywork and paint but I removed it during the upholstery effort in order to give good access to the rear compartment of the car. The hatch is held in place on the left hand side by a pair of hinges. The hinge bolts mate with captive nuts that have some range of motion. This and the strategic use of shims allows the hatch to be precisely centered in the hatch opening. The next step was to fit the latch mechanism and adjust it for proper closure. As with the hinges, the latch pieces allow some adjustment in position through the use of loose captive nuts.
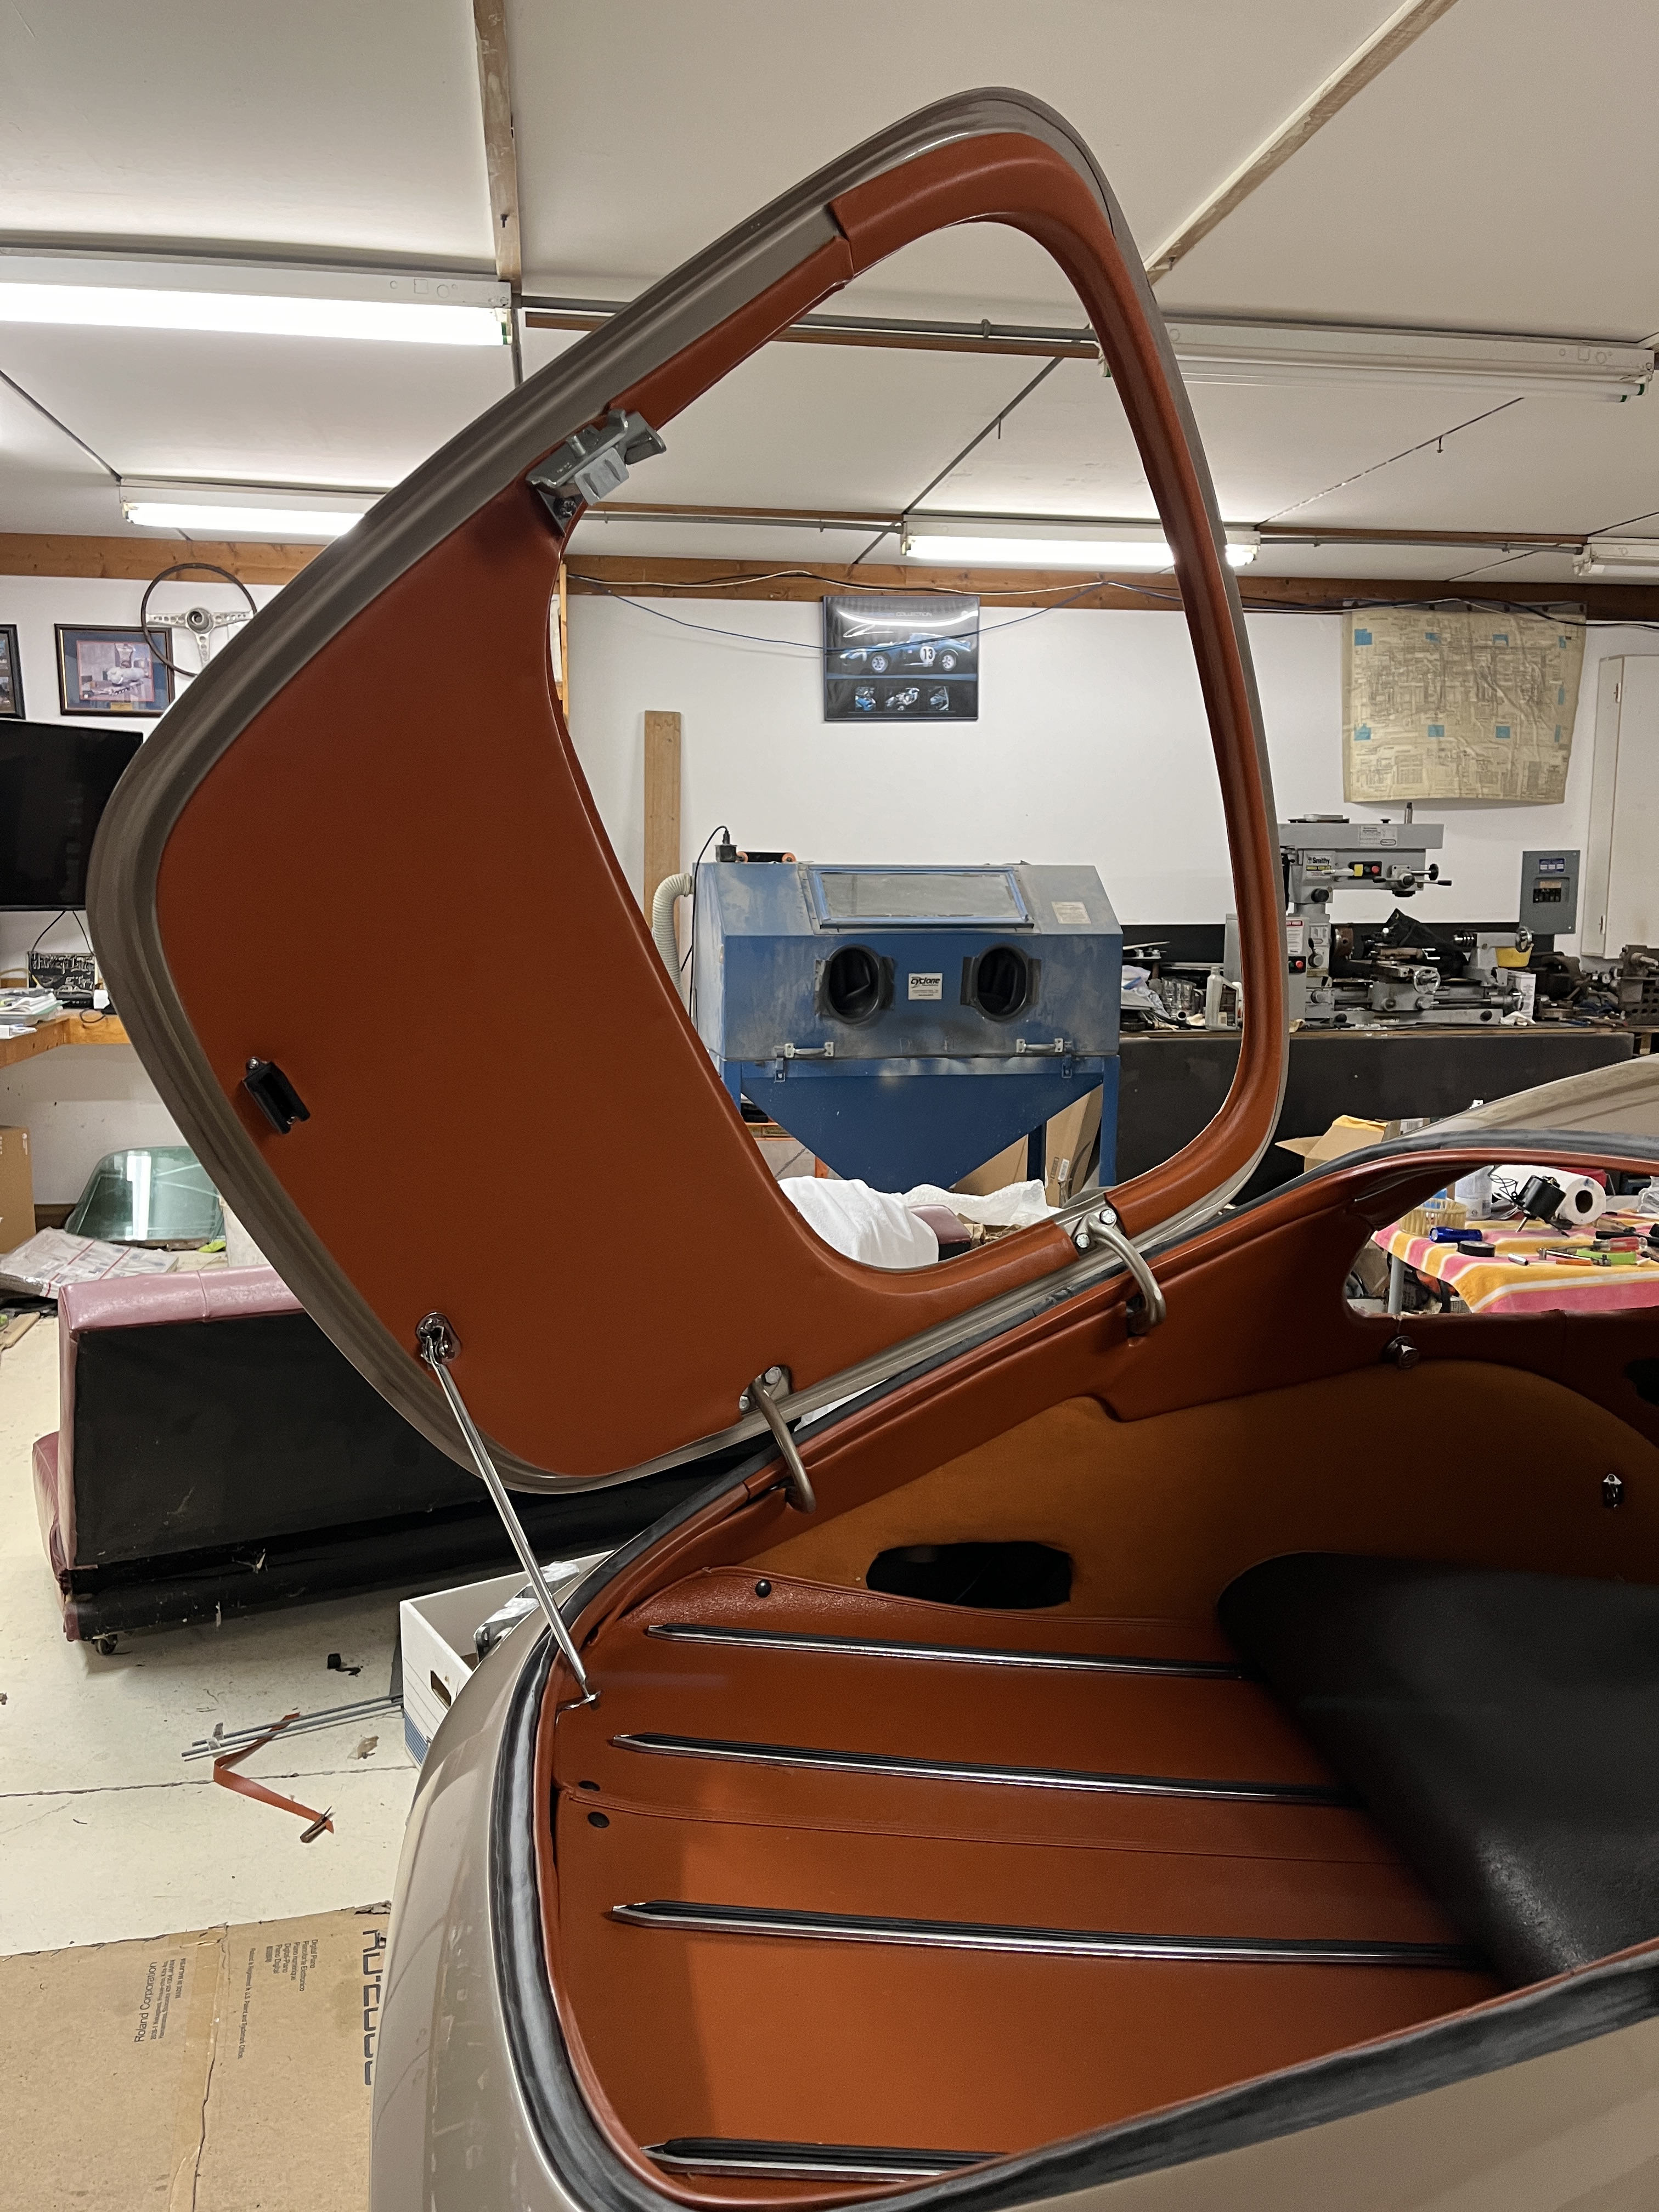
The next thing I did was to install the “hatch prop” hardware. All of this hardware is chrome plated. Mine was a combination of original pieces and some aftermarket pieces. The hatch prop hardware changed several times in the early versions of the car. By referencing to the Haddock/Mueller book, I was able to confirm that I had the correct pieces.
To go back in time a little, there is a PVC trim piece that goes around the hatch opening in the body. I had the original piece and was motivated to re-use it. I spiffed it up with a coat of new paint, color matched to the other vinyl pieces in the car. This trim piece is the first item to go into the car, before the other items that trim the rear compartment. At the time that I first installed it, I positioned it to line up existing holes where the rear dome light and the hatch prop catch were attached. I softened it up with a heat gun and worked it around the rest of the perimeter of the car, using contact cement to hold it in position. As we will see, it had a mind of its own, which caused some problems!
Back to the vinyl trim, some photo research of similar cars showed that the vinyl ran up under the black rubber molding for the hatch glass. The large area below the glass was vinyl glued to a pressboard substrate, which had clips that engaged holes in the hatch. This vinyl was left long and I glued the excess onto the lower perimeter of the glass opening. The area across the top of the hatch uses vinyl glued to a formed plastic piece. This piece is a rather complex 3D shape. I had the folks that supplied my trim kit, GB Classic Trim, supply the piece already trimmed in vinyl. I don’t know how they do it but the vinyl was applied perfectly with no sags or wrinkles. It fits snugly over a matching shape in the sheet metal of the hatch. It also had excess vinyl that was glued to the the hatch glass opening. Finally, there is a short filler piece that runs a short distance above the latch.
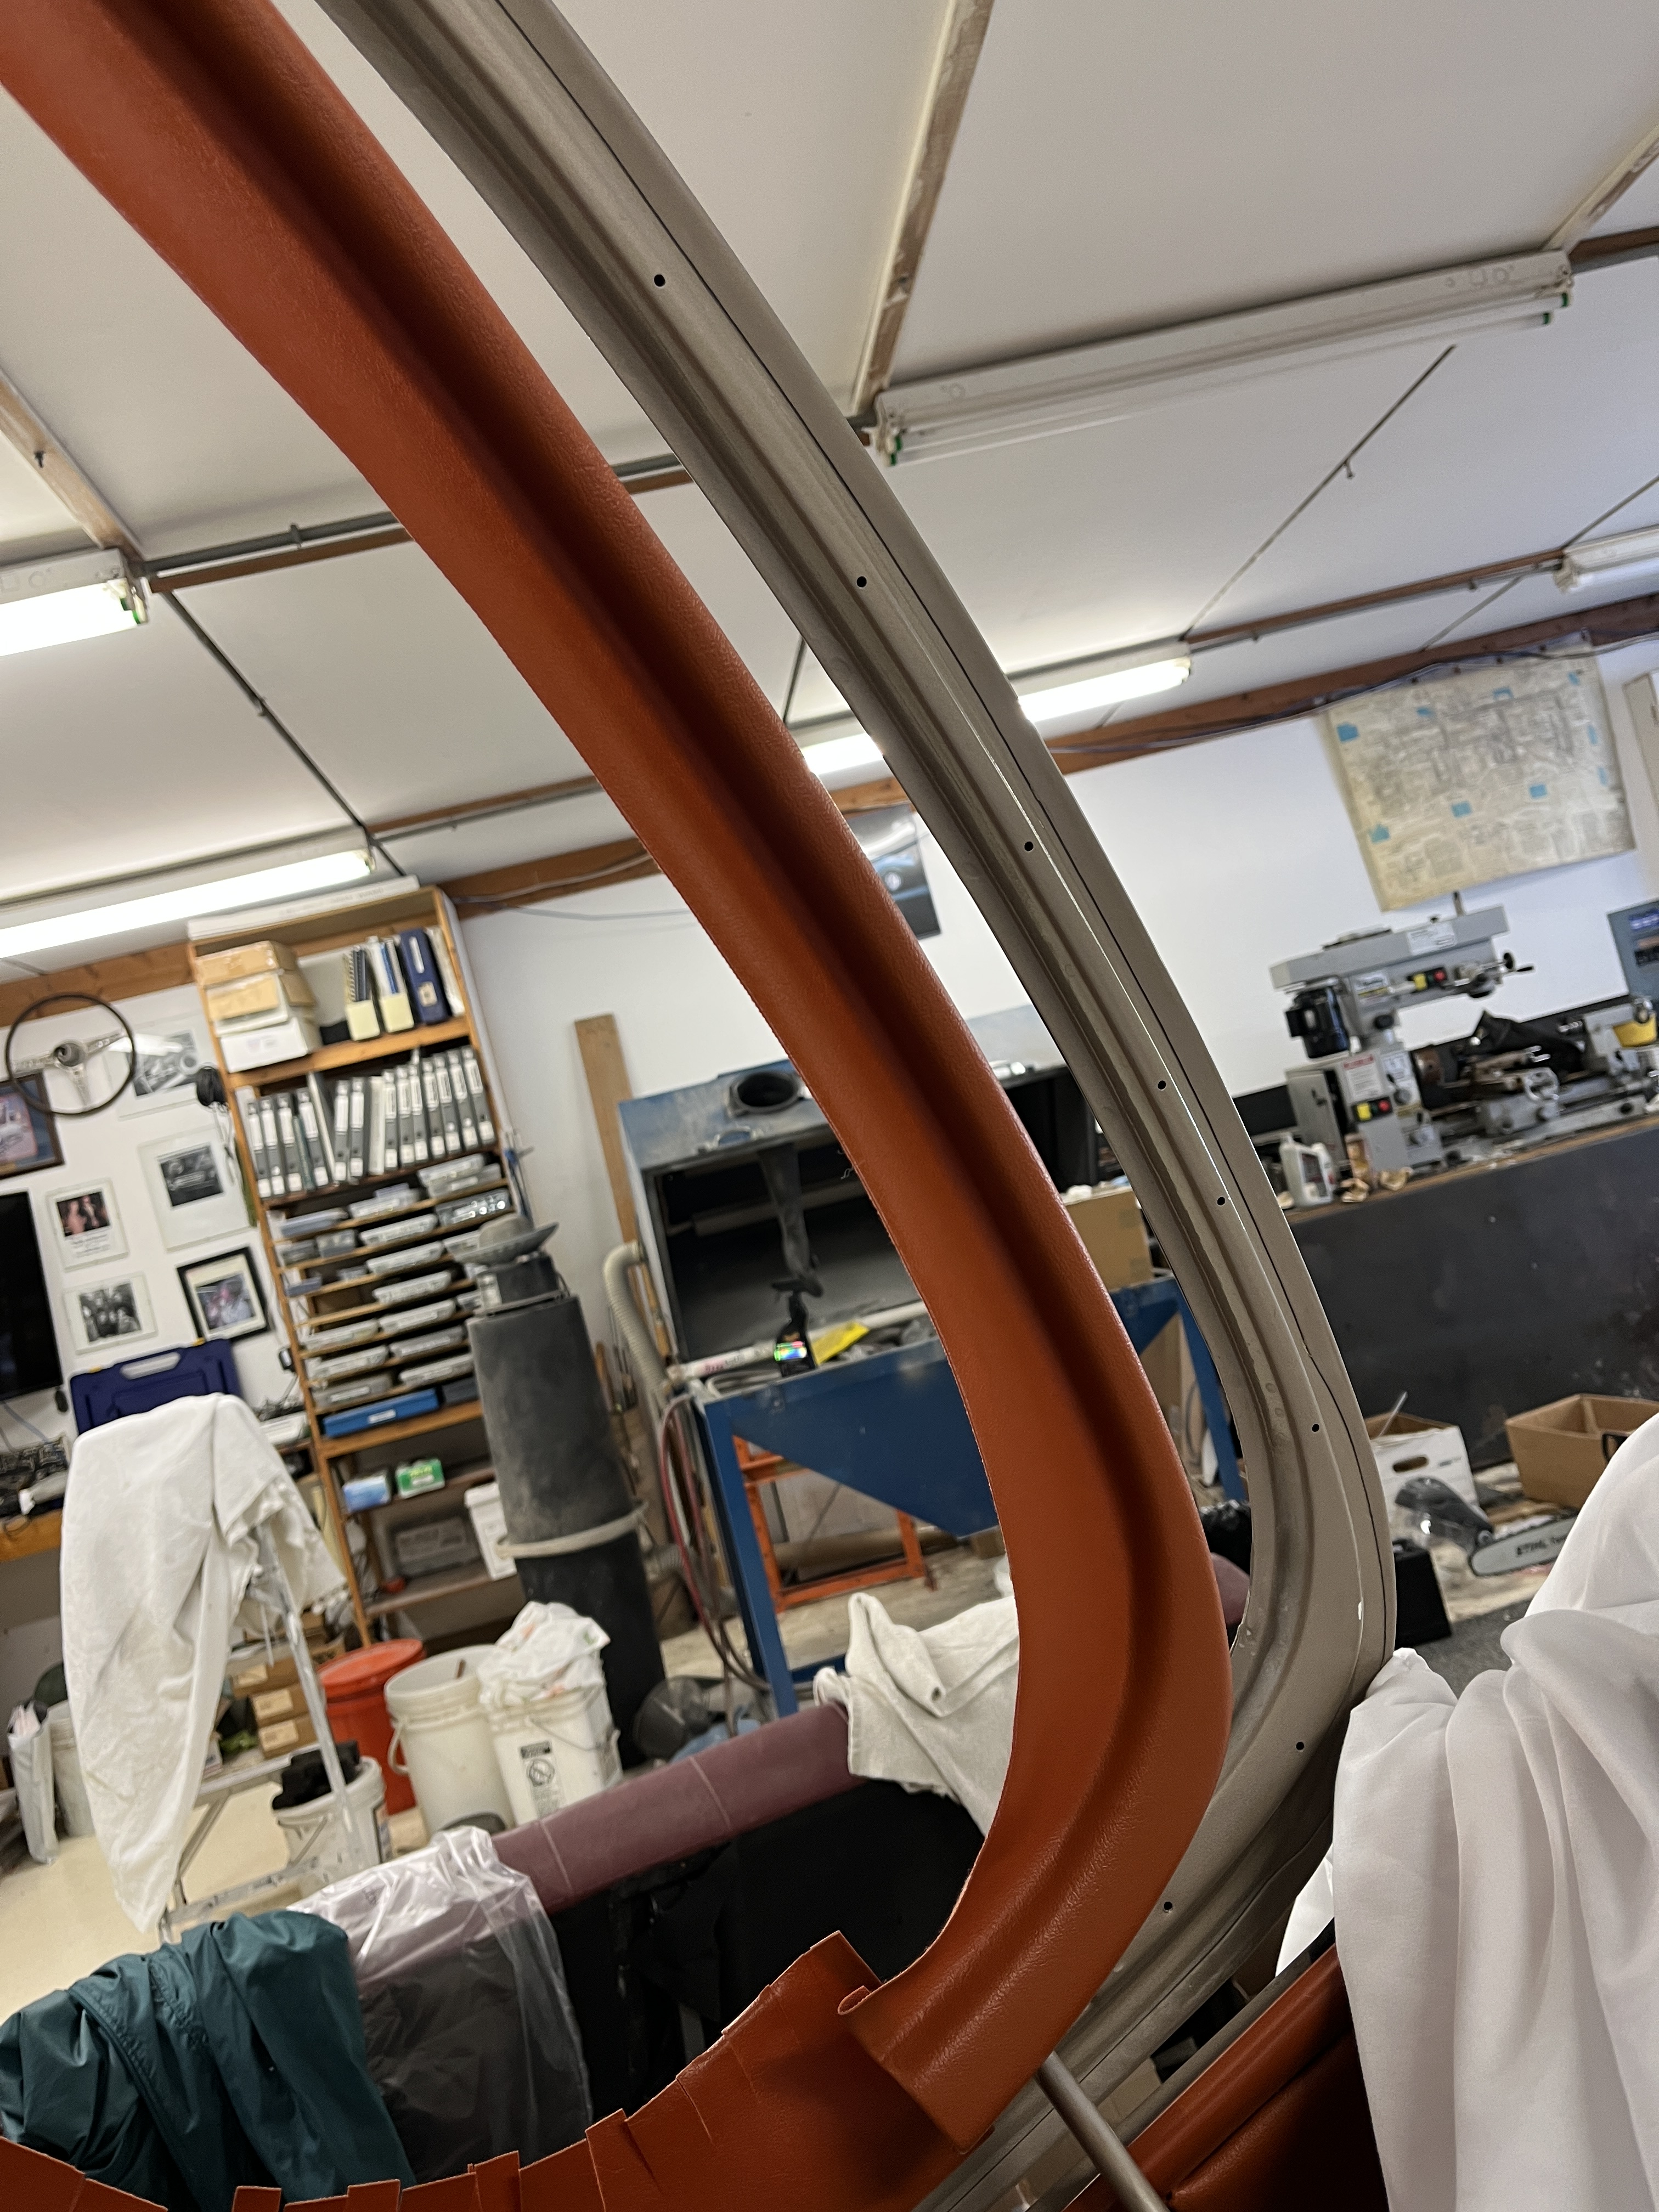
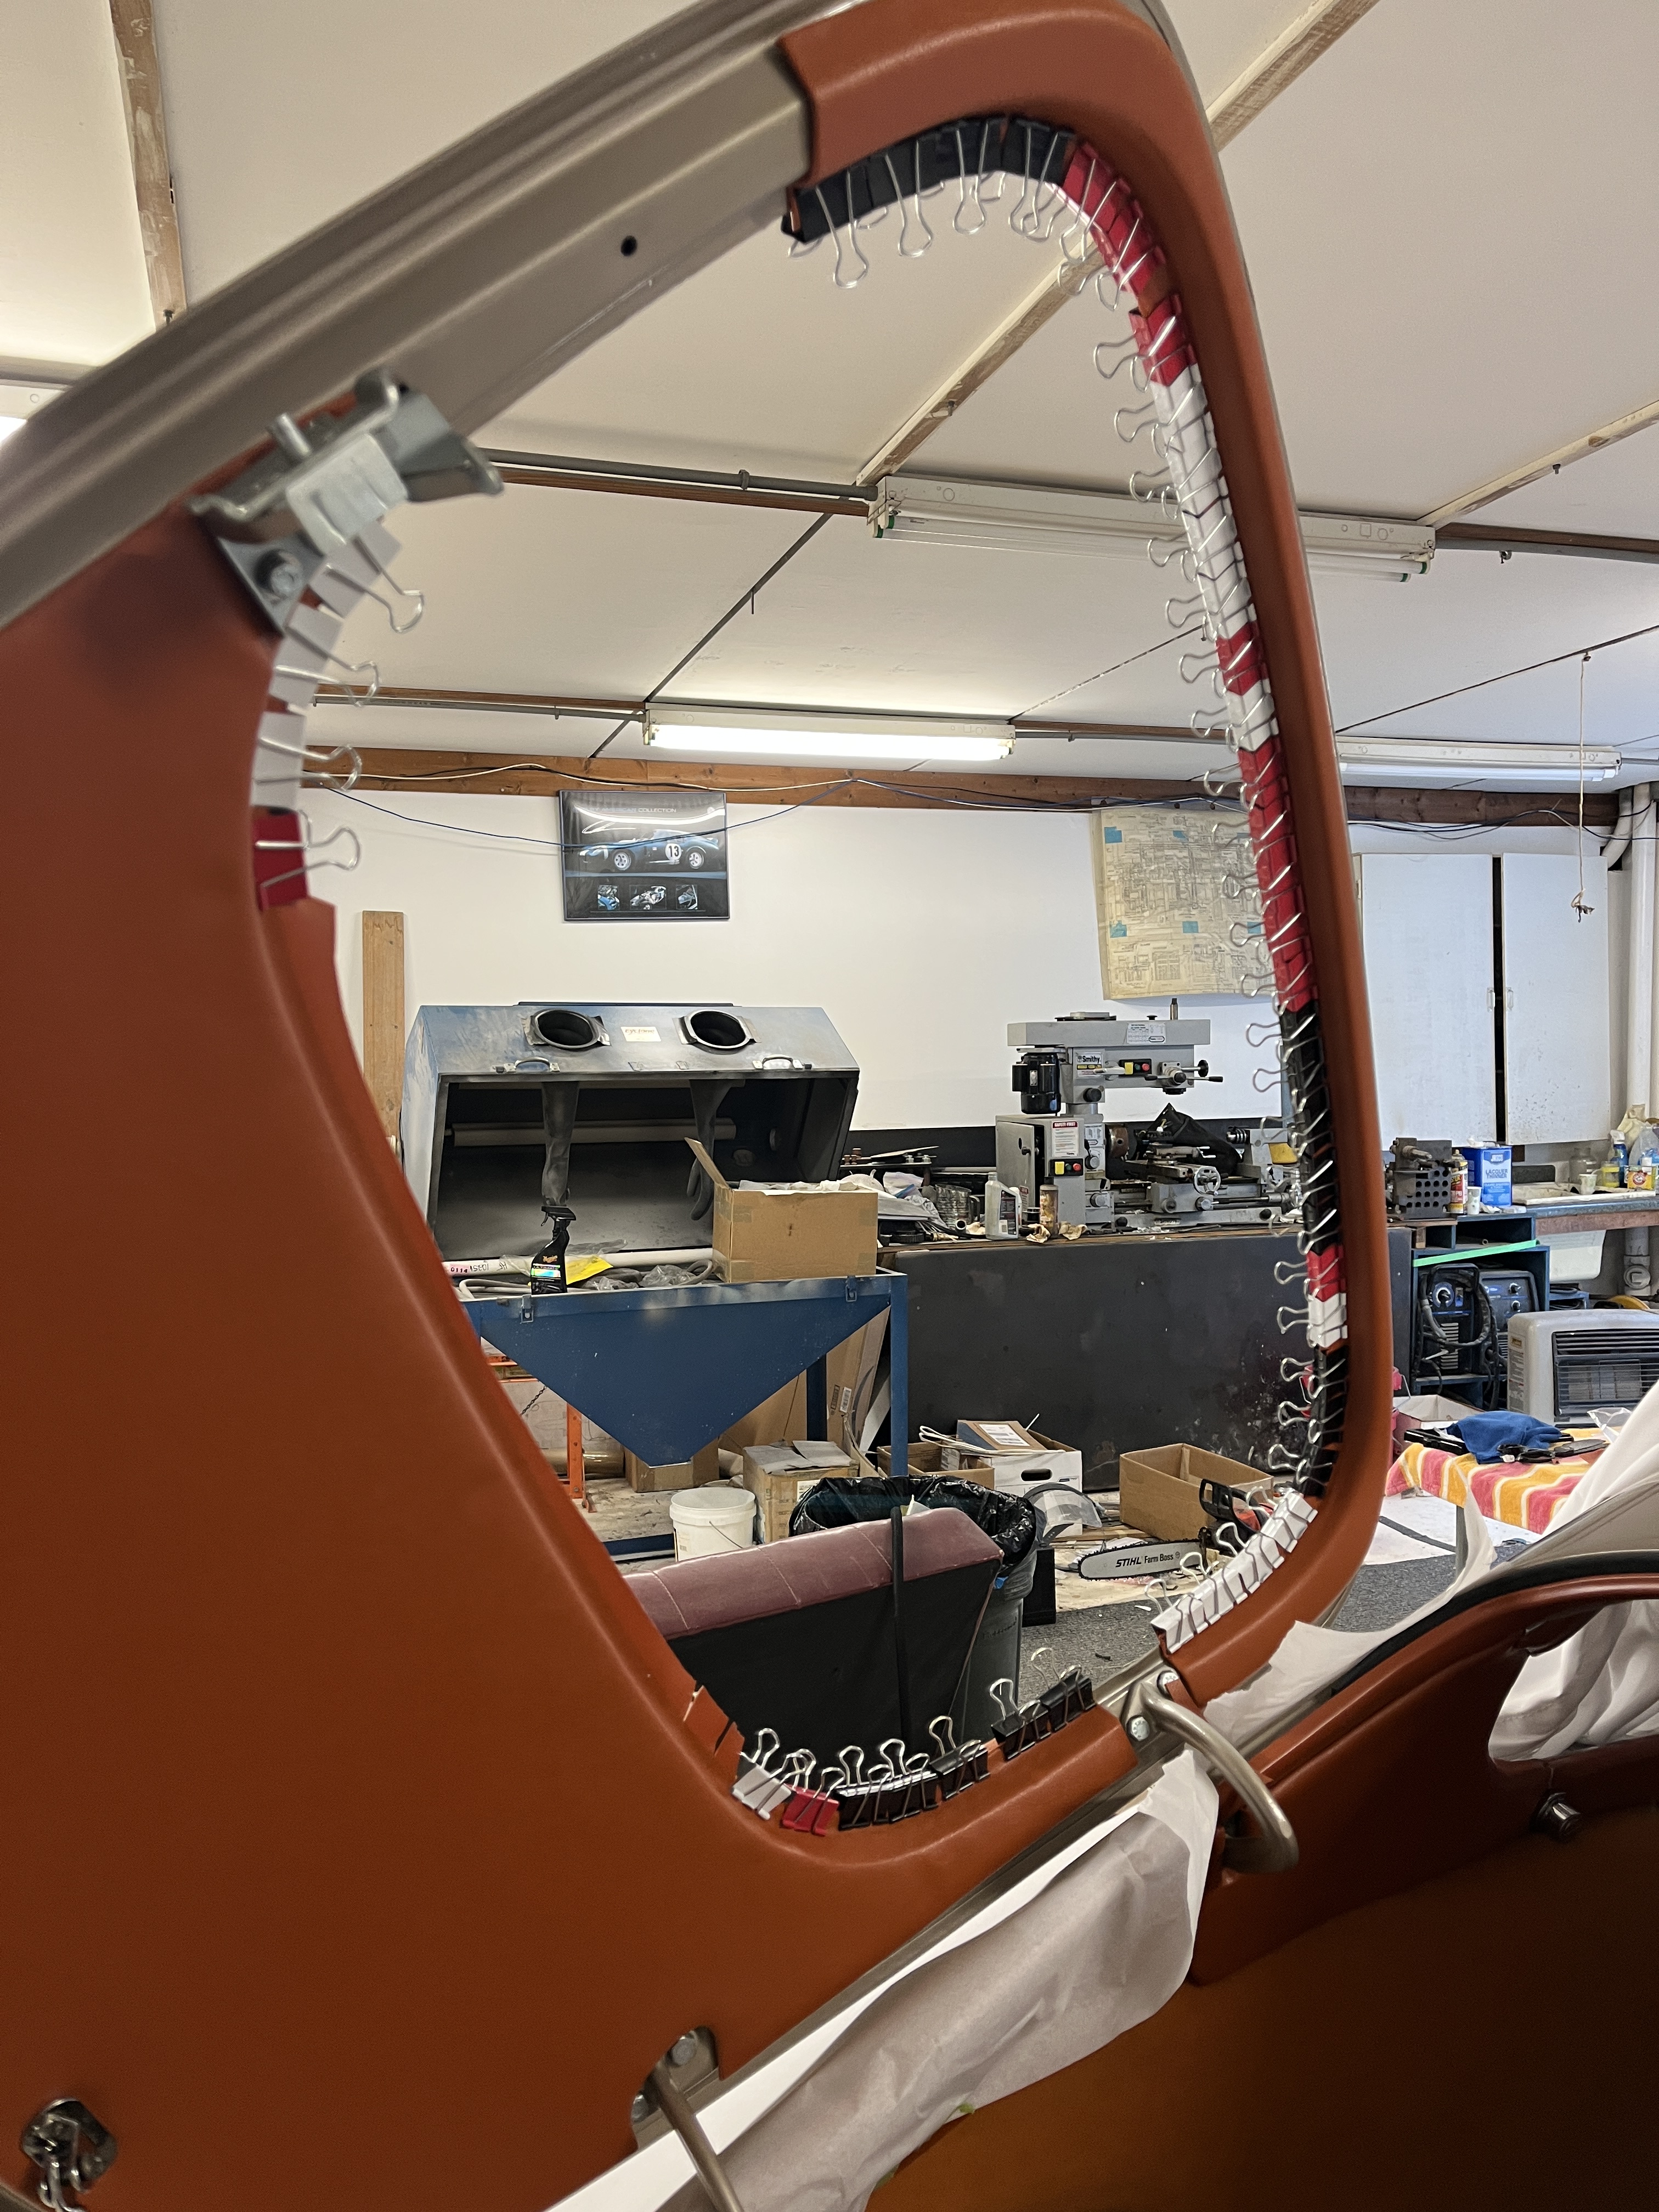

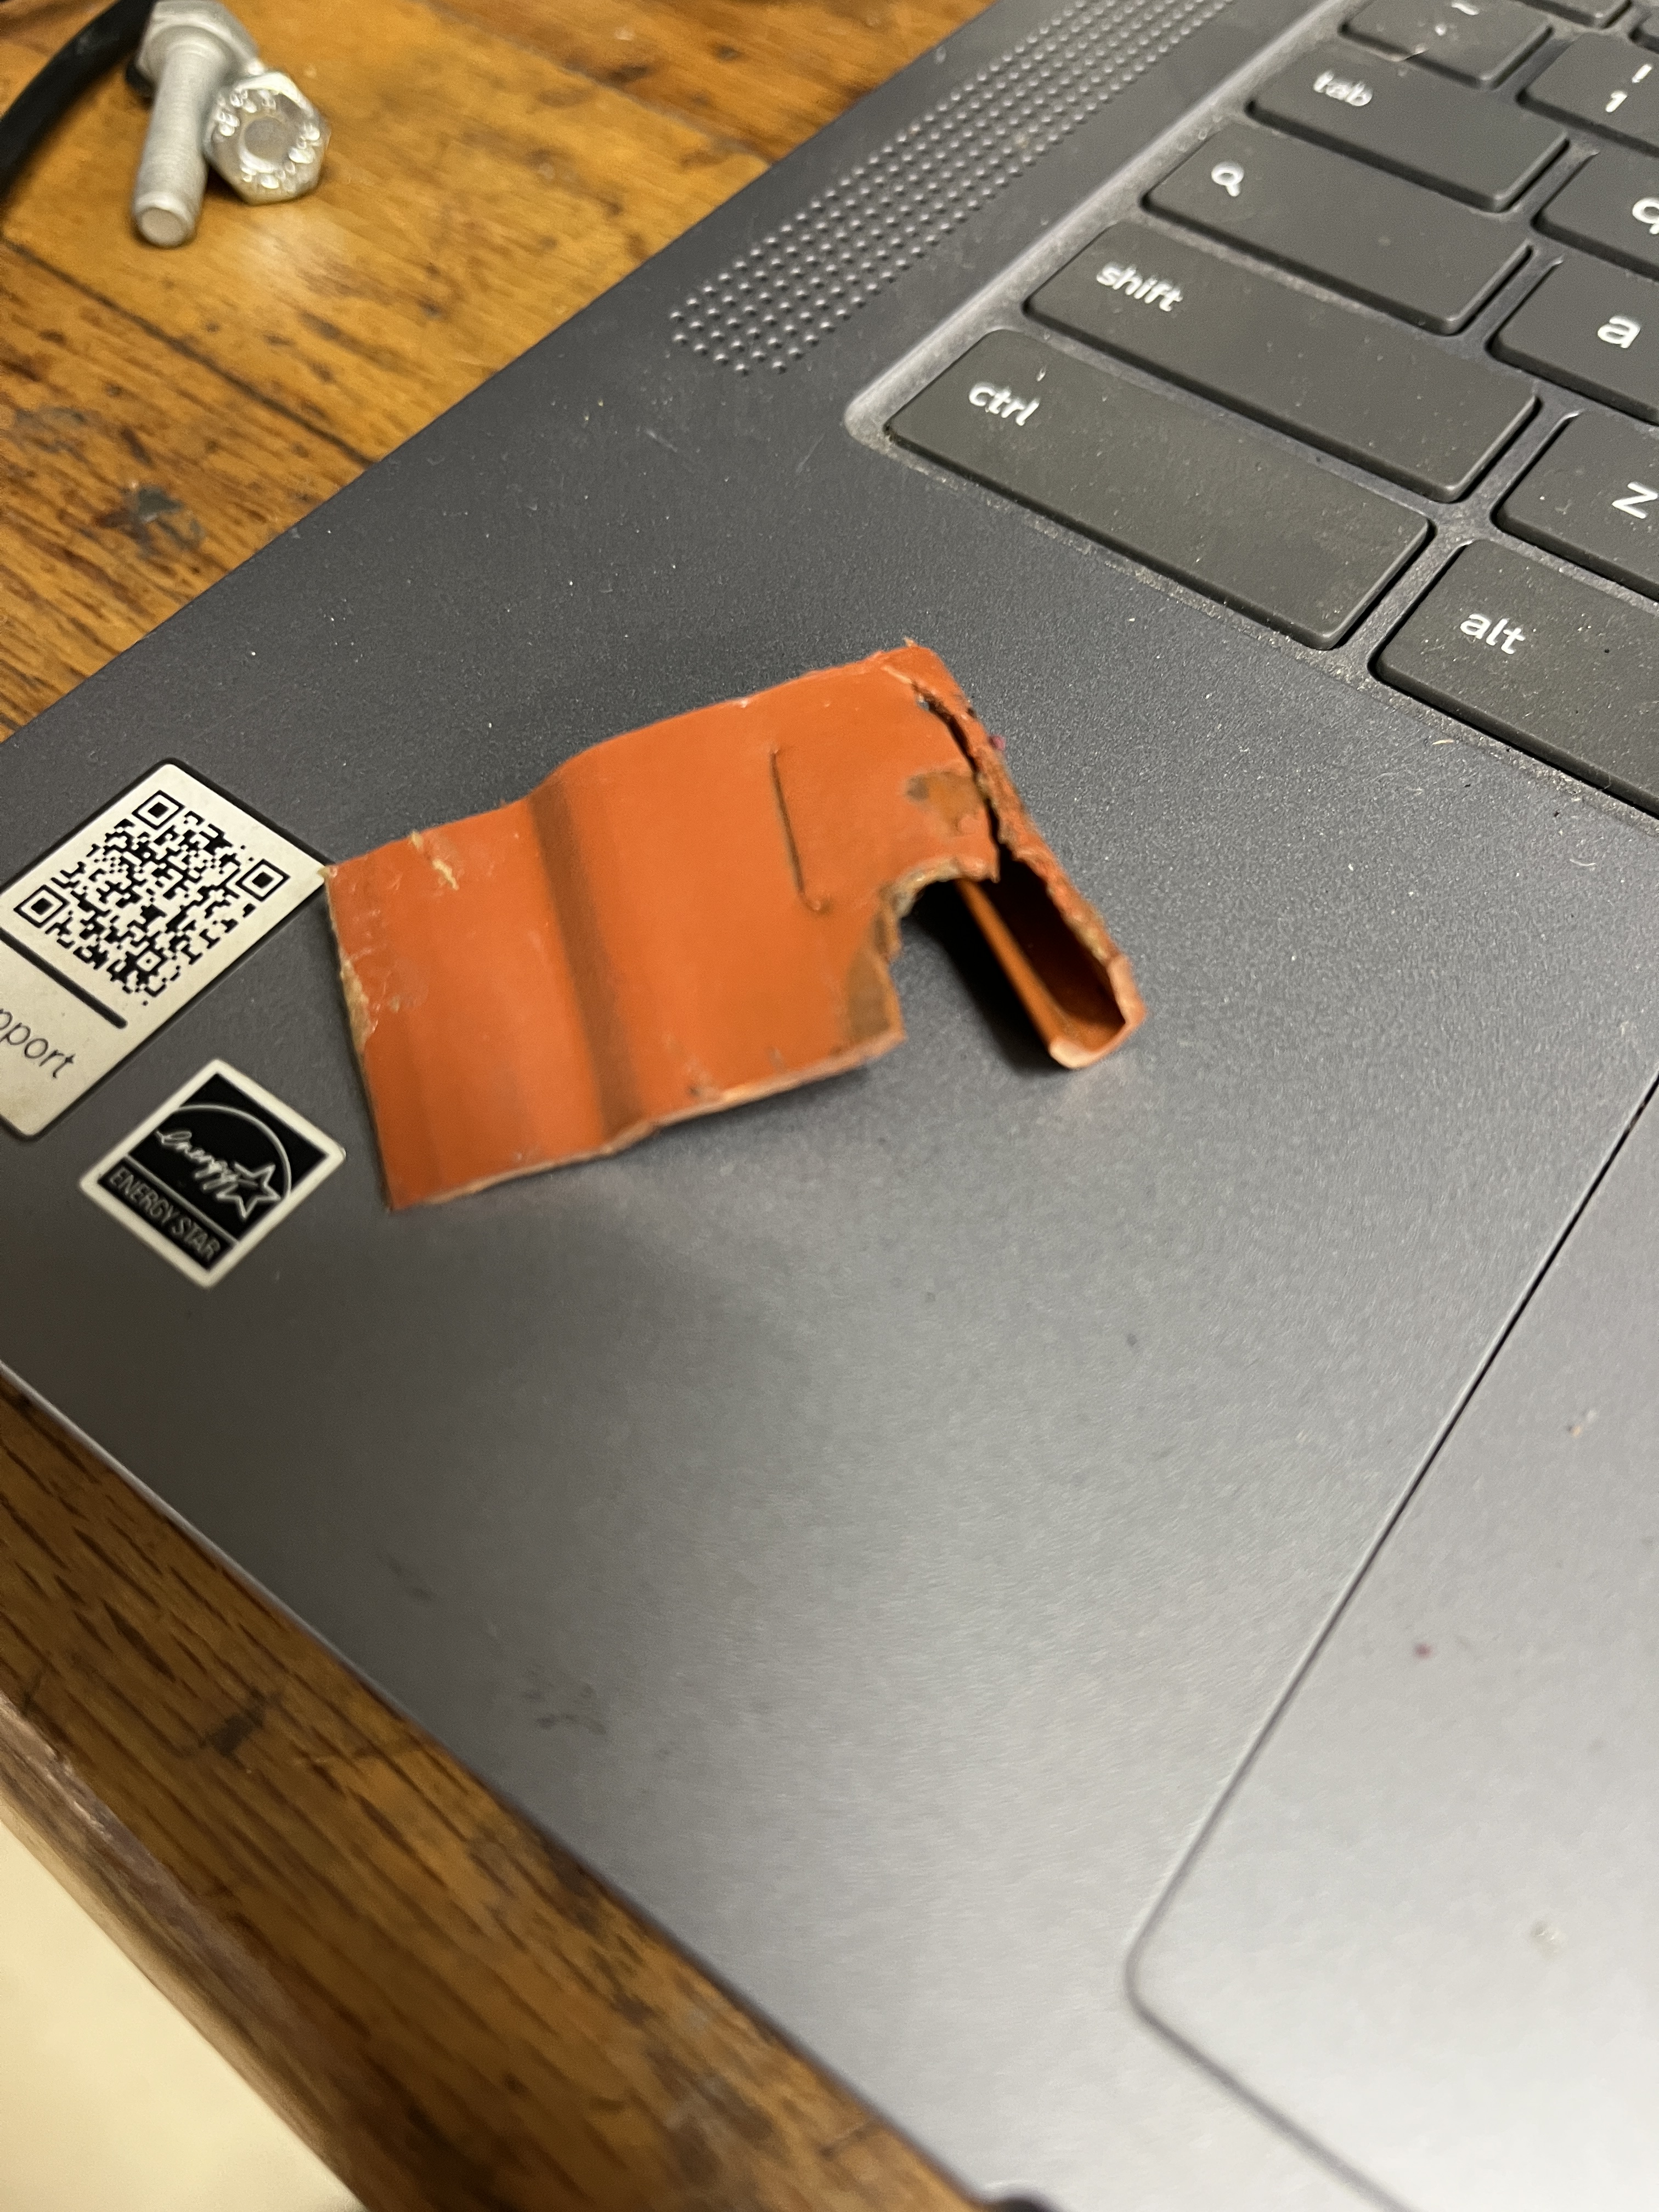
After I glued and trimmed the vinyl around the hatch glass opening, it was time to close the hatch. Wow, this did not go well! The hatch trim fouled the PVC trim in the hatch opening in several places. One offender was the pressboard card in the lower part of the hatch. With some strategic trimming, I was able to get the card to clear. Another problem area was in the upper right hand corner of the hatch opening. That PVC trim that I had so carefully heated and glued had shrunk as it cooled and shortened the radius around the corner. I wound up killing two birds with one stone. The PVC trim at the area of the latch was badly damaged due to a misaligned striker plate on the latch. I had been toying with the idea of trying to make a cosmetic repair using some sort of filler and paint. Instead I carefully cut the bad section out, leaving a 1″ gap. Next I freed the PVC trim from its glue in the upper right hand corner and carefully reglued it to suck the trim as firmly into the corner as possible. This of course opening up the gap in the trim at the latch even more. Next, I released the glue on the PVC trim all the way from the latch to the lower hinge. I slid the PVC around to make a neat butt joint at the latch. This left about a 2″ gap under the hinge. I bought a short section of new PVC trim from SNG and cut it fit and painted it to match. That section is obvious if you are looking but it is under the hinge. A neccesary compromise under the circumstances.


One last hurdle remained, that being the rubber seal around the hatch. Many folks have had trouble with this seal, being too big and/or too stiff, holding the hatch open. I bought my seal from SNG, who sources it from COH Baines in the UK. Their seal is nice and soft. After test fitting the seal, I am reasonably satisfied with the fit. The combination of the PVC trim and the seal is holding the hatch open a bit above flush in the upper right hand corner. I plan to do a little trimming on the back side of seal in the area and see if I can get an improvement. Based on my experience, it may fit better after the whole deal gets good and hot in the summer. I’ll have to wait and see.
BTW, one trick that I use. See that black block that is mounted to the hatch trim and holds the hatch prop. It is held in with 2 sheet metal screws. The screw holes were there in the sheet metal but it can be tough to find the holes once the pressboard is applied. What I do is take two sheet metal screws, in this case small #6 ones, and screw them into the holes. Then I used a wafer disk to cut the heads off, about 1/2″ above the sheet metal. Then I apply the pressboard. With a little strategic pressure, you can find the screw stubs and press down onto them. Remove the pressboard and the imprints of the screw stubs can be seen. That is where you punch through the holes for the piece! I have used this trick in several places. In particular, for the location where the vent window hinges are fixed to the car body, which is a precise location that must be match marked in this manner.

Discussion
Comments are closed.