I haven’t posted an article about the 1963 FHC in a while. There are several reasons for that. I’ve spent an inordinate time struggling with making new cross hatch pattern aluminum panels for the center console and dash. I think I am over the hump on that and will be posting an article soon. I also got into a big sidetrack, as I am doing a full rebuild on the flat 6 engine from my Porsche Cayman. The series of articles about that effort begins here.
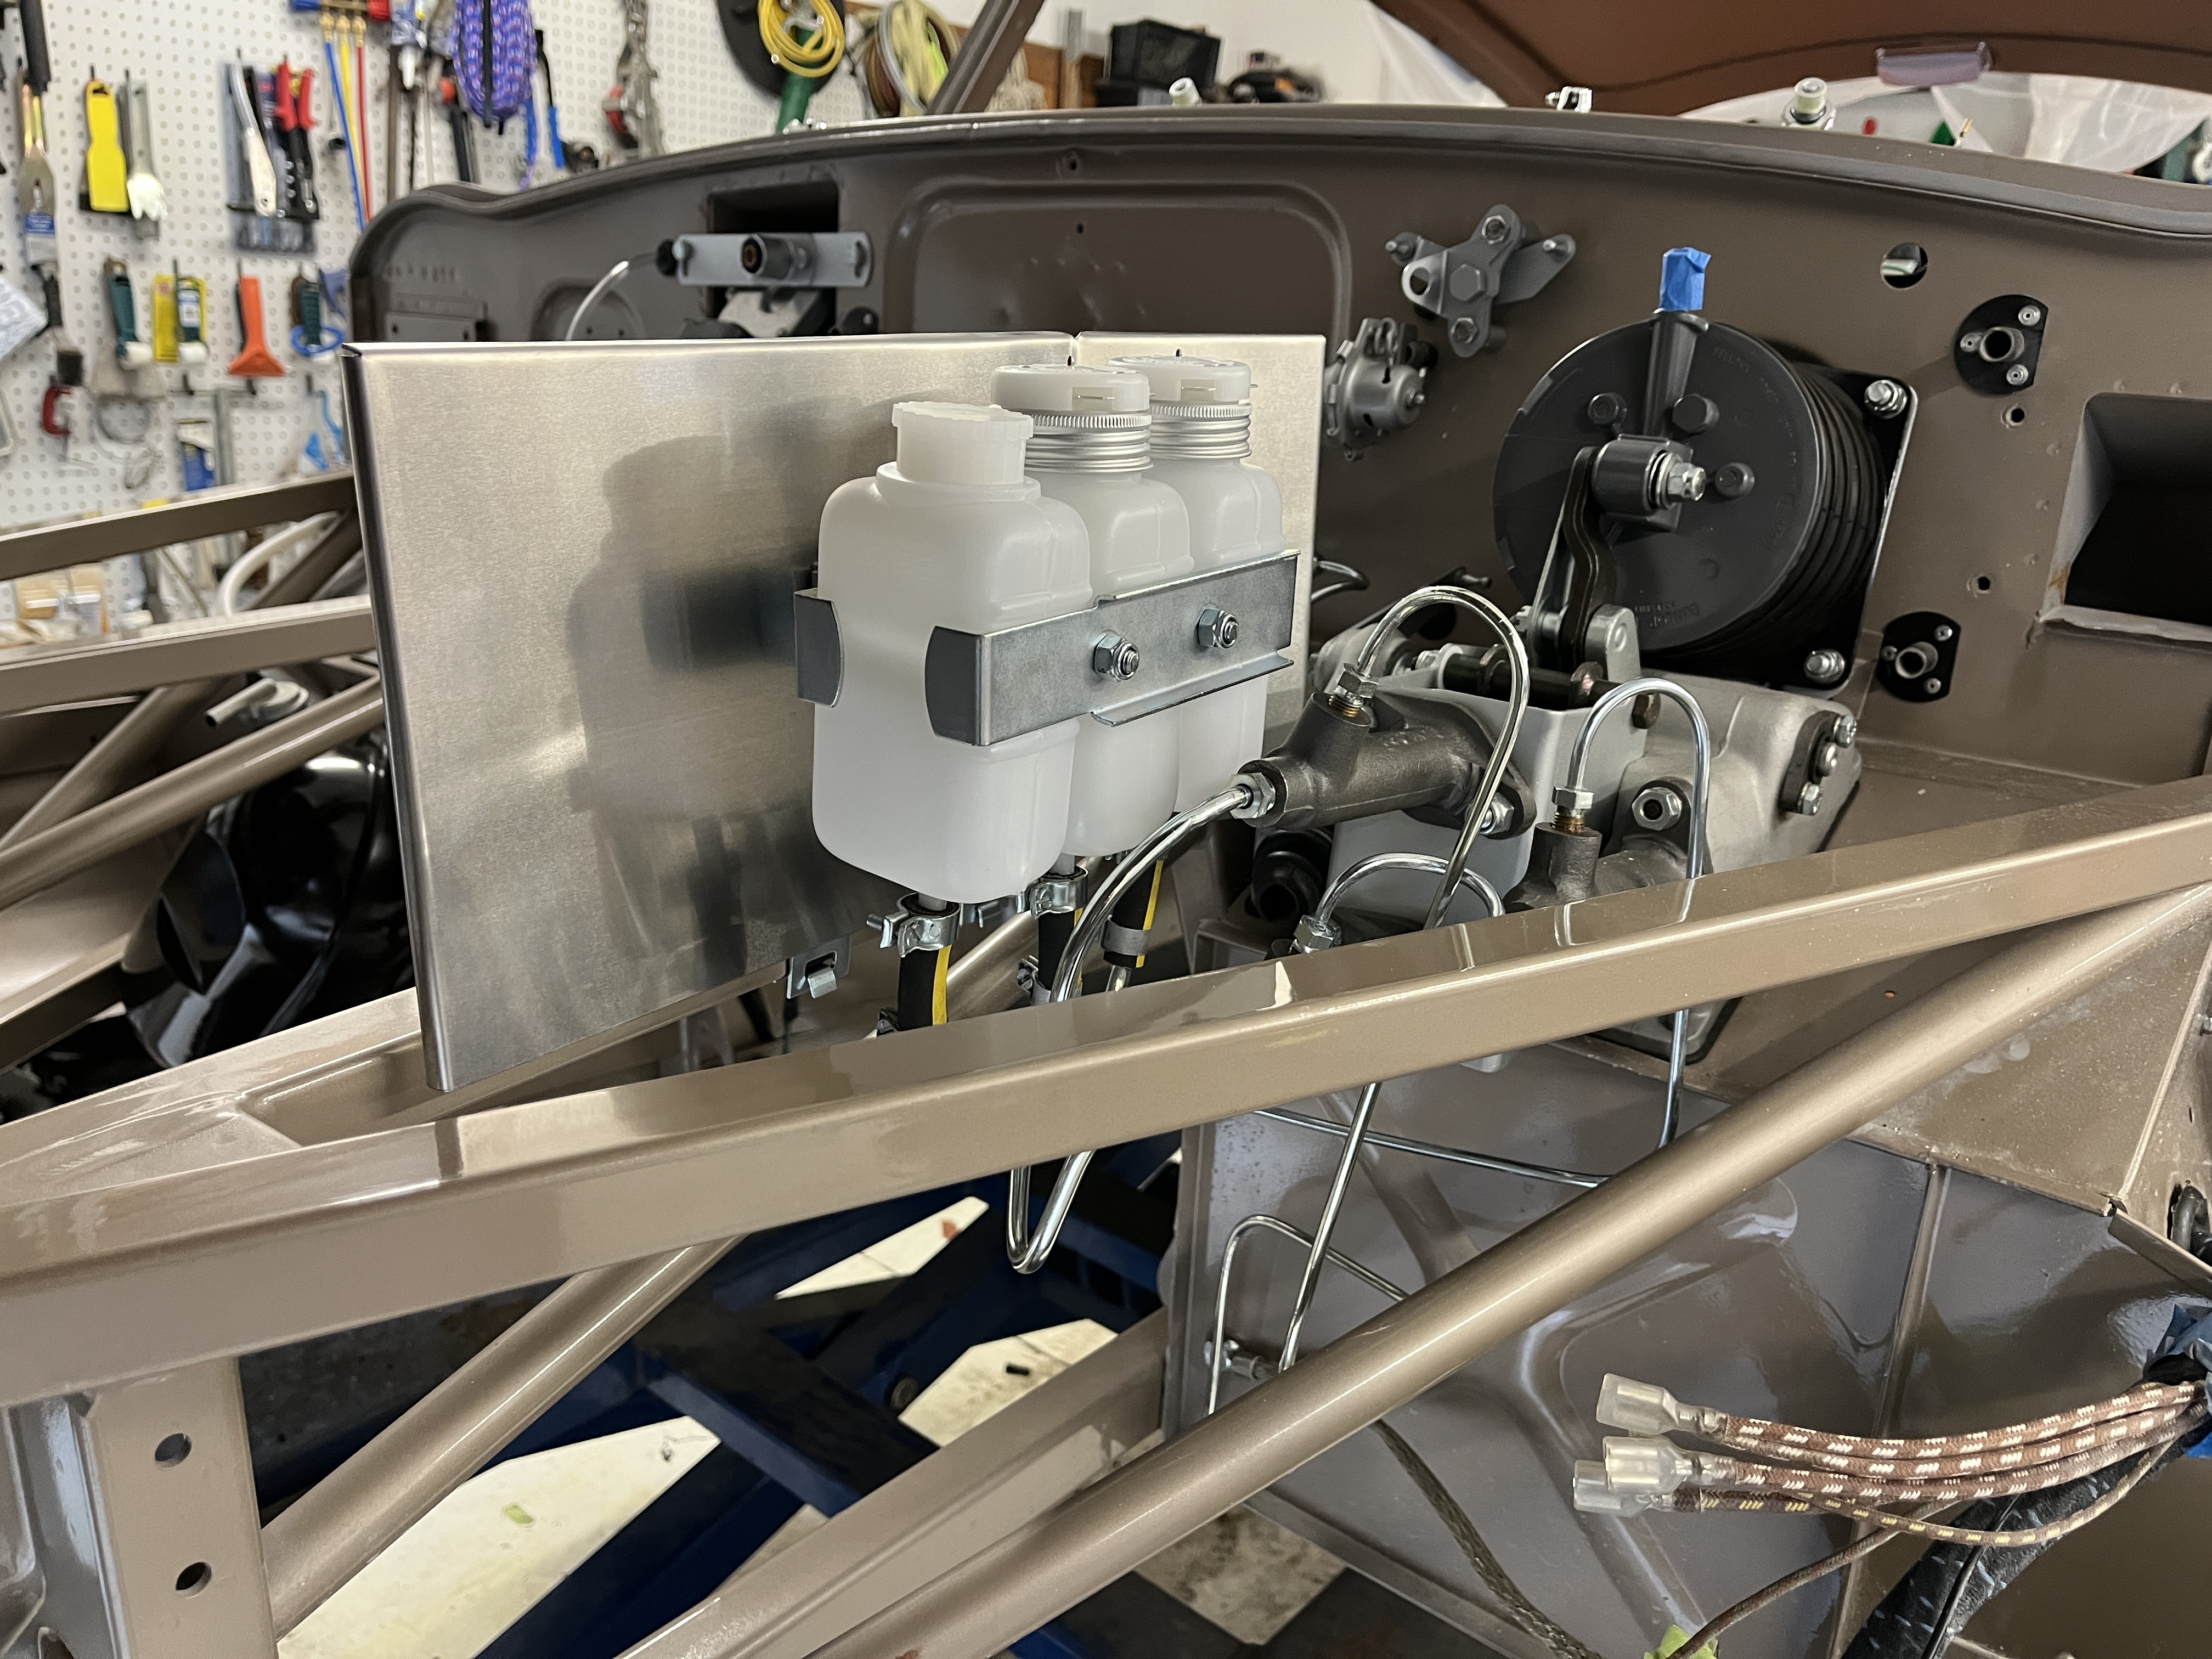
In my last article I discussed bending brake and clutch lines, using an Automec kit from SNG. I completed the bending and sent the lines off to be zinc plated, as I did not feel that copper offered an authentic look. That worked out well. The lines are installed. I jury rigged a connection to the IRS so that I could fill, bleed, and test the rear circuit for leaks before committing to a full installation of the IRS. I was pleased to find just one small leak, that was resolved with a tightening of the fitting. I’ll post some pictures at the end of the article.
Another thing that happened was that I received additional materials from my upholstery supplier. I was not happy with my first attempt at the cantrails (the hockey stick pieces over the doors). There were too many wrinkles. GB Classic Trim supplied me some photos of how they do it. I applied their process and got much better results.
I spent some time installing the accelerator linkage. I only got so far before I identified some missing pieces. But I am pretty close on that.
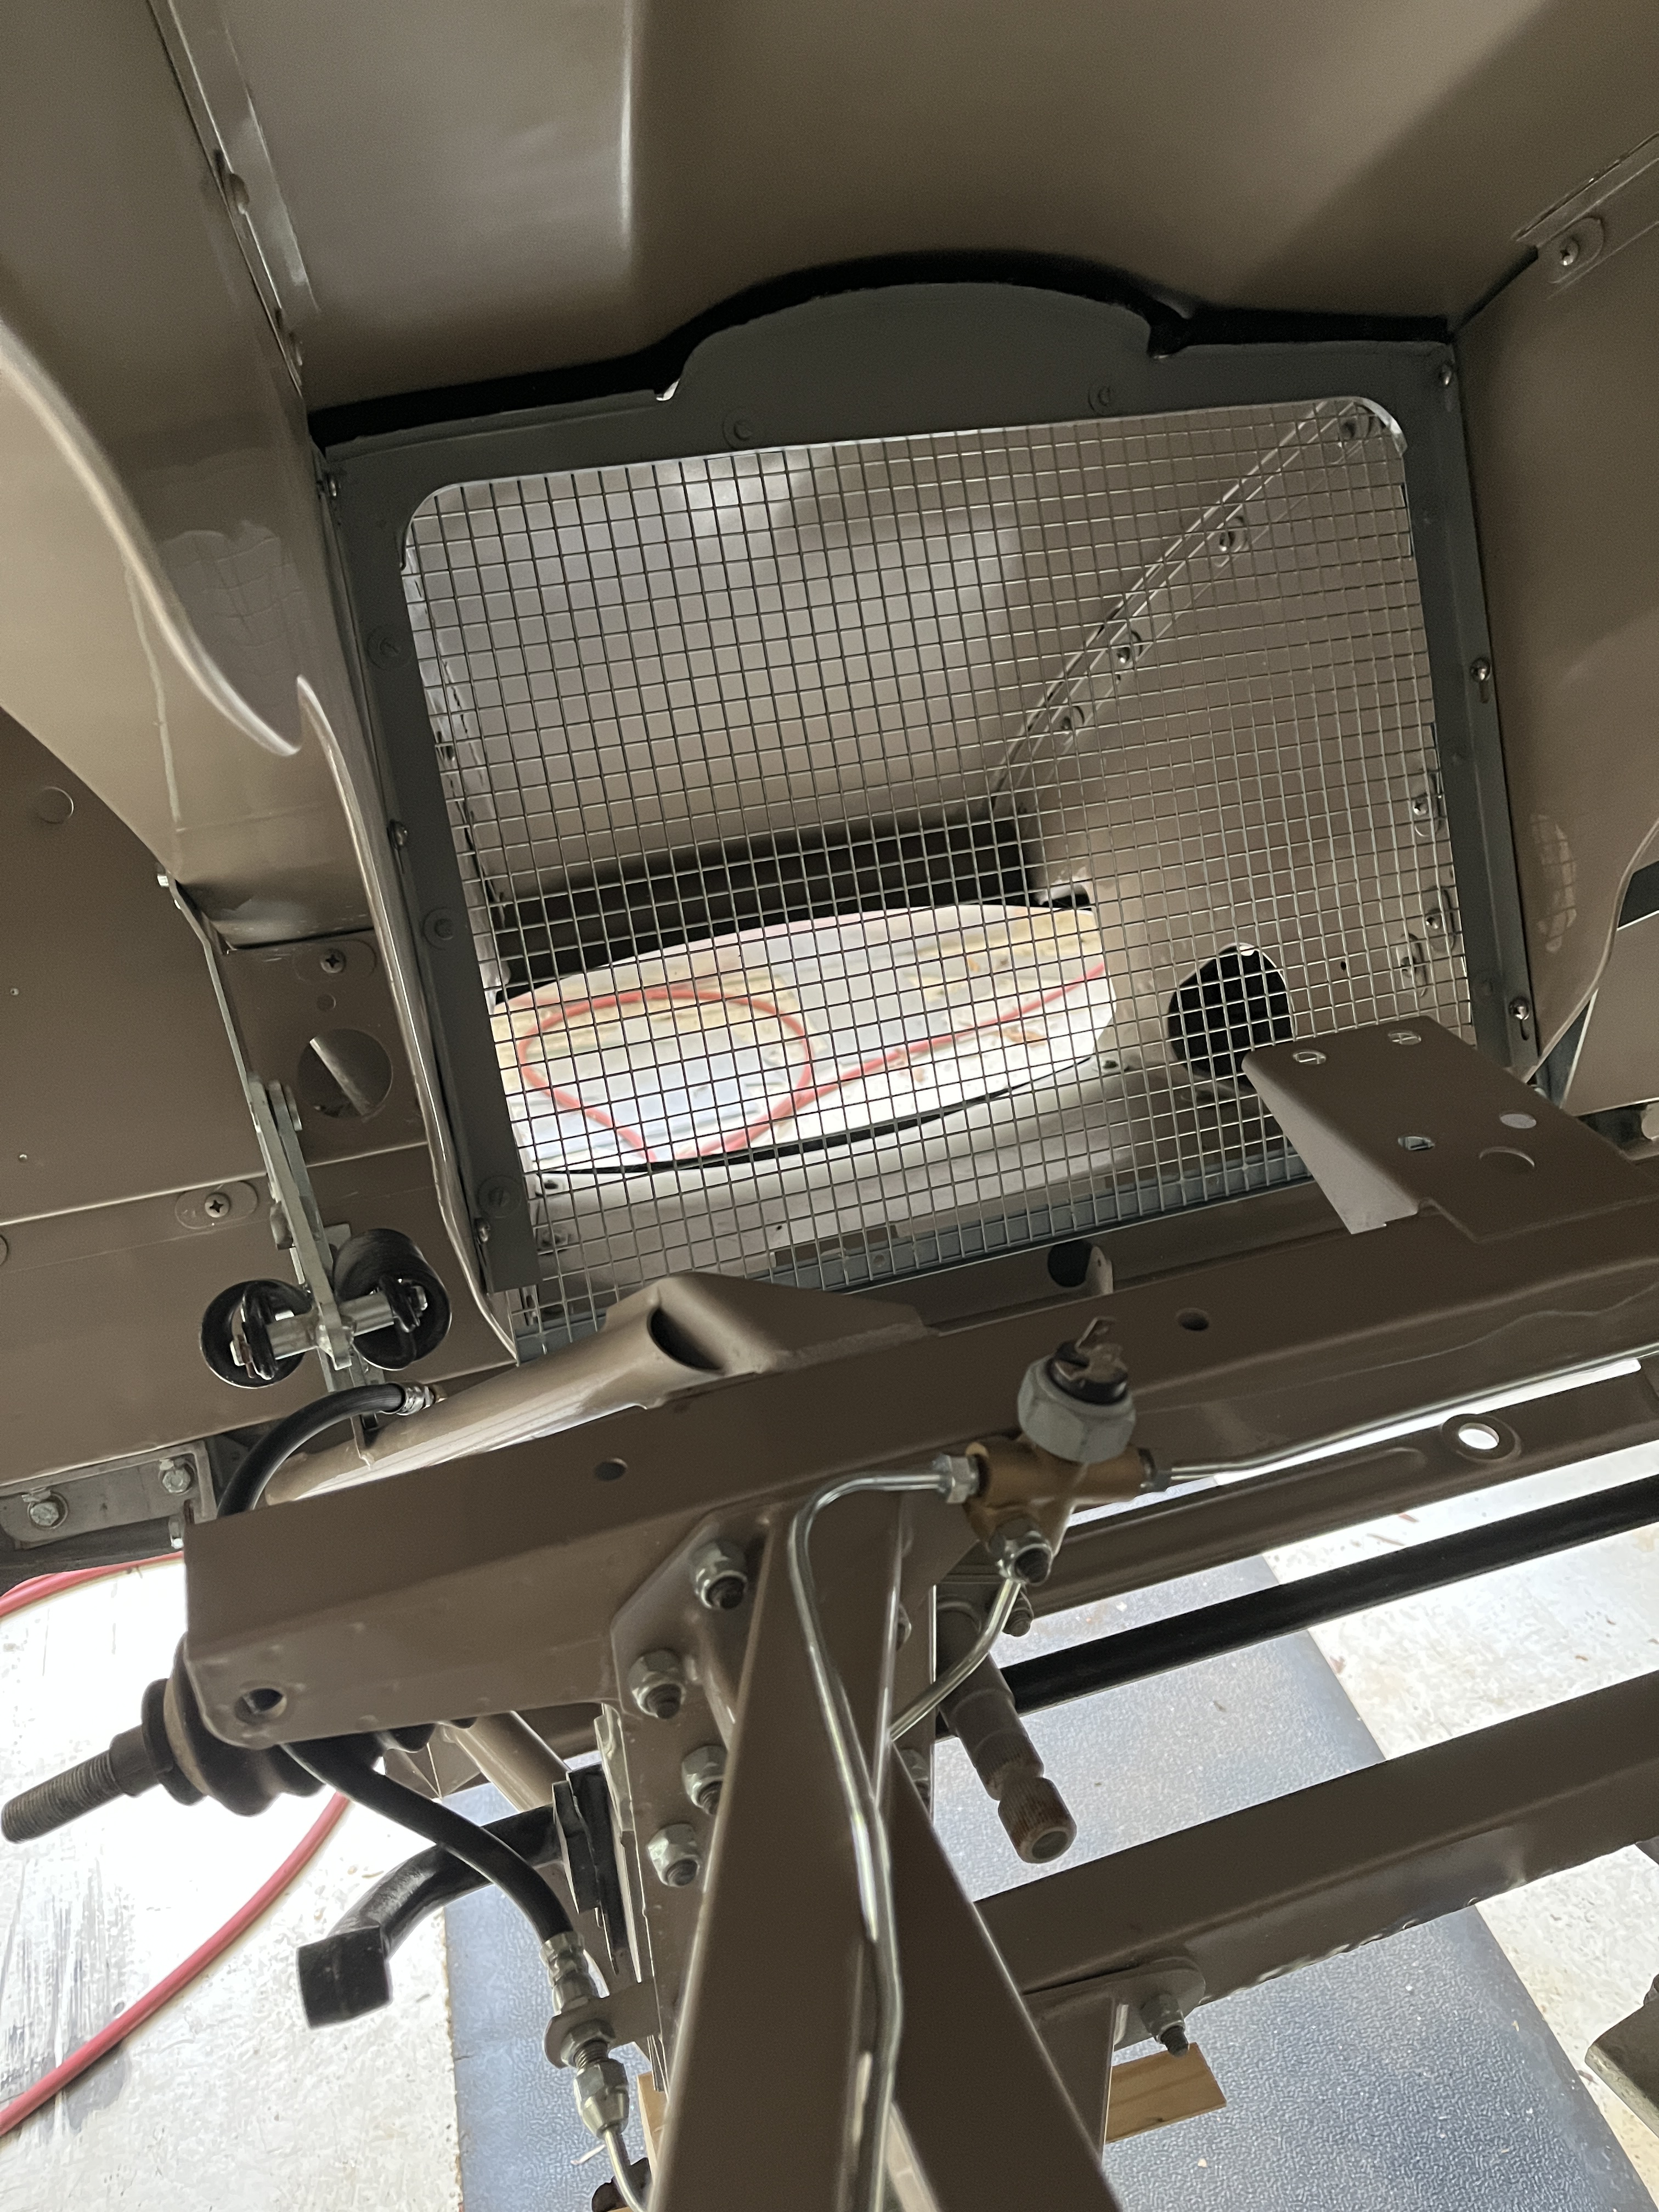
I have decided it is time to install the engine. I am trying to get those things done that should be done before you install an engine. Number one is to get the driveshaft placed into the tunnel. That is done. I started looking for the pieces required for the two motor mounts and the rear gearbox mount. The front motor mounts are ready but I had to order some pieces to complete the rear gearbox mount. Next I installed the stone shield, in front of the radiator. Then I decided to install the radiator, thinking access would be easier before the engine is installed. That identified further missing pieces. Remember, this car came in boxes so nothing surprises me at this point.
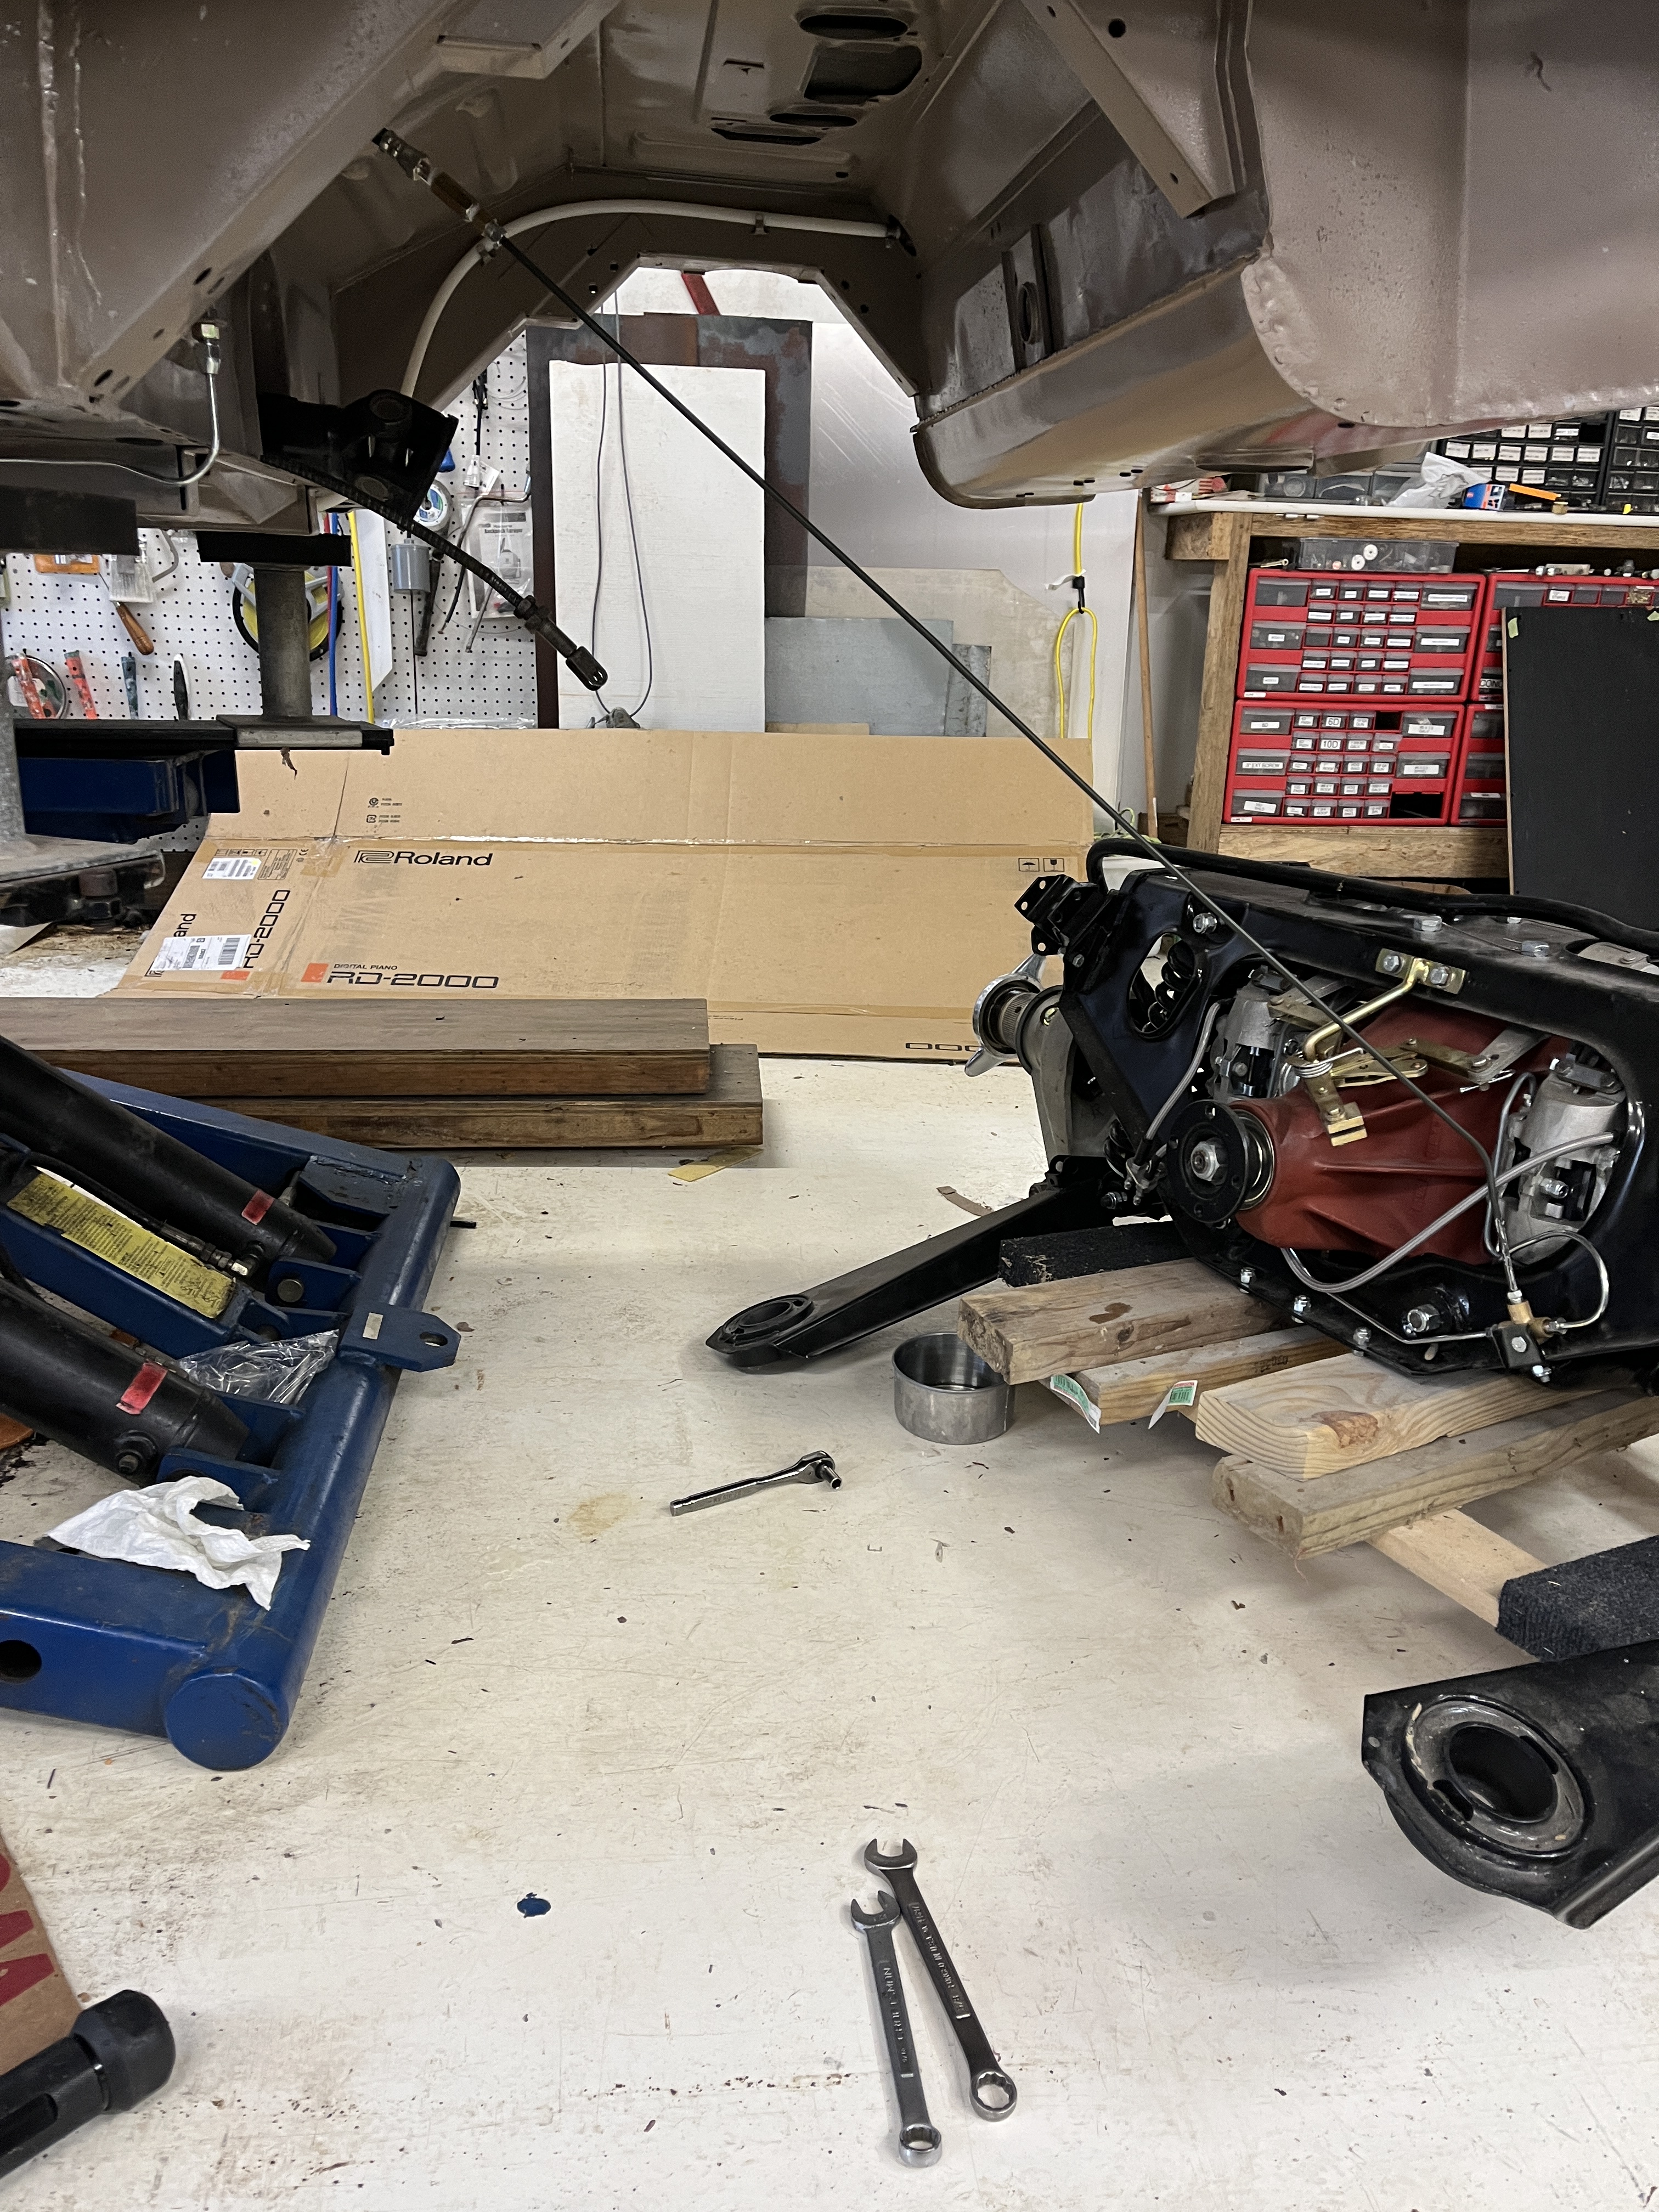
One thing that went pretty well was the installation of the lower front suspension A-arms. I wanted to get these in place mainly so I had additional jacking points. The car is currently mounted on my low rise lift. It has four extendable arms, similiar to a two post lift. I have found from past experience that they are limited in their reach. I did a “test” installation of a spare engine and transmission last year, mainly to get some weight into the car before finalizing the bonnet to cowl gaps. Basically, there can’t be any portion of the lift that reaches across the car forward of the rear of the opening for the transmission. This is going to be tricky with my lift, as I prepare to install the assembled engine/transmission from the bottom of the car. Shortly I will temporily suspend the body shell on jacks and move the lift rearward as required to clear the transmission. Then I will raise the body up, trolley the engine into position, lower the body back down, and make the attachments. Exciting times. Stay tuned!


Discussion
Comments are closed.