When I read about restorations of significant cars by high end shops, there is usually a discussion of the significant time spent on “research”. Typically, the story seems to revolve around some old racecar that has been located that is being restored to a specific appearance it had when it gained its significance on the track. If a target timeframe is involved, say when the car won the 24 Hours of LeMans in 1959, the goal is to establish details, large and small, to present the car how it was raced. In some cases, the story veers toward someone acquiring an old car and realizing that, based on certain unique characteristics, they have not a run of the mill car but a significant car. They do research to establish that their car is significant, and thus much more valuable.
I guess there might still be some significant Jaguars out there, waiting to be discovered. In the case of my “not significant” 1963 Etype FHC project, my goal simply is to restore it to the configuration it left the factory with. Even with upholstery, that can and has required some research on my part. This article includes a look at how this research has occurred.
In my case, the big picture question was the original color of the upholstery. As discussed in a previous article, this was easily established by referring to the Heritage Certificate, which listed the interior color as Light Tan. Also as discussed, establishing what the correct “hue” of Light Tan should be involved some “tribal knowledge” on the part of the upholstery suppliers. Of passing interest is that Jay Leno recently acquired a 1963 Etype that, from his feature on Youtube, appears to be the same color scheme as mine. Unfortunately, even that car, entombed in a LA garage for 50 years, has suffered some color fade in the upholstery. The real answer is that I will never know for sure how Light Tan presented when new from the factory.
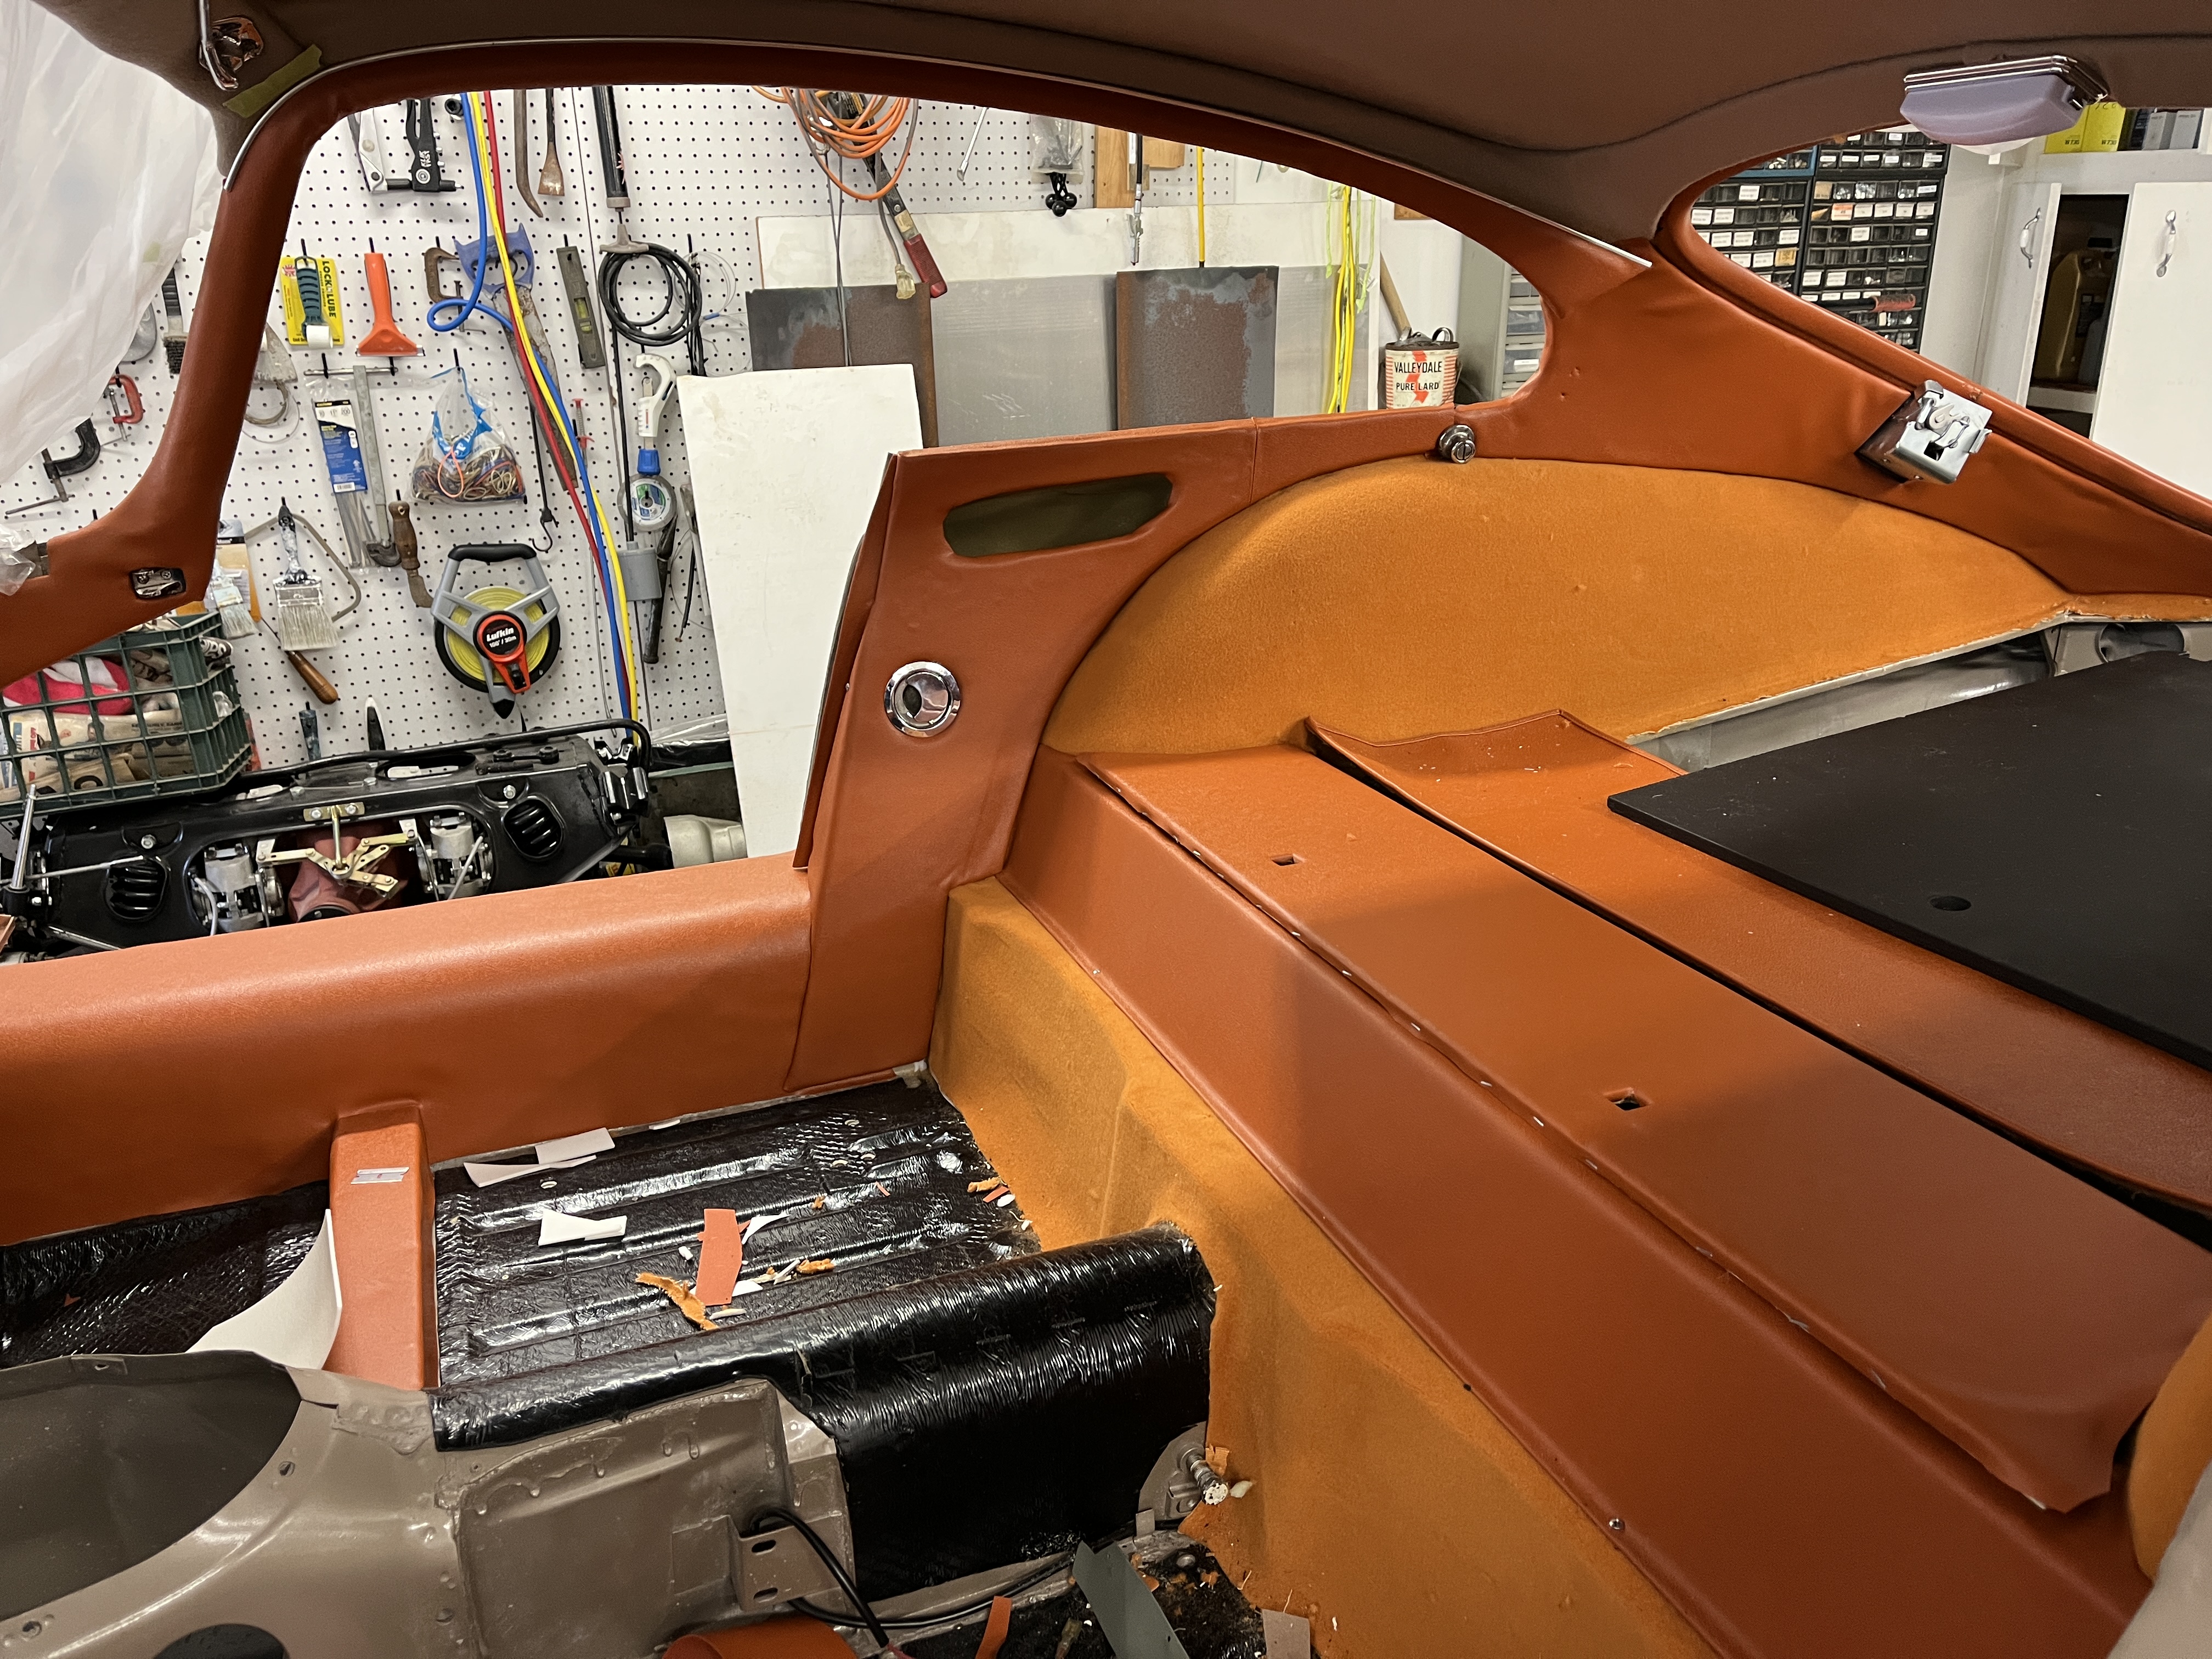
As I got into the installation of the upholstery, certain questions arose. Remember, my car came to me in boxes and although thankfully I had a box with a lot of upholstery pieces in it, it took me a while to appreciate certain nuances. Installation of the upholstery “kit” from GB Classic Trim had been going along fine until I started to trial fit the “casings” that go from the B pillar around to the back of the hatch area. They weren’t matching up correctly. In particular, the upholstery configuration at the base of the rear quarter windows looked odd. Most “reference cars” that I had photos of showed a “cantrail” on the lower surface. (A cantrail on an Etype is a vinyl covered piece of semi-circular foam on a metal backing plate) My old upholstery pieces did not include a lower cantrail. I referred to one of my “go to” sources, Original Jaguar E-Type by McKay, which mentioned that in February of 1963 (one month after my car was built), “detail changes were made to the quarterlight latches and all adjacent trim panels”. That is about as close as I could get to a confirmation that my car might be different in this regard. But after some review of “reference cars” built in 1962, I was able to spot the differences that my old pieces exhibited. My original pieces simply had a 90 degree return along the lower edge for the window. This was laid in over some crude sheet metal pieces stapled to the backer board. Since the new casings supplied stopped short in this area (expecting the edge to be covered by the lower cantrail) there was not enough material to just “fettle” the new casing. There also were some minor differences in the shape of the casing on the lower B pillar. As discussed in Upholstery Part 1, I wound up making a new casing out of aluminum, also using some of my contingency vinyl to cover it.
Farther back, I found some differences as to the placement of the “joint” for the front and rear casing. On newer cars, the joint is placed at the hardpoint for the seatbelt shoulder harness. On my car it was about 6″ forward of that point. Since the hardpoint is a much better place for the joint and my casings assumed that location, I stuck with that. I made a false joint at the OEM location, so unless you make a very close inspection, everything looks original.
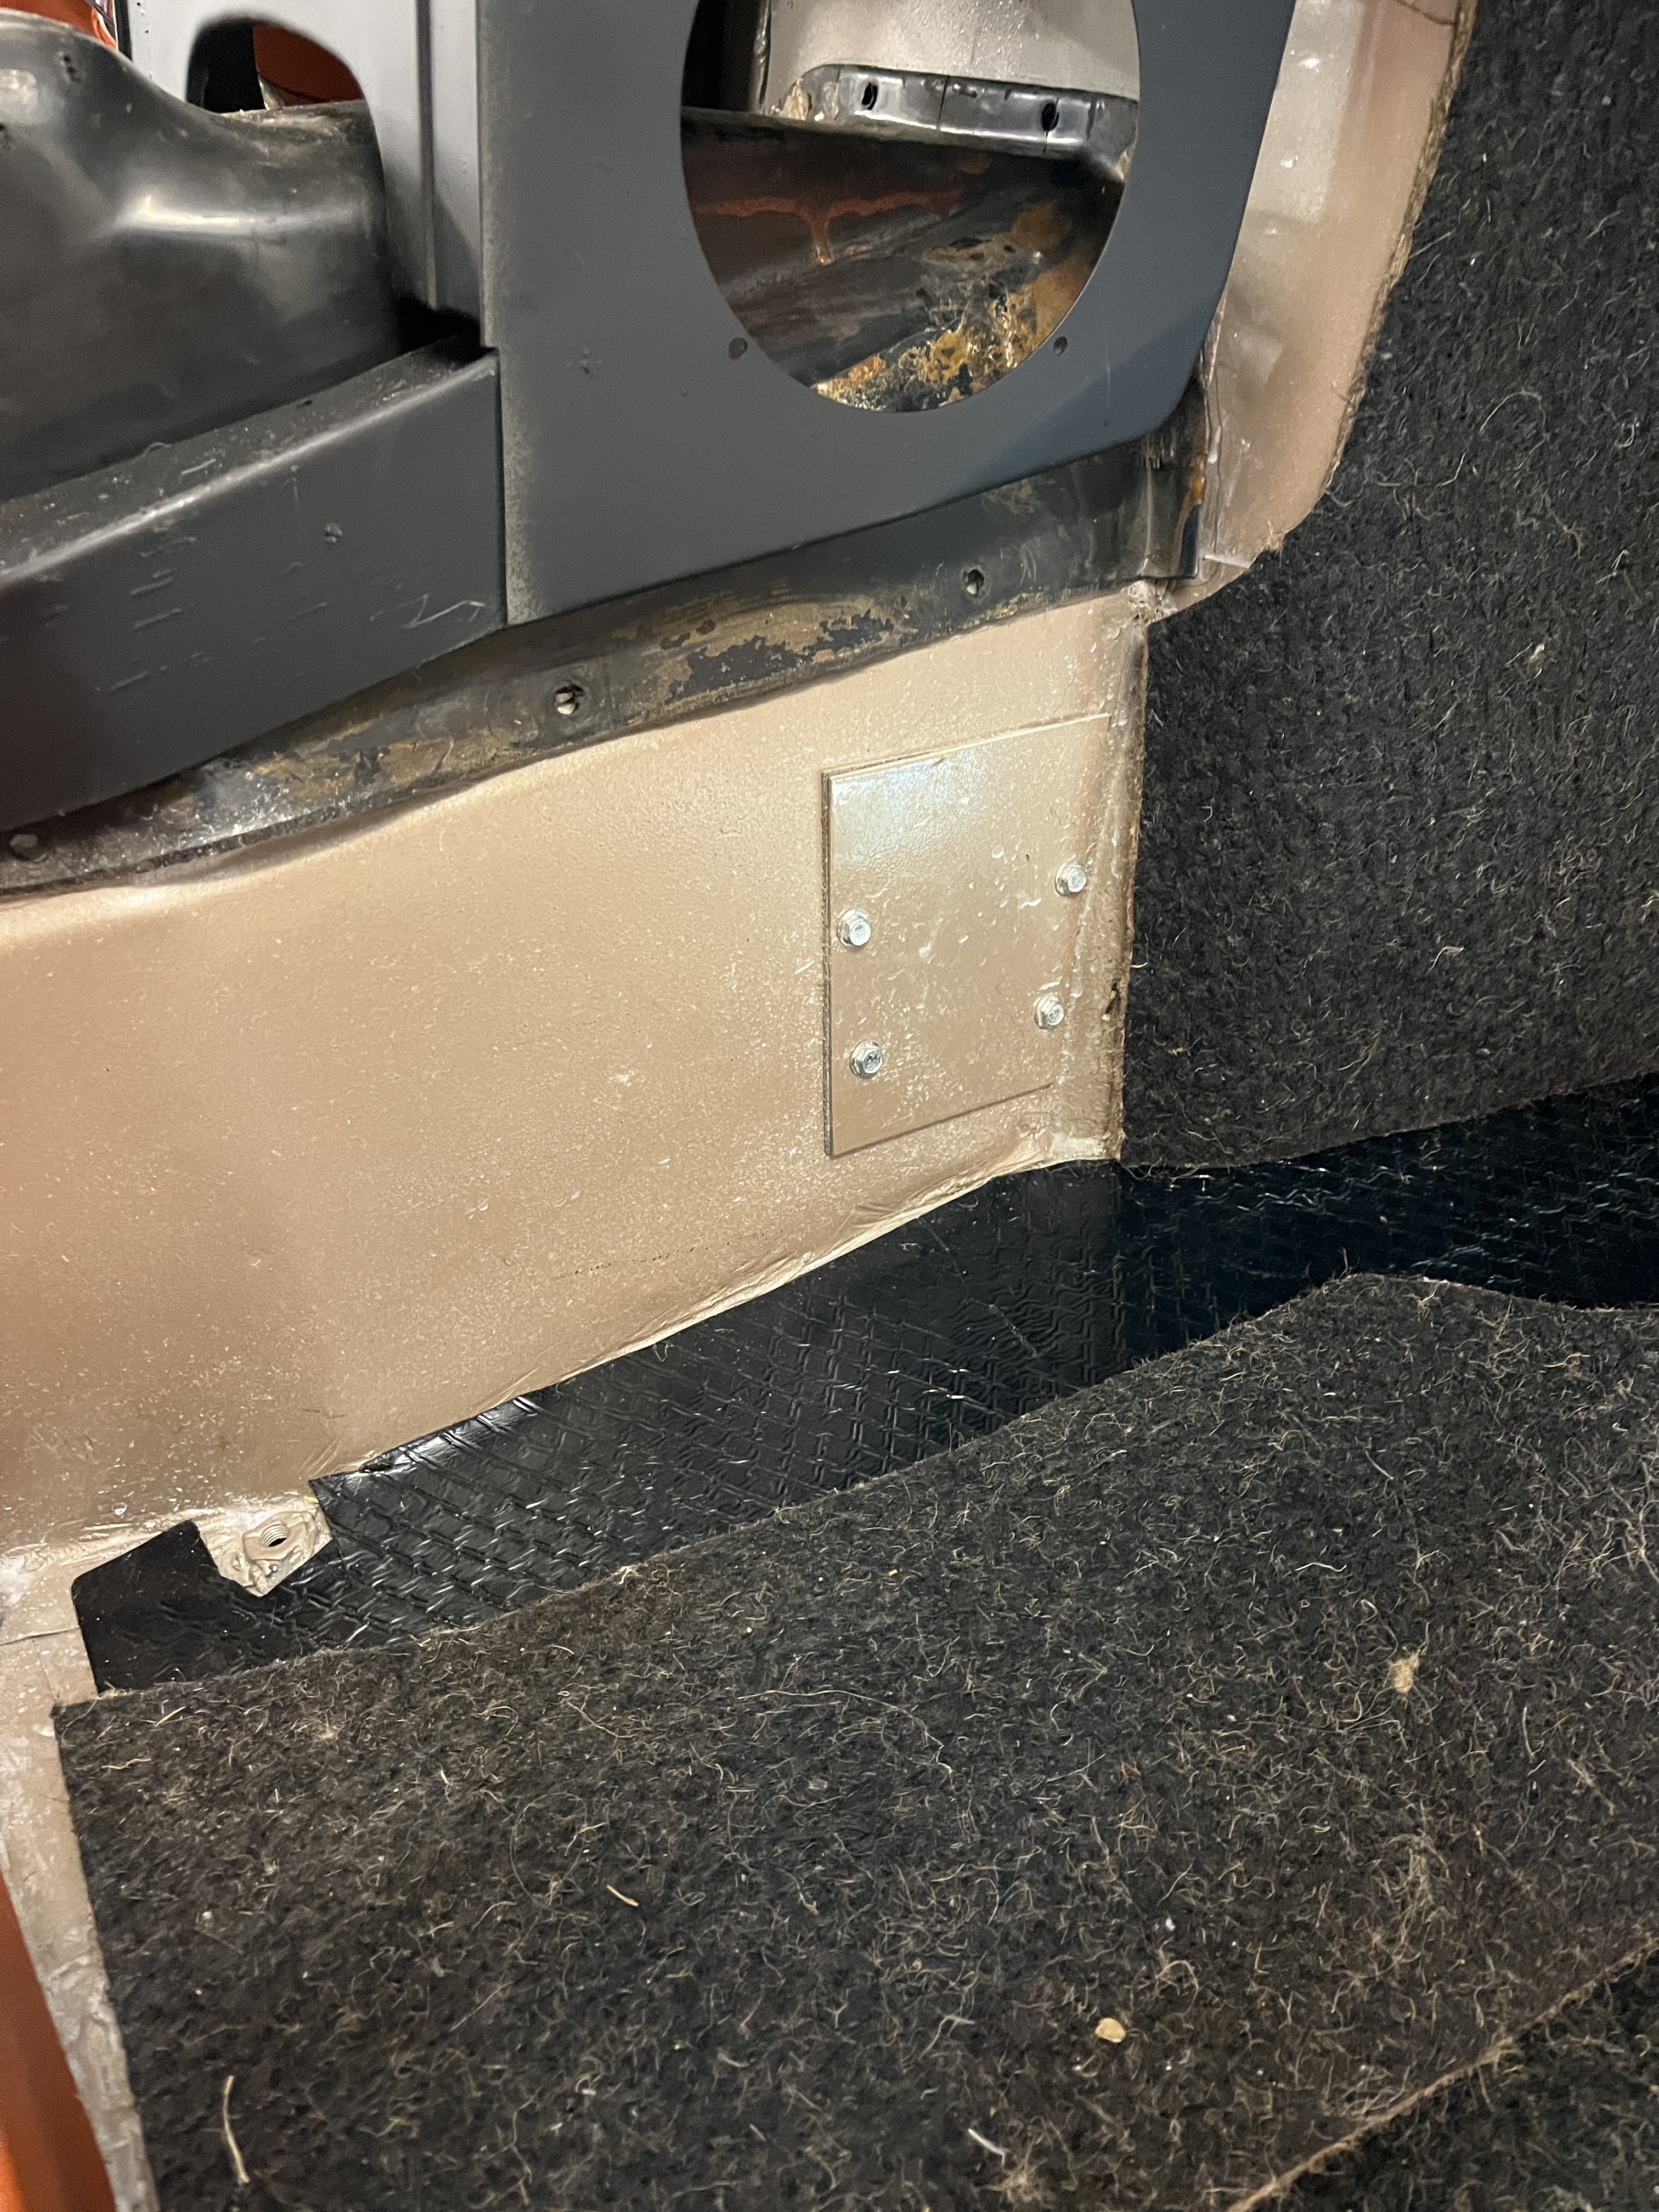
At this point, I moved ahead to the door thresholds, the stiffener element under the seats, the black jute mats under the carpet, and the carpet. All of these are listed in the SPC. Not all have a picture but everything has a line item in the parts list. This was also true for the Flintkote. I coordinated this installation with trial installations of the center console, radio console, and ashtray console. All of this is important since if there is excess material in the wrong places, these items will be too high and the center gauge console cannot be folded down. After a trial fit, I had everything positioned such that the center gauge console would clear. The pre-drilled holes for the attachments of the radio console panel and the ashtray panel are oversize. Even so, I had to use the full range of possible position to get a fitment that worked.
BTW, my research indicated that even a car delivered without a factory radio would still have the two speaker grills and maybe(?) one speaker. My original speakers were there but I took them out and put them in storage. I bought new speaker grills and surrounds from SNG. I put in black posterboard in the lieu of the speakers and thinks look proper. I also bought a reproduction ashtray from SNG. Both the speaker grills and the ashtrays were a good match for my originals, but with much nicer chrome.
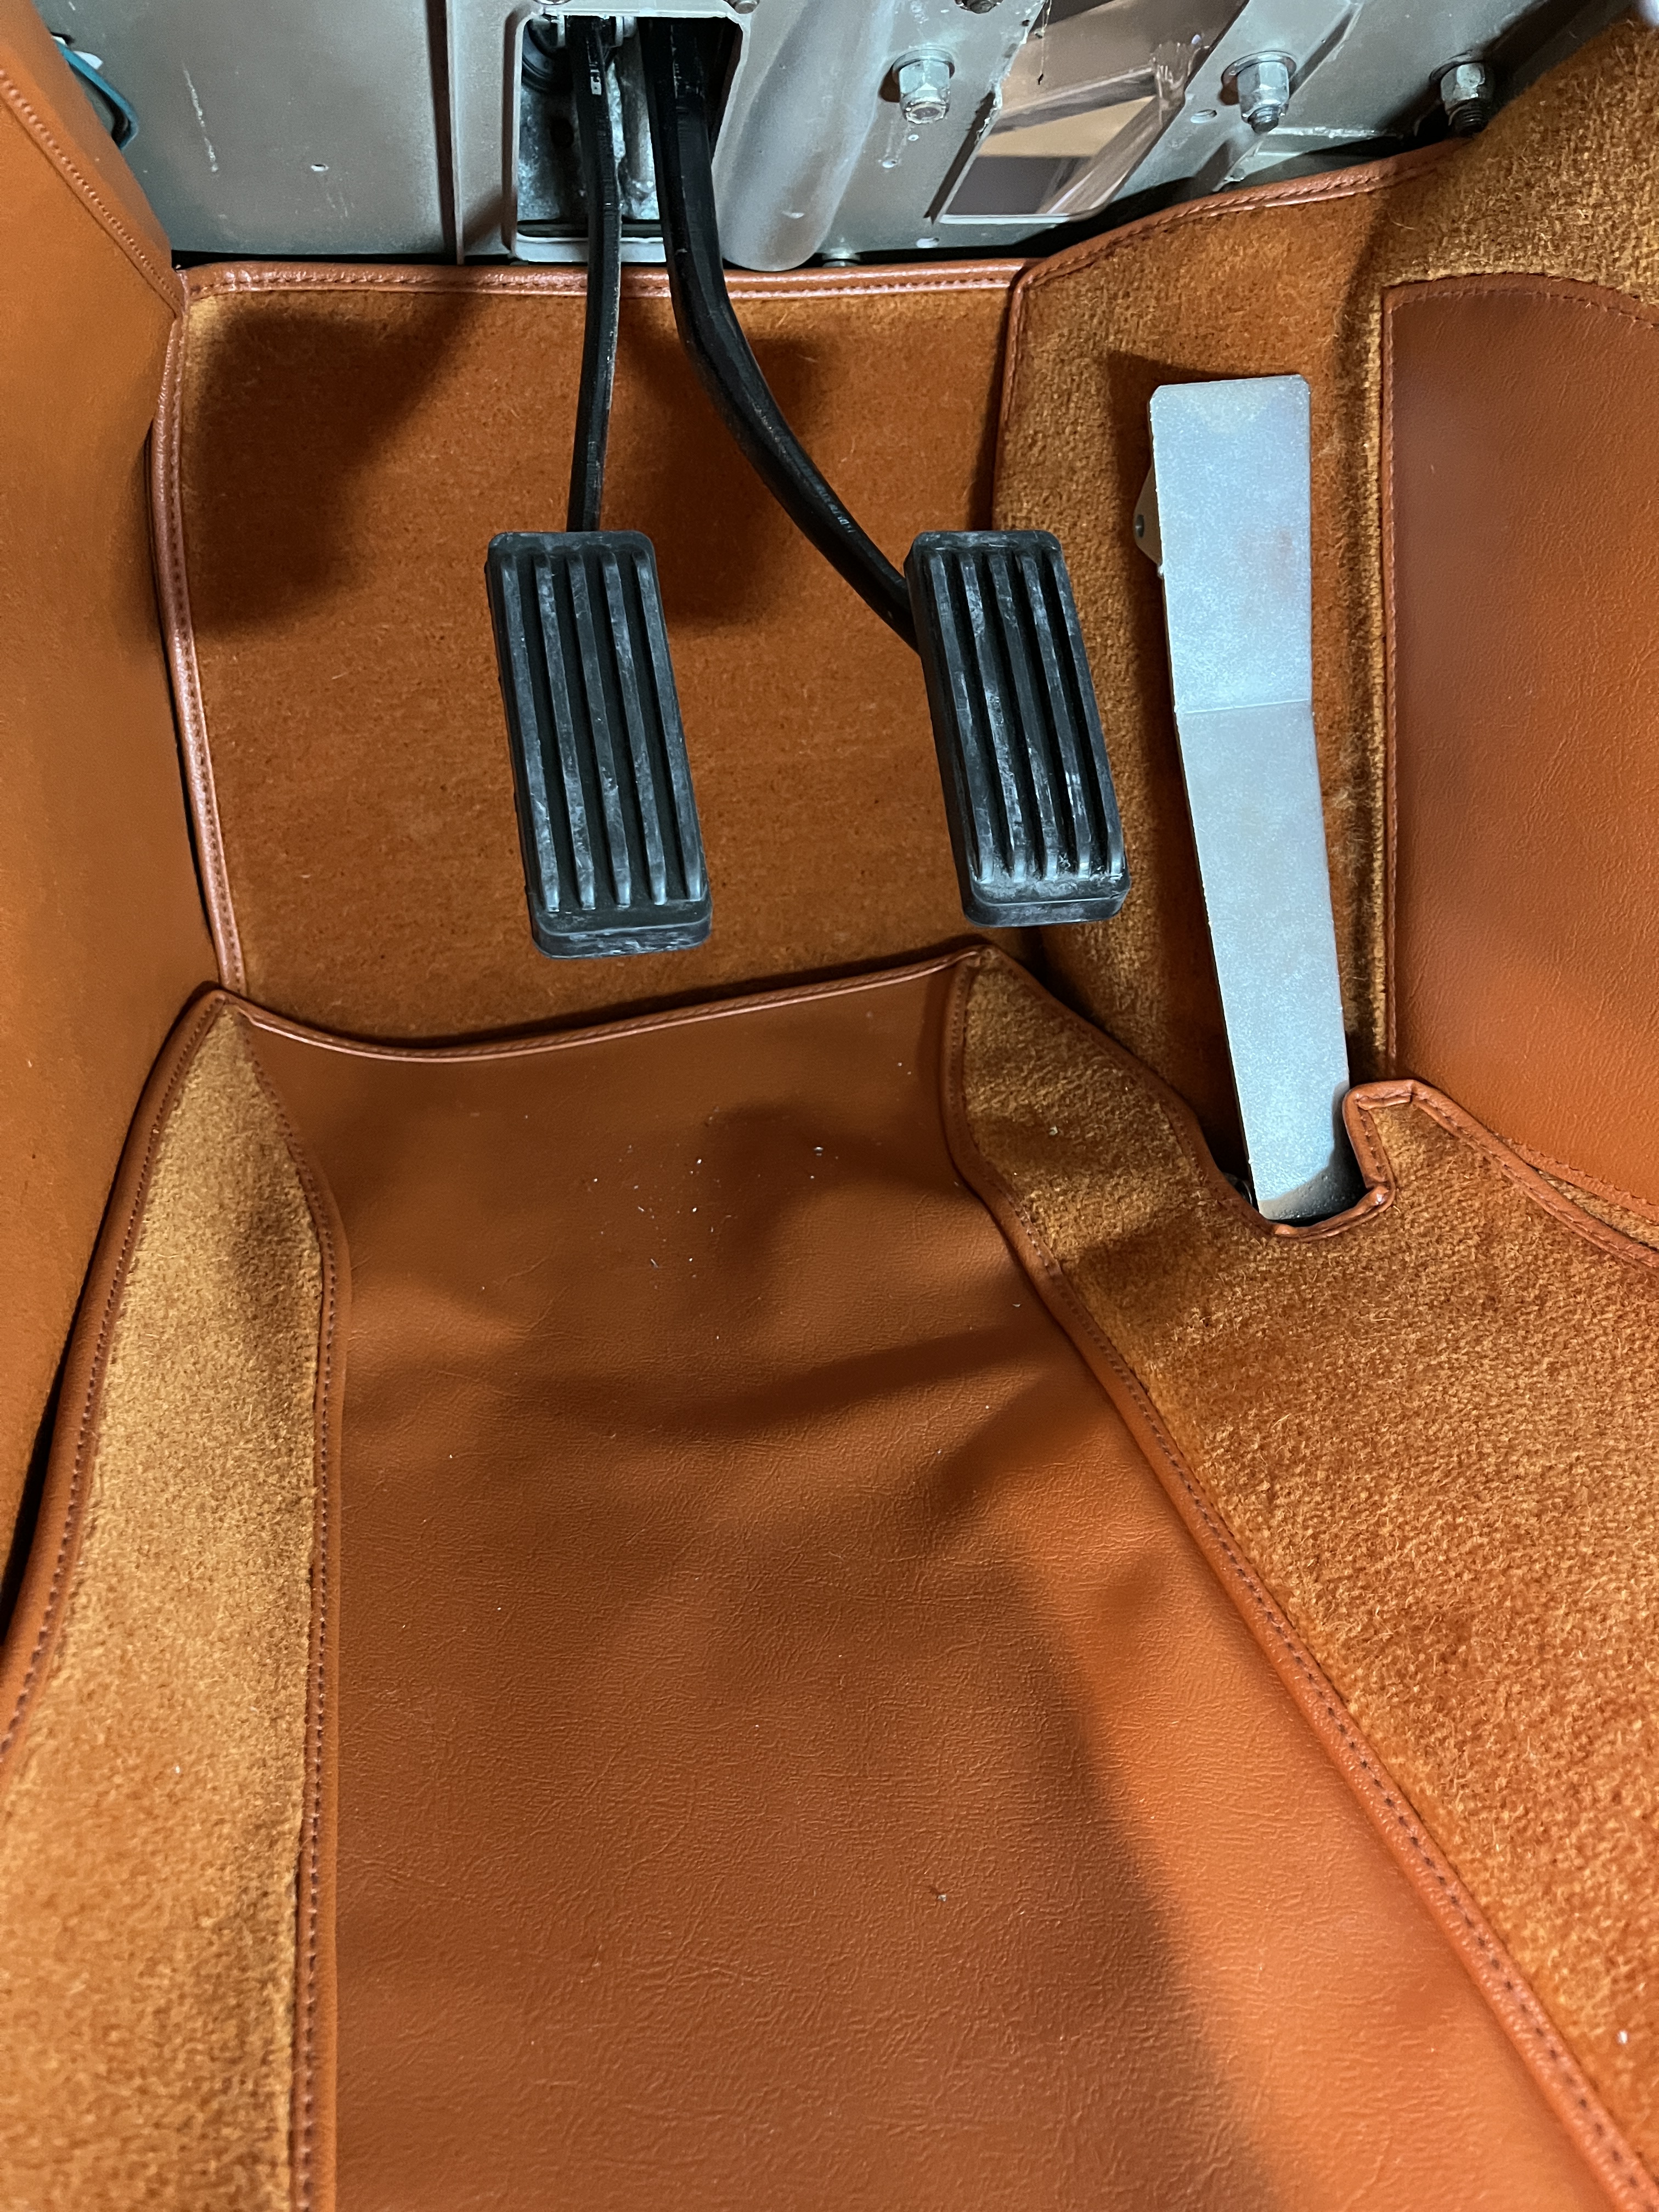
I fit the accelerator pedal while doing the carpets. I had found on my 2+2 project that if you get sloppy here, the carpet and padding can restrict the full travel of the pedal.
I will post another article on making new aluminum cross hatch panels for the center console, radio, console, etc. That is turning out to be quite the undertaking.


At some point in this process, some of the trim pieces for boot luggage extension board came in. It is still not done, as some other pieces are with the chrome platers but it is looking more tidy now. You might note that the hardura mats in the boot are curled up. The mats are attached with snaps but the ones I got with the kit are the wrong size. New ones are being made but until then the others are there just to fill in the space.

I am moving on to some relatively less complex activities. These will includes bending brake lines and finishing wiring of the dash panel gauges.

Discussion
Comments are closed.