Prior to leaving on my road trip to the west coast, I wanted to do some routine maintenance. Actually, the first thing I did, before taking it to VIR for a track day, was a complete brake overhaul. That effort is described here.
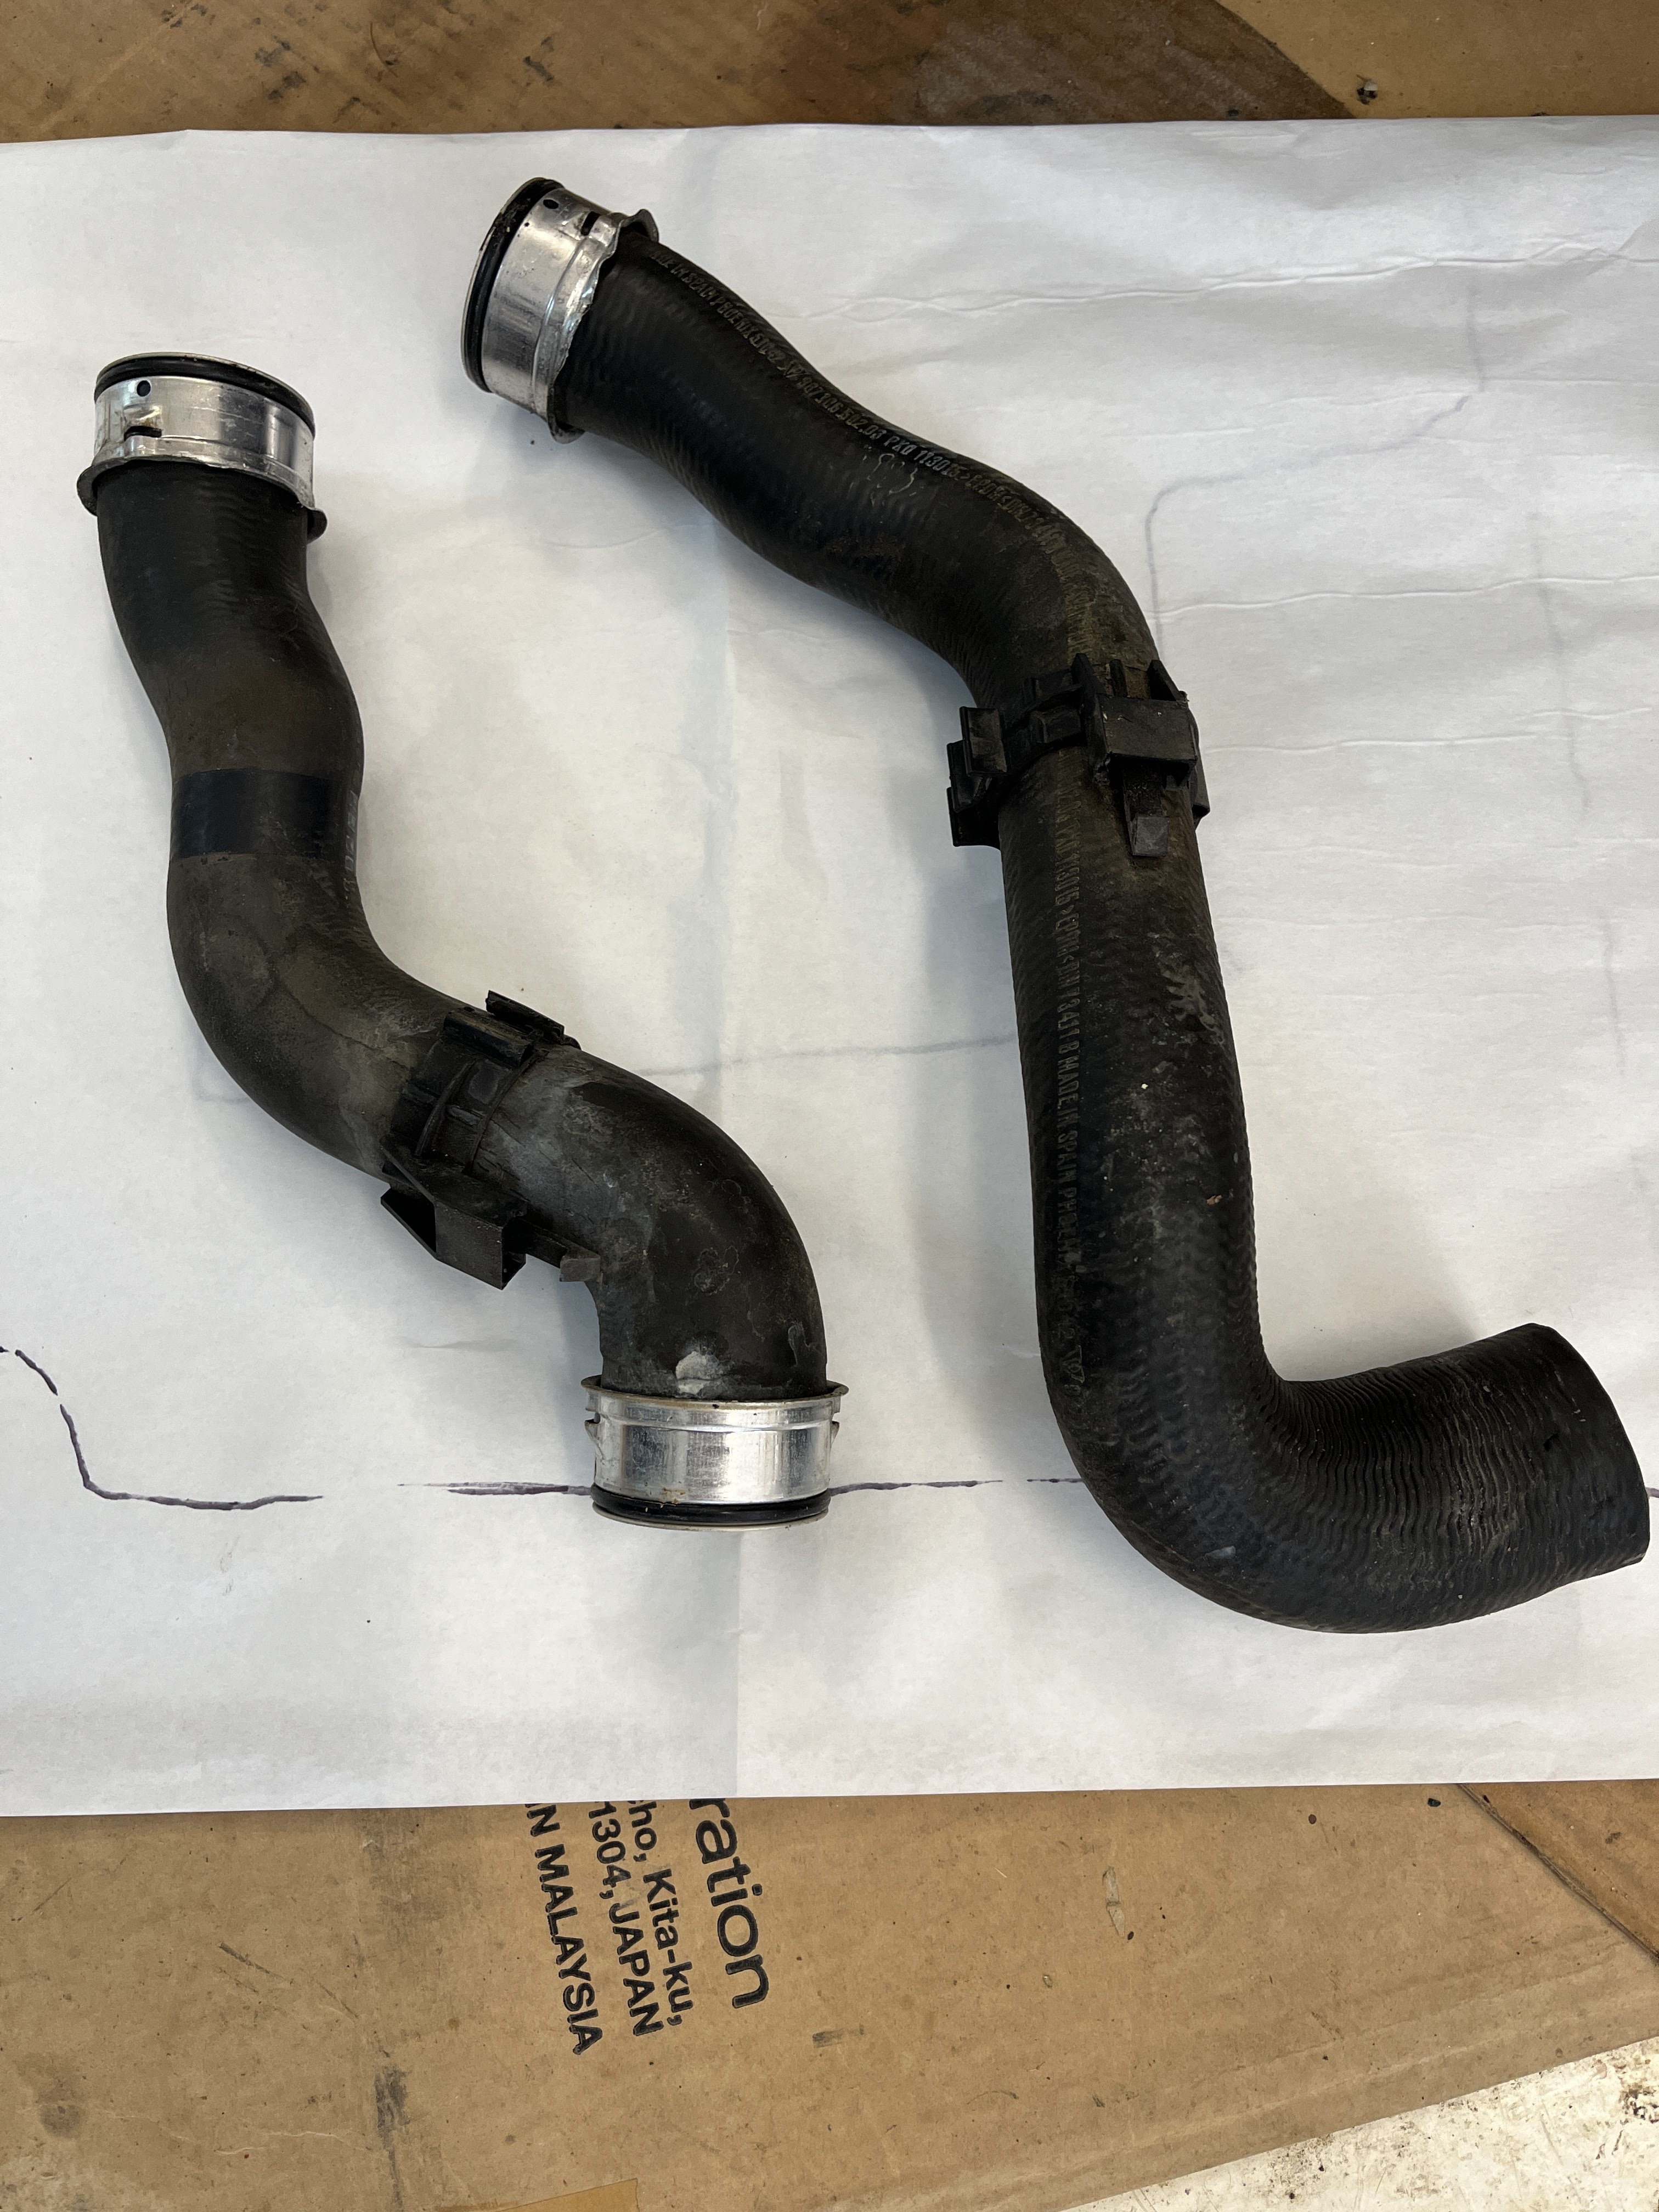
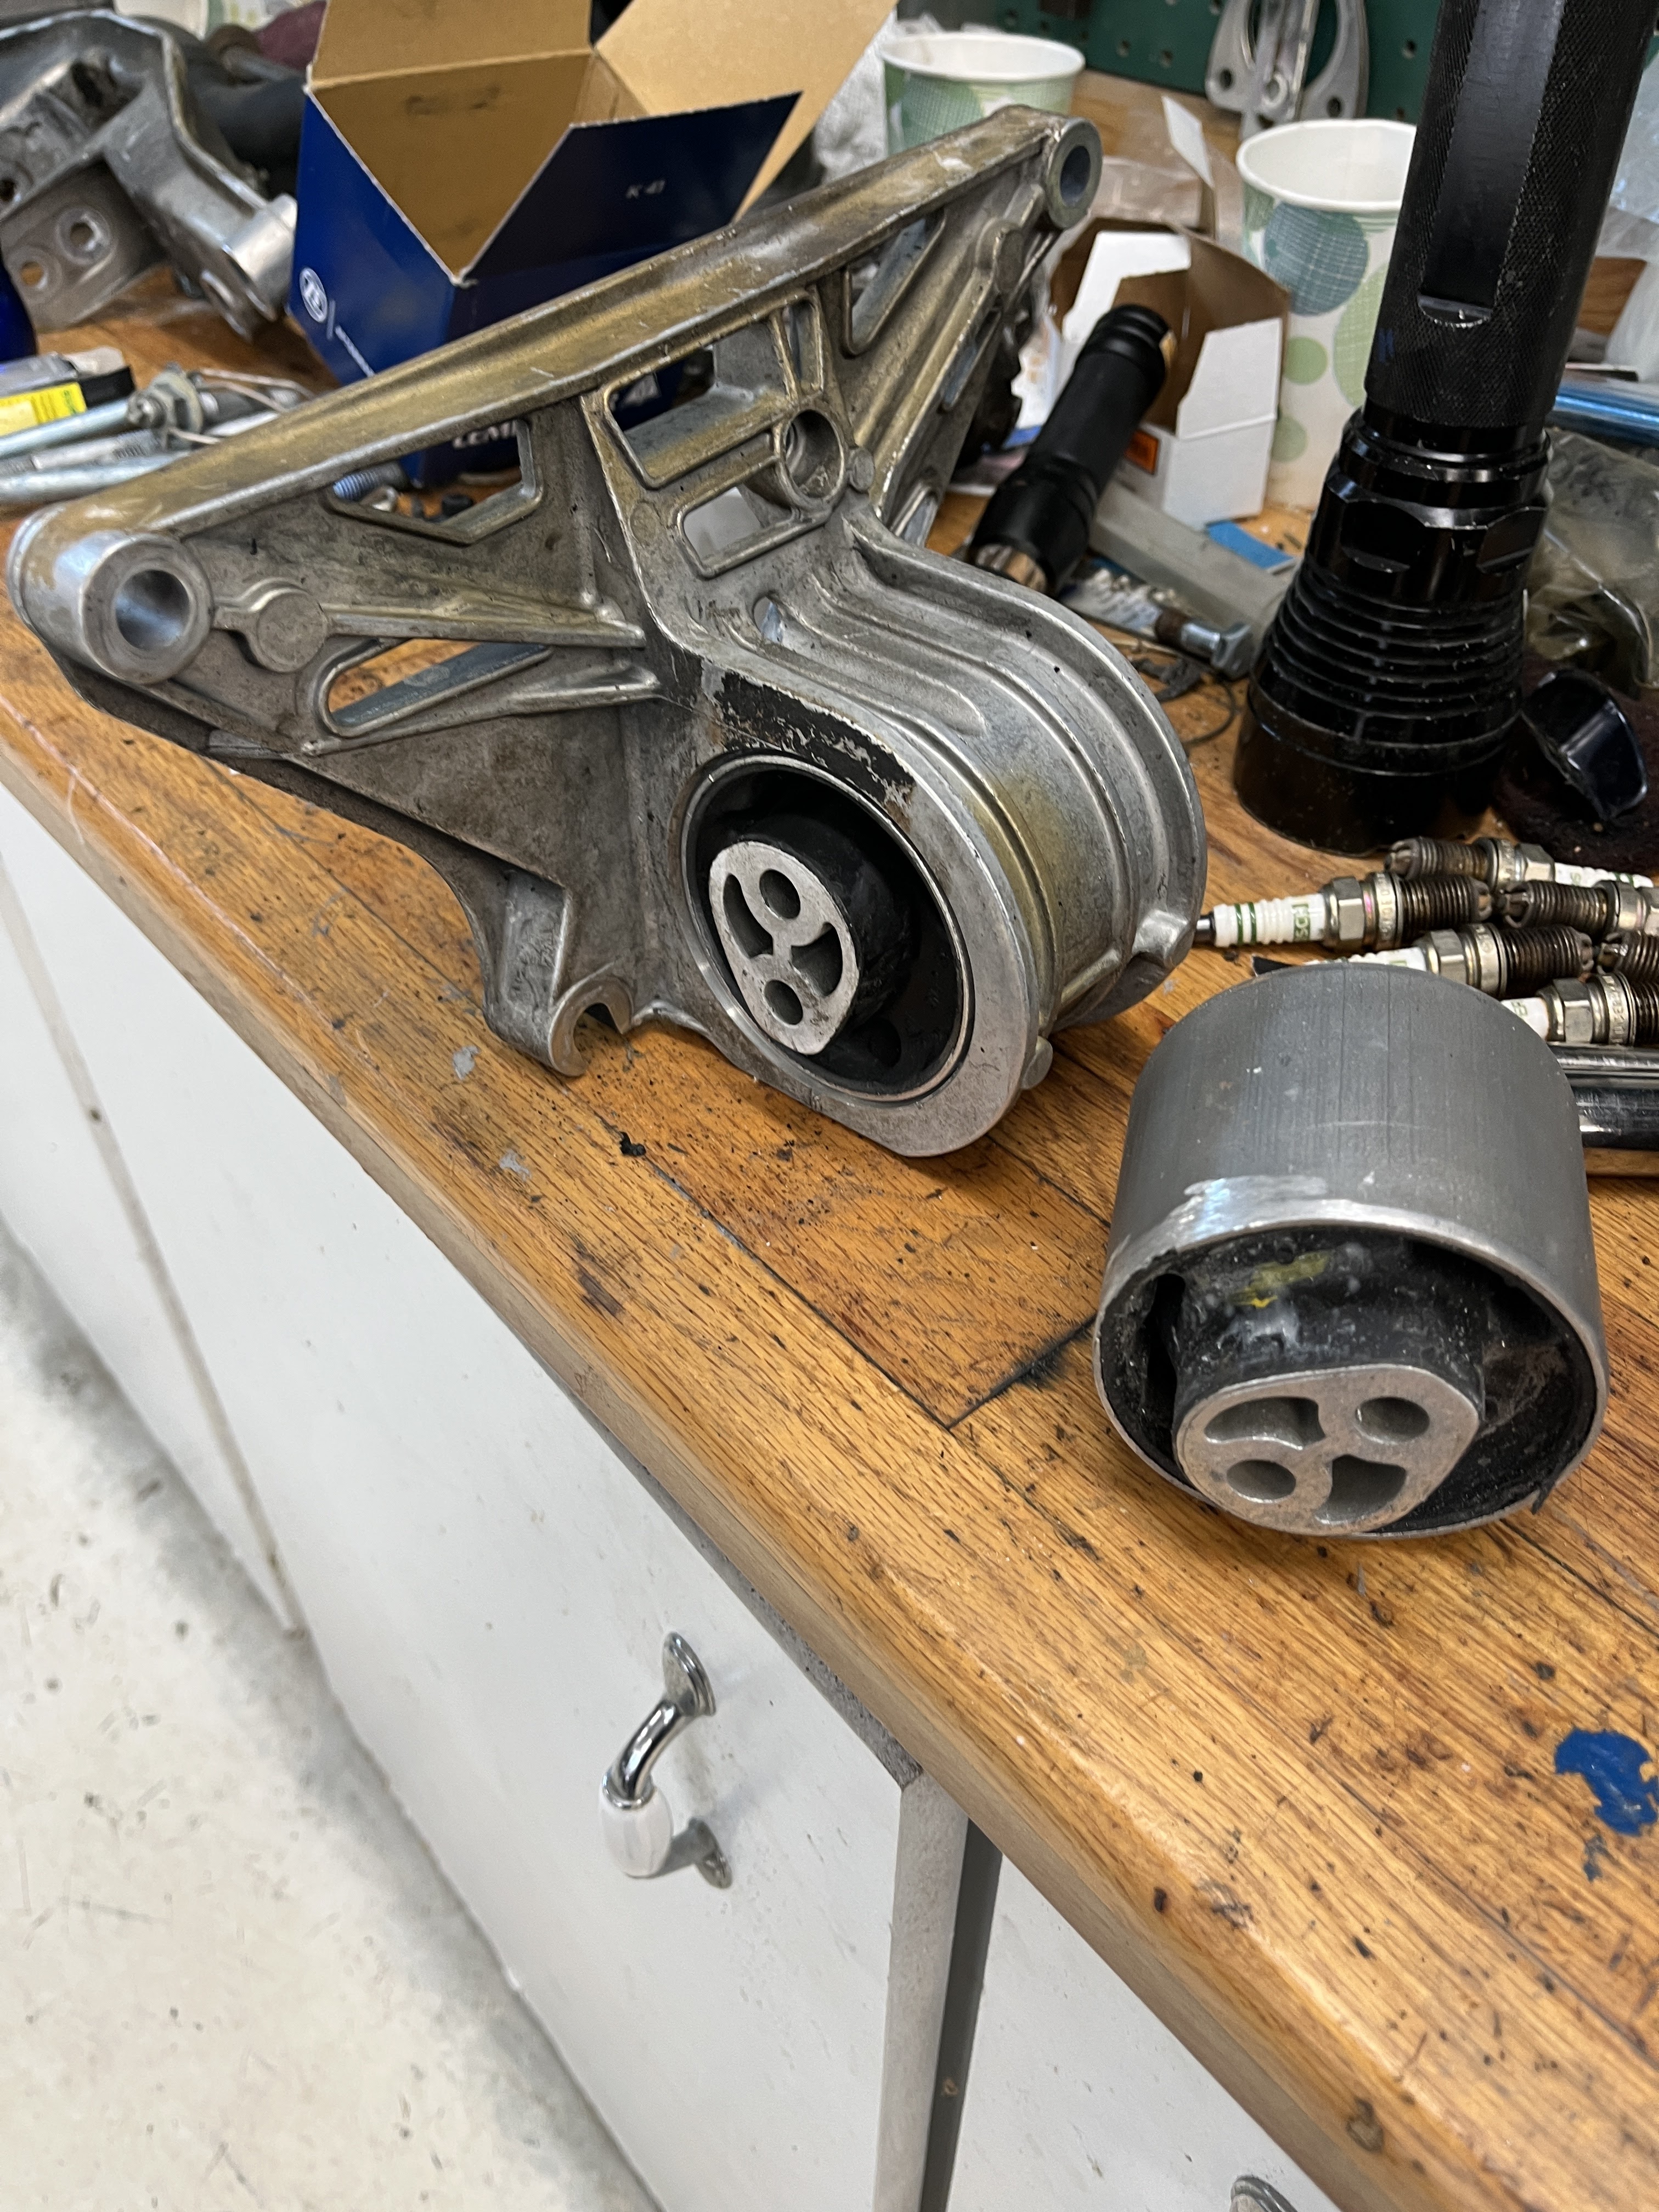
After the VIR event, which was fortunately uneventful, I decided to perform some routine items and also replace the front motor mount. There was a vibration in the cabin at rpms between 2500 and 3000. Conventional wisdom said that the front motor mount might be the culprit. To jump ahead, that was the case. Replacing the motor mount is discussed quite a bit in various forums. Most tutorials discuss taking the mounting bracket out without removing the 2 rubber coolant pipes that are in the way. I guess it can be done but I decided to remove the coolant pipes and replace the coolant. Porsche says their coolant is “lifetime”. To me, with the car being 15 years old, that is a lifetime! The coolant pipes are a type I have never seen and very trick in my opinion. They do not use external hose clamps, rather the end of the rubber hose has a metal clamp that is O-ringed. There is a simple wire clip that is removed. After that the pipe can be removed. I had to yank very hard on mine and decided to order new hoses to use upon reassembly. Once the coolant pipes are out of the way, the various bolts and fasteners are much easier to reach. Especially the strange small torx bolt that is a 5th fastener for the support bracket. I was able to reach it with a torx socket and a 6″ extension. I honestly do not understand the mechanical need for this fastener, as the remaining 4 fasteners are large ones that use 19mm sockets. Whatever, Porsche deemed it necessary so I got it out and put it back.
The rubber bushing for the motor mount is a press fit in an aluminum fixture. Porsche only sells this as an assembly, for close to $200. Paragon Products sells just the bushing, for less than $50. You will need a hydraulic press to get the old one out and the new one in. As a matter of fact I destroyed my new bushing on my first attempt and had to buy a second one. It may be money well spent to just buy the Porsche one.
Once I got the bushing installed, re-assembly was pretty straightforward. I installed my new coolant hoses and then began to read up on how to add new coolant. Unlike most radiator systems on front engine cars, there are 2 high points in the system. One is back at the engine and the other is at the top of the front radiators. There is no high point vent on the radiators. There is a vent at the engine. So you can fill/operate/vent/fill/operate/vent or, as is done “by the book” you can do a vacuum fill. I purchased the UView 550000 Airlift Cooling System Leak Checker and Airlock Purge Tool Kit. It is a well made tool. It got me probably 90% full so I only had a couple of minor fill/operate/vent cycles. BTW I bit the bullet and purchased the official Porsche coolant from the dealership.
The other nerve racking job I did was changing out the spark plugs and coil packs. The reason I think it is nerve racking is that access is pretty restricted on the forward spark plugs. And I also worry, upon removal, that either a coil pack fastener or a spark plug will break or snap off upon removal. There is a thread on Rennlist where someone had a spark plug snap off and the recovery effort is brutal. One other pro tip. Make sure your new spark plugs are all the same length as the old ones. I have a friend with a Cayman that received 6 plugs, one of which was a different part number and thus slightly longer. He didn’t recognize this fact, installed the plugs, and got a plug to piston interference when he started the engine. Ouch! My removal and installation effort went fine, although again for the front plugs, you have to be resourceful with wobbly sockets and extensions. But then things took a turn for the worse.
Immediately upon starting the engine I got a check engine light. I pulled the codes with my Durametric analyzer and identified that 2 plugs on the passenger side were not firing. The problem was that I had not seated the connector on the coil pack. It is a hard place to get your hands into but when you re-fit the connector, I found you have to push the rubber boot up and grab directly on to the plastic connector. If it doesn’t “click” the little plastic catch, you aren’t there. The pro tip is to push the rubber boot upward off the body of the clip before you unclip the connector. This will set you up so that when you go to reinstall the connector, you can grab the plastic part and seat it correctly. Bring the rubber boot down as the last thing after you have clipped it into place.
My remaining jobs were uneventful. A new air filter. And a new serpentine belt. And of course an oil and filter change. As I write this, I am over 3000 trouble free miles into my road trip. Knock on wood it will stay that way.


Discussion
Comments are closed.