When I left off in Part 3, we talked about establishing your restoration goals and performing an evaluation on the car you’re considering for restoration. Now, let’s take a look at my 1963 E-Type Fixed Head Coupe (FHC) project and see how that went.
As I have mentioned in previous articles, this car came as a bare body shell, several pallets of additional large items like the engine, transmission, and bonnet sheet metal, as well as a number of boxes. An evaluation of a complete car would be more typical. You would want to itemize all the cosmetic issues that you wanted to address and you would also try to determine all the mechanical issues that needed to be addressed. This can be particularly tricky for a car that is not in running condition. Probably the biggest concern is does the car contain any rust? This one can be difficult as E-Types tend to rust from the inside out. Also, previous owners, scrupulous and otherwise, may have resorted to low cost “bodge” jobs to make their car more presentable without investing a ton of money. Those chickens will come home to roost if you get into doing a full restoration with new paint. Sometimes you just have to roll the dice and dive into a car, not really knowing what you are going to find. Just keep in mind mentally that the cost to properly restore the sheet metal of a rusty car can easily run into 4 figures. And the number of competent shops/craftsmen that can do the work is dwindling. I have learned to do bodywork. I don’t like it but the alternative is that I would probably never be able to restore old cars so there you go. By the way, Jaguars starting with the E-Type and moving forward, were constructed in a uni-body fashion. This has many advantages but it only complicates restoration or even collision repair. If you want to save yourself some trouble, restore a 50s or 60s American car, which used body on frame construction. For some popular cars, like Mustangs and Camaros, you can buy almost all the pieces you need for the body and bolt them on!
In the case of my 63 FHC, the body shell was stripped and resting on a wooden cart. During my initial purchase inspection, I was thrilled to see no obvious signs of rust. No dreaded “swiss cheese” perforations in the sheet metal. I remember in the early days after my purchase, I sanded selected areas, in particular the sills under the doors, down to bare metal, just to check further. Again, I did not find any rust. I slathered the body shell in general purpose primer, just to stop any surface rust from forming. And then it sat for a number of years.
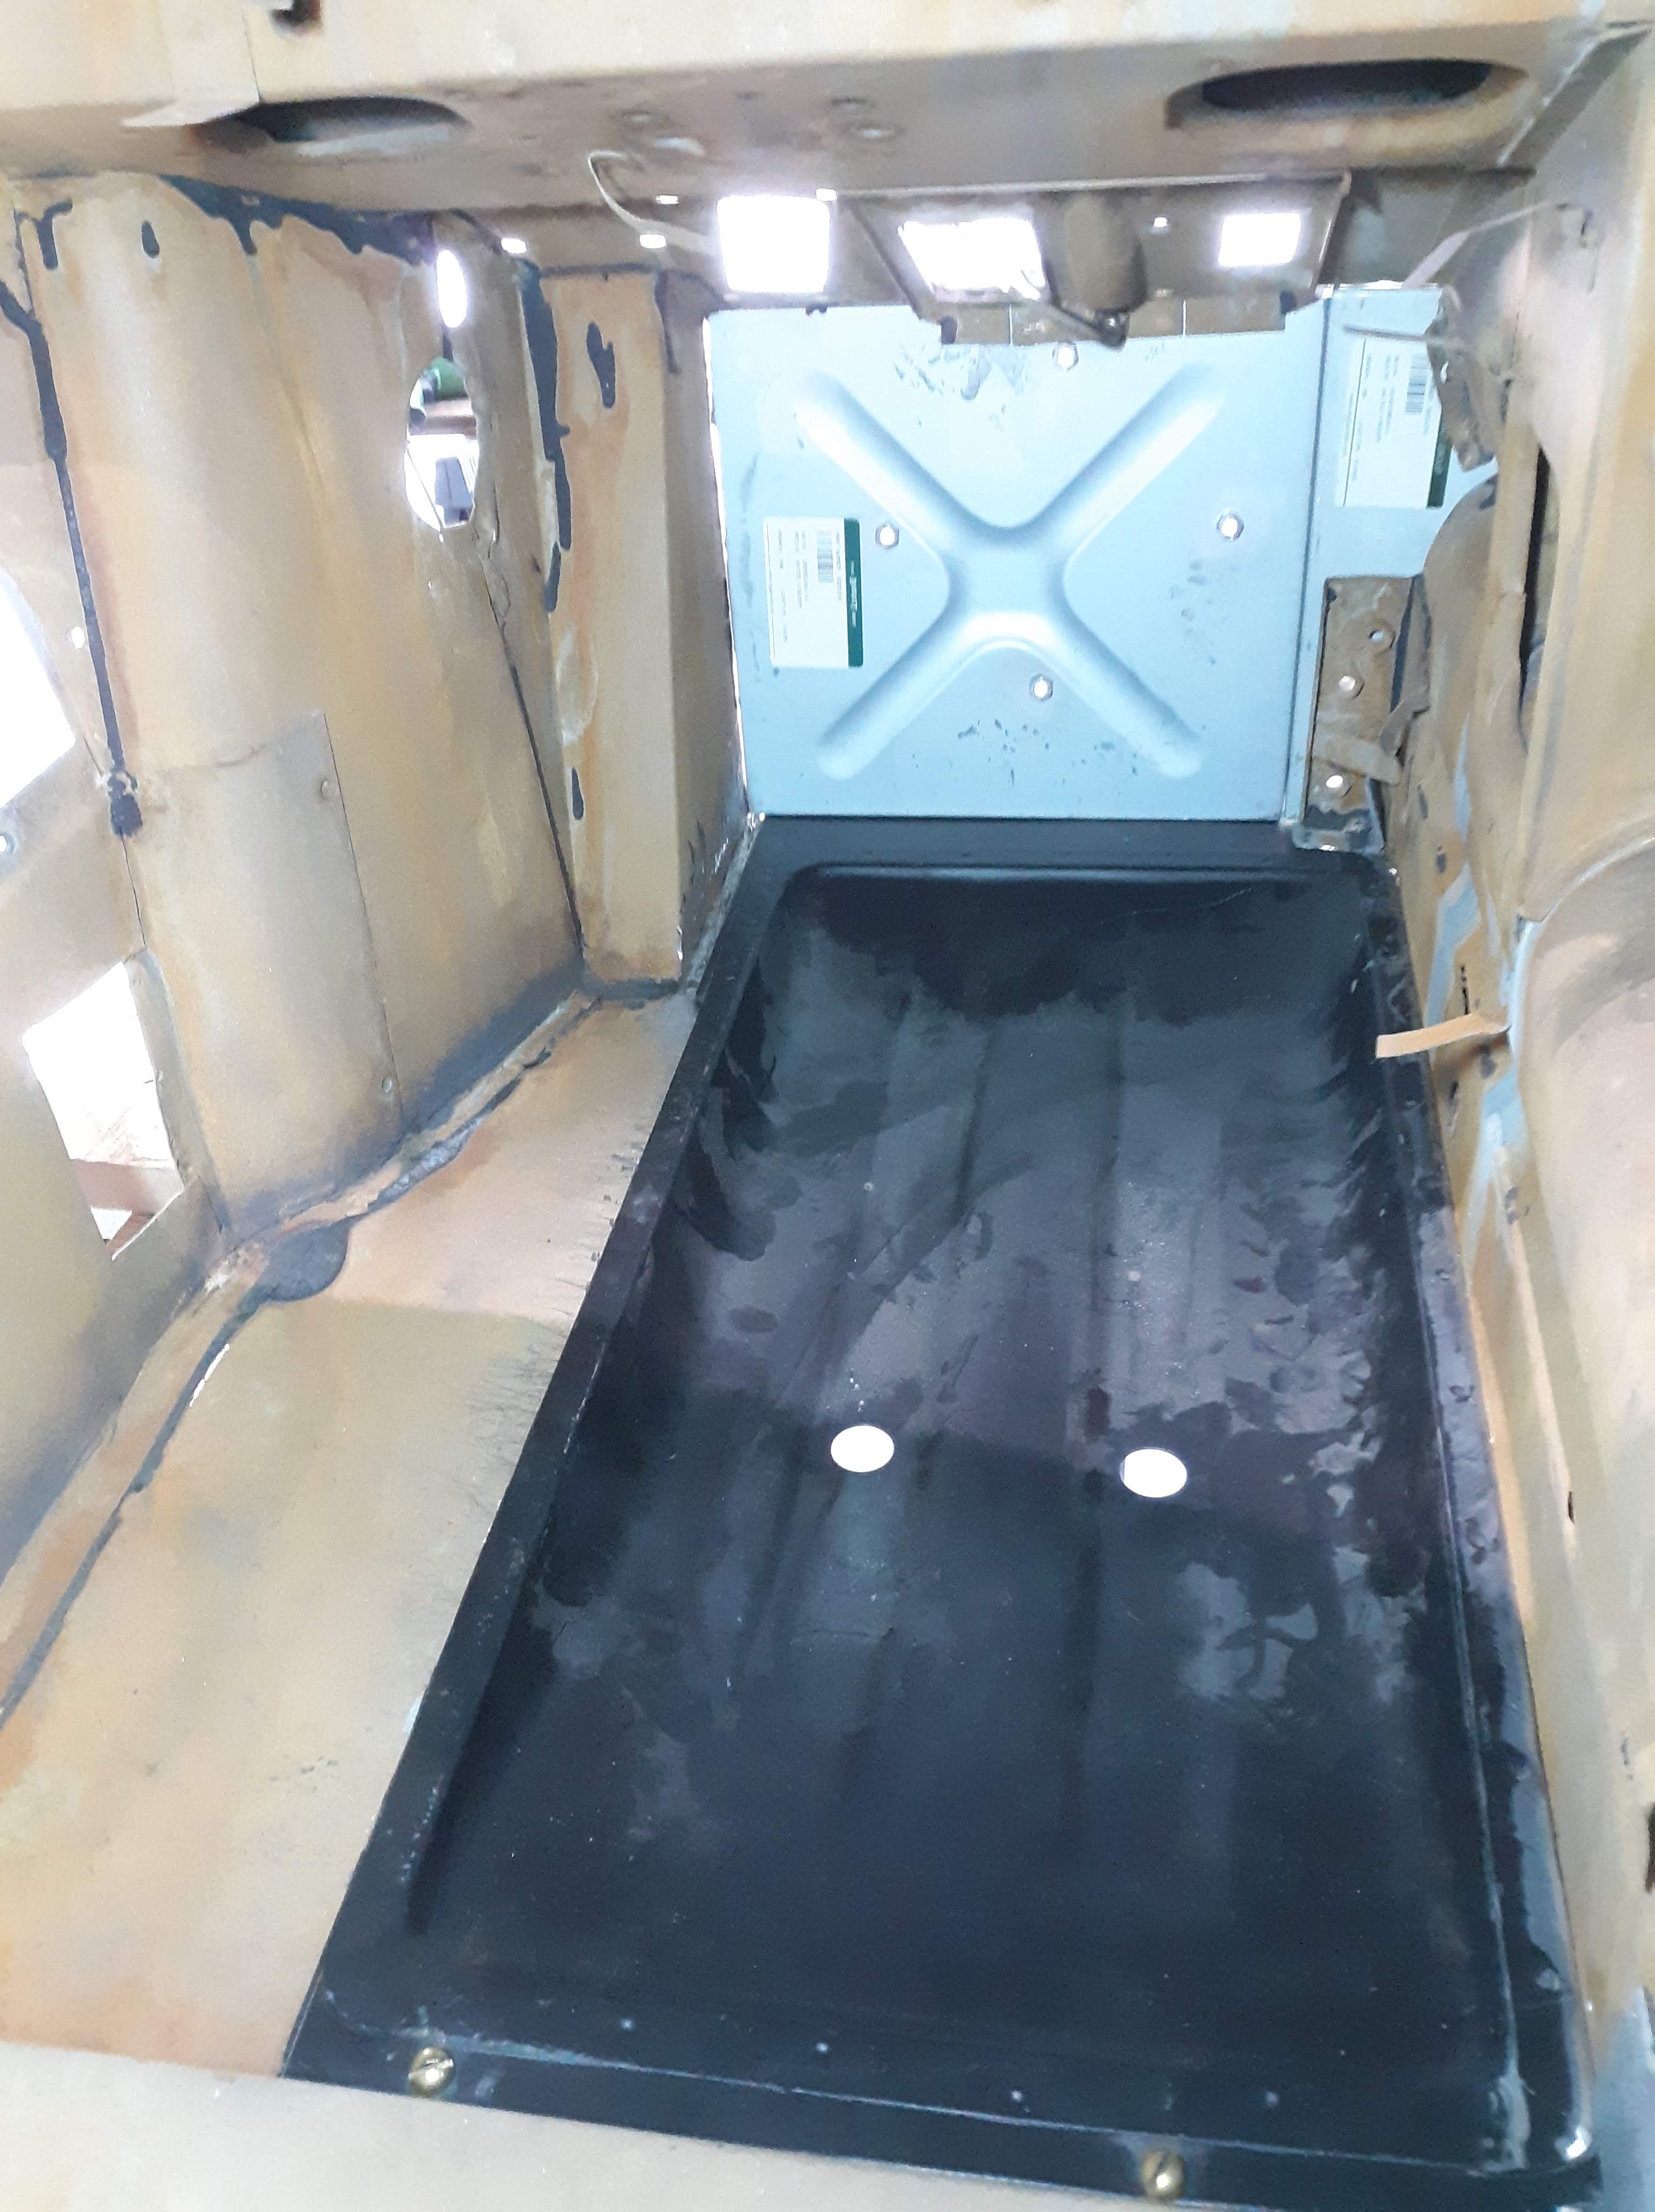
This time around, I hauled the body shell out into the daylight and gave it a really close inspection. The lack of rust remained the same. What I did find was that someone had done an adequate, but not factory original, replacement of the footwells. The footwells had been replaced with pieces of flat sheet metal. Structurally sound but lacking the distinctive reinforcement channels pressed into the original pieces. So I made a note that I would have to cut these pieces out and install new ones. Fortunately, aftermarket parts support for the E-Type is very good. From a body sheet metal standpoint, many of the items prone to rust such as the sills and floors can be had for purchase. Installation is not a trivial matter as much of the body shell was assembled using “spot” welding. This makes disassembly and repair time consuming. Jumping to the bonnet, the main panels are largely bolted together and can be purchased in the aftermarket. A complete aftermarket bonnet will run you about $12,000. The pieces I need to repair the footwells cost me around $1000. But if you were to pay someone to install them, that price would be quite a bit higher. A good domestic source for sheet metal pieces required to repair an E-Type body is Moncouque-Metalworks.com. Also check out their Youtube channel for valuable metal working tips. So the point of all this is to say that given enough time and money, E-Type bodies can be brought back to their original condition. The parts are available and the technology is not overwhelming. But the cost to restore a badly rusted E-Type body will be significant and with few qualified professionals left that can do the work, your wait time to get your body back will be significant.
So after painting that dark picture, not all E-Types are rust buckets and as we move into the later series of Jaguar cars, where the bodies were galvanized and such, the cars have held up much better. For this reason, picking a car for restoration that was built in the mid 80s or newer will reward you with fewer rust issues in general, due to improvements made in the corrosion protection world.
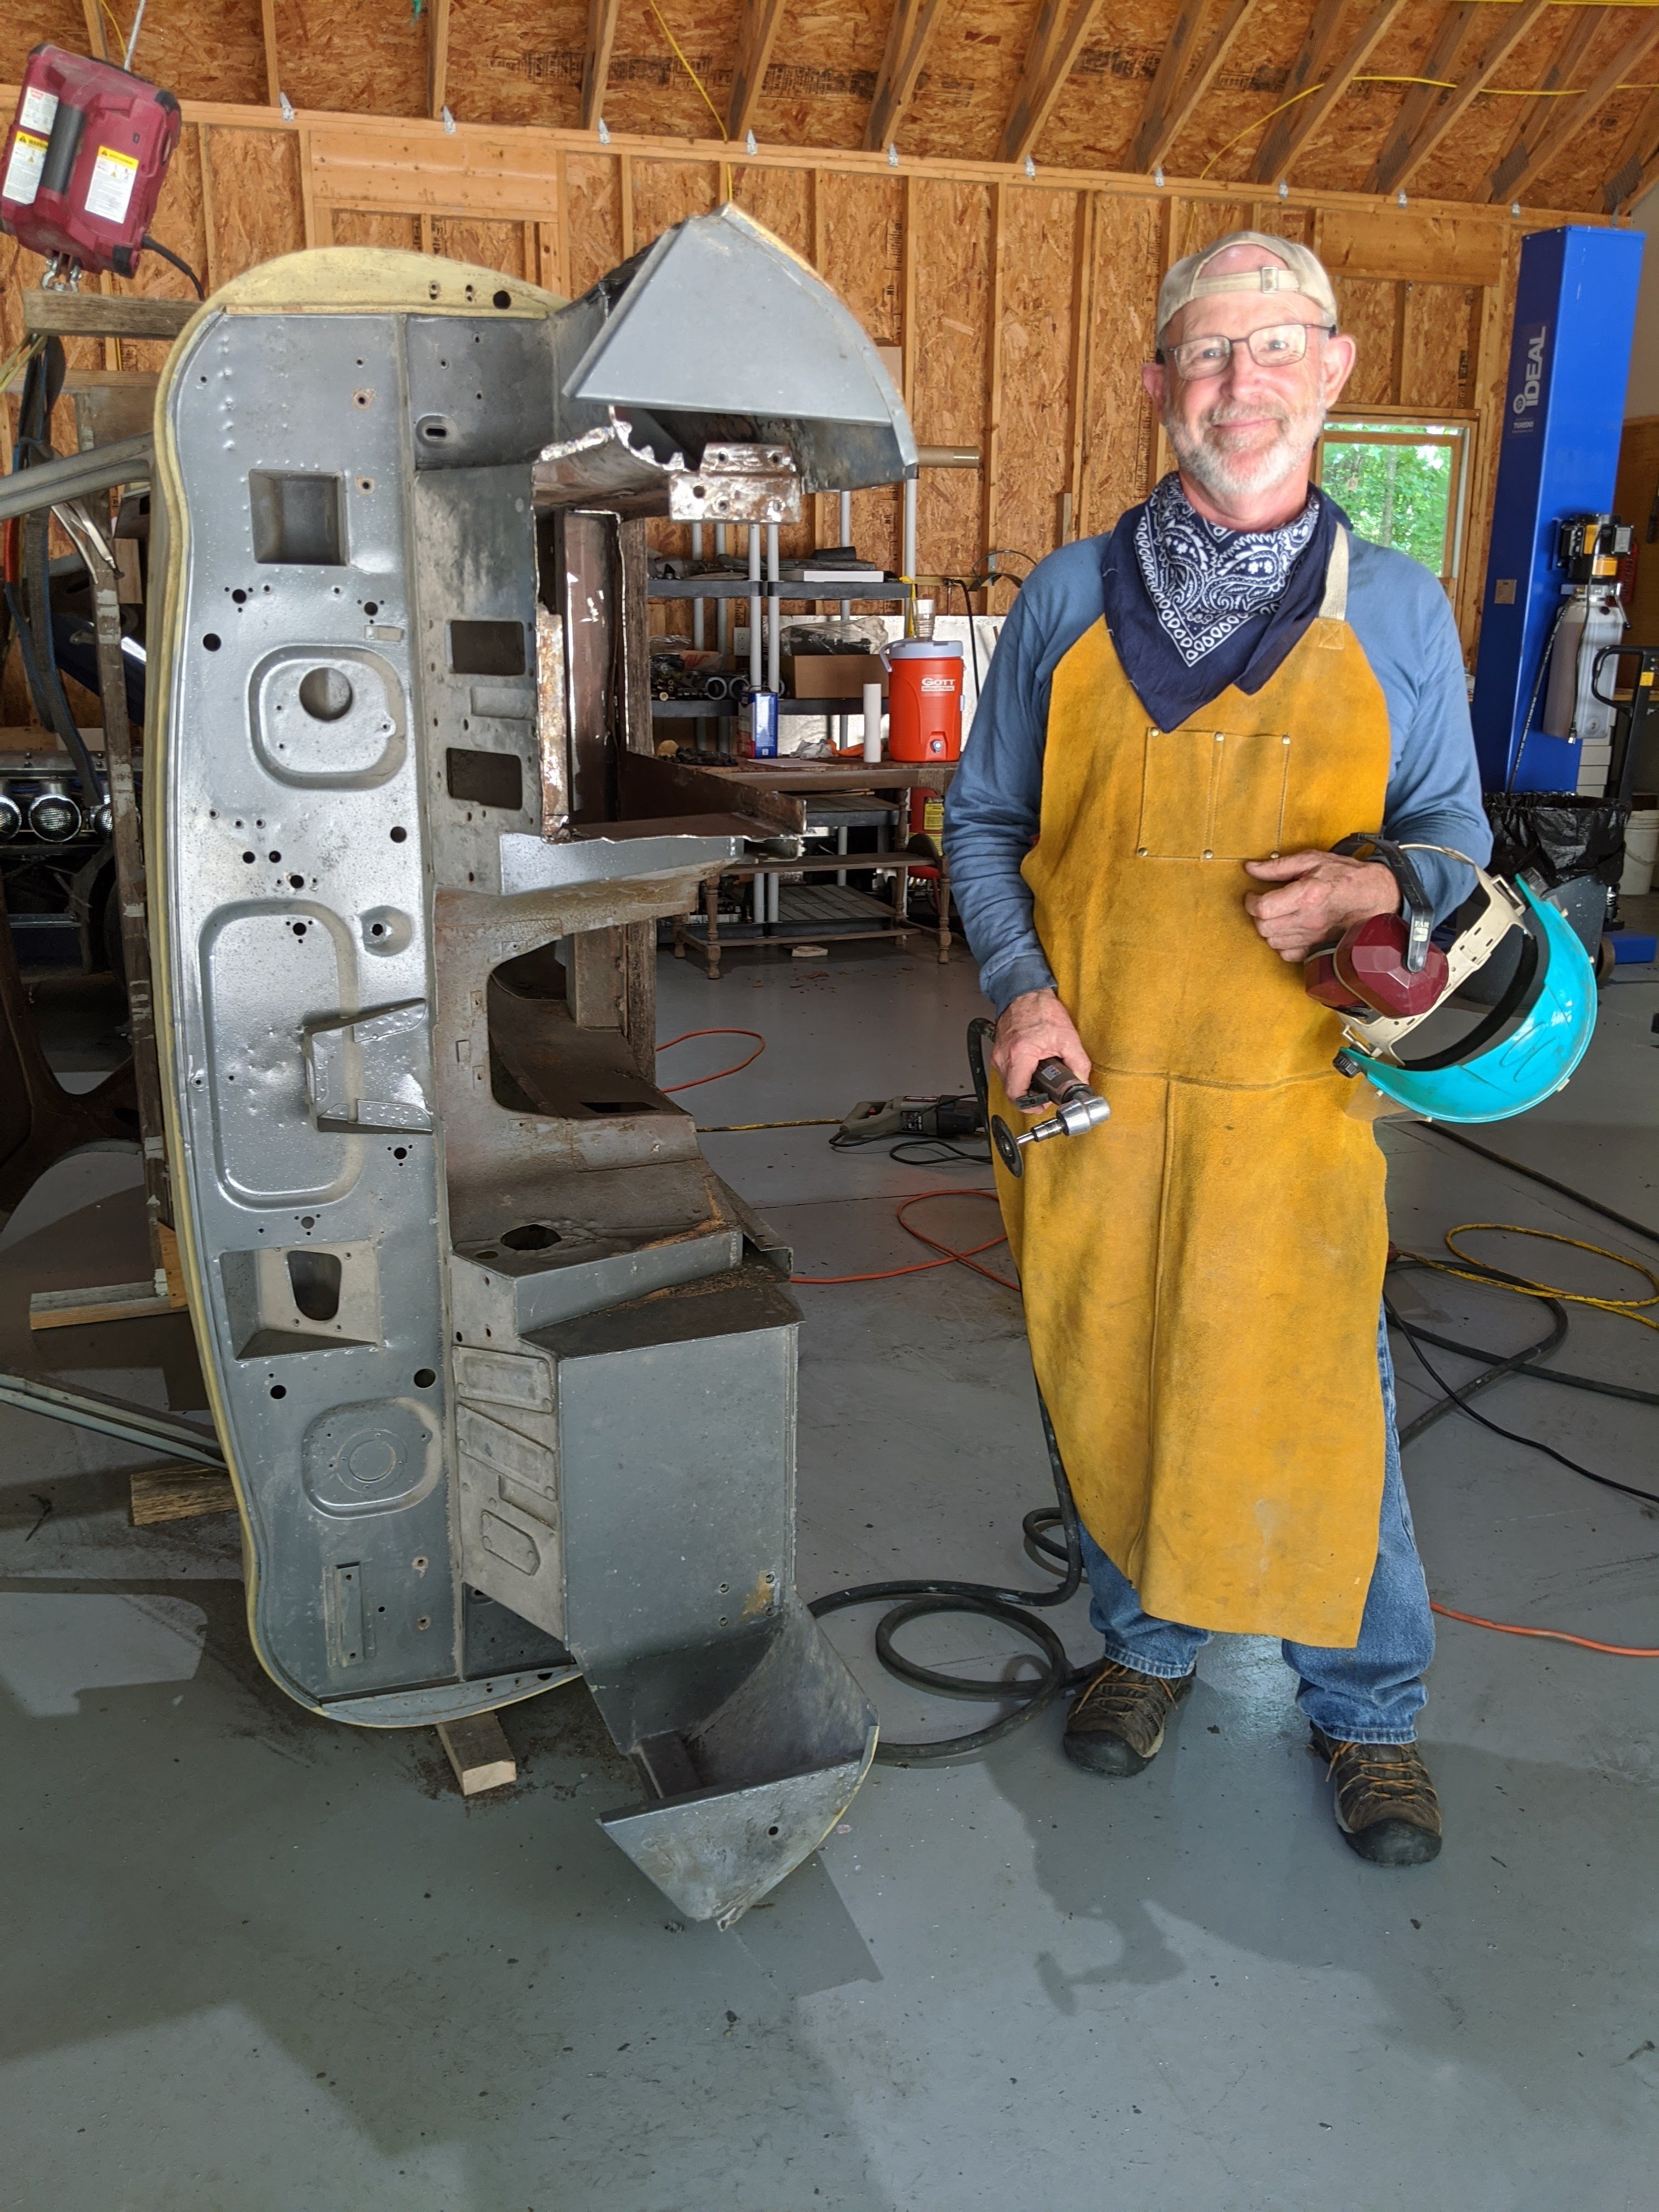
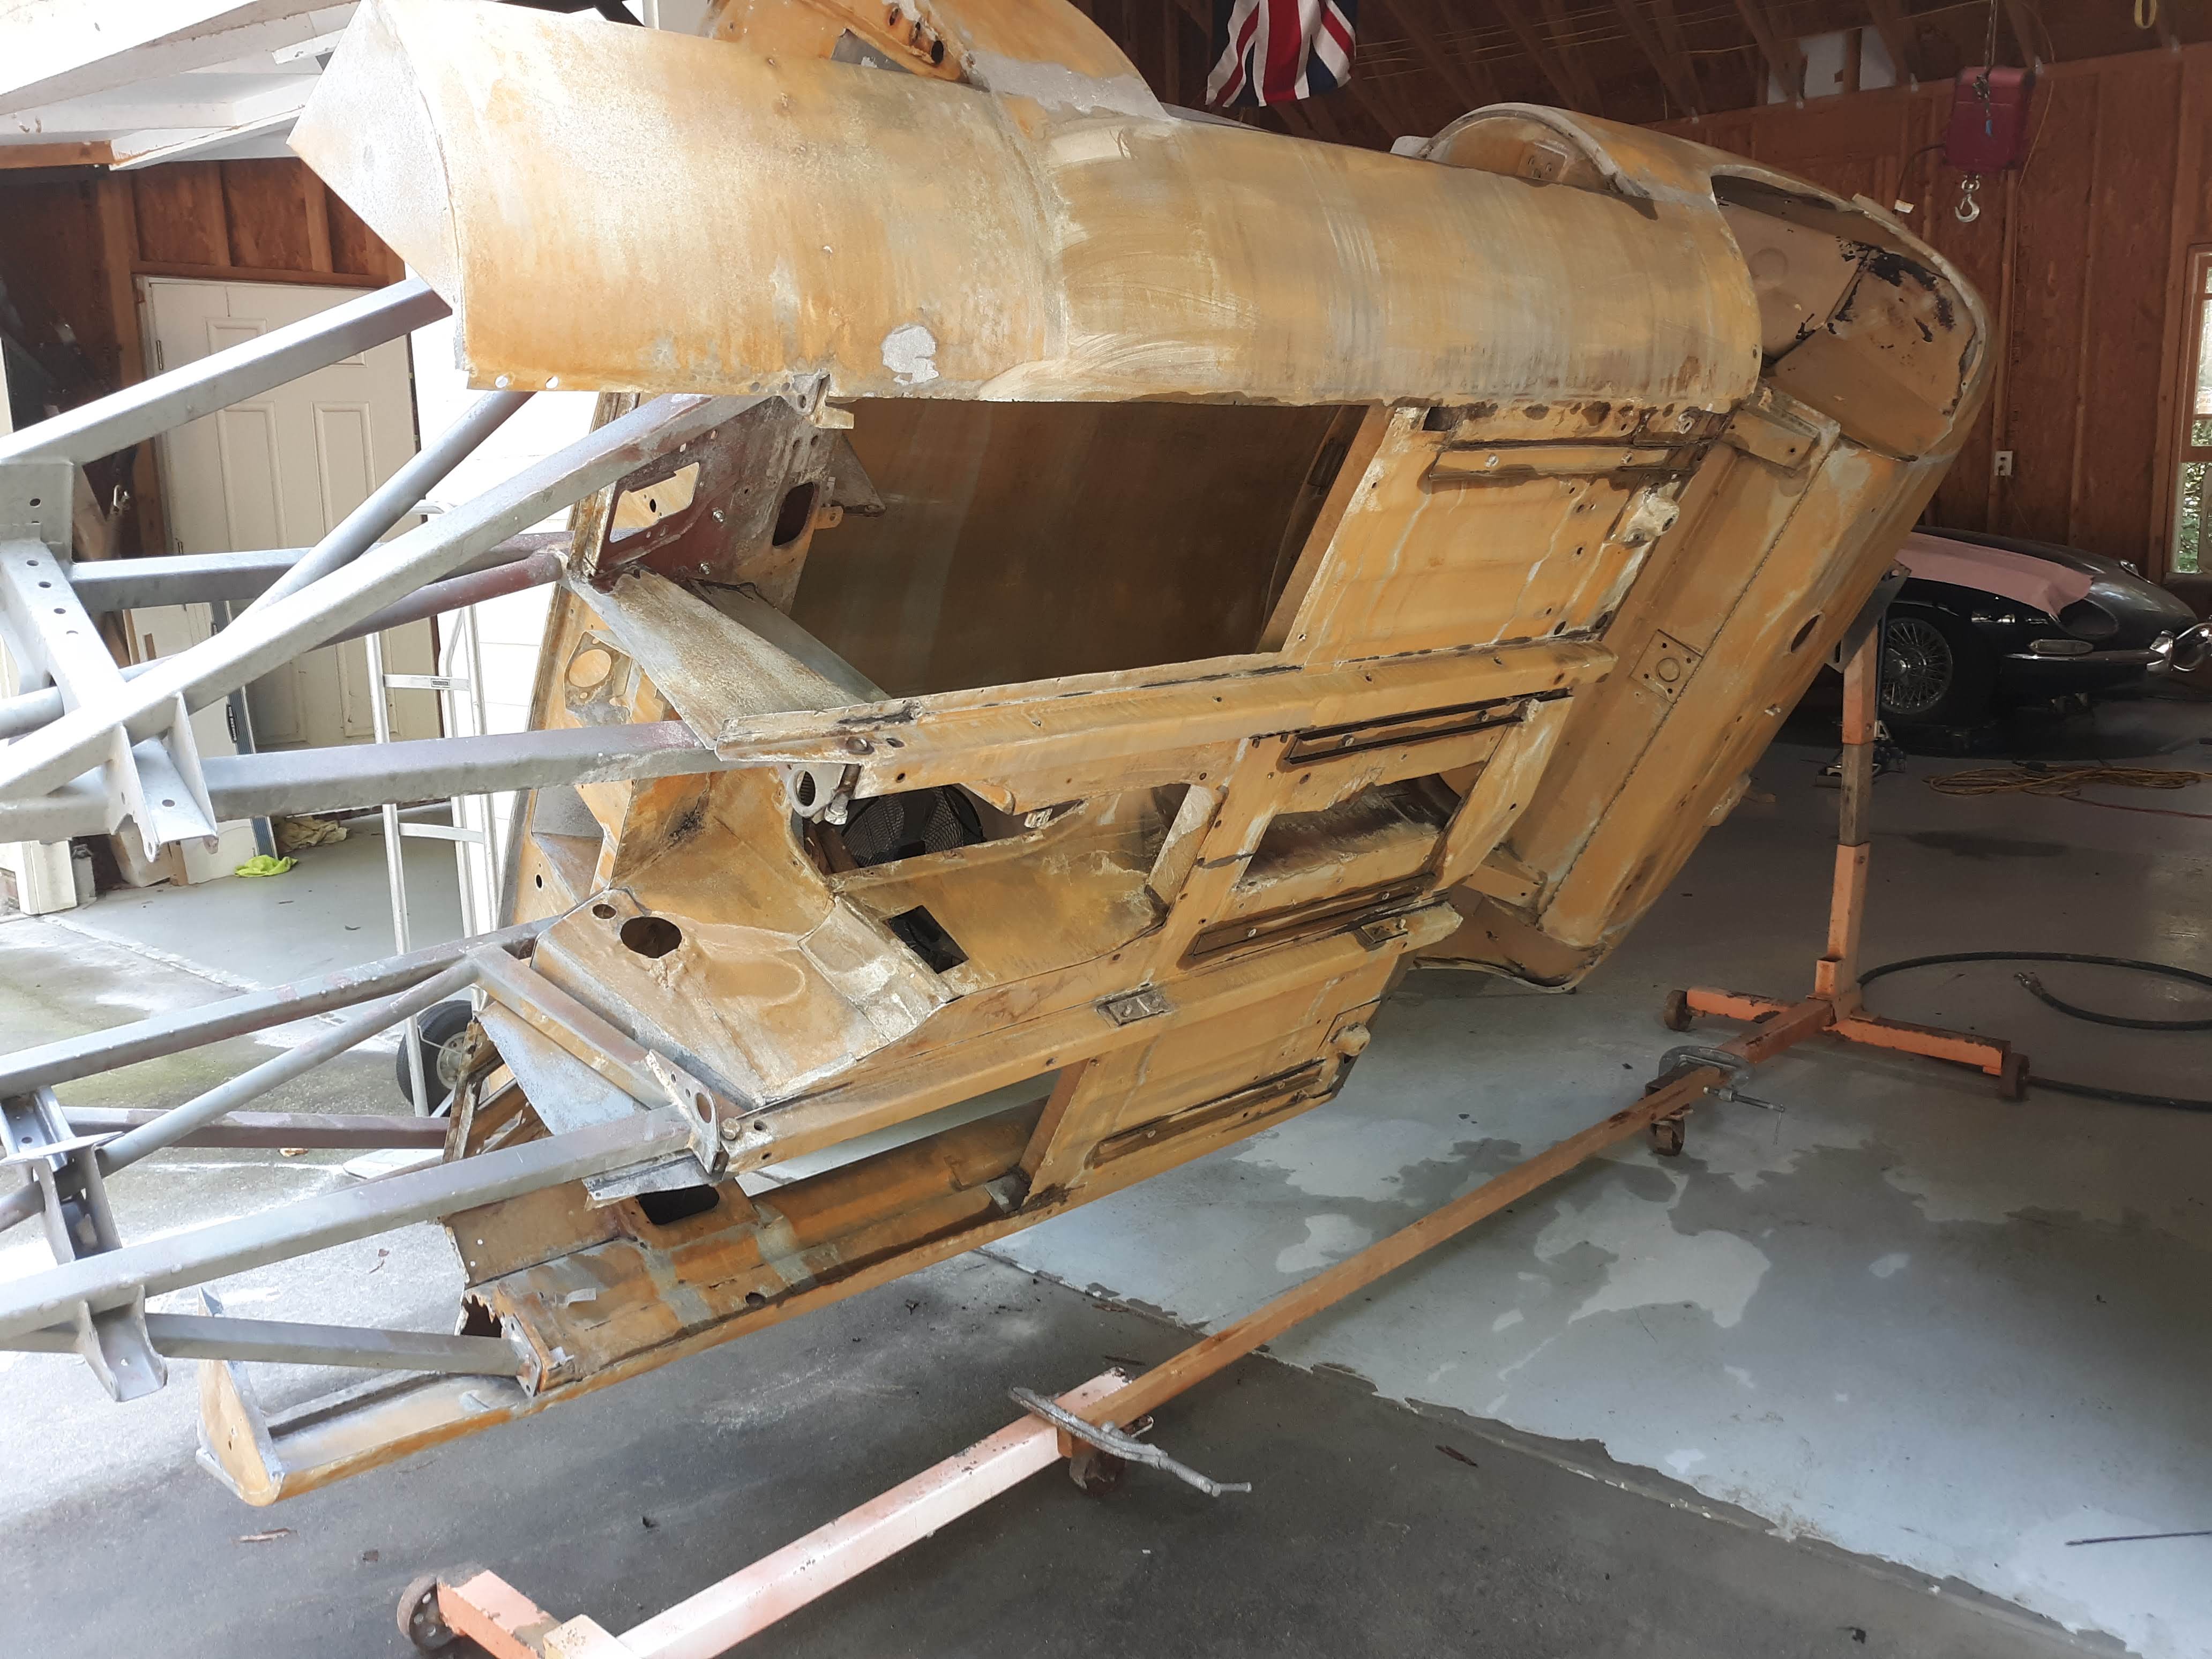
In the case of my car, the first thing I did was to mount the body shell in a rotisserie. You may have heard the term “frame off” restoration. This term does not really apply to cars with a uni-body construction as it literally means the car has a body that is unbolted from the chassis/frame and is lifted off for restoration. This phrase is indicative of a thorough restoration where the car is fully disassembled and every item is brought up to a high standard. A term you might also have heard of is a “rotisserie” restoration. This is more applicable to the E-Type but in general it means the car is mounted on a rotisserie that allows the body to be rotated and thus all the important nooks and crannies are accessible for restoration. I did this on my car more due to the physical advantages that allowed me to rotate the deficient floorboards vertical, which allowed me to work on them from a standing position. I had a rotisserie left from the restoration of my 1967 E-Type 2+2, which was made up from several inexpensive engine stands with some custom items that allowed me to attach it to the car. As you will see in the photos, the engine compartment of the car, forward of the firewall, is constructed of a framework of tubes. This concept was used in the construction of the D-Type and was carried forward to the E-Type. It is a design concept that Jaguar borrowed from the aircraft industry. It is very strong and lightweight.
The next steps can be described in one paragraph, which is totally depressing as it does not possibly manage to indicate the time and effort it took. I used small metal cutting air tools to cut out the floorboard and footwells that had been installed previously. I purchased new reproduction pieces from SNG-Barratt. I laid these pieces into position. Fortunately, as with the original construction techniques, none of the pieces required “butt”welding, which is hard for me to do well. Rather they mainly used “lap” joints. One of the concessions I made against total originality was that I used automotive grade adhesive bonding material in these lap joints. This material is used widely in modern automotive construction. Indeed if you watch videos of the assembly process for modern Jaguars, you will see it being used. The big advantage for me, in addition to simplifying the process, is that it builds a waterproof and corrosion proof seam at the interface of the two lap joint pieces of metal. A vast improvement over the original construction technique, which led to rusting at these joints later on.
In the next article, we will look into media blasting of the entire car, as a first step towards bodywork and painting.


Discussion
Comments are closed.