Here is an update regarding working on the firewall and dash area, prior to installing the engine frames.
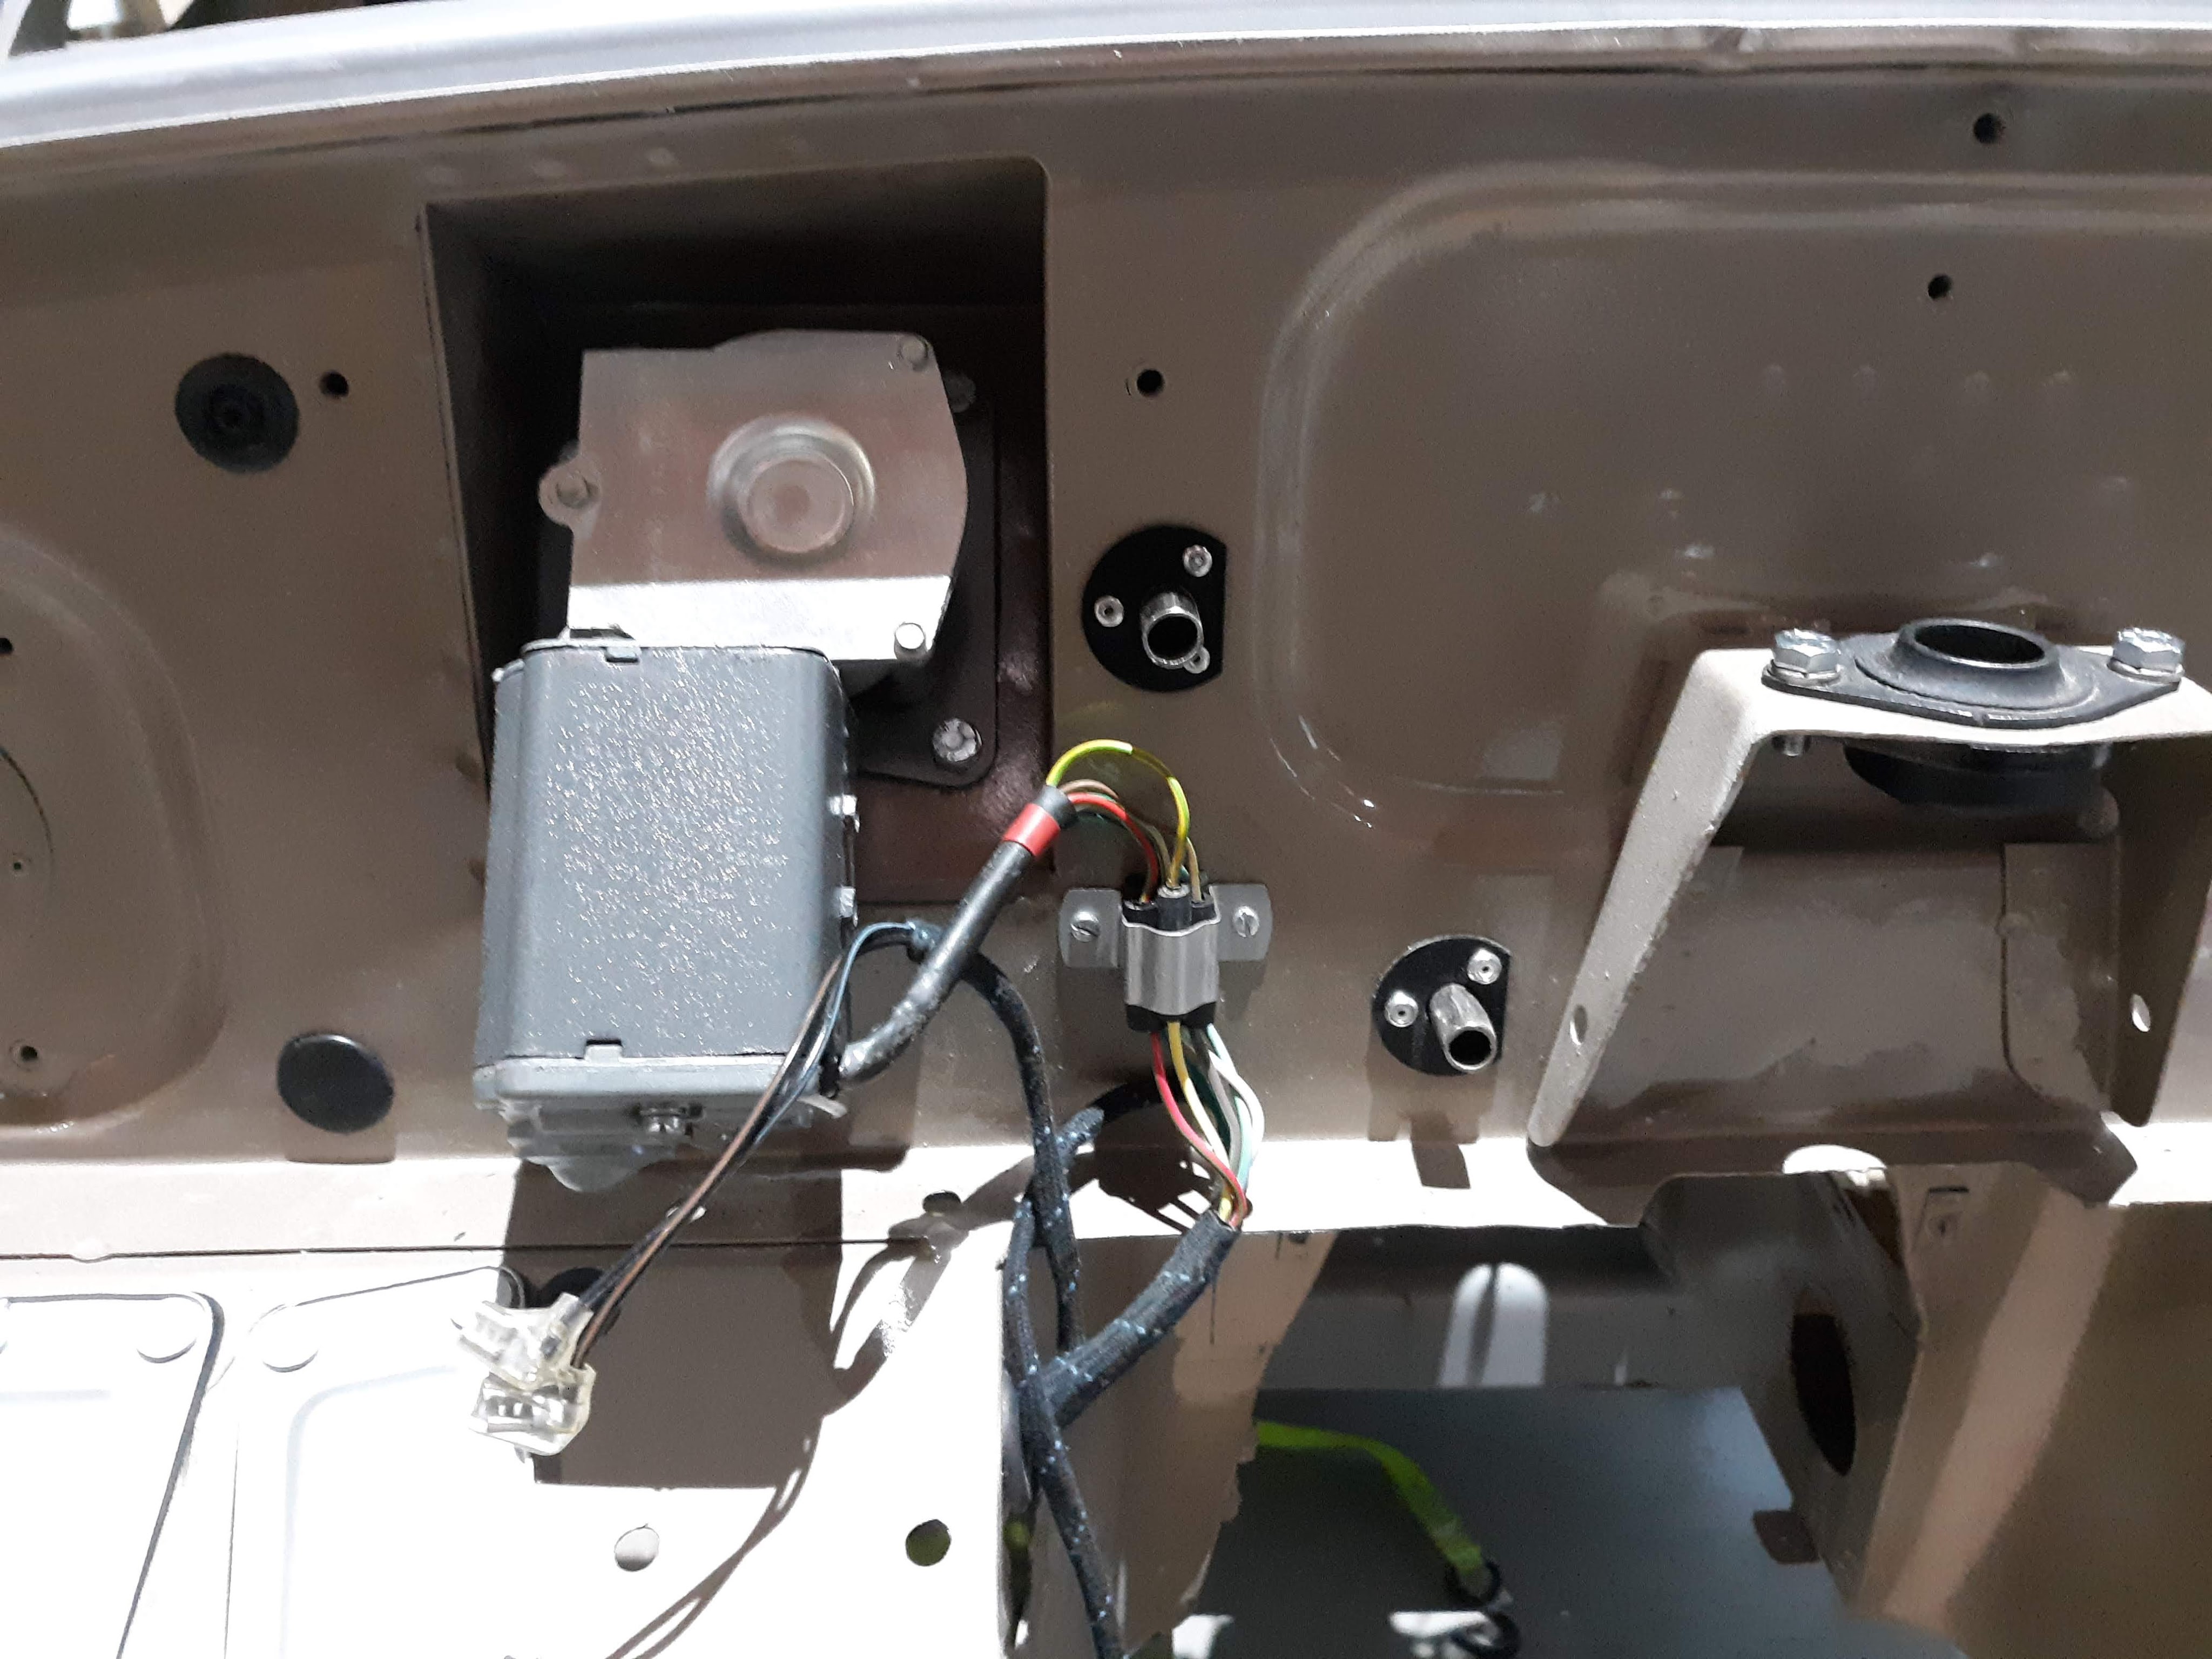
I completed installation of the two “dash” wiring harnesses, as far as I could go. All of my instruments are with West Valley Instrument being refurbished. This meant that the row of switches across the bottom of the center panel were installed and wired, as well as all wiring terminations at the fuse block panel. One dash harness pulls through from the drivers side footwell, just below where the voltage regulator resides. At this point the engine compartment side of this harness remains coiled up in the area where the battery will go. The other dash harness passes through an opening in the passenger side of the transmision tunnel. I was able to teminate the connections to the windscreen wiper motor.
By the way, few of my switches were operable as found, in the sense that when tested with a ohm meter, they had high resistance. Some responded to an application of Deoxit without disassembly. A few had to be disassembled. The only one that defeated me was the starter switch, where the little metal tangs that they bend over to secure the plastic bits broke off. Fortunately it is a simple item and a replacement was obtained from SNG.
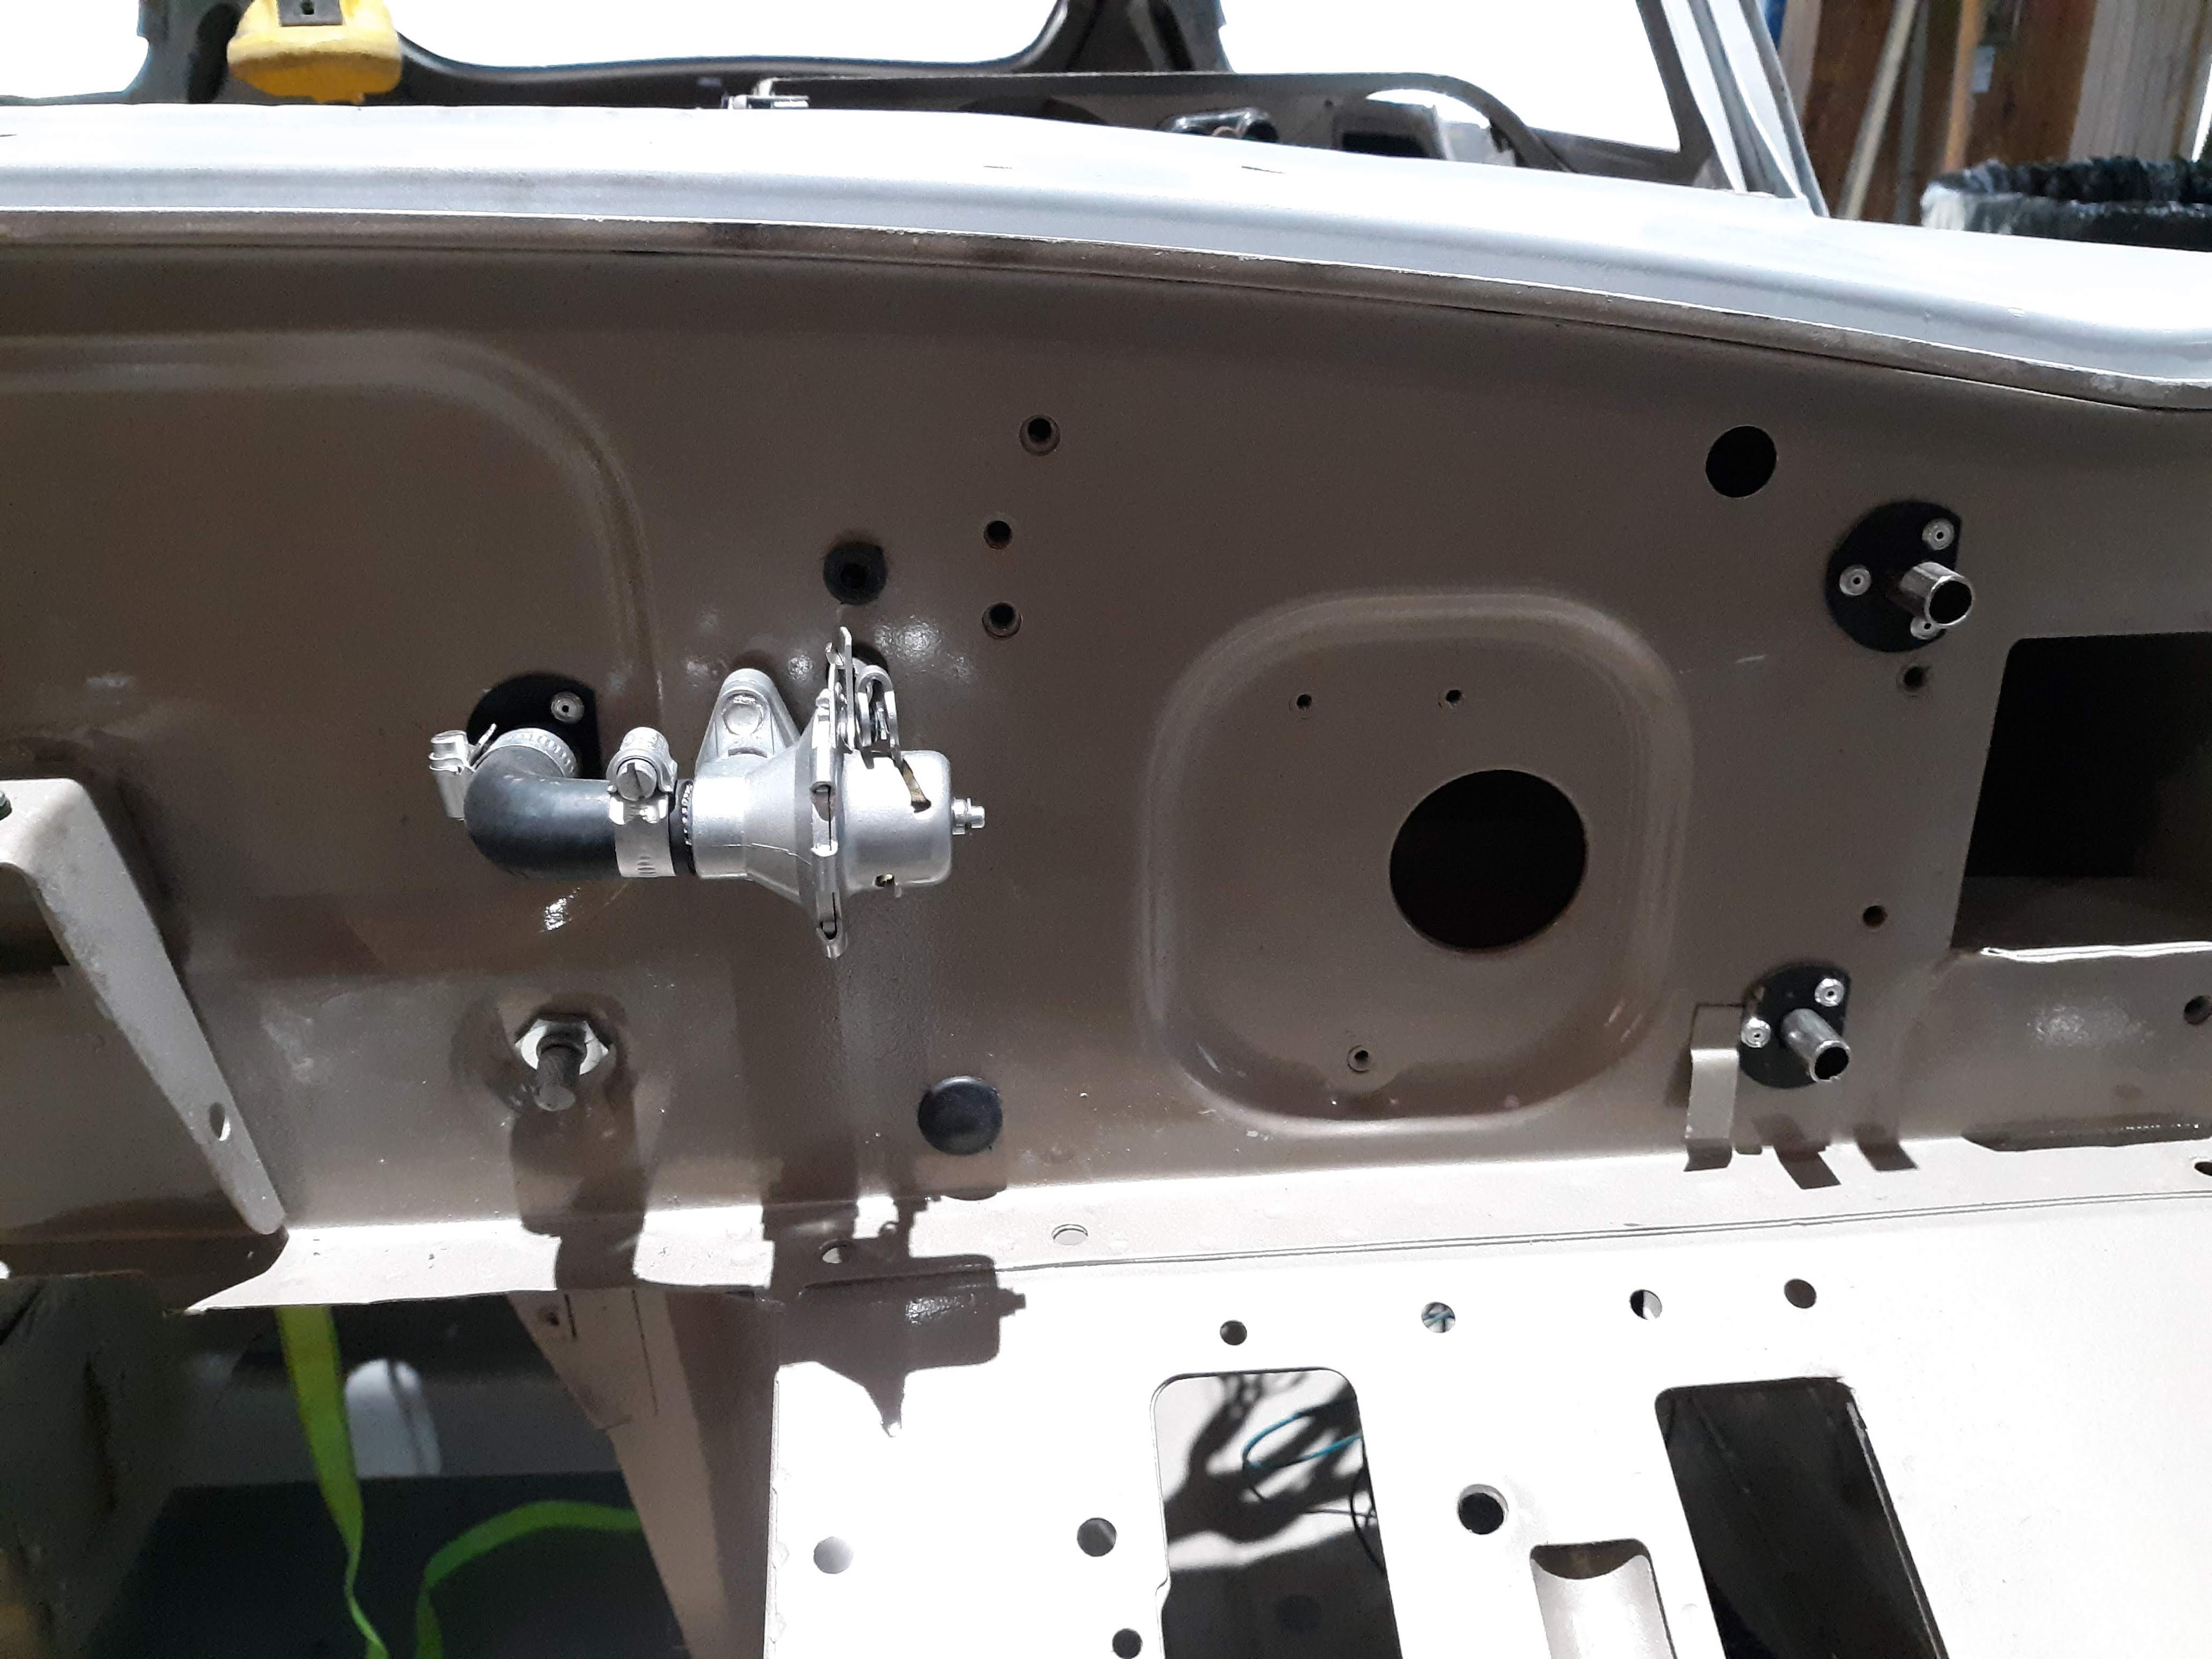
By the way, photos of the engine compartment taken by now deceased Jerry Mouton have proved to be invaluable when figuring out how things should look in the engine compartment in general and the firewall in particular. These photos can be found at http://moutons.org/Jaguar/Photos/Details/Bulkhead%20and%20frames/index.html
Here are a few photos that I took.


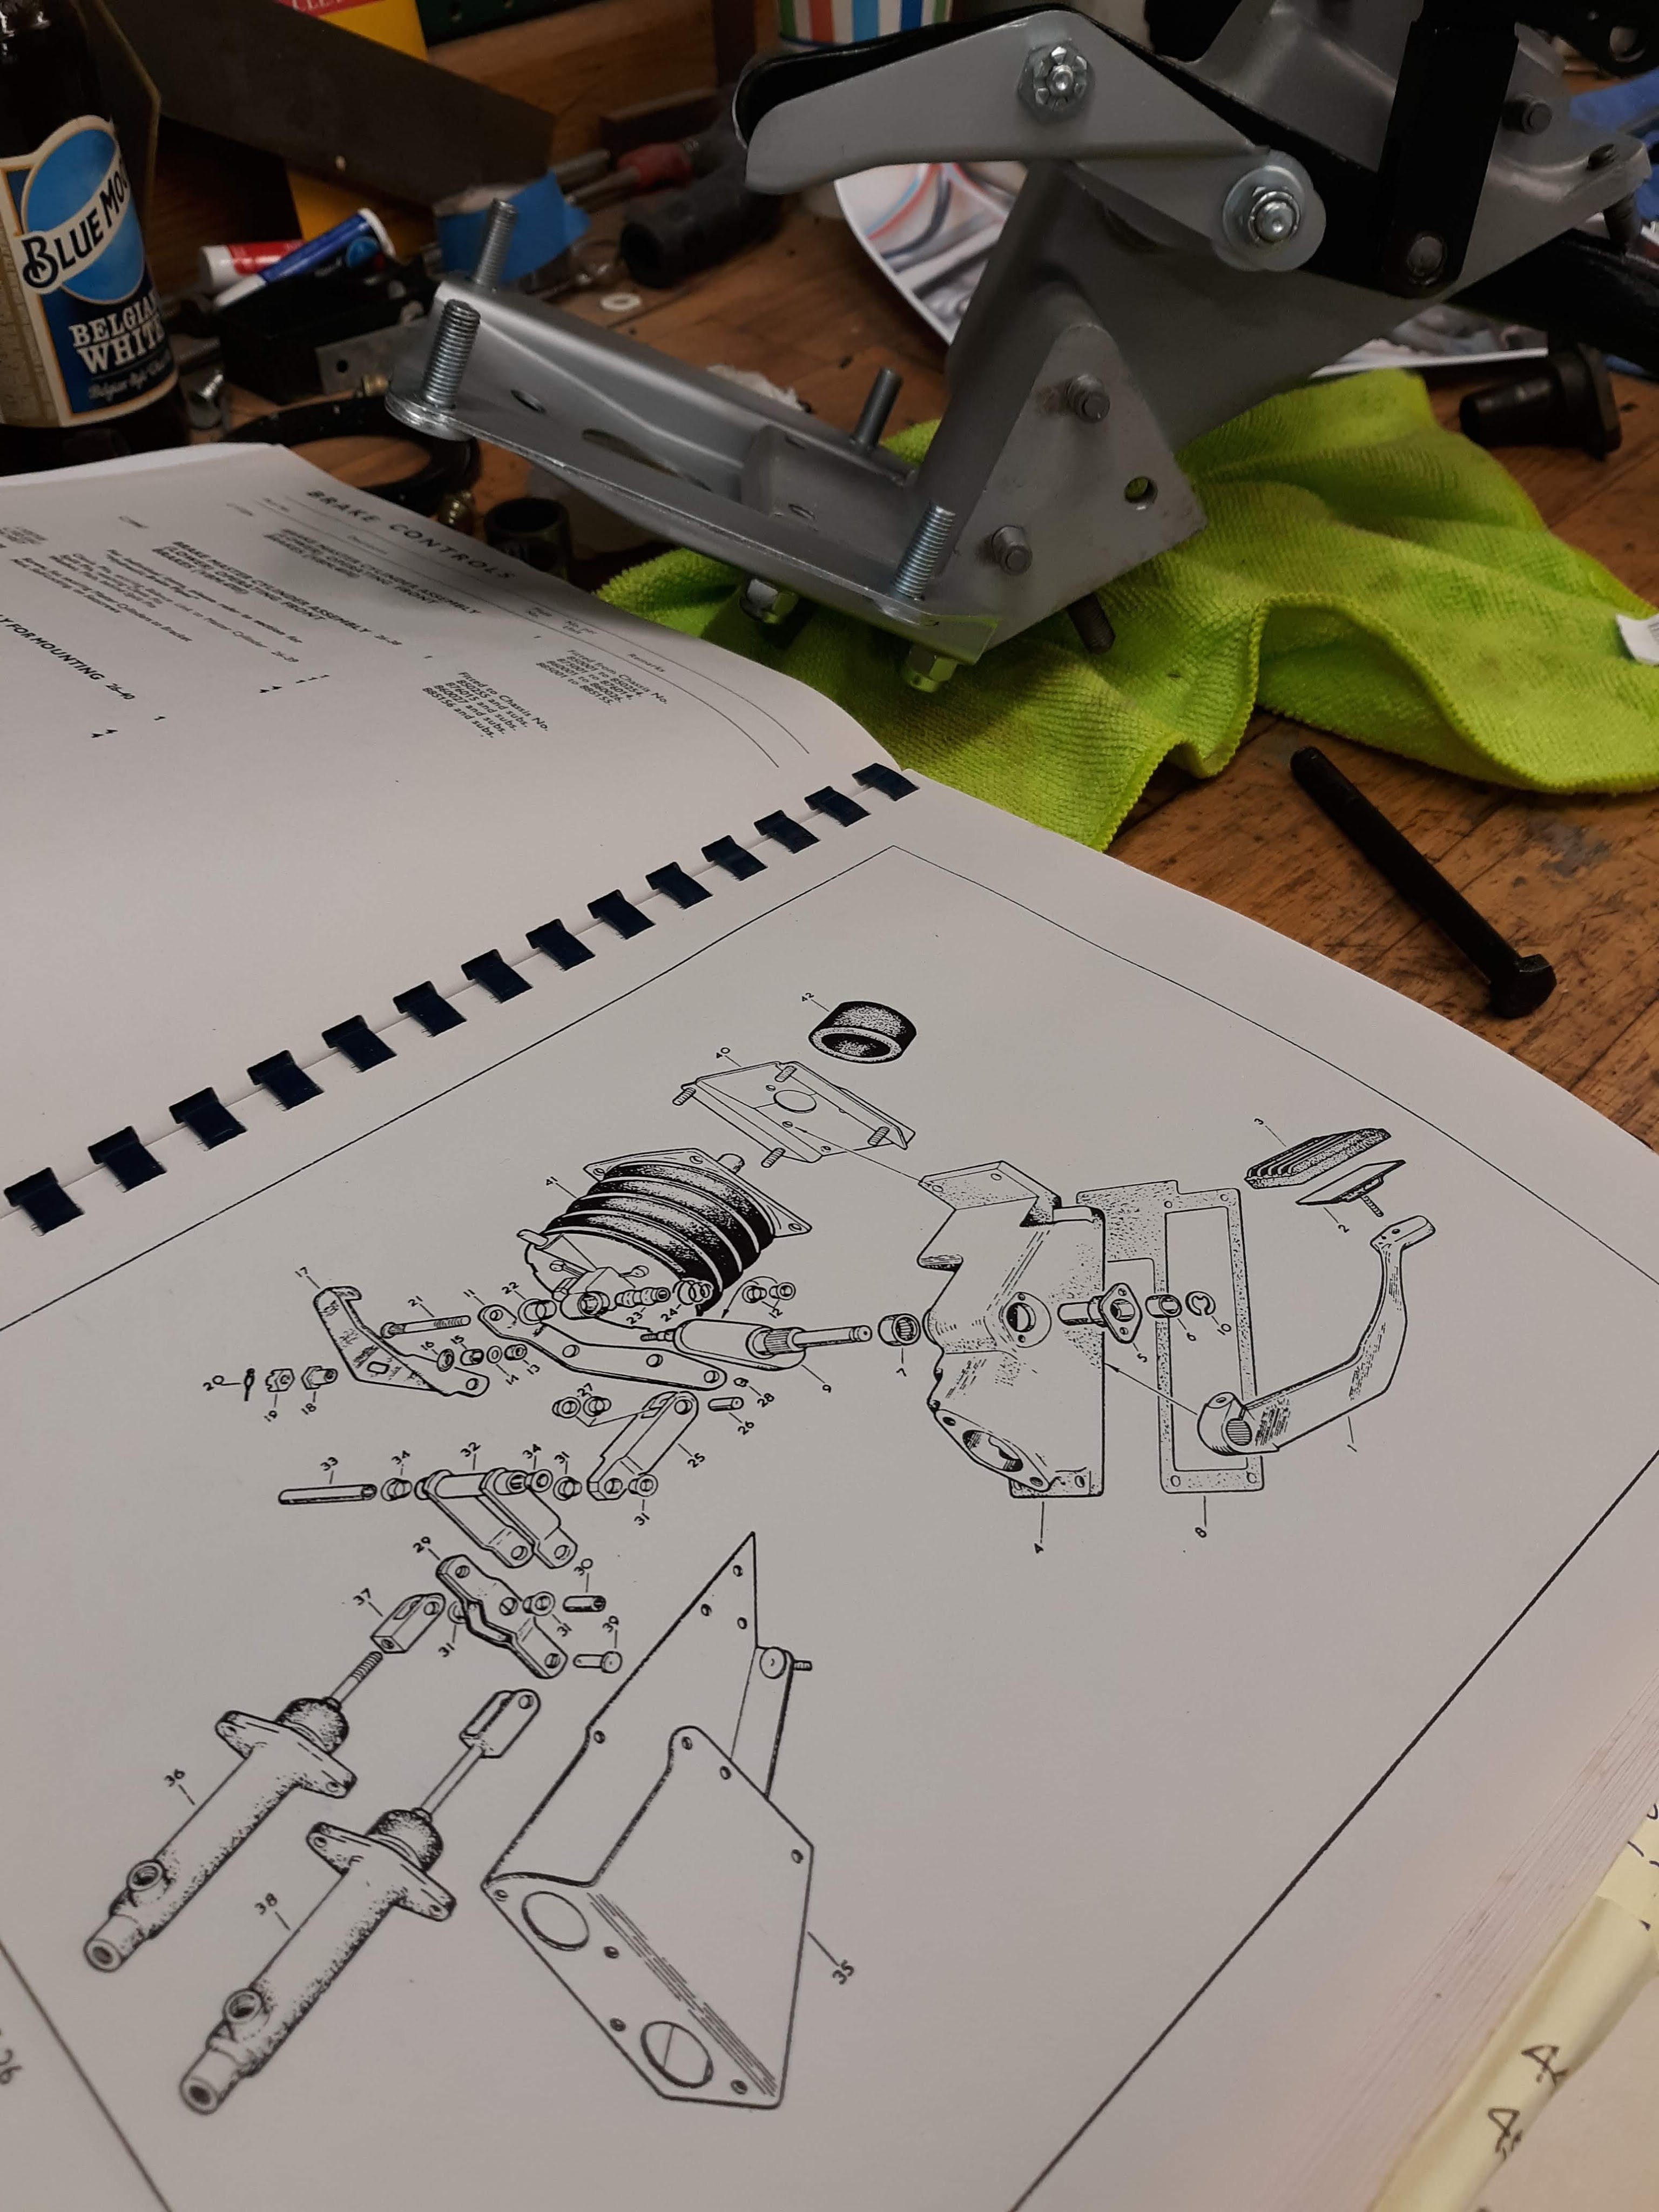
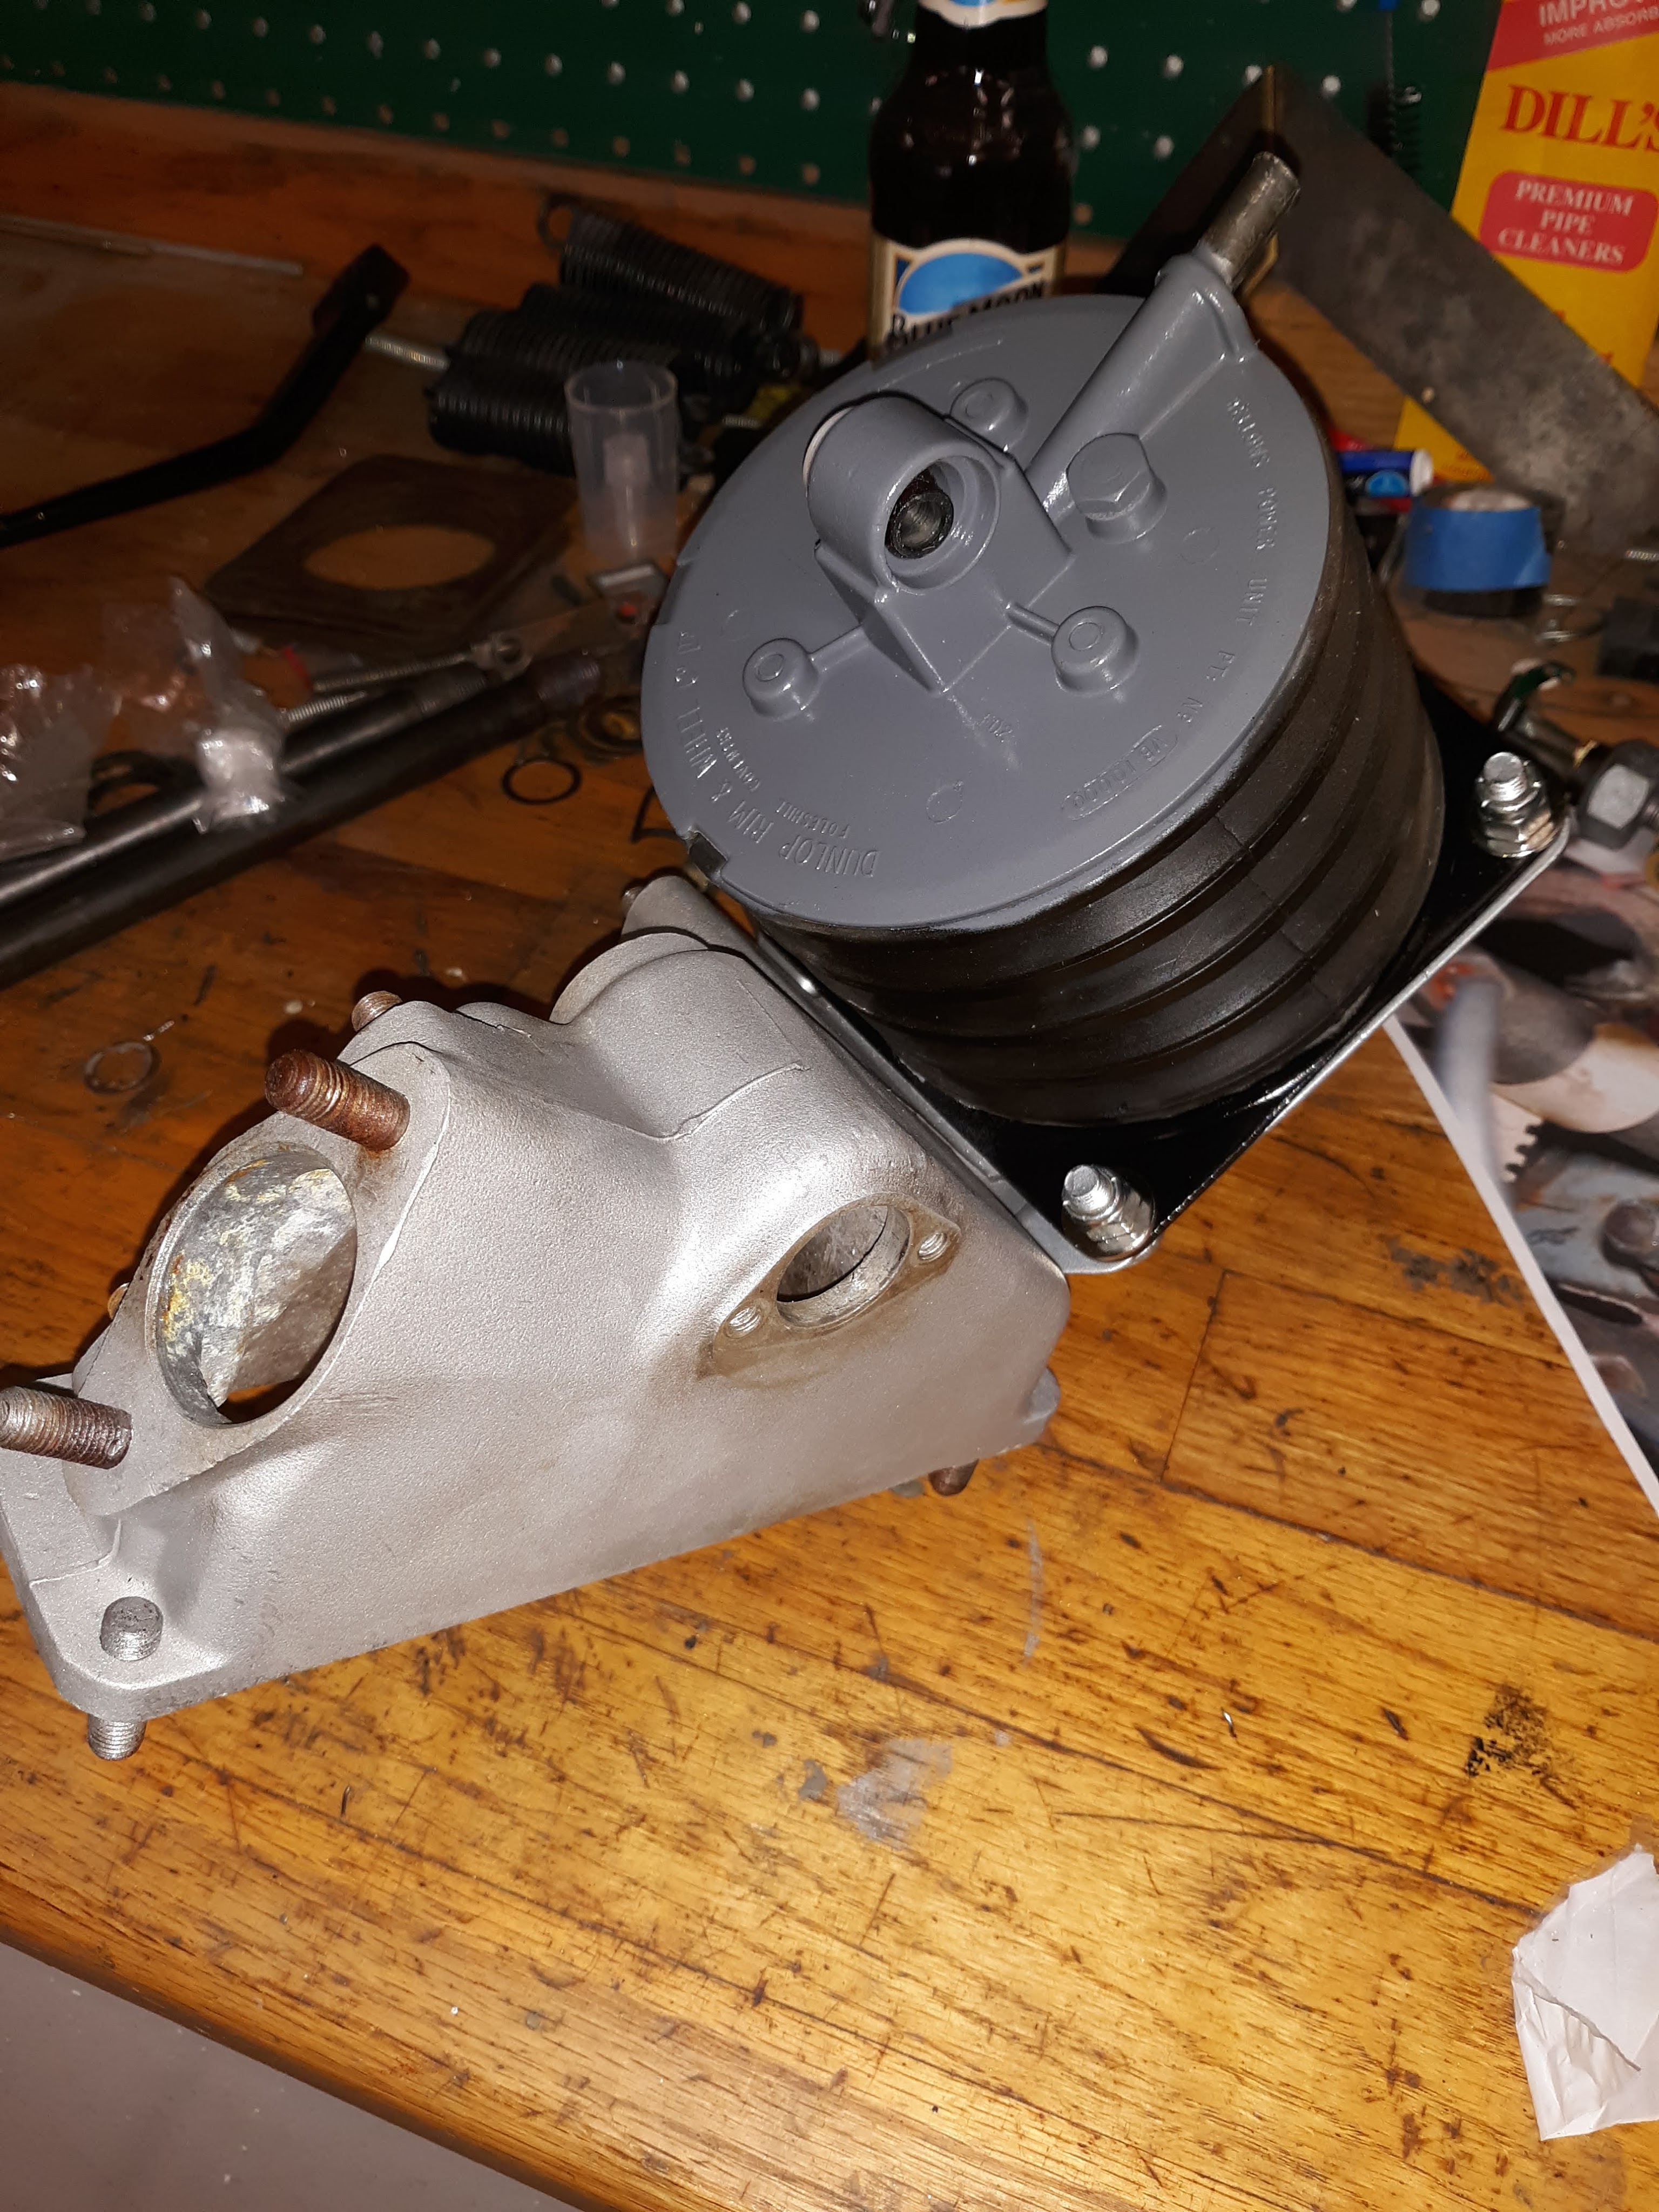
I was hoping to have the assemblies associated with the accelerator, brake, and clutch pedals mounted. I came close but am waiting for some key parts to come in. I was able to detail and assemble the vast majority of the parts. The mechanism that operates the brakes is quite a puzzle piece to put back together from a pile of parts. After much trail and error, I was able to do so. I relied heavily on the SPC plate 26 and the few photos I took as I disassembled it. As much as I like to write these articles, I don’t think there is any way I can do justice to the time and research that went into this element of the build. BTW I sourced 3 used Dunlop master cylinders from Mostly British, which has become my new favorite Go To for used parts. They can be reached at 315-649-2861. I sent the master cylinders to White Post Restorations for rebuild.

And that is about it for now. In the last few days I have been busy installing the engine frames, picture frame, and bonnet support frame. An article is coming soon to a newhillgarage site near you!!!

Discussion
Comments are closed.