I’m getting closer to being done but oh that last 10% is so hard to complete. Here are some things that have been completed since my last update. I decided to get the engine running and things completed in the engine compartment as much as possible. When I added a small amount of fuel to the gas tank, I had a strong odor. Unfortunately fuel was leaking out of the bottom of the tank from somewhere. After replacing the sump gasket, there was still a leak. This was the original 50 year old tank so I decided to get a new one. SNG sells a nice package with a new tank, fuel sender, sump, filler neck hose, and assorted gaskets and hardware. From here forward, I’m never going to screw with old fuel tanks when a new one can be had for less than $600. Anyway, the biggest drama of removing the tank, which I resolved after some internet sleuthing, is that you need to remove the support bracket at the right/forward corner of the tank. The nuts can be accessed, barely, from the bottom of the car in the IRS tunnel area. Once that bracket is gone and you’ve sawed through the old filler neck hose, the tank will come out but the fit is very tight. With the tank out, the area under it got a good cleaning from 50 years of filth. Then the new tank was put in and hooked up. It’s a tough job but not as bad as I anticipated. And yes, the old tank had terminal corrosion in its bottom, which was the cause of the leak. The fuel tank on an Etype resides inside the interior of the car. Not the greatest design feature. If there is any hint of a leak or loose fitting, the occupants get to smell the gas fumes. But all is good now.

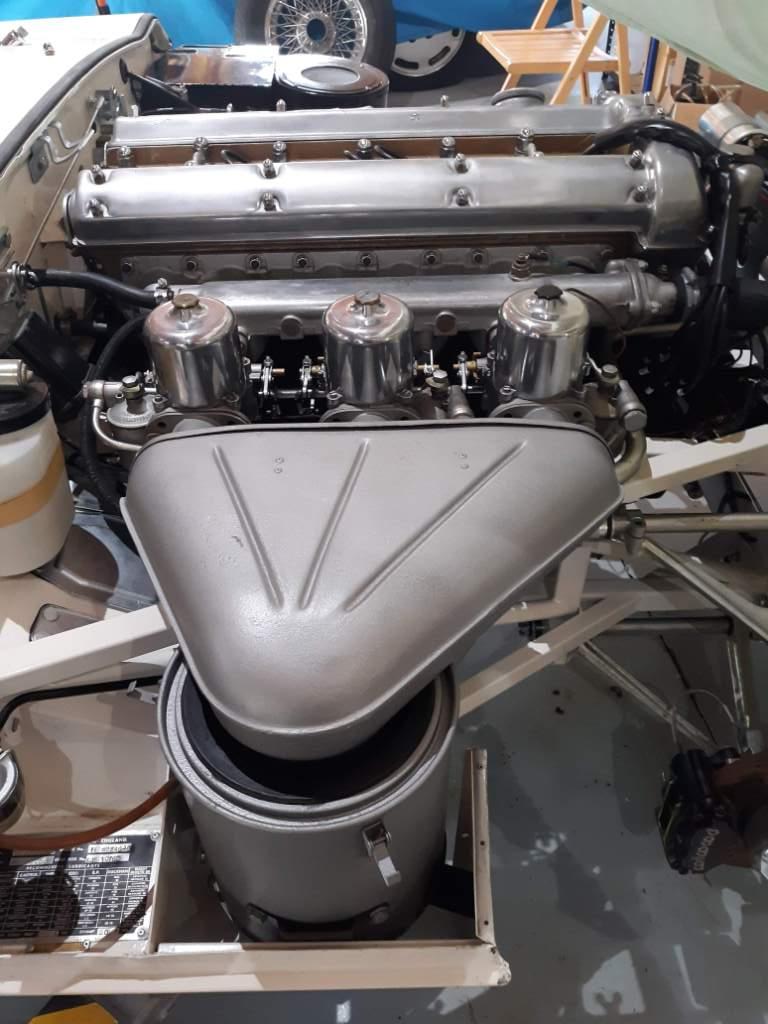
I moved back to starting the car. I rough set the various adjustments on the carbs and attempted to start the car. With starting fluid, it would fire and run for a few seconds, and then die. I checked fuel float level in the bowls and confirmed I was getting a spark. Just about when I was feeling stumped, I remembered that I had not put oil in the carb dashpots. I did that and the car fired right up. Without the oil, the pistons in the dashpoints shoot right up and as a consequence the mixture is all out of whack. The oil fixed the problem. With the engine running, albeit rough, I had a chance to precisely adjust the base timing on my 123 distributor to 9 degrees BTDC. With a few more adjustments, I was able to get a decent idle at 800 rpm.
At one point I goosed the throttle and the engine sped up to 3000 rpm or so and hung there. Upon inspection, I found that the throttle linkage levers were slipping on the throttle shafts. The levers grip via friction from a pinch clamp mechanism, that didn’t have any more pinch to give! I took the levers off and sawed through the pinch area to restore it’s ability to compress. This and new screws resolved the problem.
I pulled my stock air cleaner parts down off the shelf. They were pretty sad looking next to all the shiny bits in the engine compartment so I cleaned them and gave them a new coat of the correct silver hammertone paint. When doing final tuning on this engine, you want the air filters to be in place, as the minor restriction to air flow that they have is important to be there when you are setting the mixture. As an aside, when I bought my blue Etype years ago, the previous owner had ditched the stock air filters and put little foam pancake filters directly onto the carb inlets. I’m sure they throught they were making a performance mod. Unforunately, they did not revise the carb needles to suit and the car did not run well at higher rpms. After going to a “richer” needle to match the increased airflow, I had the car running like a champ. So keep in mind, increasing just air flow or just fuel flow is not good, they have to be coordinated.
The car had been on my single post lift for months. There were no seats and no doors installed. The lift blocks off access to one side of the car, in my case the passenger side. I installed the drivers seat and drivers door. Getting the door lined up and closing properly is not a trivial task. In general, one half of the hinge allows the door to be rotated slightly up and down at the back edge when the door is closed. The other side of the hinge allows the door to be rotated up and down with the door wide open. And both hinges halves, which are attached with 4 bolts each, allow a modicum of straight movement up/down and left/right. As such, you have a lot of potential adjustments that can help resolve fitment issues. Also, the chrome window frame can be adjusted slightly. It is pretty hard to describe in words but with work, you can eventually get a decent fit. The next problem is that brand new rubbers, which are generally a good idea, can be stiff and keep the door from shutting nicely. When I look at the 50 year old door rubbers on my unrestored Etype, they are quite squashed in places. So there is a period of time with new rubbers that the door closure is just going to be stiff. I’ve got it looking pretty good but its not perfect. I also took the opportunity to put in new door closure check straps. Once I got the drivers side done, I lowered the car off the lift, pulled the lift back, and did the same on the passenger side.
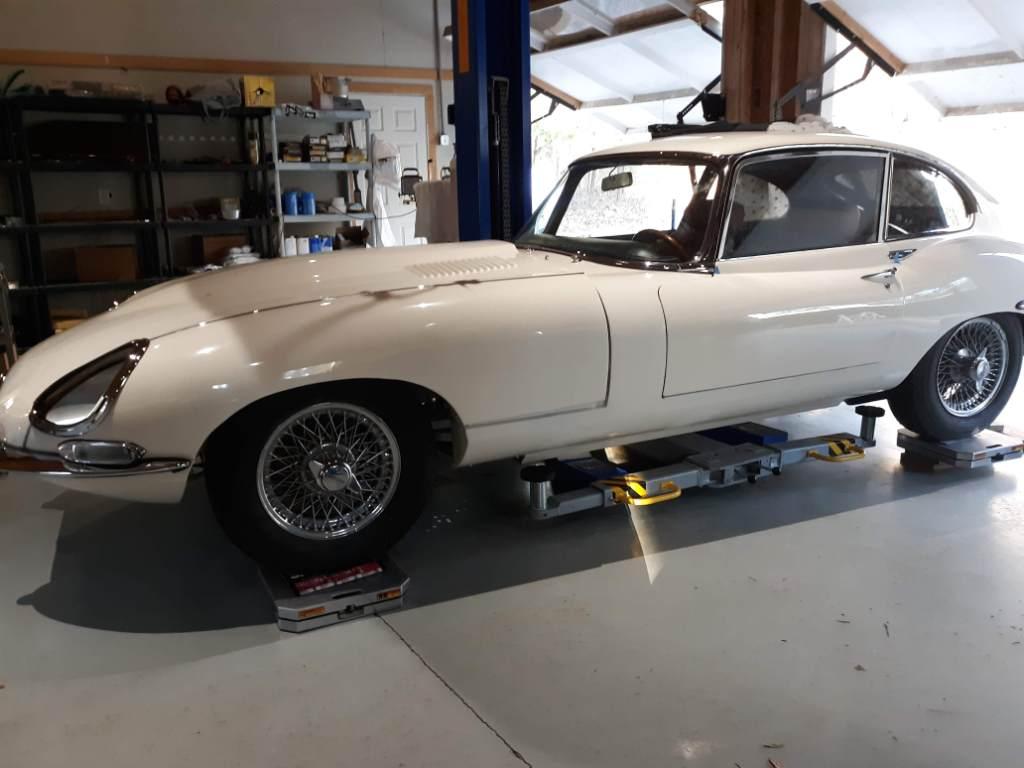
On the floor again. Amost. The car is actually sitting on scales that are also shimmed to get the car perfectly level, as required to check alighnment.
Now that I had all the major weight items installed on the car, it was time to check ride height. I had set the ride height using the “setting link” process from the Bentley shop manual, which basically involves installing the torsion bars into the lower A arms to achieve a precise dimension between the upper and lower shock mounting bolts. Then you cross your fingers and pray! That setting was made many months ago when I was reassembling the front end of the car. Now for the moment of truth. I was amazed to find that, measuring from the door sill to the garage floor, the car was basically level. Wow, that was a relief because messing with the torsion bars is no picnic. With no need to further mess with the torsion bars, I proceeded to tighten the lower and upper balljoints and the steering tie-rod. And just a few days ago, I checked and fine tuned the castor, camber, and toe-in.
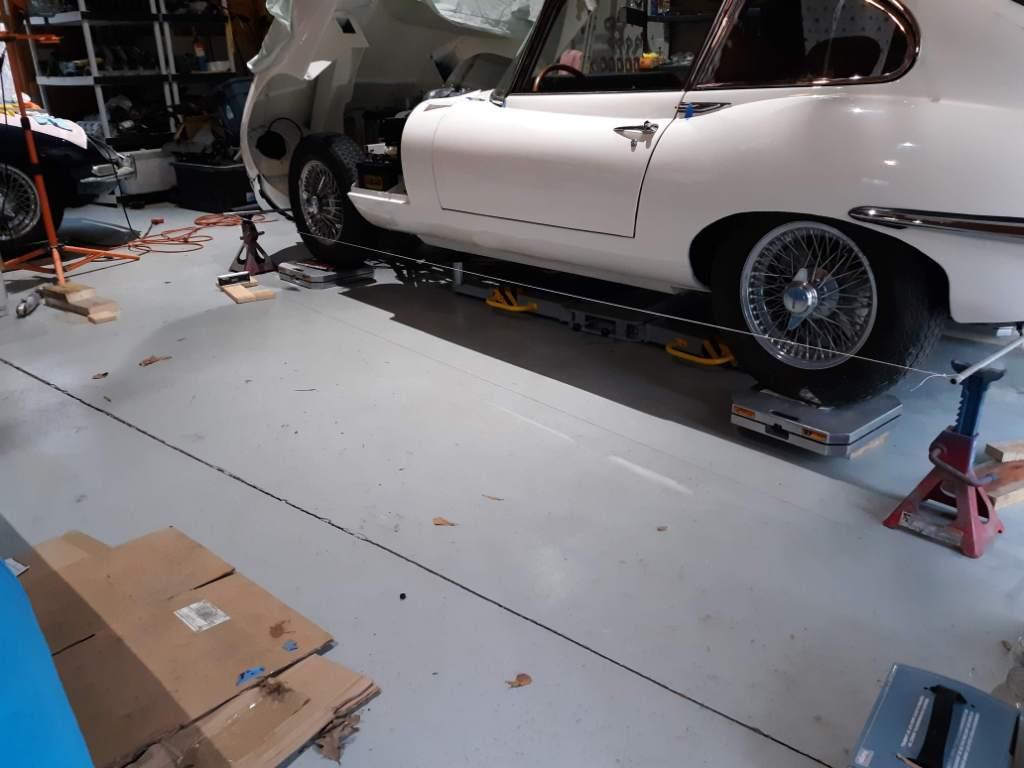
String lines set up to allow toe of the front tires to be checked for toe-in.

Checking camber using my digital level.
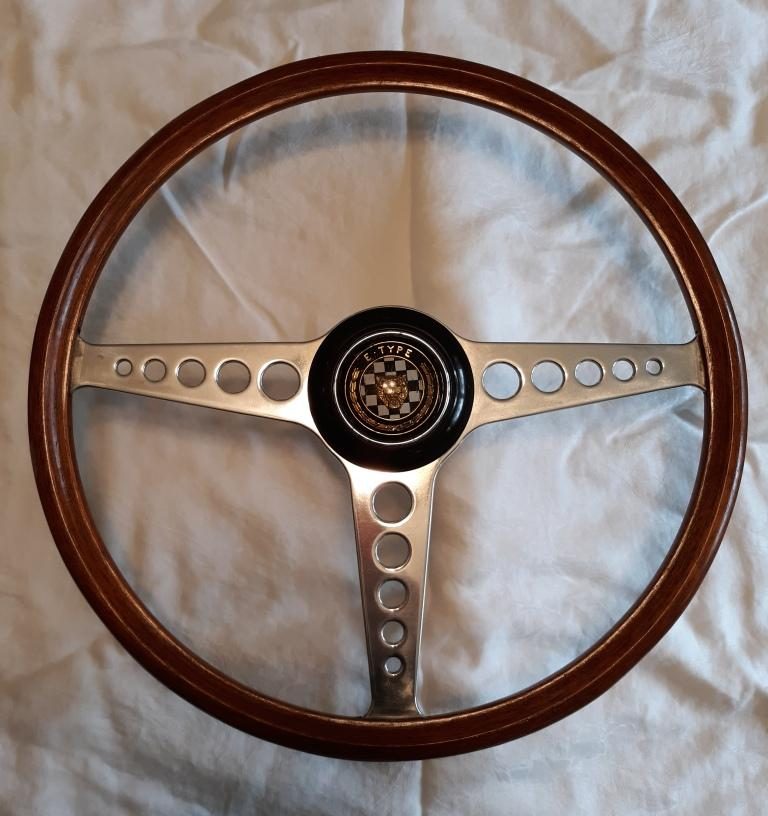
I also took the opportunity to spruce up the steering wheel. During my original restoration, I had gone with a replacement wood rim obtained from British Autowood. It is a little thicker than the stock rim. A lot of folks like the thicker rim, as the stock rim feels too delicate to them. I originally stained the rim and topcoated it with tung oil. I like the tung oil finish because it is not hard and slick like a modern polyurethane finish. You know you are grabbing a real wood wheel, not some plastic facsimile. This time, after some internet sleuthing, I decided to go with a lacquer topcoat. It’s a little more slick and shiny than the tung oil but you still can feel the wood grain, which is nice. I also polished up the aluminum spokes and the black bakelite horn push on my buffing wheel, with nice results. And I confirmed that the horn works. Many don’t!
Now for that last 10%. I’ve got the following issues that are going to hold me up for at least a few months. Most annoying is that I suddenly spotted a crack on the passenger side of the front windshield. I am gobsmacked but it’s there. The only thing I can figure is that the single post lift, which engages the car under the front firewall and rear trailing arms, causes the engine weight to torque the chassis and the frame for the window. Man, that hurts. I have a new windshield on order from SNG but of course they are backordered. Another thing I found was that the chrome trim just under the windows on the doors is not up to snuff. It looked pretty good when I took it off but not so much now in comparison to all the new chrome elsewhere. So those pieces are off to Pauls Chrome, which usually has an 8 week turnaround time. Last but not least, although it seemed like a good idea 10 years ago, my decision then to go with Series 3 seats means I would take a major originality deduction in a JCNA concours event. So I am biting the bullet and getting the original seats from the car retrimmed by BAS. Another 8 week leadtime.
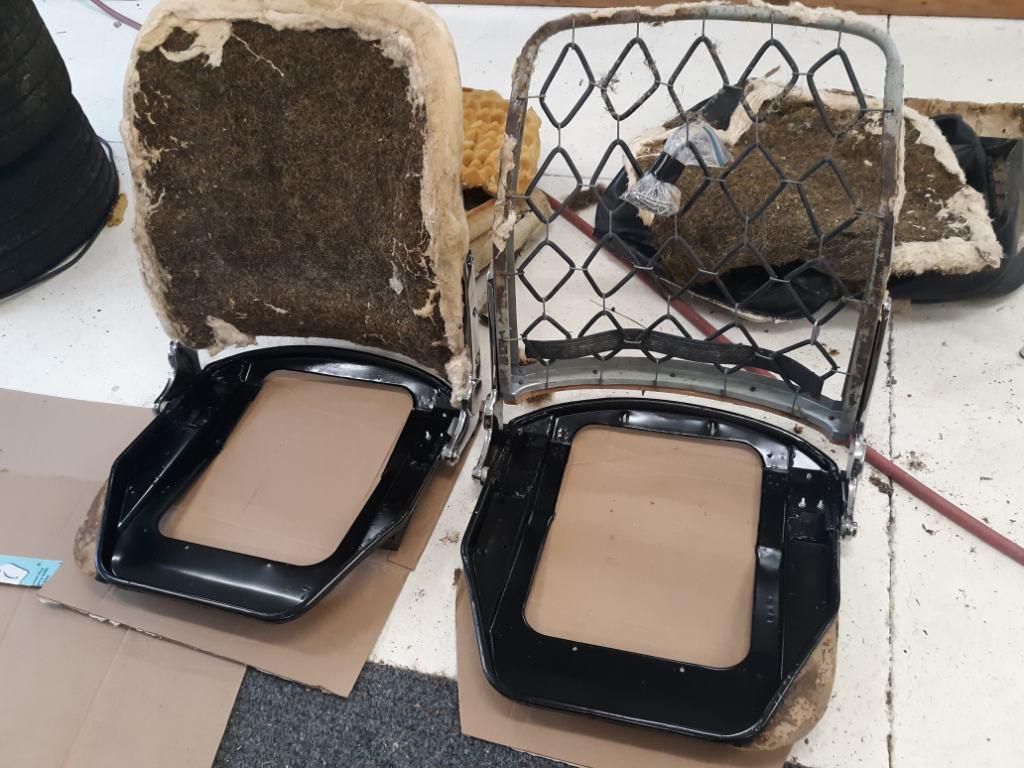
Seat frames cleaned up and ready to send to the trimmers.
I have lots of little things to do but the list is getting shorter. I can’t complain about that 🙂

Discussion
Comments are closed.