I’m getting ready to paint E-Types. My garage space that I plan to use for painting was a little bit of a mess. I decided it was time to bring the paint booth into good condition.
The paint booth had stuff in it that was just collecting dust. And the sheetrock had a layer of mold or mildrew. All of which are bad for good paint jobs.
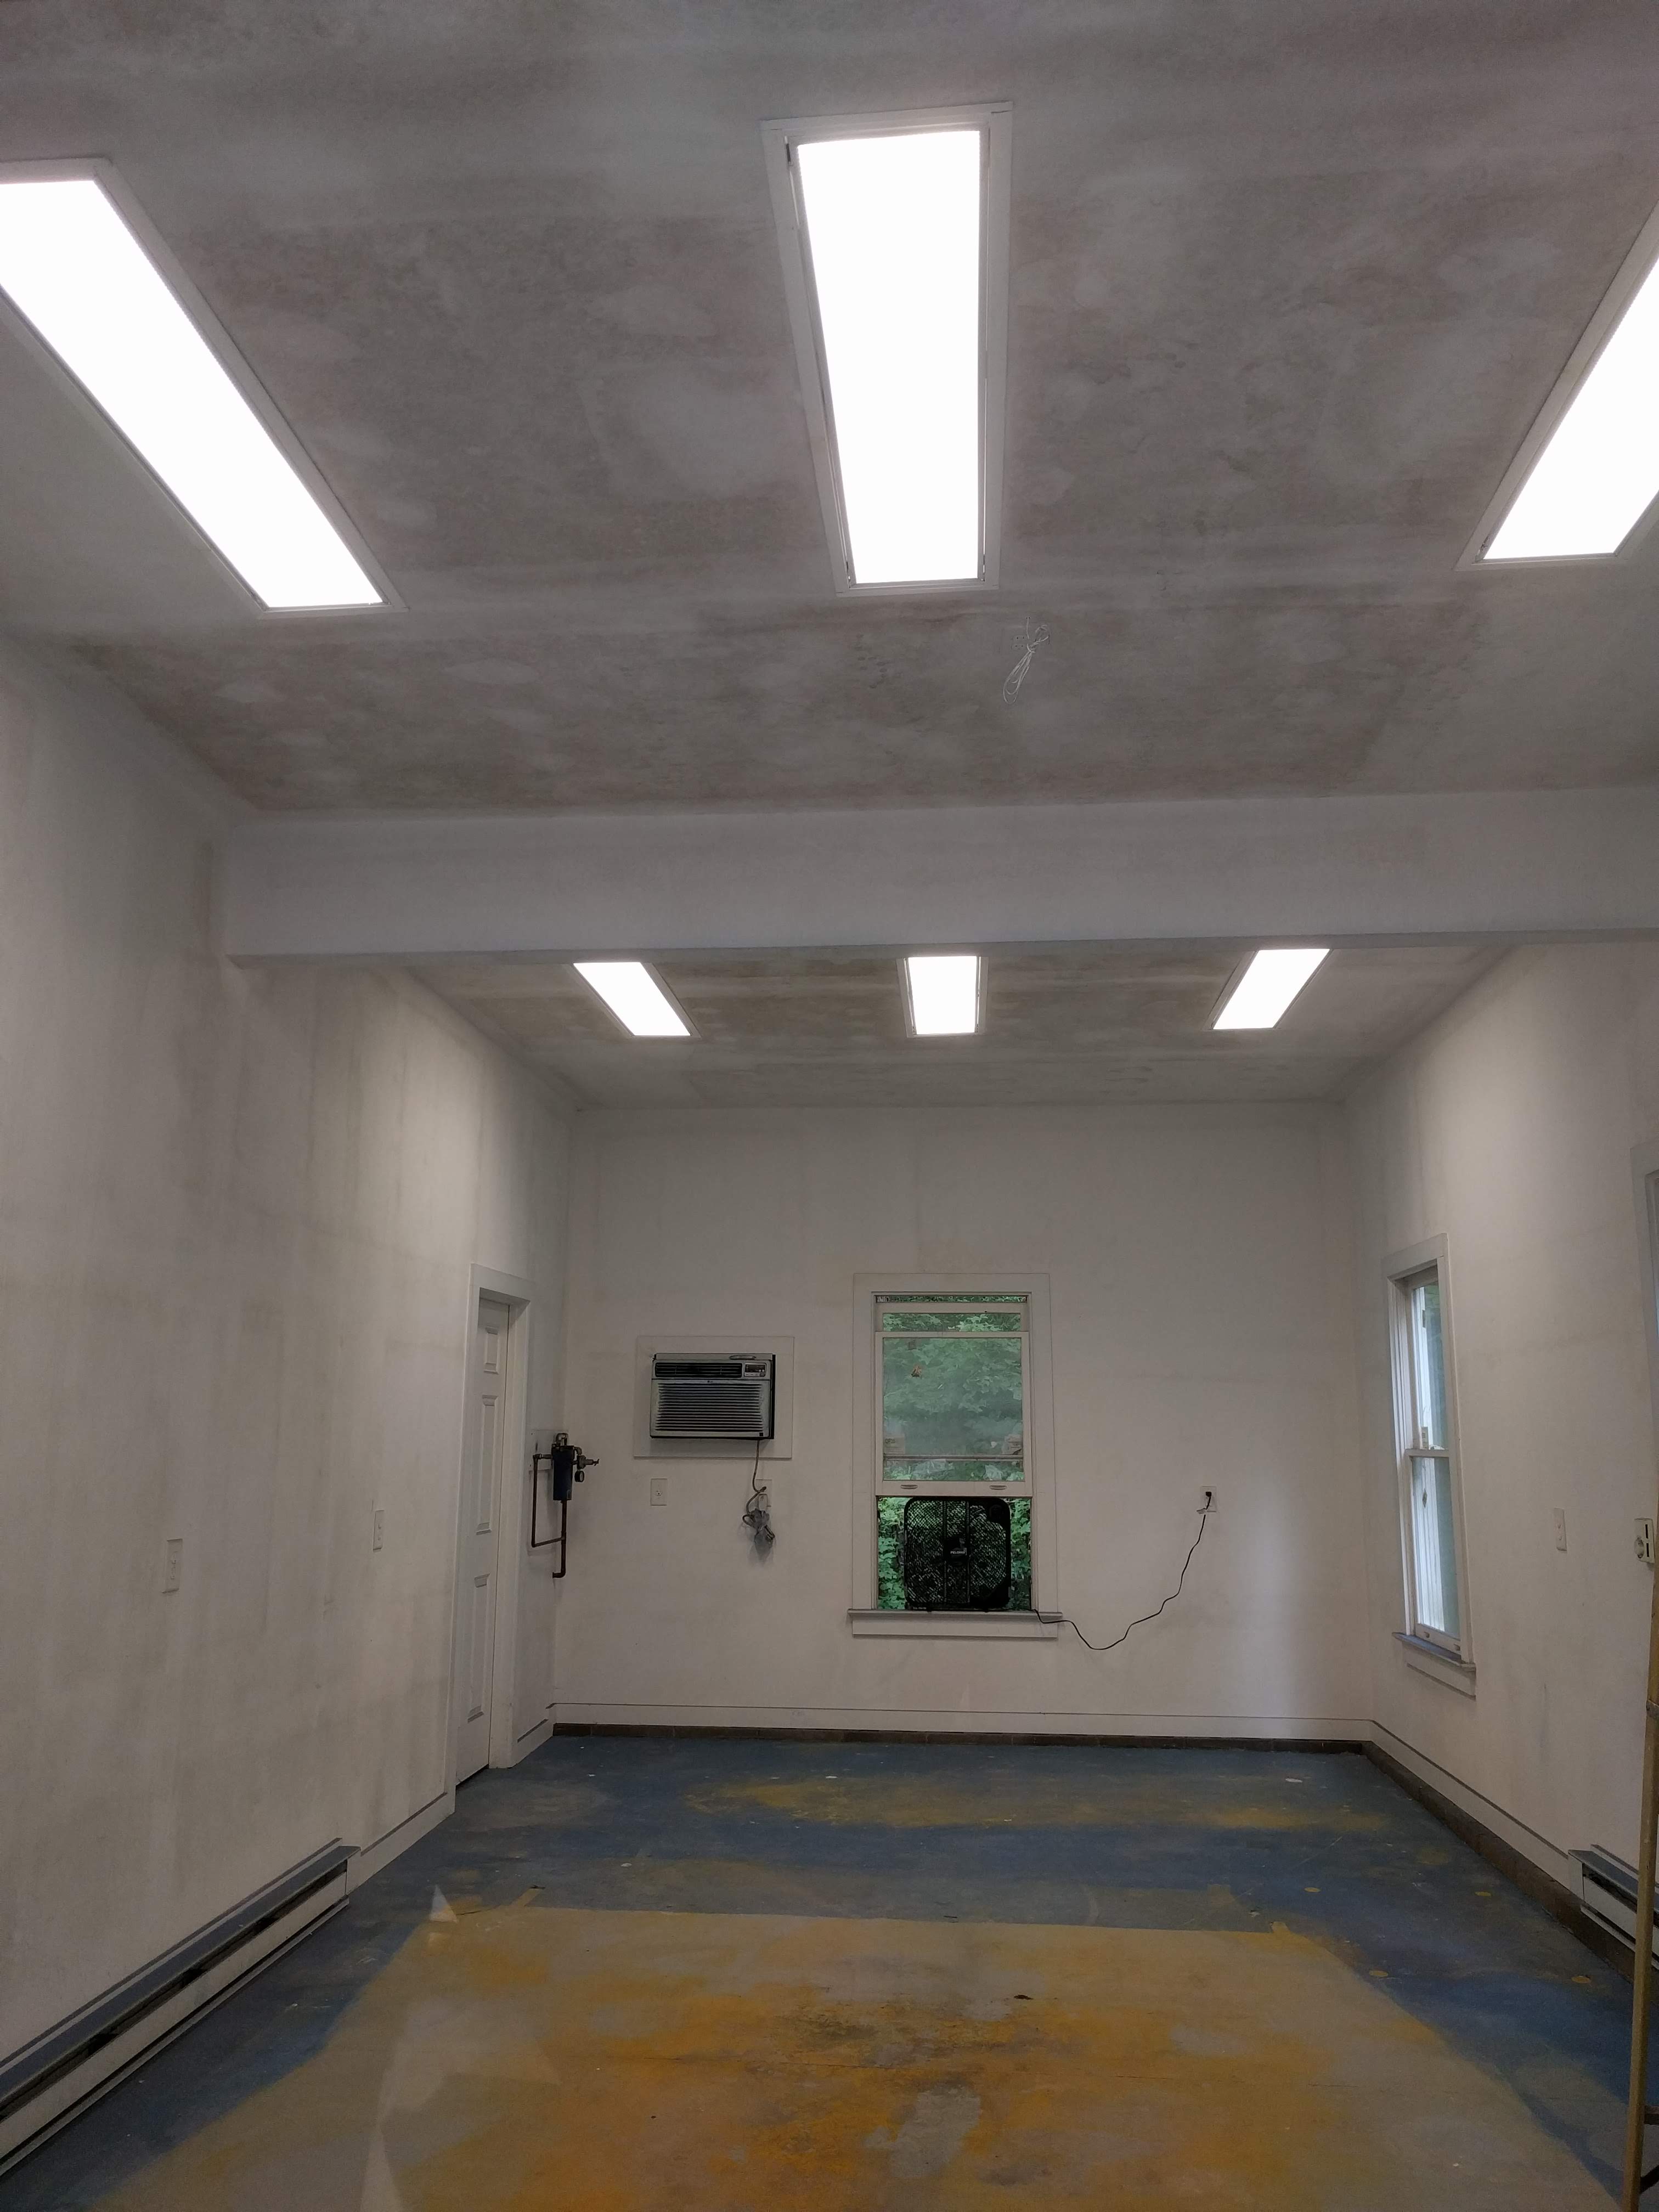
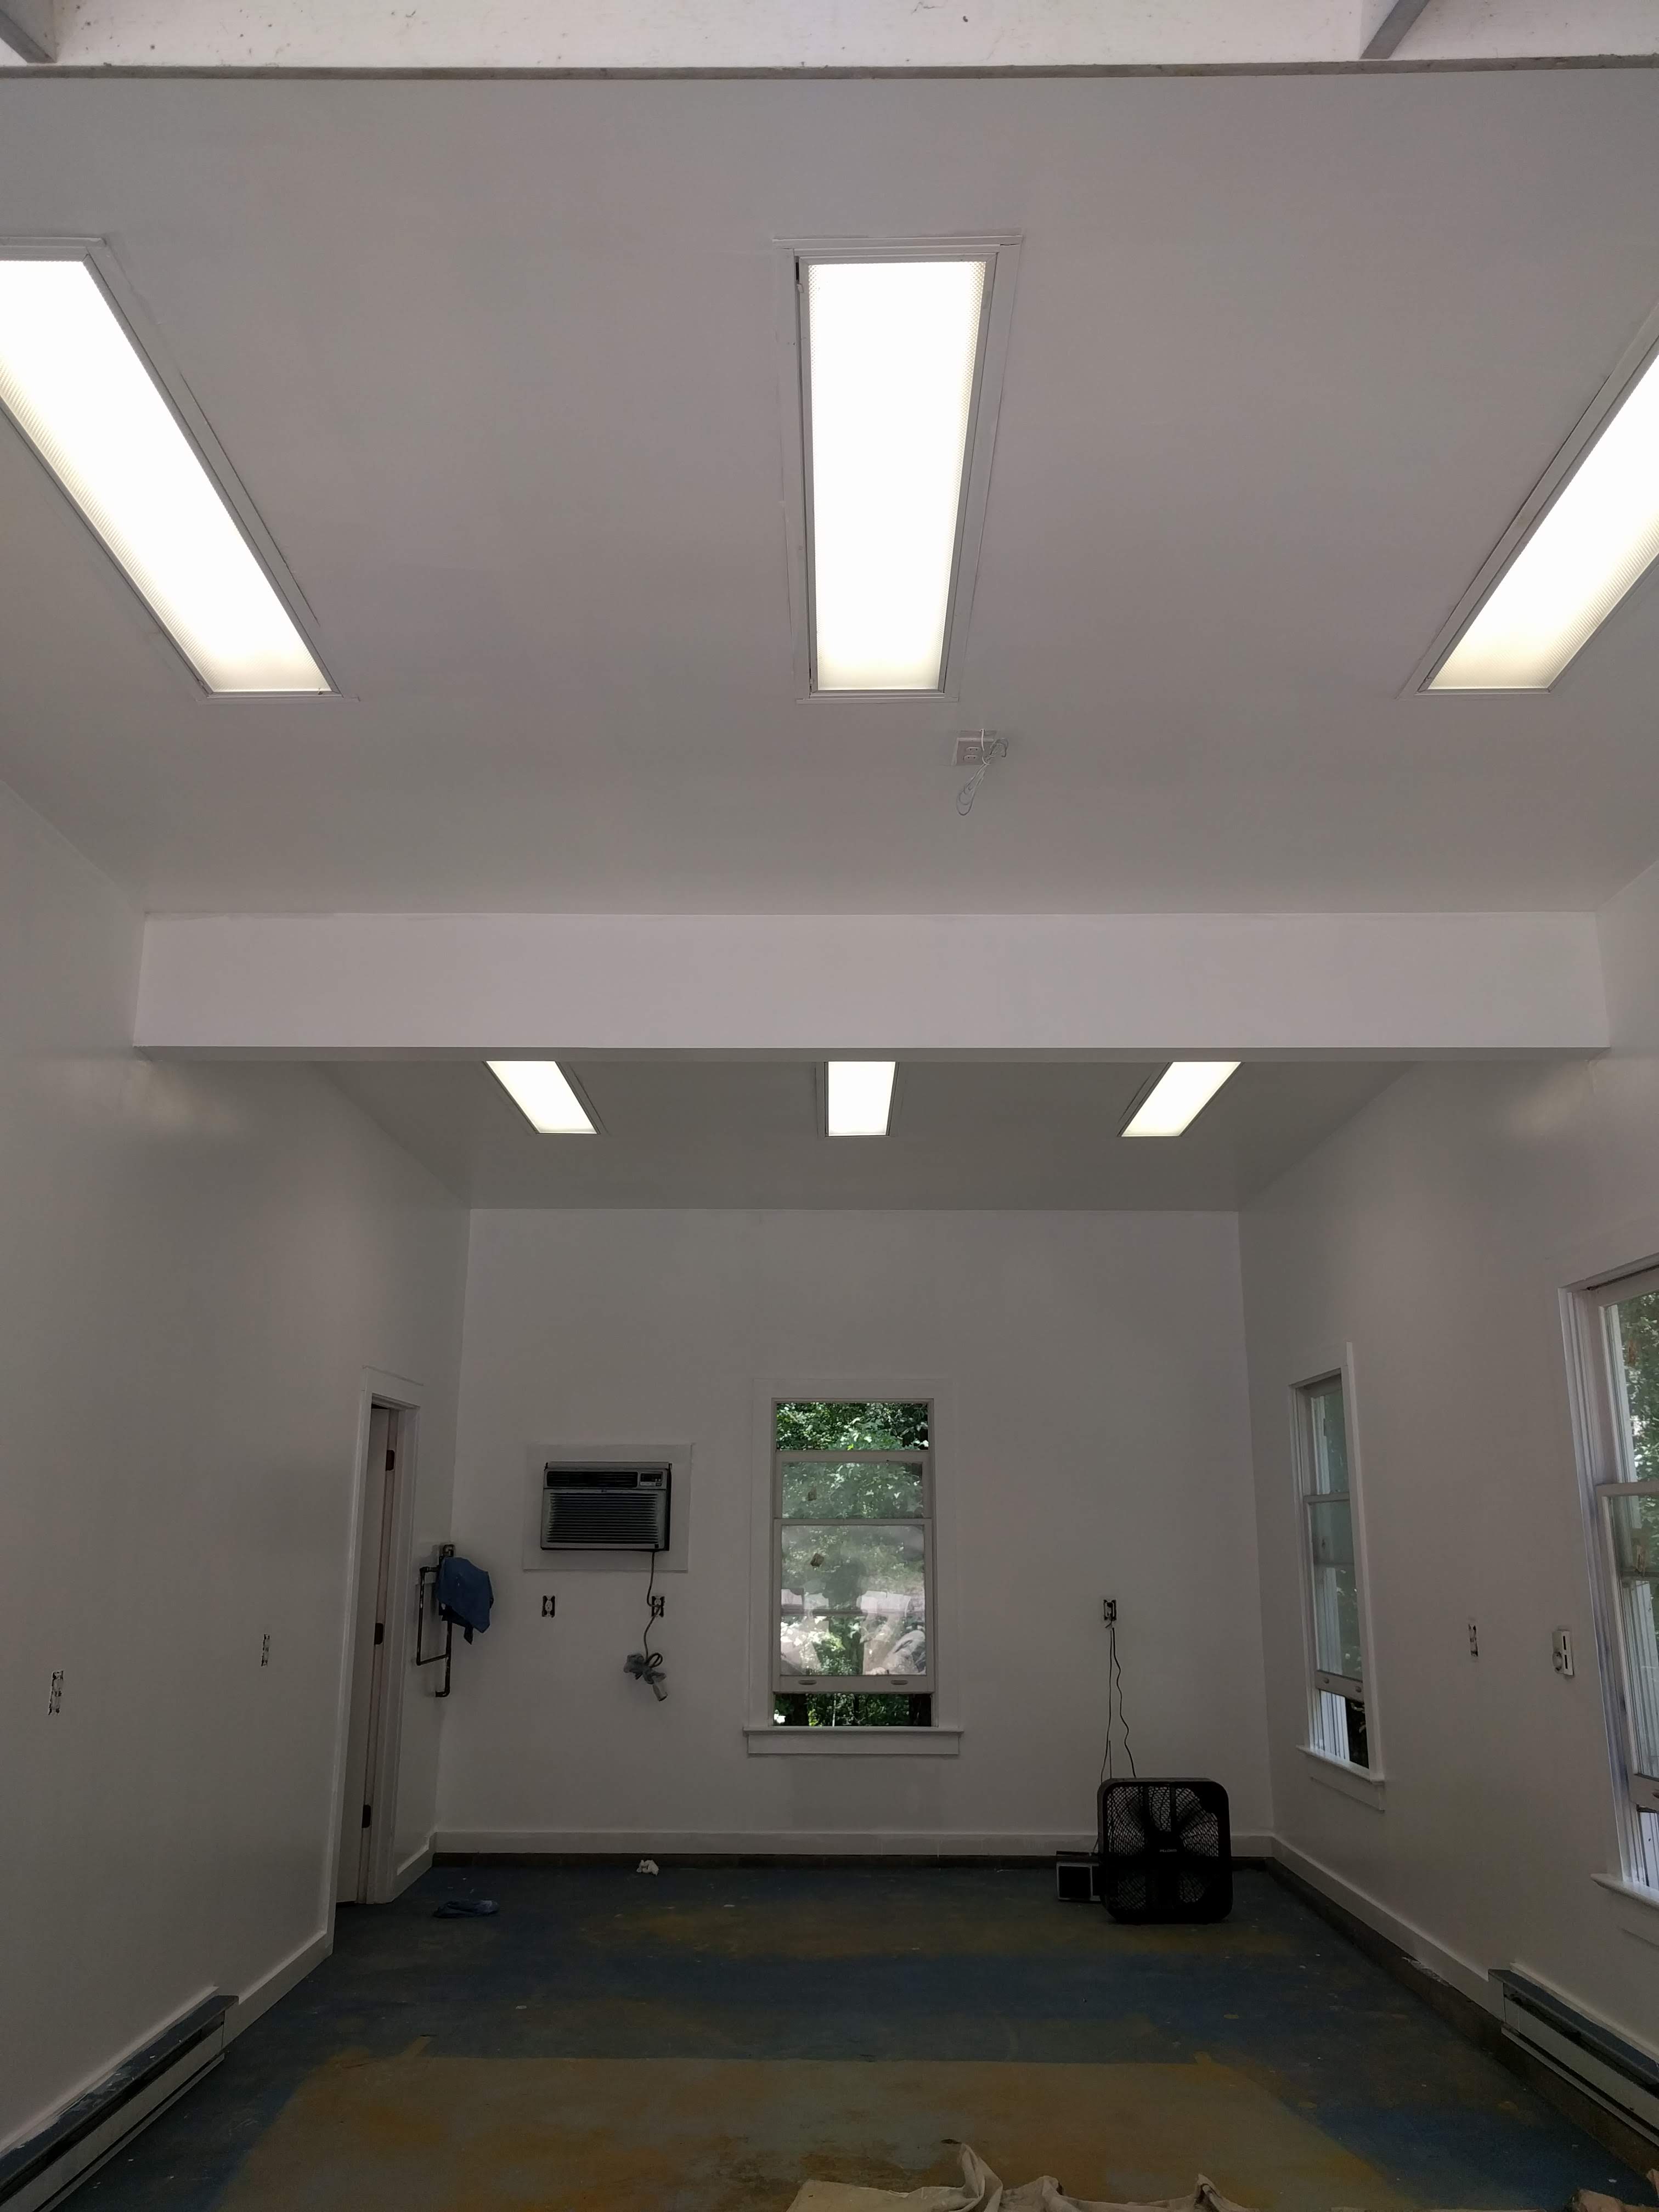
After cleaning all the junk out of this garage bay, I decided to literally power wash the ceiling and walls with my pressure washer, loaded with a mildewcide and soap. Unfortunately, it still looked pretty bad after I was done. I consulted with some guys at the paint store and decided to go in next with a Zinsser mold killing primer. I followed this up with a nice white eggshell latex topcoat. Things are much improved now.
My paint booth has a wall mounted AC unit and baseboard heat. This allows me to get the car and the room to the optimum temperature for painting. Unfortunately, there are no provisions for air flow as required to carry the paint overspray away from the car. I decided to remedy this situation. Just putting a fan in the window would be simple but introduces new air that is not necessarily at the correct temperature and there is a risk of debris that will contaminate the paint job. I did some research about paint booths. A “downdraft” type seems to be the best but this requires a pit to remove the air. A “cross draft” type is 2nd best and this is what I went with. When it came time to select a fan, I decided that my personal safety required a fan with an Explosion Proof motor. This type of motor is designed such that any electrical arcs that might trigger an explosion are isolated from the air flow. This unfortunately adds significantly to the cost of the fan. I settled on a 24″ diameter unit that moves about 5000 cubic feet per minute of air. I punched holes in the ceiling at both ends of the room and ran new ductwork through the overhead space above the paintbooth, to connect my inlet and outlet plenums.
I built my ductwork out of 1/2″ insulation panels, sold at Home Depot, and typically used on the exterior of stud walls to insulate houses. These are fairly rigid but can be easily cut with a razor knife. The joints are taped with duct tape. I designed an inlet plenum with locations for 2 filters low down at one end of the room. I designed an exhaust plenum high up in the opposite corner of the room. After initially firing up the system, the air flow from the exhaust seemed much too localized. As shown in the pictures below, I added an additional exhaust plenum that went across the width of the room. That works much better.
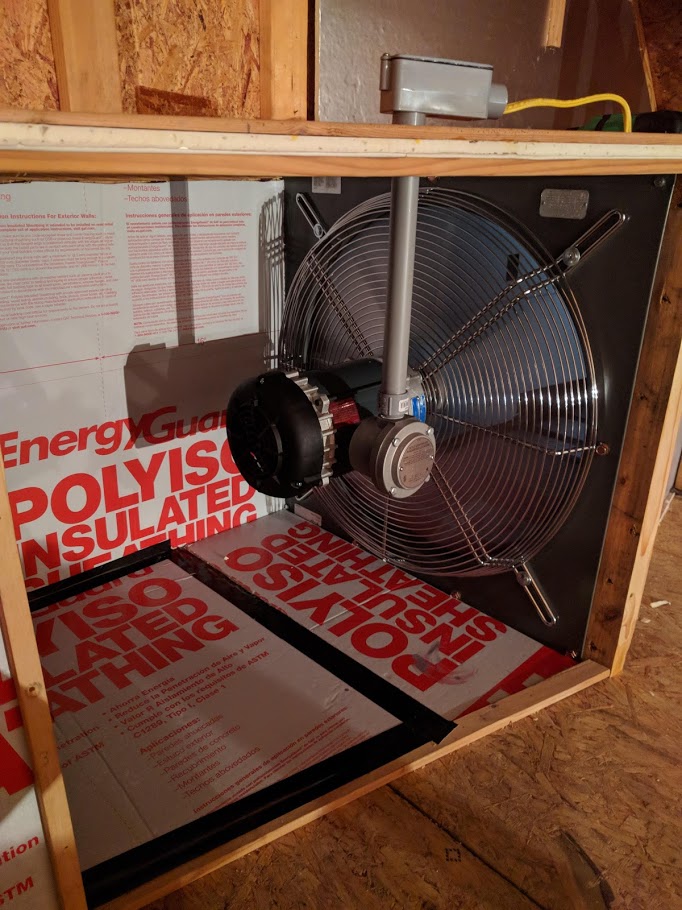
Explosion proof fan mounted in home made ductwork made out of insulating boards.

Inlet plenum.

Exhaust plenum.
I also took the time to insulate my single panel garage door and seal it around the edges. Finally, I hung some 1/2″ conduits horizontally across the room. These are there to support individual parts for painting, which I typically hang from wires. I found this little guy when I grabbed the conduits from their storage location.

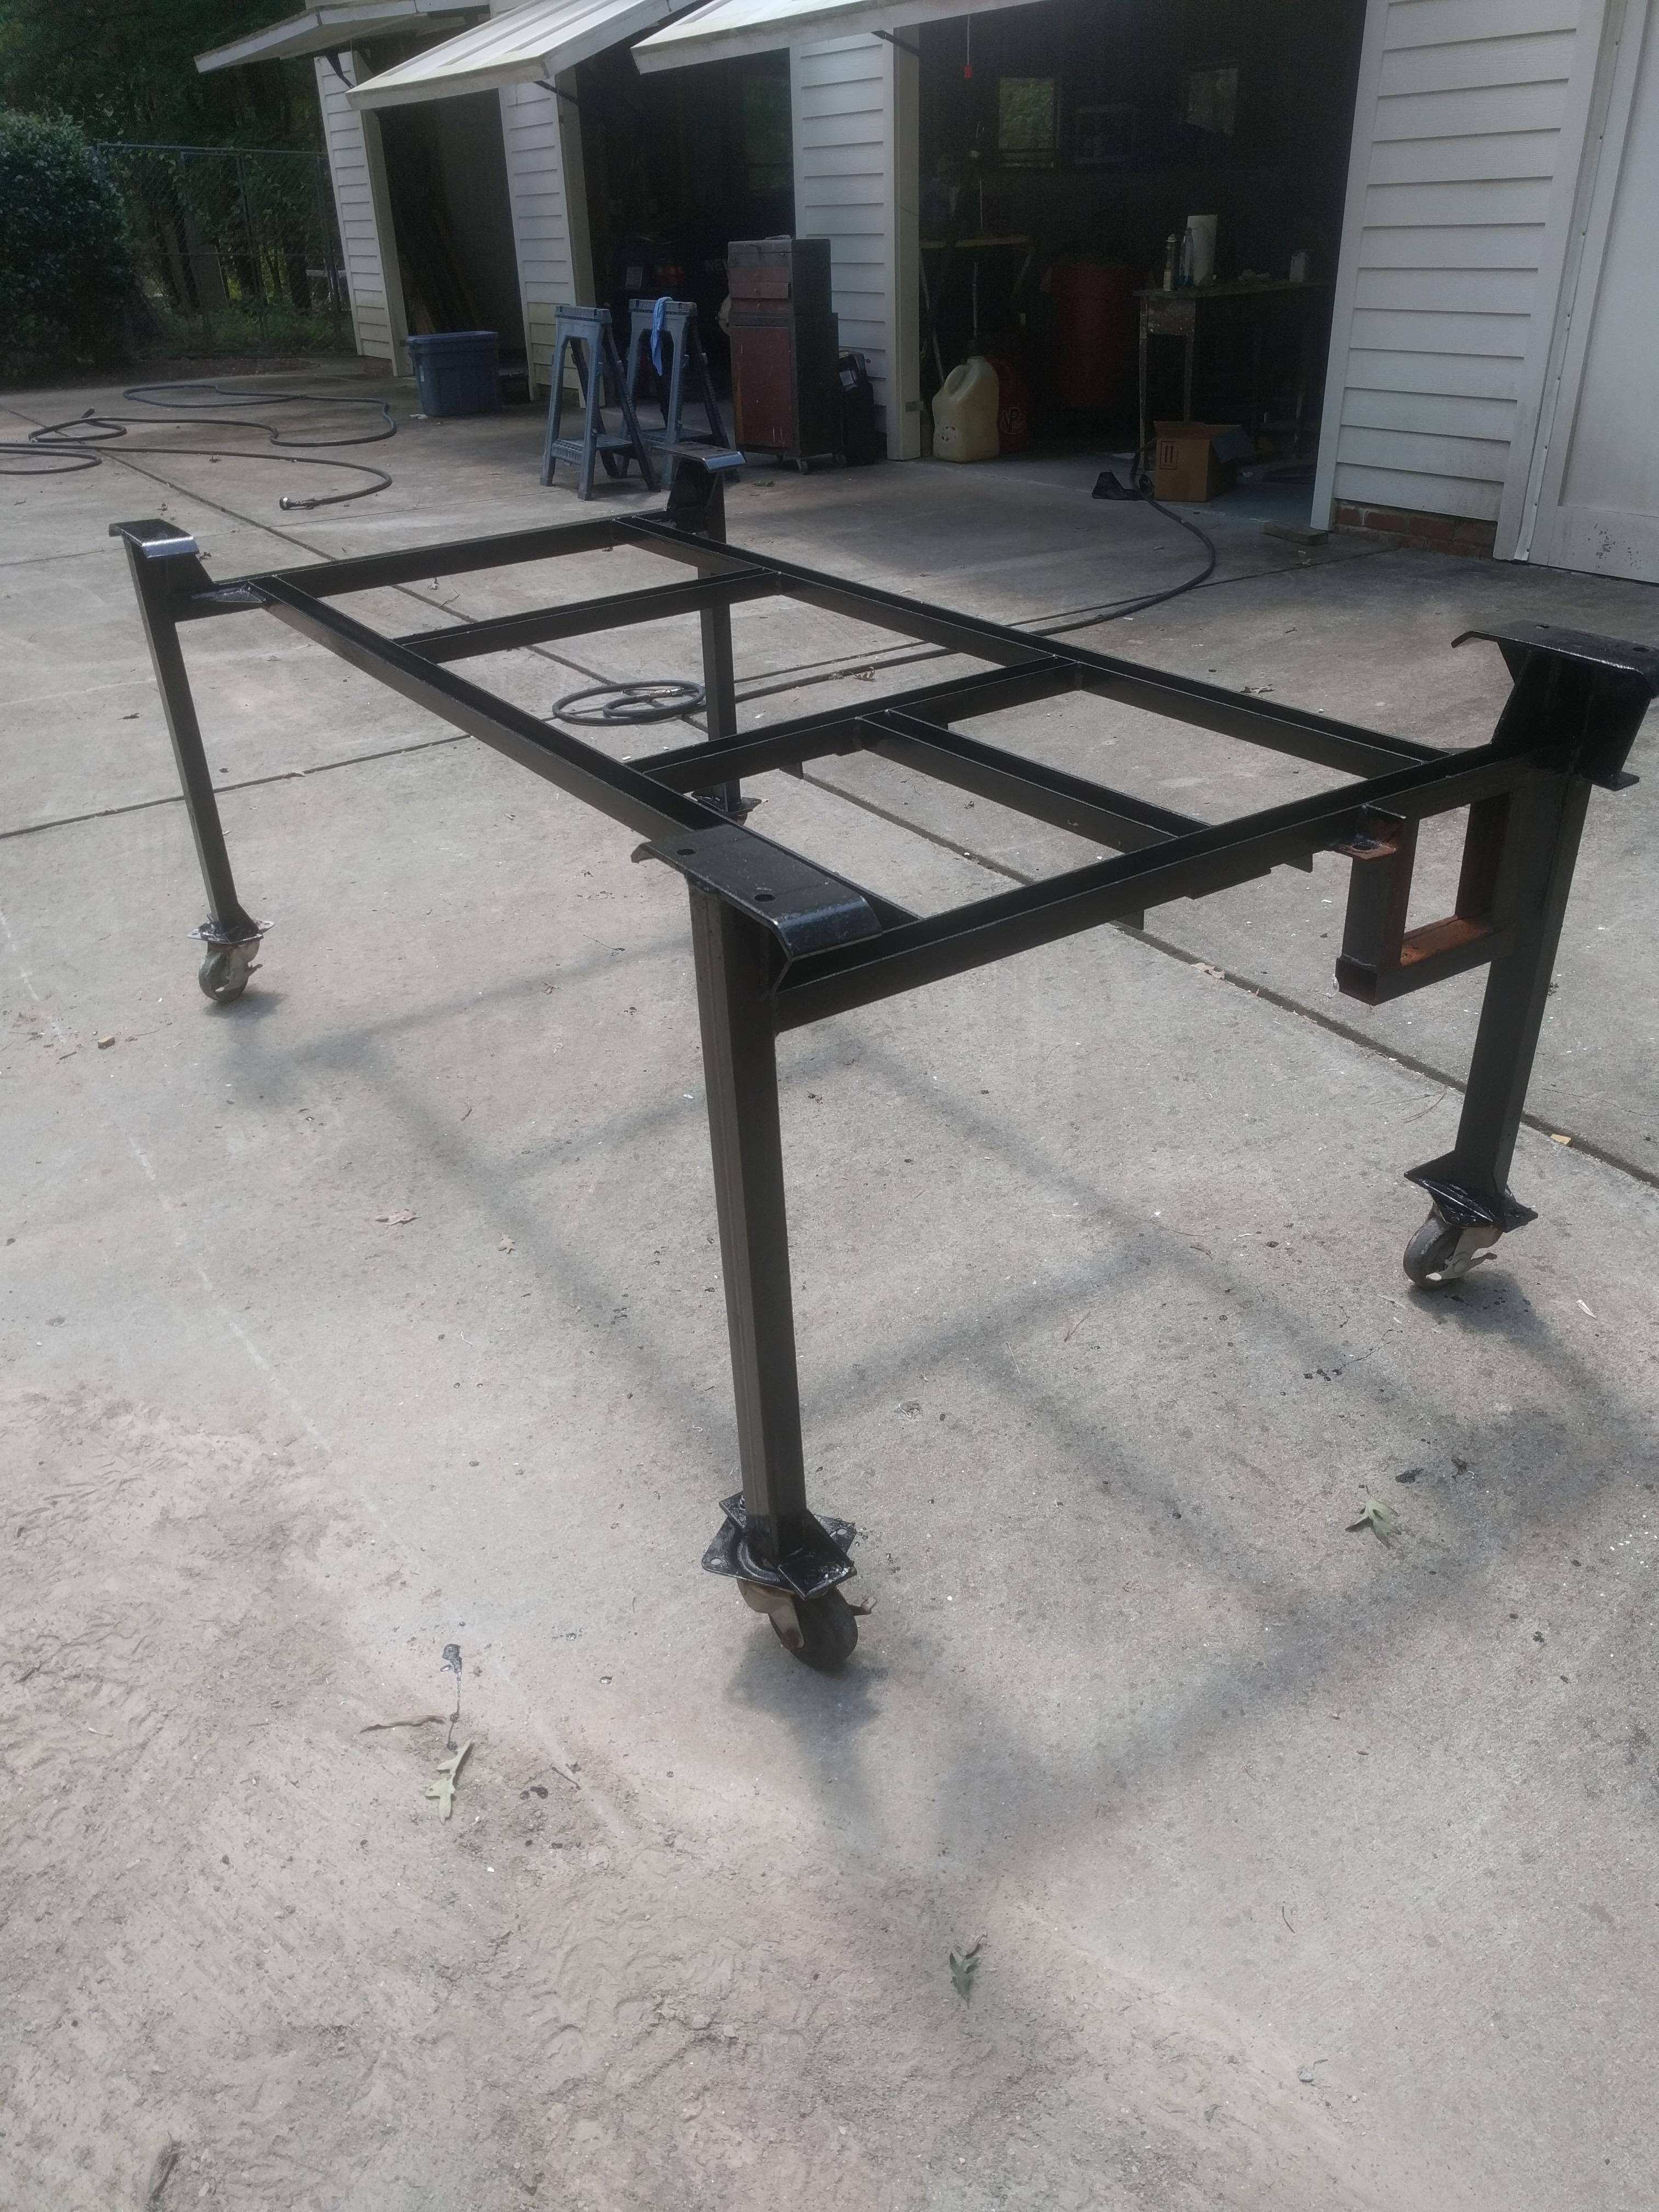
Finally, I re-purposed the shipping frame that my new one post lift (another story, soon!) was delivered on. I flipped it upside down, added caster wheels, and gave it a coat of black paint. It should be perfect for holding body shells at a more convenient level while doing prep work and painting.
 It took me many days to get all this accomplished but the reward should be better paint jobs on my cars.

Discussion
Comments are closed.