As many older Cayman/Boxster owners will know, these cars have a generic problem with the degredation of the heating and AC system such that small flecks of black foam spray out the air vents and trash the car interior and your clothes. I had been putting up with it during the ownership of my car. Things came to a head when my wife’s 2006 Cayman S began to trash her nice cloths. She delivered an ultimatum that it had to be fixed! After my weak protests that it might be expensive, I decided to get on it.
I was vaguely aware that owners were receiving very high quotes by dealerships to fix the problem. It seemed that their solution involved tearing the dash apart to expose the HVAC system, with many manhours expended. But a little bit of searching on the forums turned up an excellent how to article by AMCPILOT on Rennlist. Linked here.
When you open the post, you will be greated with a pretty good set of pictures and instructions. He says, having done a bunch of these, that he can do it in an hour. Having now done 2 of them, I find that aggressive but believable. My first one took me several days, on and off. The 2nd one of course went much faster.
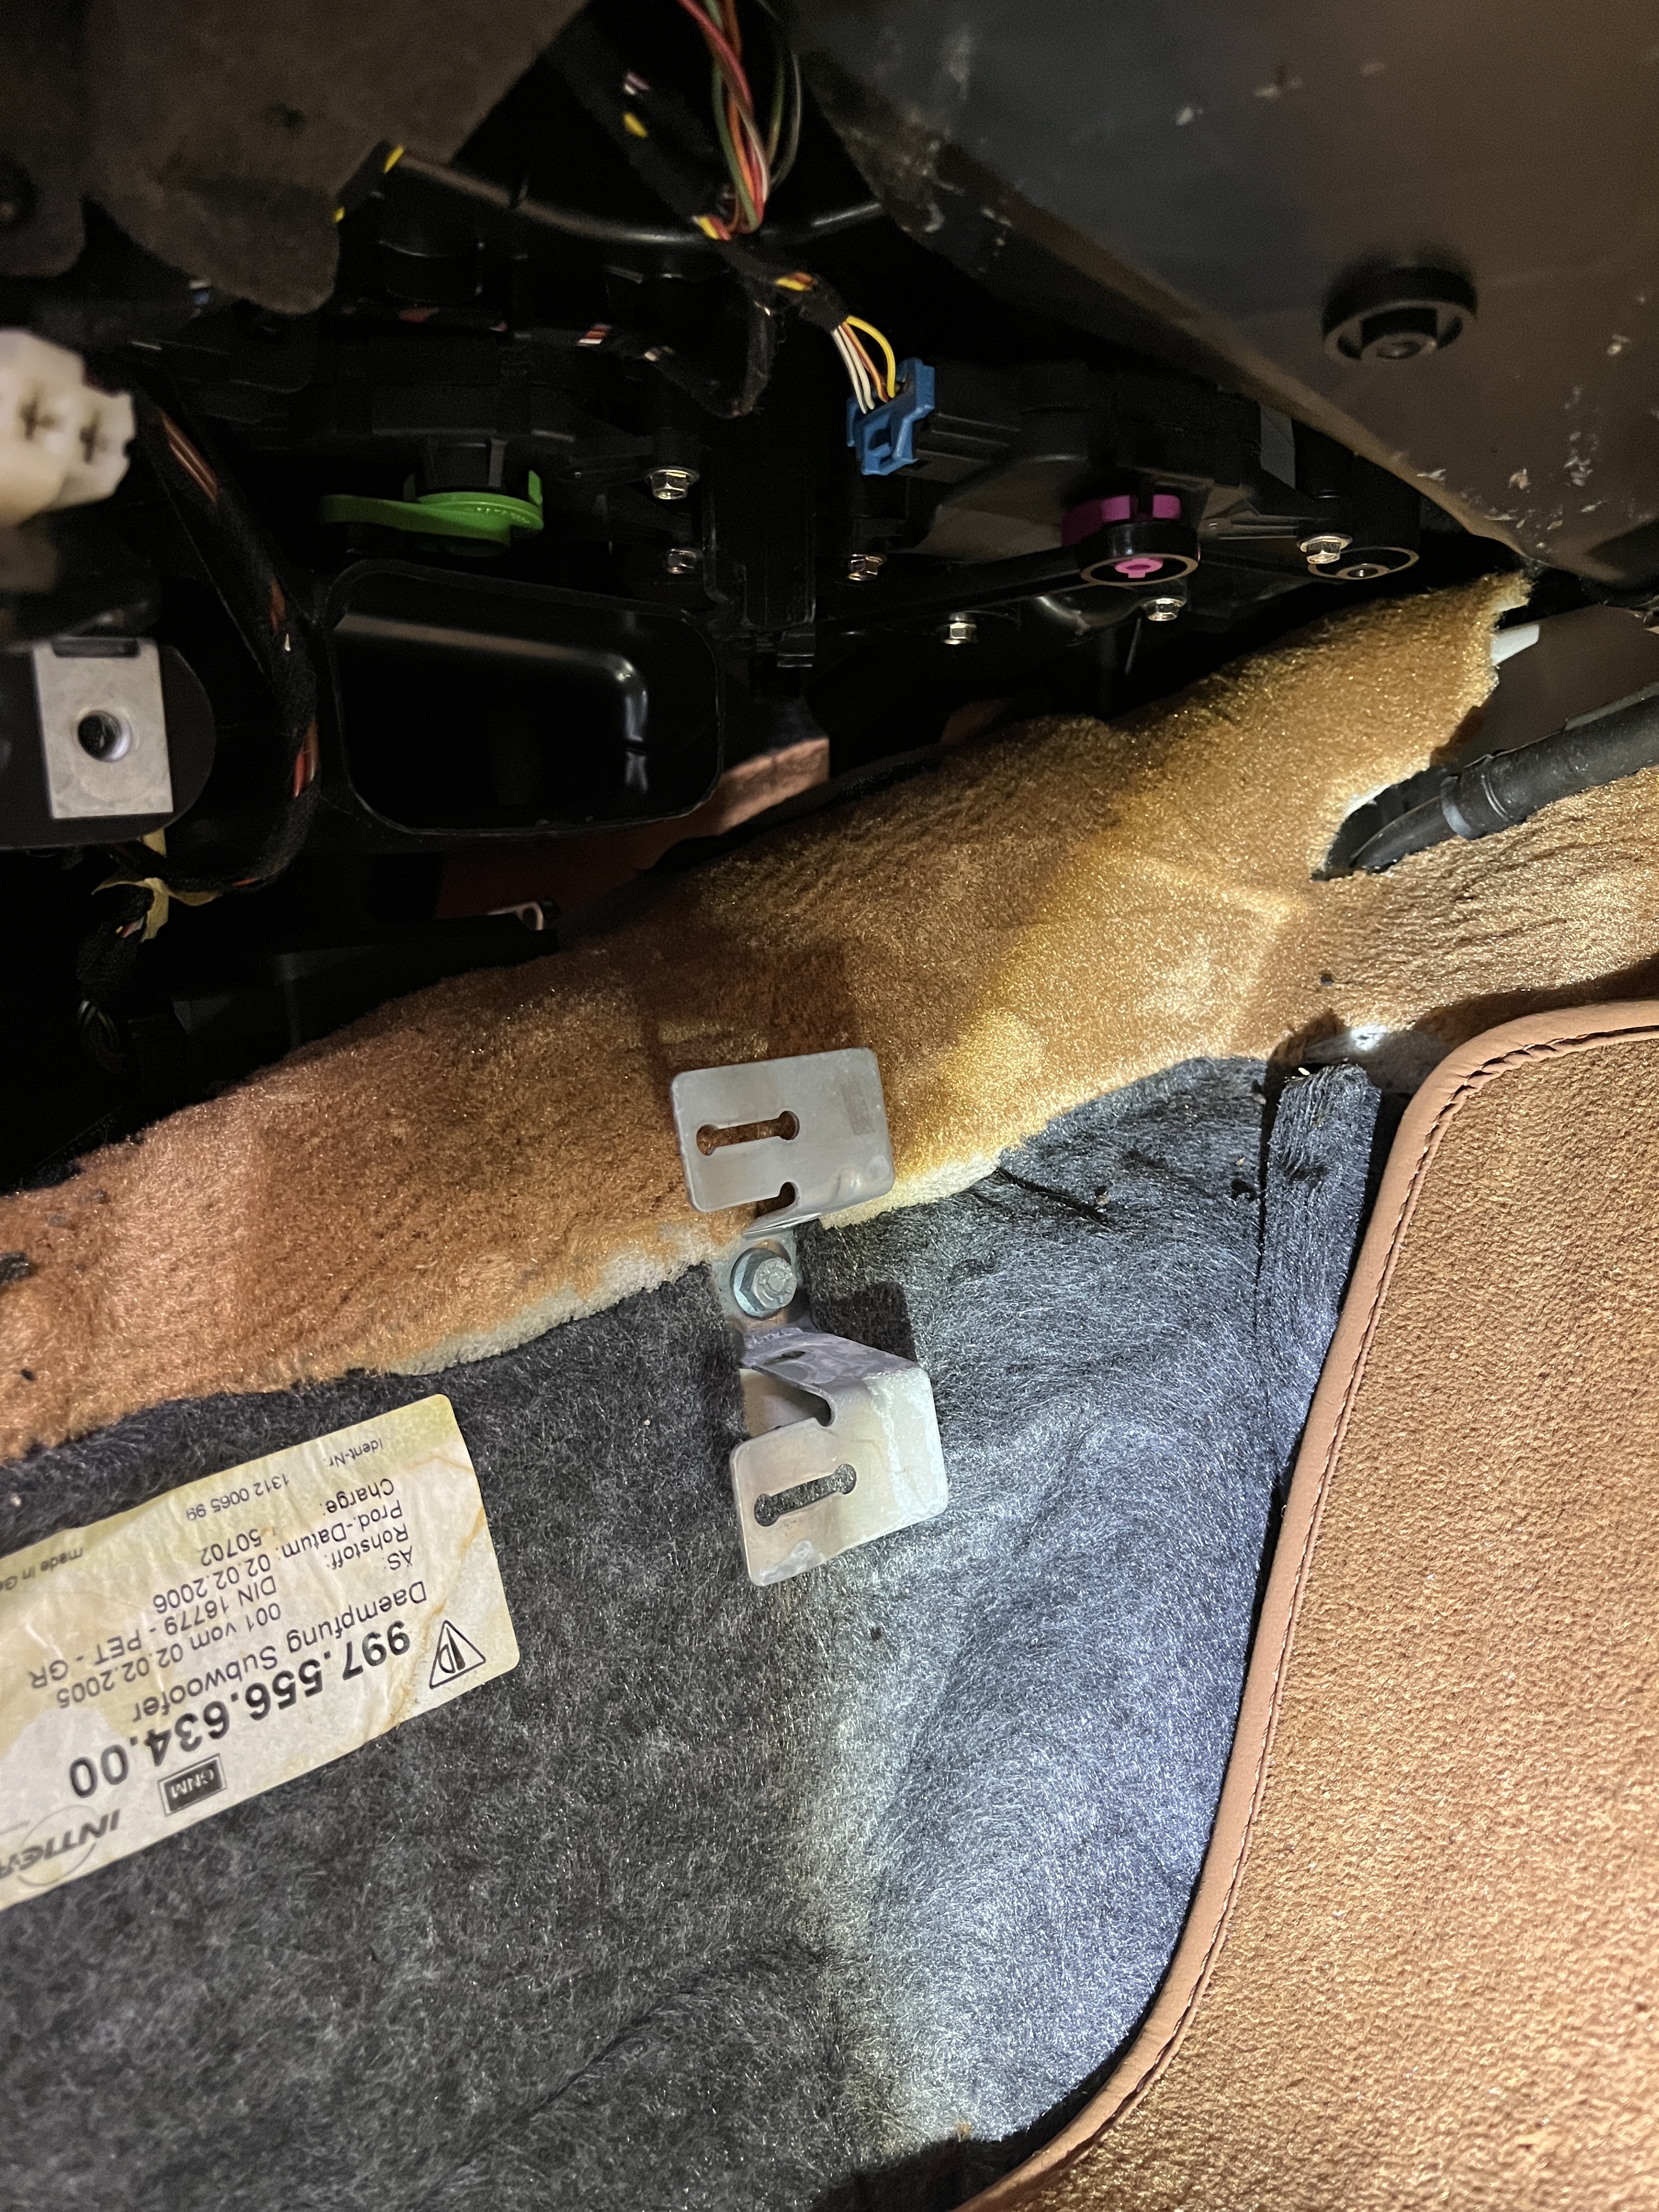
So although I like his approach, I do have some comments that might help others that want to do this job. So here we go. First, he did not include a good picture of what he was removing underneath the dash. Nor did he really mention that you need to remove the thin foam trim panel that extended rearward from the bottom of the glovebox. This panel in held in with 4 simple plastic “screws”. If you have a Bose speaker in the footwell, you will want to remove that also. Next, if you are laying on your back in the passenger footwell, look straight up and find the pink item. It is quite obvious. It is a lever arm, that is attached to another black arm, which is attached to a 3rd shorter arm, also black. At the end of this arm is a small (8mm?) hex screw. That is the one that AMCPILOT wants you to remove. Once that screw is removed, the black lever simply drops down and disengages. Although you should certainly photograph this arrangement on your car, as you will see, the position of the lever will change as we manipulate the controls and thus the postion of the lever. If you like, you can put your car on full AC (or full heat) this will move the lever arrangement to an extreme position, up against some little stops. If you use the same control positions going back, the lever will be in the same place. Also, if you desire, the black lever that attaches to the pink shaft can be rotated and removed.

So that is one minor point that needed better documentation. I was able to complete the steps in the article and remove that “blend flap”, i.e. it blends hot and cold air to obtain the optimum cabin temperature. Here it is, looking pretty sad.
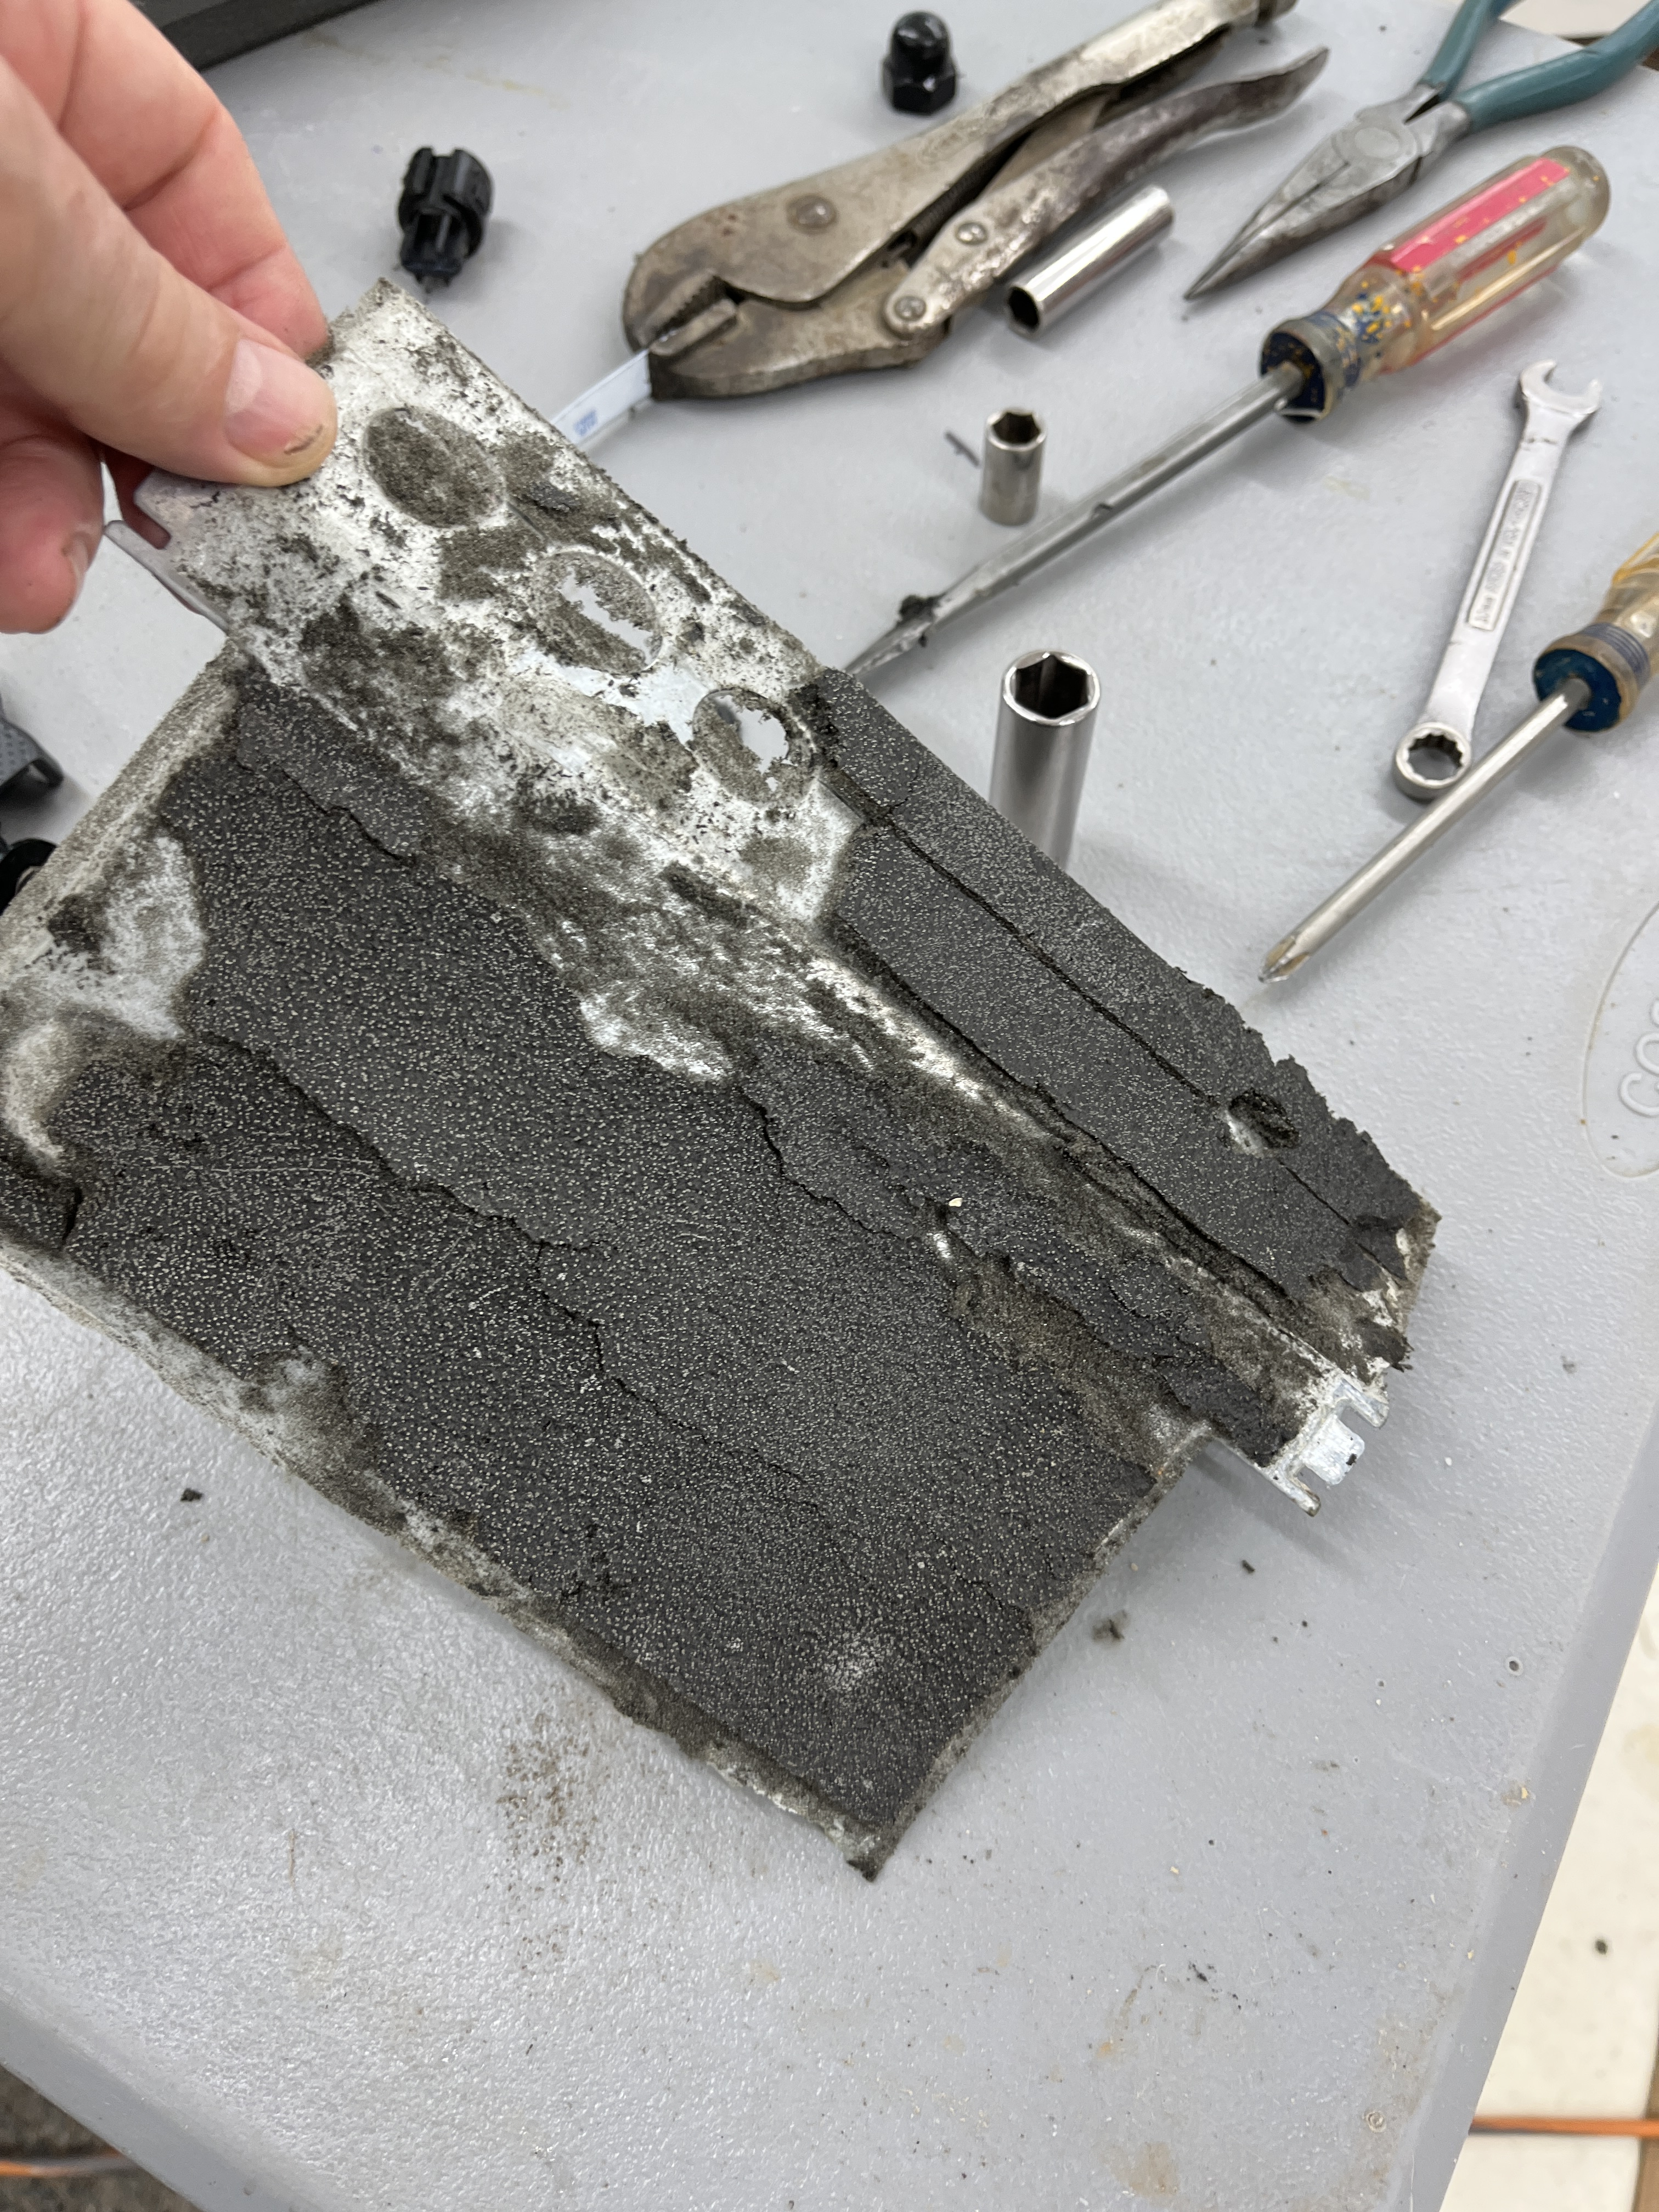
You may note that the Rennlist thread goes on for literally hundreds of follow-up entries. My eyes glazed over at some point but there seemed to be a lot of angst about what type of product to put back over the flap and more importantly, the comments recognized that there is yet another flap, much harder to get to, that selects/directs the air to the floor, dash, and/or windshield vents. Regarding the replacement product, there are a lot of options. I decided to go with duct tape. I do recognize that Porsche must have had some reason to make a metal flap, drill some big holes in it, and then cover both sides with open cell foam. What were they thinking? I can only imagine but my best guess is that they wanted the flaps to engage quietly and seal well. As we will see, you can go as fancy as you want for the blend flap but for the the other flap, you will be limited by poor access to just trying to get the holes sealed off. More on that below.
I did my first blend flap job with white duct tape that I had on hand. I did my second one with aluminized tape. Either seems to be functional.

As discussed in AMCPILOT’s article, assembly is basically the reverse of all the steps. But first lets talk about that “vent selection” flap. If you have the blend flap removed and look carefully into the cavity of the HVAC box, you can just see this flap. Maybe. It has 3 positions. In words, in one position it is rotated away from you, i.e. towards the passenger compartment. In this position, it seals off an opening. In its second position, it is about halfway open. If (and that is a big if) you can reach in there, your fingers can feel the forward edge of the flap. In the 3rd position, it rotates CCW, out of sight, which I guess seals off another opening. Once you know what you are looking for, you can see about 10% of the flap when it is in the 1st or 2nd position.
I made a little chart. It seems that with only windshield vents selected (defrost) the flap is in the 1st position. With only center dash vents selected, the flap is in the 3rd or out of sight position. All other switch positions (floor/dash, dash/windshield, floor/dash/windshield) seem to put it in the 2nd position. Although you have the battery removed, I hooked it back up with jumper cables and played around with the dash switches to see how the flap moved. All of this will become important when you decide how to clean and repair this flap.
So how do you repair this flap? My arms were certainly too large to reach into the openings and touch it, much less repair it. My secret weapon? One of my neighbors, a 17 year old girl that is quite slender! She was able to reach in there and strip off the degraded foam. I then gave her approximately 2″ squares of duct tape to apply over the holes. All we were trying to do was cover the holes. Fancy repairs that attempt to cover the entire surface of the metal flap were rejected, as I did not want sticky duct tape extending beyond the edges of the flap and gumming up the works, so to speak. We put the duct tape on both sides of the holes. Although duct tape seals OK to the metal, we all know it is tenacious when stuck to itself, sticky side to sticky side. I am pretty sure I don’t want to do this job again and I felt that if we got some adhesion, tape to tape, at the holes, it was going to be good to go for my lifetime.
I have no good pictures of this inner flap. Here is the best I could do. Note we had some duct tape beyond the edge of the plate, which we subsequently folded over and around the edge.


She did all of this by feel. After we had the repair tape in place, we cycled the dash controls multiple times while observing that the flap moved smoothly and that the air flow out the various vents made sense. At some point, I did some vigorous clean out with compressed air and a vacuum cleaner.
Coming back to the blend flap, after you connect the linkages below the dash and install the “pivot piece” on the upper end of the flap, you can also exercise the controls and watch the mechanism below the dash move back and forth, as well as watch the flap move. Just move from full AC to full heat a couple of times.
Finally, I decided to replace my cabin air filter. Well damn, there is a third flap under it. I am sure this is the flap for Recirc of cabin air. Fortunately, it did not seem to be suffering from foam degredation but you might want to look at it while you are in there. I have had trouble with mice chewing through this filter and getting into the cabin. That was not good.
Here is a video of my blend door articulating. The heater core is not in place in this view.
Both cars are still spitting out the occasional fleck of black but things are vastly improved. My wife has her car back and she is happy. Happy wife. Happy life!

Discussion
Comments are closed.