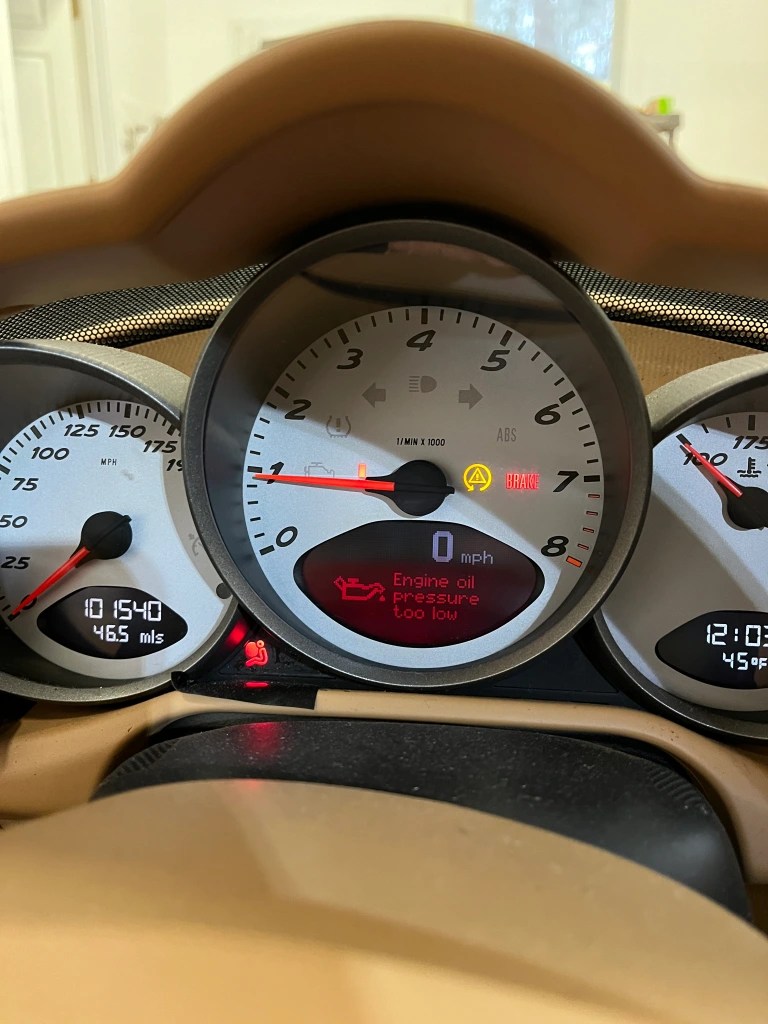
As many of you already know, the 987.1 Cayman did not come with an oil pressure gauge on the dash. Depending on how you use the car, this can be a little disconcerting. As I discussed in an article here, many owners may not be aware of the message they would receive if oil pressure dropped below a pre-set value. This is functionally an “idiot light” but it does serve an important purpose to get your attention if there is a massive drop in oil pressure. I wanted a little more info and decided to add a dedicated oil pressure gauge. Here is what I did.
Whereas the Cayman has a “setpoint” type gauge, that provides the above message if the oil pressure drops below a set value, the comparable year 911 has an analog oil pressure gauge. My review of the PET for the 911 came up with the sending unit shown below. On the left (the one with the green tape) is the Cayman sending unit. On the right is the 911 sending unit. It provides both an analog pressure resistance as well as a on/off setpoint resistance.

The Caymen sending unit is found on the top side of the passenger side cylinder head. Note that since the heads on both sides are identical, there is a similar port on the drivers side, sealed with a plug. This presented an opportunity to add a second sending unit that measured oil temperature at the port.
It is difficult, but not impossible, to reach the existing on/off sending unit. I had to use a crows foot to get it out. On the drivers side, if you remove the cover for the air filter you can get to that plug more directly. I ran a single 18 gauge wire from each location. Basically, you come through the firewall and into the center console following the same path as the shift cables. You re-use the existing wire for the on/off tap on the sending unit.
Where and how to fit the gauges was problematic. I think everyone will have their preferences. I decided to use the little storage area underneath the heater controls. There are some scary cheap digital gauges out there that have a very small footprint. But a $15 gauge scared me. I went with analog VDO brand gauges from Aircraft Spruce. They were a little too big to fit directly in the storage area so I had to do some creative mods to get them installed. Basically I hacked out some holes in the bottom of the storage area, which allowed the gauge to just clear the top of the opening. I made a faceplate out of 1/4″ plywood and covered it with vinyl wrap. It’s not super elegant but it does the job.
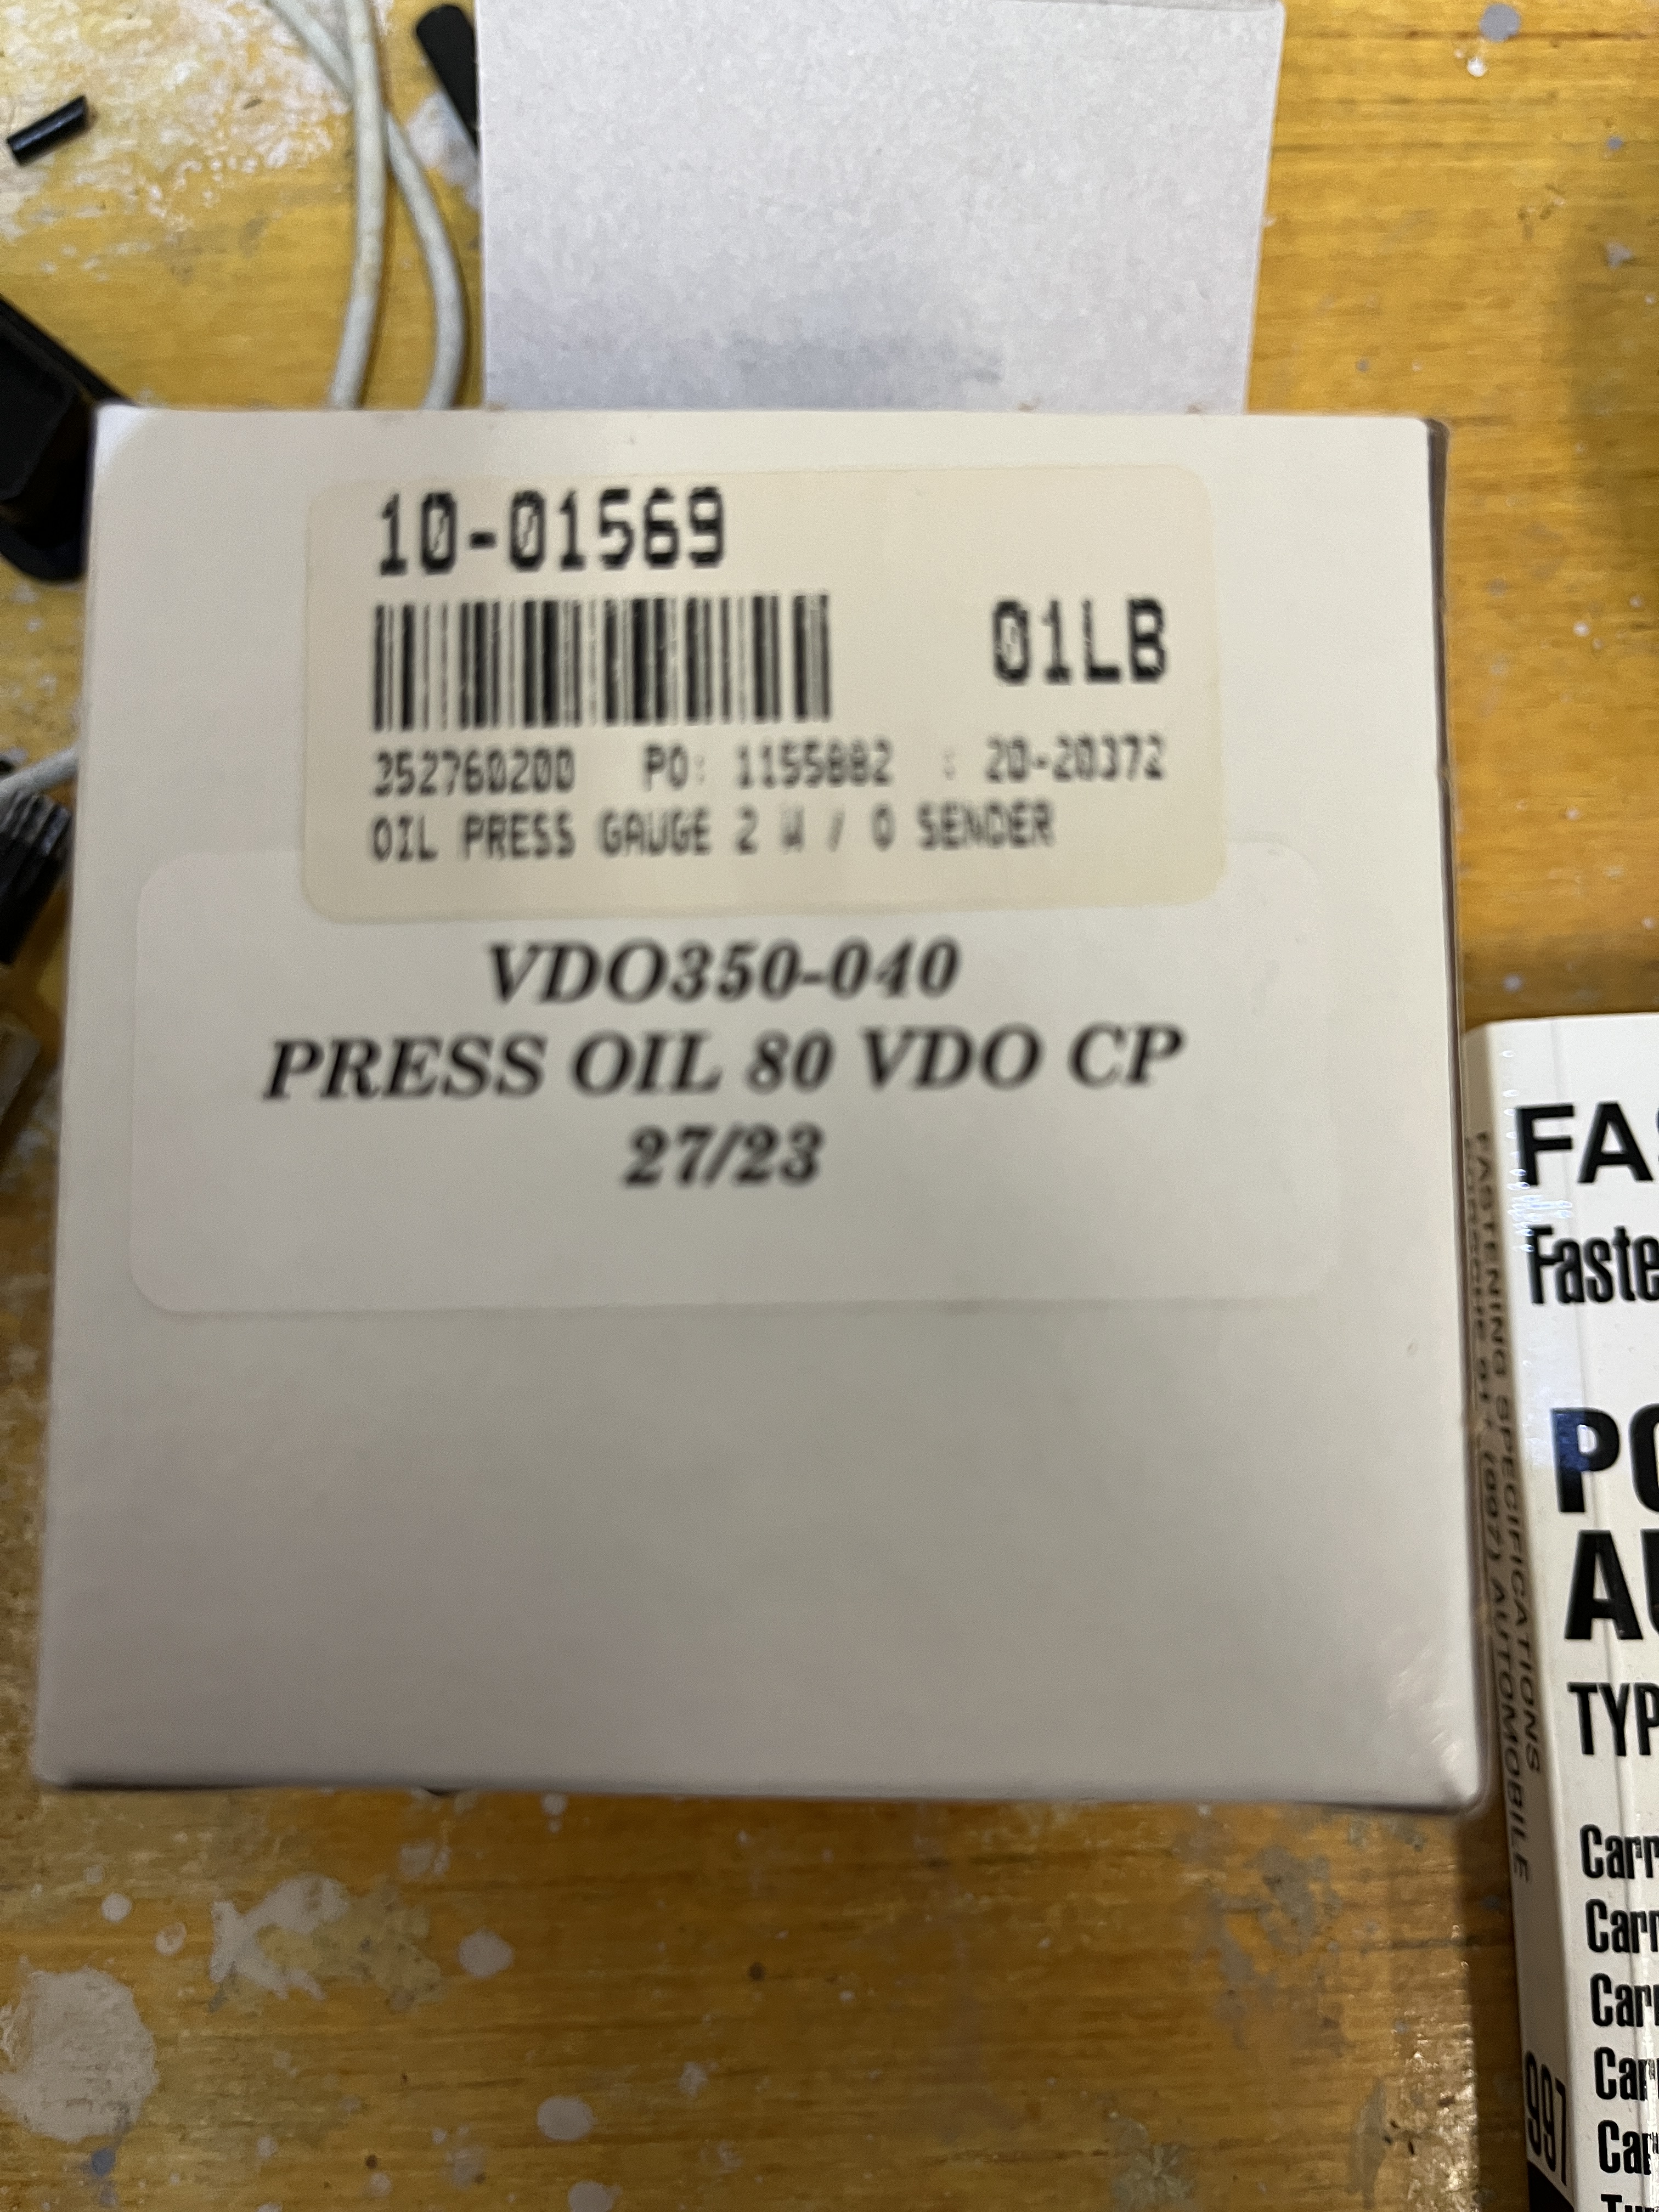
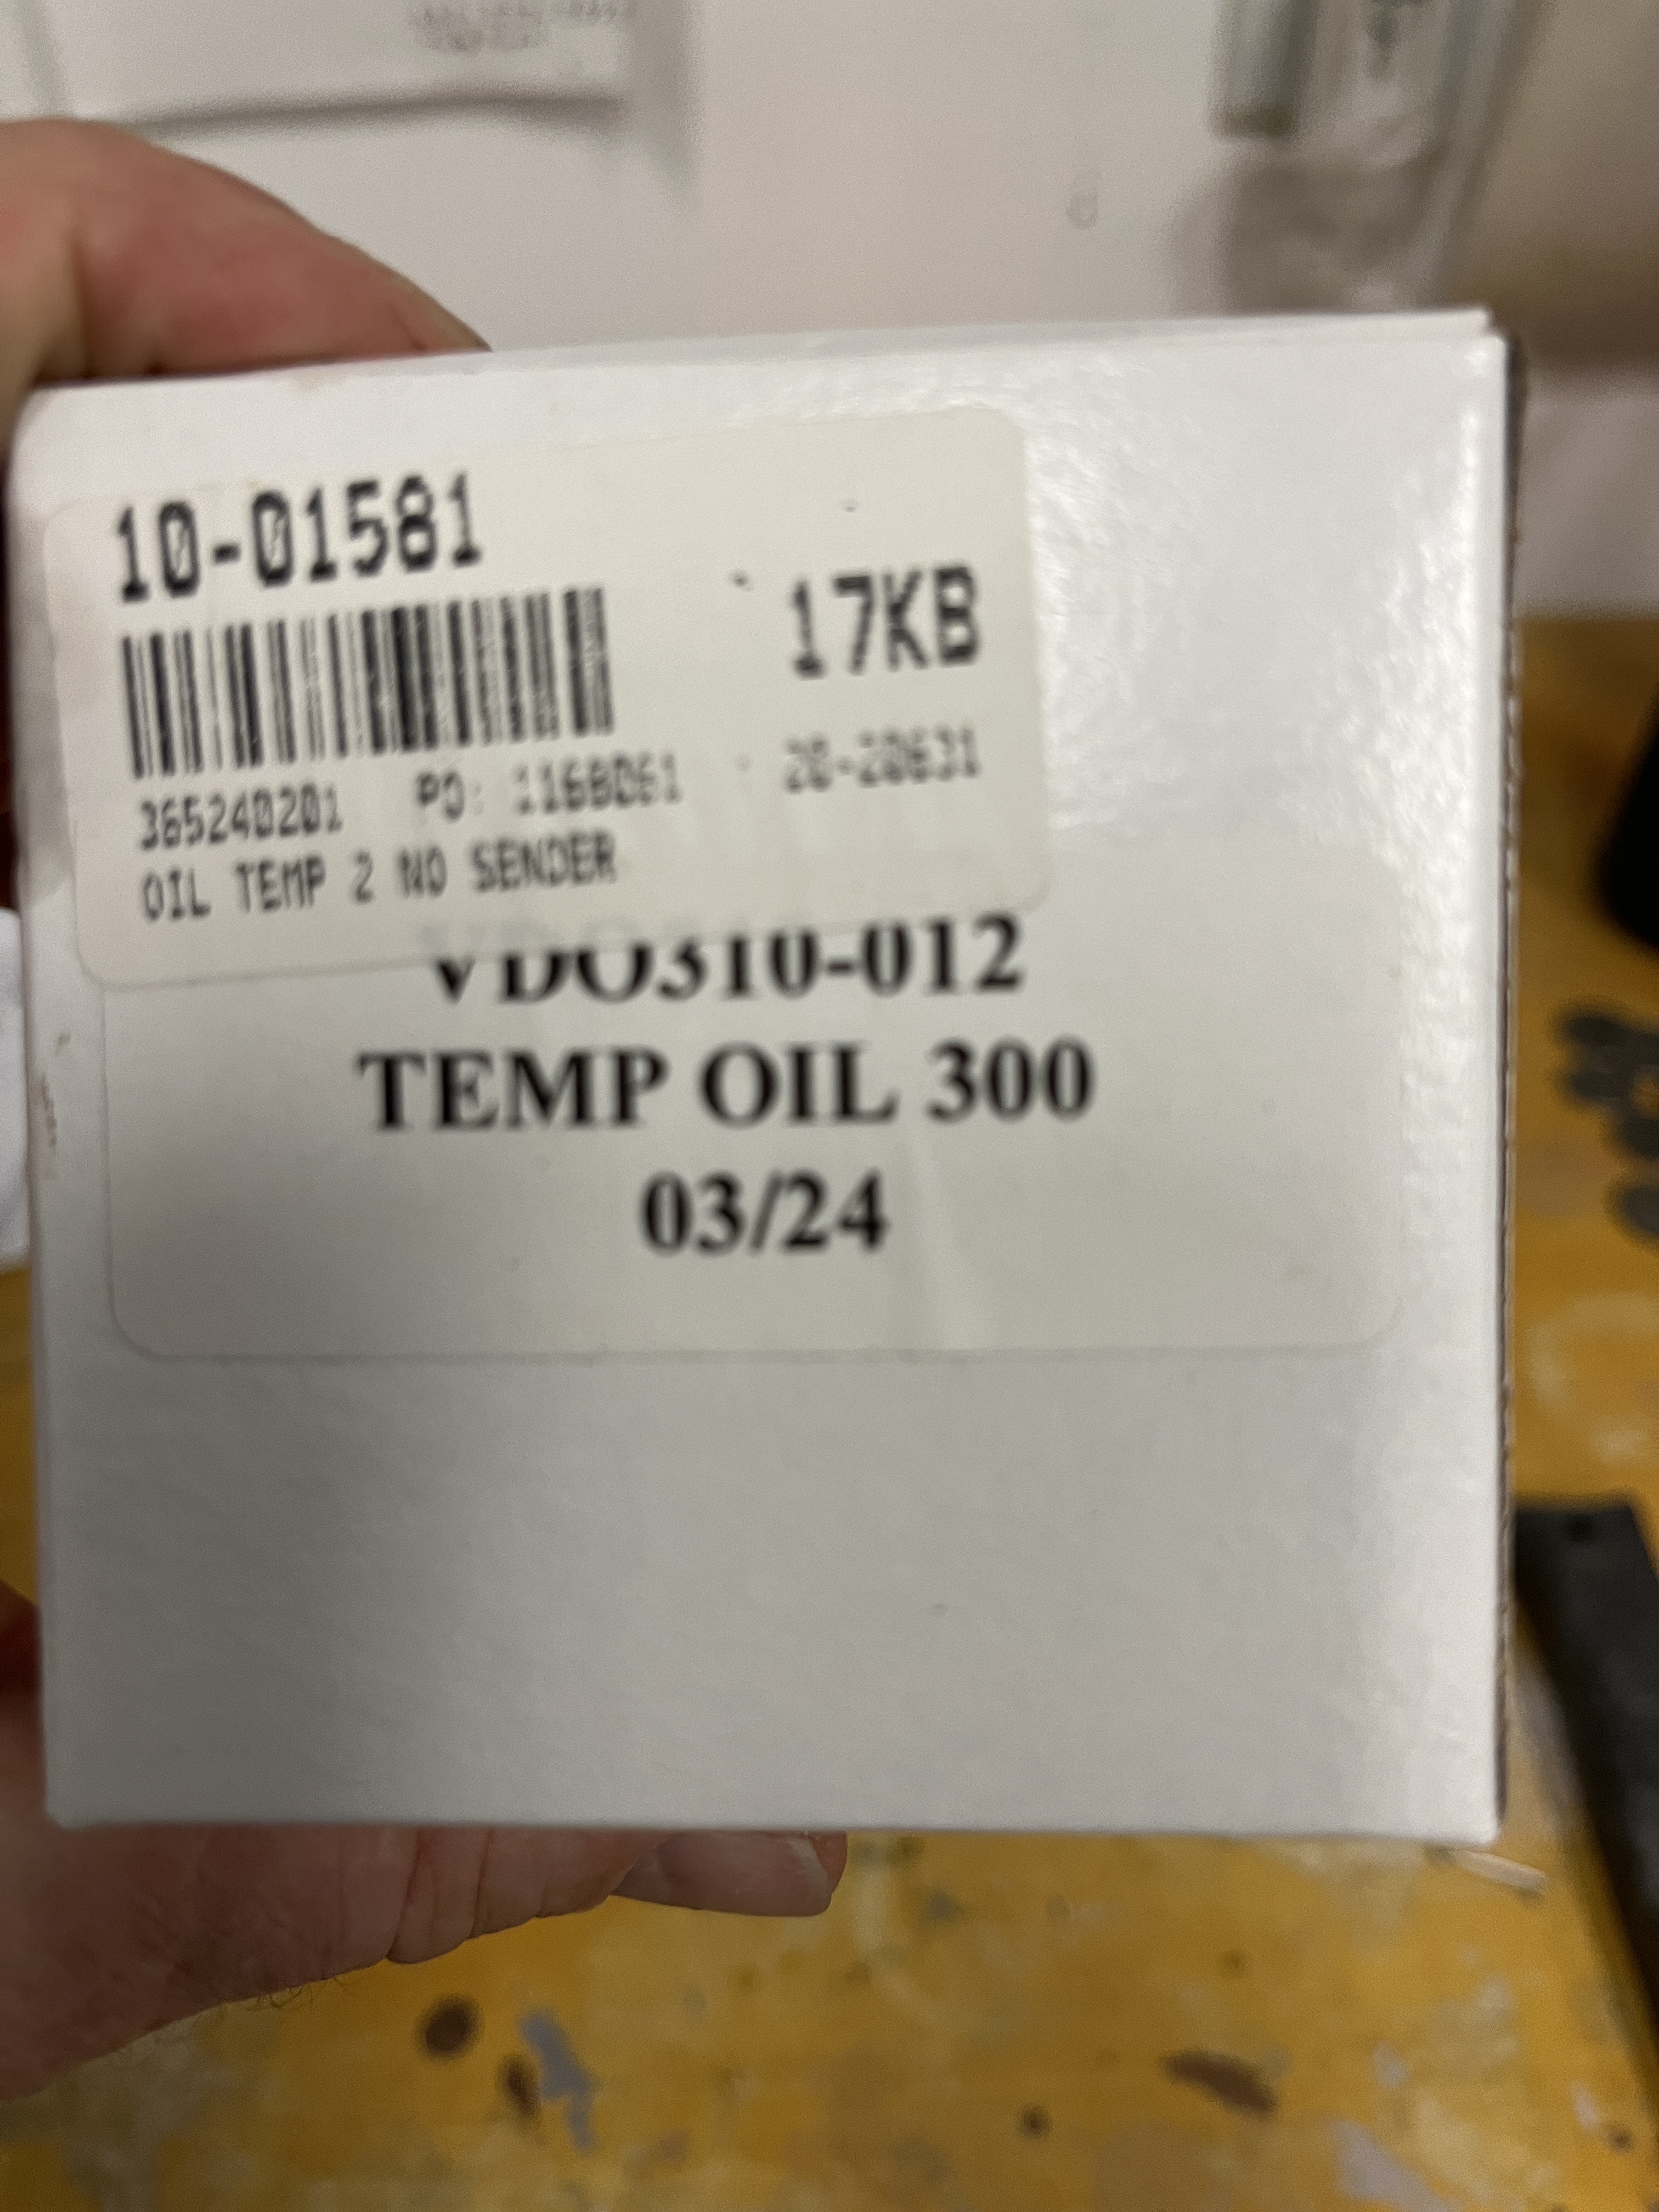
The gauges also need 12V positive and a ground. Times two if you count the built in back light. It was surprisingly hard to find a source of “switched” 12V power in that area. I wound up using the feed to the little light in the center console regarding the airbag. Here are the gauges I bought from Aircraft Spruce and a couple of photos of the installation.
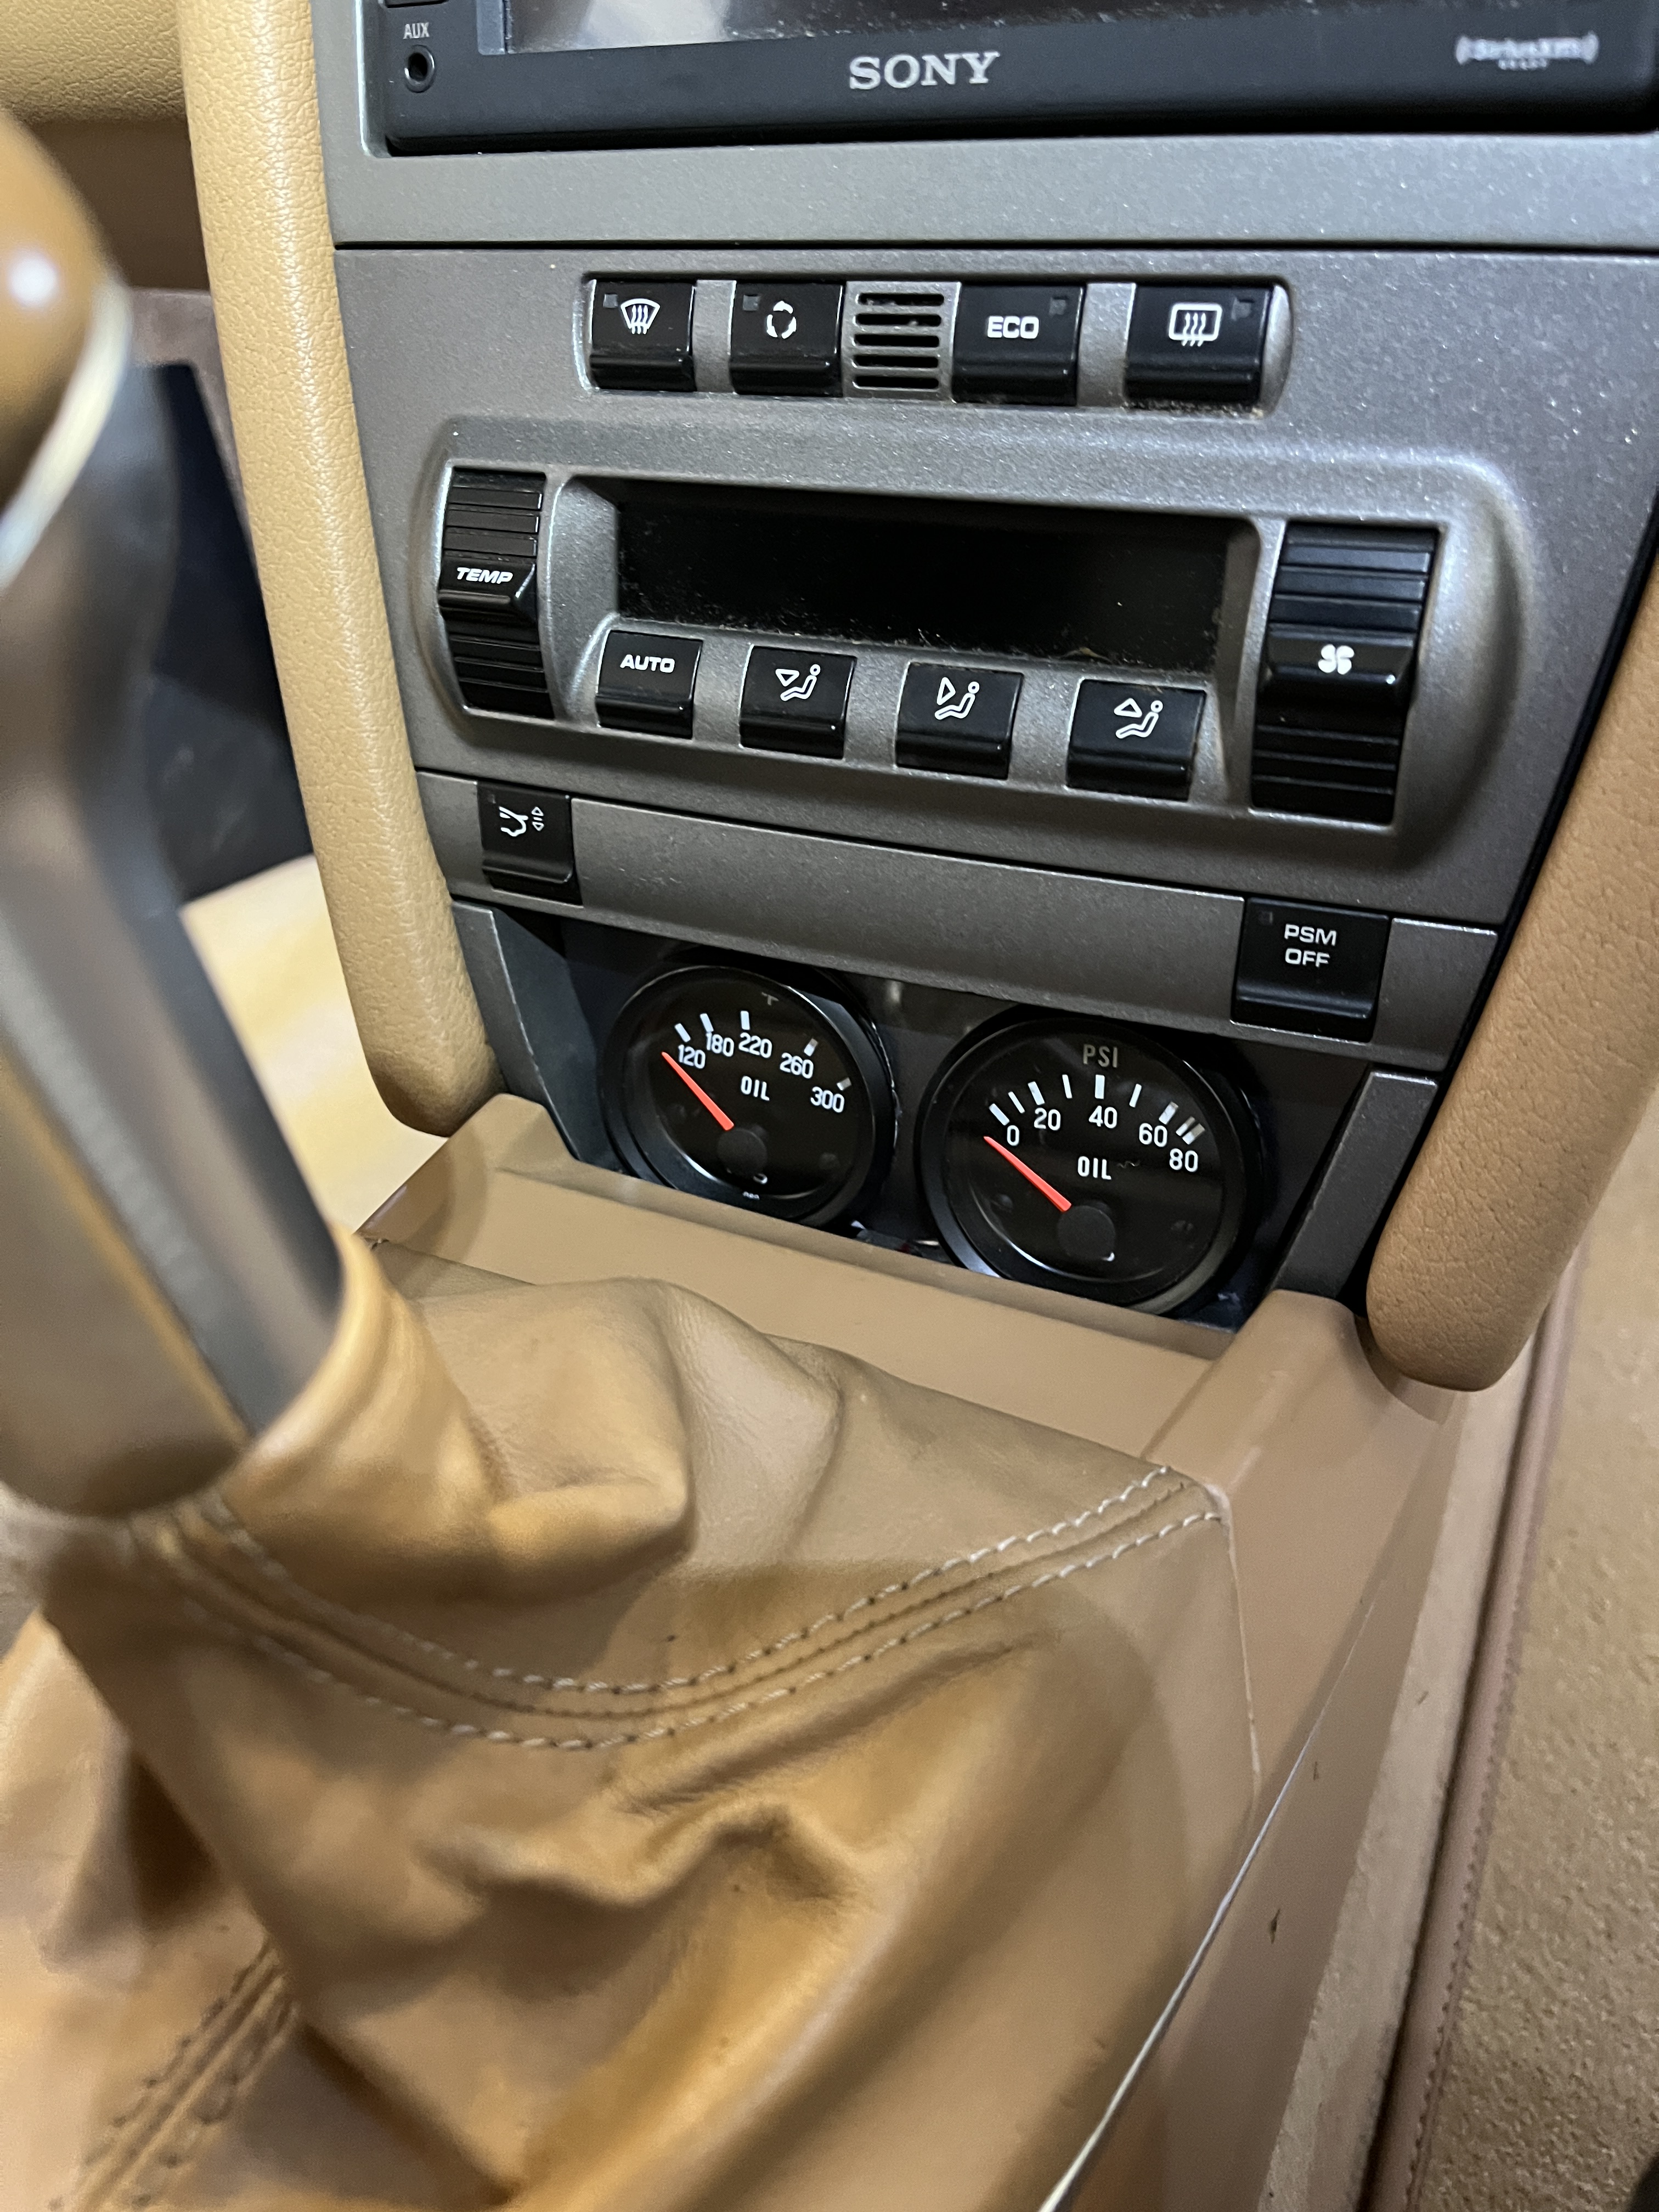
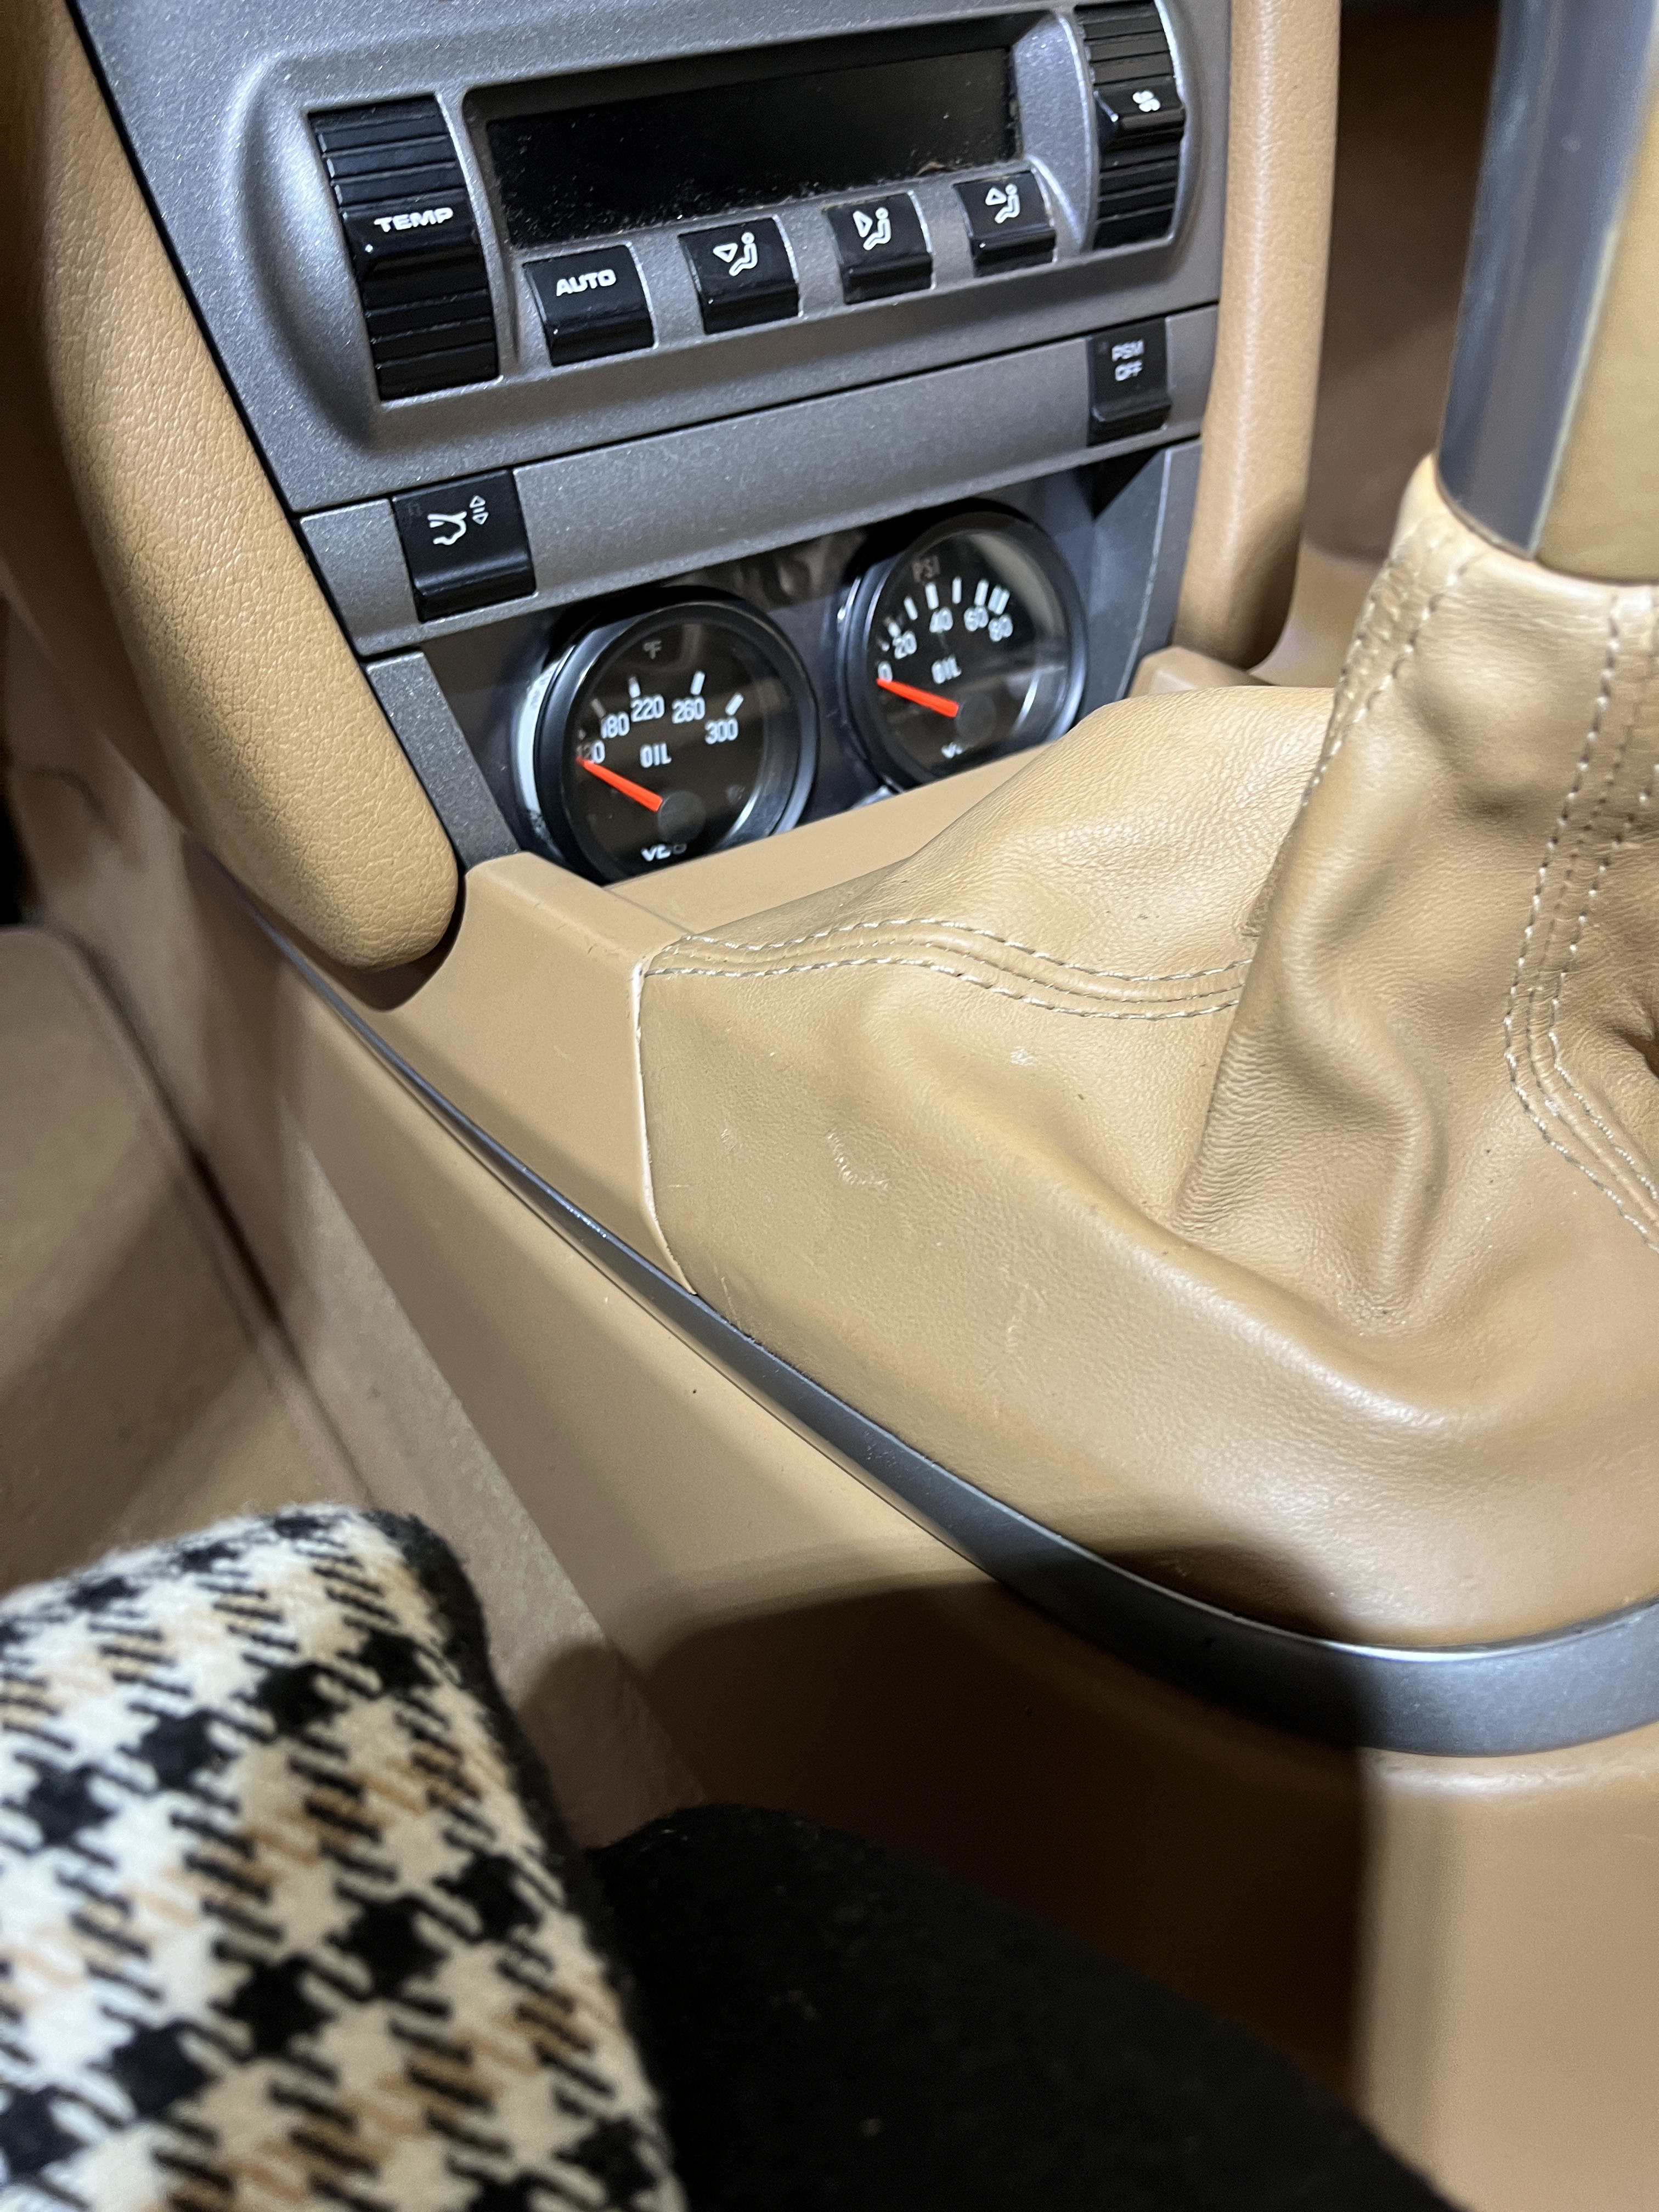
A few comments- These are analog gauges. They are not particularly fast acting. They are not going to capture momentary drops in oil pressure. I consider the pressure gauge to be valuable in giving me a “second opinion” if the low oil pressure light pops up on my dash. And pressure and temperature will be part of my once a lap guage scan while going down a long straight at the track. Basically a little bit of peace of mind.
I haven’t mentioned the sending unit for the temperature gauge. I frankly can’t find the details on the one I purchased. But basically you want a sending unit that measures up to 300 degF and has metric threads. I believe the size is M12x1.5. I plan to use the temperature gauge not for the real number of the oil temperature but mainly to look for trends.
Here is a link below showing how the pressure gauge reacts during startup. Also, I found it takes a really long time for the oil temperature gauge to react.
Edit- someone has asked how you know which of the two terminals on the 911 oil pressure sending unit are which? There are some letters stamped on the device, which probably tell an expert which are which. Using a ohm-meter and remembering that one terminal should show a resistance value (for the pressure gauge) and the other should be short or open (for the dash indication) just test the two terminals for their resistance back to the body of the device. It should be clear which is which. If you want and you have shop air and a blow gun, once you think you have the linear one identified, place the blow gun over the hole in the end of the sensor. You should clearly see a change in the resistance. On the other one, you “may” see it switch conditions (short/open) if you can get enough pressure on it to trip the switch, so to speak. Remember, the terminal with the variable resistance will use the new wire to your gauge and the one with the short/open characteristic will be connected back to the wiring lead that you removed from the stock sensor. Update- A reader in Germany says it should be WK for Warning and G for Gauge.

Discussion
Comments are closed.