In my previous article regarding the restoration of my 1963 Etype FHC, I discussed the extensive efforts that I had made to fabricate new aluminum console and dash panels using the correct cross hatch material. These pieces of course interface with the shift lever for the 4 speed transmission and I reached the point where I really needed the shift lever to be in place so I could proceed with the final installation of the various pieces. In particular, the aluminum shroud around the shifter is topped with a nice leather gaiter. But more importantly, the placement of the radio/ashtray console is a known problem in that if not fitted correctly, the center gauge panel cannot be lowered to access the fuses, etc. behind it. So I decided it was time to install the engine.
I have had the engine and transmission assembly on hand for almost a year. It was rebuilt by Dick Maury and was substantially complete. But as I started to look, I saw a number of things that would be easier to install before the engine/tranny. First, as a general statement, I confirmed that all tapped holes that would ultimately receive a bolt or stud were free and clear. Most have a buildup of rust, dirt, or paint. Although a the purist machinists I have known frown upon it, I tend to just use a regular tap to clean out the holes. A tap will always remove a bit of precious material so a machinist who might need to visit the holes multiple times will use a thread chase. But I just use a tap, as this will likely be the last time these particular fasteners get removed. First I inspected the transmission. The rear of the transmission is supported by an arrangement of parts listed in the spare parts catalogue (SPC). I had some and ordered the rest from SNG. Next I located the new speedometer drive cable that I had purchased previously. I found that the right angle drive at the transmission was damaged so I bought a new one from SNG. There was a small clip that held the cable at the back of the engine that I had to fabricate. Speaking of the back of the engine, Dick has only installed a few bolts from the bellhousing to the engine, sufficient for shipping. I located all of the correct bolts that I had previously prepared and installed them to the correct torque. This included some little right angle brackets and a closure plate that go on the bottom side.
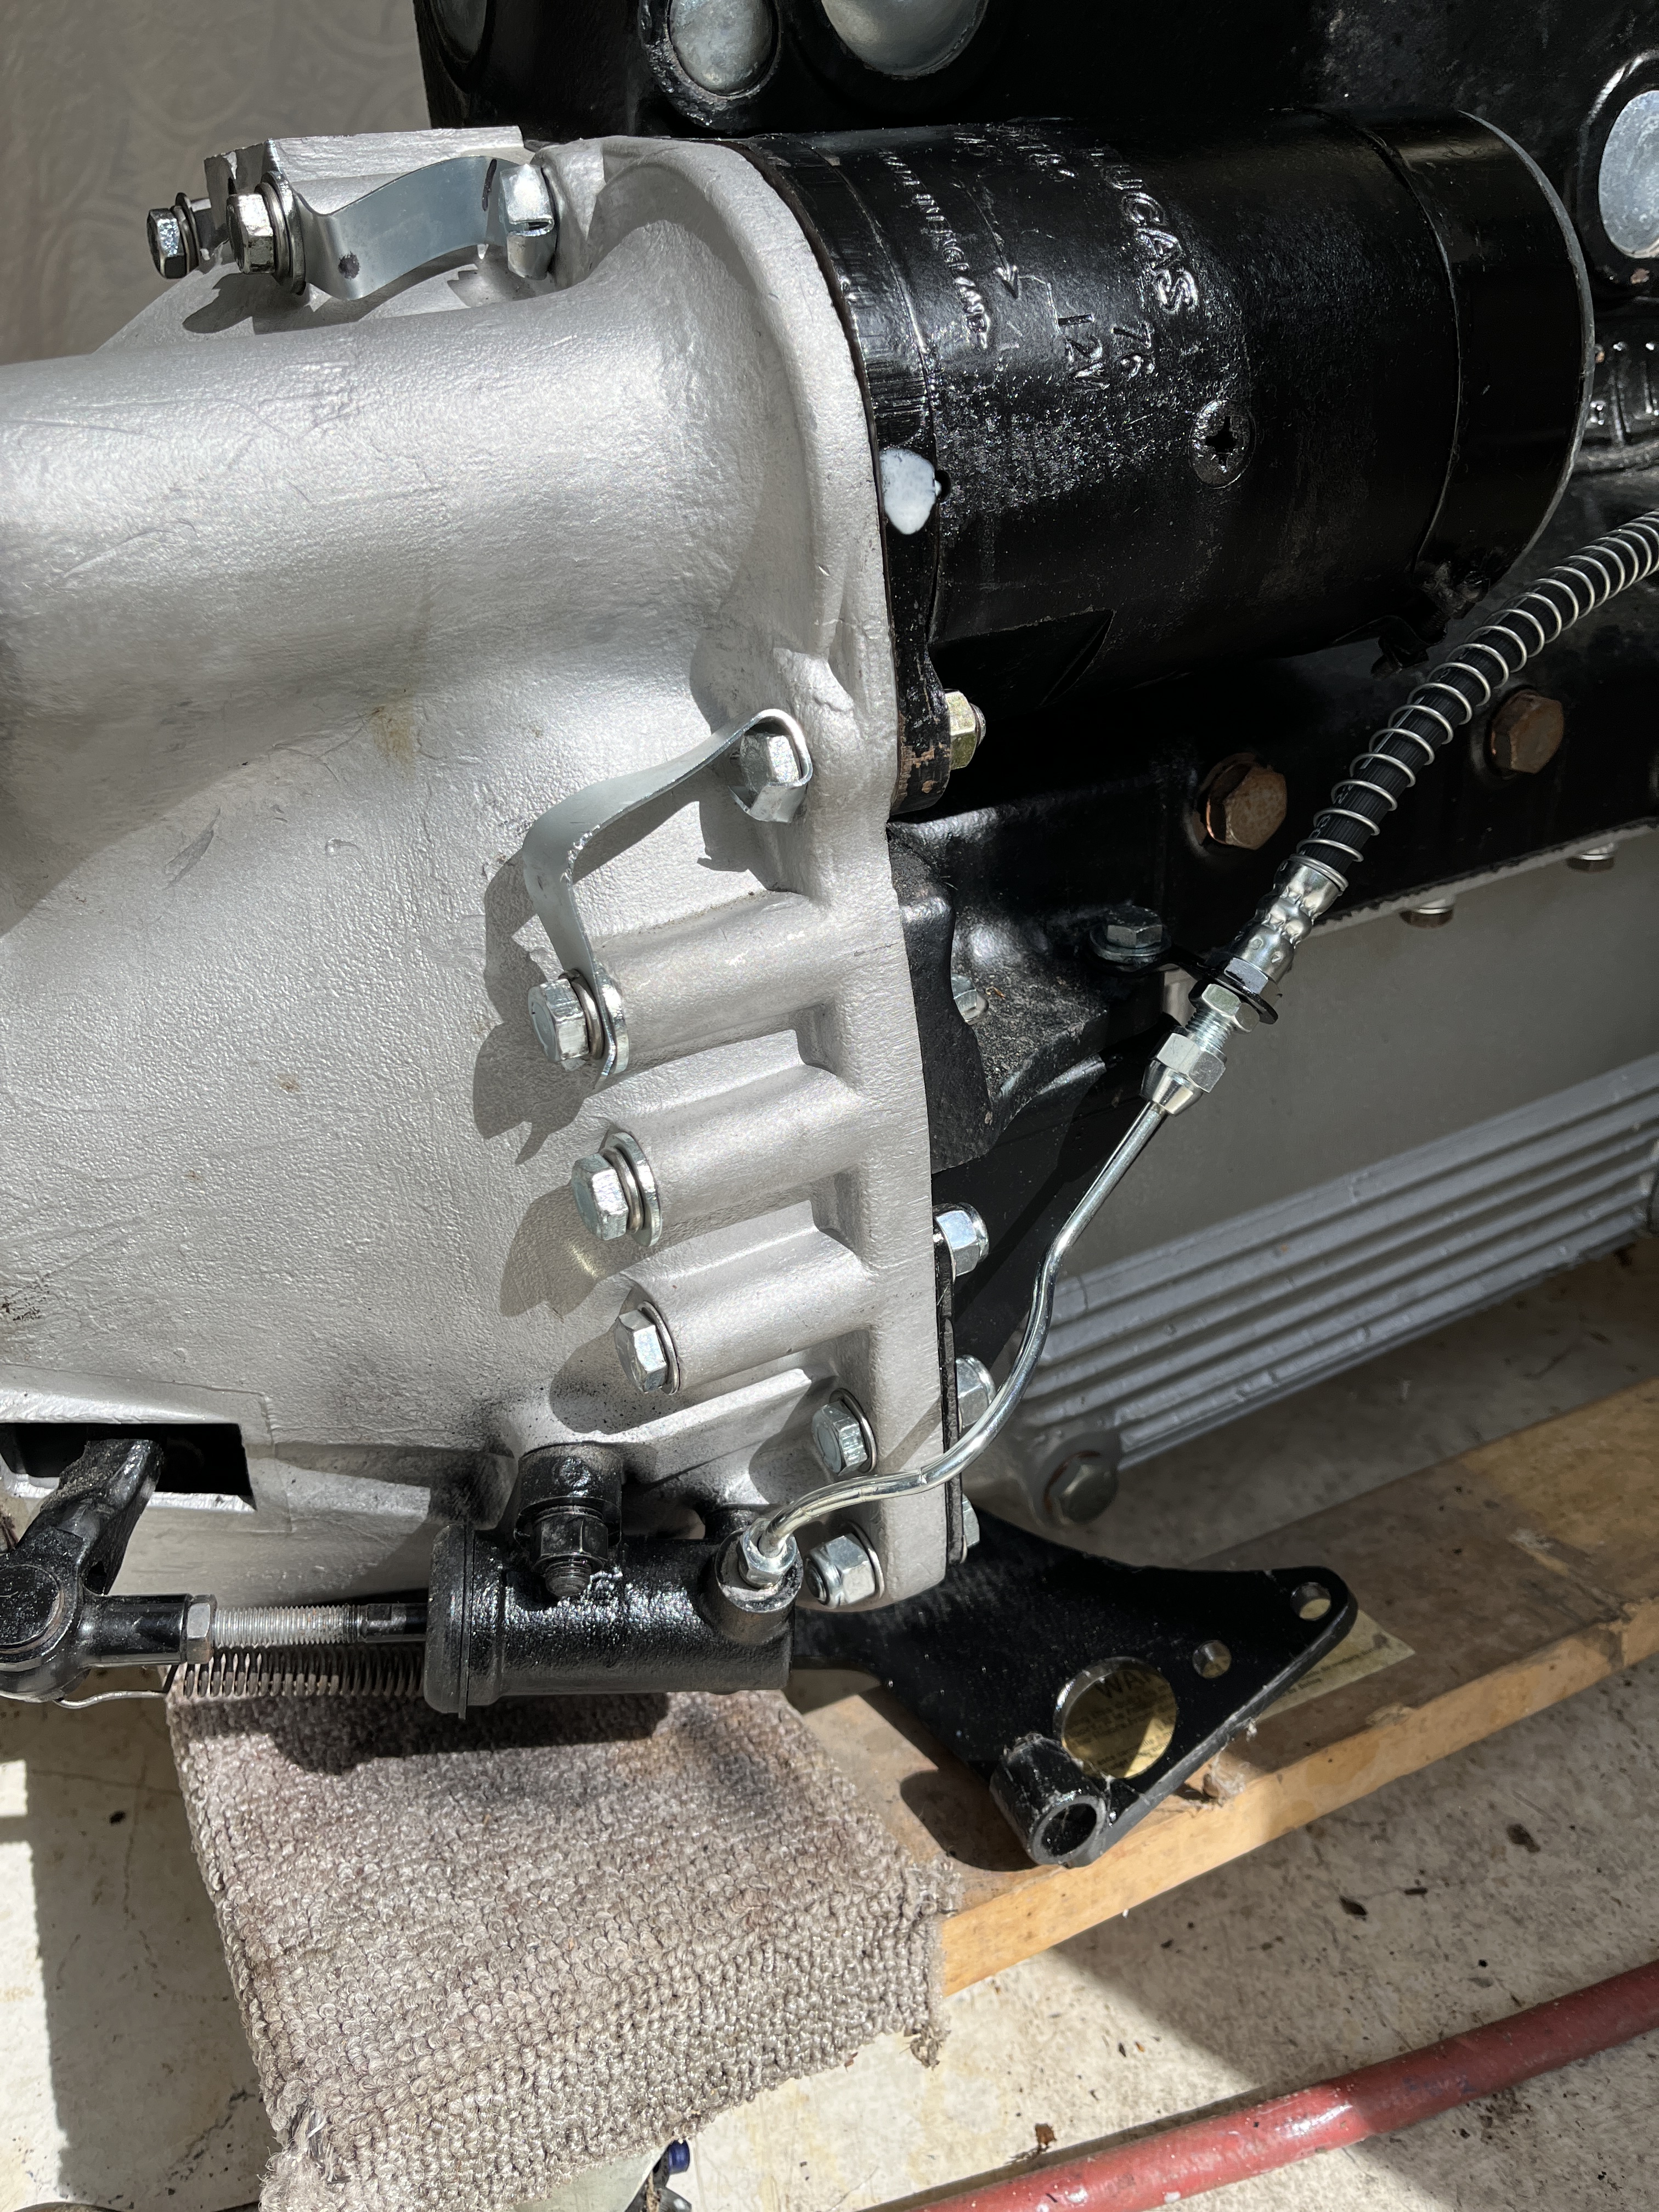
I turned my attention to the starter. The one I had on hand seemed to be shorted so Dick Maury sold me a new one. New to me but period correct for the car. I tested it in situ, removed it for paint detailing, and reinstalled it. The bolts on the starter are hard to reach once installed in the car so I fabricated some metal locking tabs to hold them at the rear from turning.
Next I turned to the engine. Dick had shipped the engines will scrap valve covers. I had new ones from SNG staged and now was the time to install them, using shiny new acorn nuts and copper washers. There are studs on both sides of the head, for the intake and exhaust manifolds. I ordered new ones in stainless from SNG and installed them, after cleaning the threads. At the front of the engine, Dick had installed minimal bolts on the timing cover. Again, I turned to my stash of period correct and plated bolts and installed all the nice pretty ones as required. This included ordering a nice new breather screen and gaskets from SNG. I found the mounting bracket for the generator and the front motor mounts, which I detailed in black paint and test mounted using the correct fasteners. The motor mounts must be left off until after the engine is in place, although it is OK to mount the generator bracket. In this case, I was thankful that I had prepped the threads, as they were full of clag and would not have been fun to clean with the engine in position in the car. Although it will get installed after the engine is fitted, I reviewed all the parts required for the oil filter and oil pressure relief bracket. Several had to be ordered from SNG. Does it come as any surprise to you that I get a personalized Christmas card from SNG each year?!!!
I test fit my tach generator, although as will be discussed when I write an article about installing the engine, I found it is best to install it after the engine is substantially installed. The same goes for the two brackets that go on the top of the transmission to support the vertical stablizer rod at the rear of the engine. The holes were cleaned and correct bolts staged.
I turned my attention to the area ahead of the engine. It looked like it was a good time to install the stone shield and the radiator. It was, but to jump ahead, I found after I installed the engine that it would have been even better to install the steering rod that connects the steering box to the cockpit. So after I had everything installed (stone shield, radiator, and engine) I had to remove the radiator and stone shield to provide enough space to get the steering rod installed. So I am now very good at installing the stone shield and radiator! The stone shield is a reproduction that I purchased from SNG and the radiator is a reproduction that I purchased from CoolCatcorp.com. The radiator is fabricated to mimic the originals, although it is made from CNC machined billet aluminum rather than the original press formed copper. Only because I told you would you be able to spot the difference. Before you ask, yes, I will have to go with the original, anemic electric fan, for originality purposes.
Another set of parts that I looked at were those associated with the fan belt. I do not know why they call it a fan belt, as the fan is driven by an electric motor, not a belt but I confirmed that the SPC does call it a fan belt. Probably because the sedans drive the fan with a belt and some of the parts are shared. I had to locate a crankshaft pulley, a water pump pulley, and a generator pulley, as well as a spring loaded idler with its pulley. As usual, some were missing, which was resolved by purchases from Dick Maury and SNG. Again, jumping ahead, I did not install the water pump pulley, thinking it extended forward too much and might be a problem when installing the engine. It might have been but once the engine was installed, I had to release the motor mounts and raise the front of the engine in order to just barely slip the pulley into position versus the “picture frame”.
That pretty much covers it. It took several weeks to get this list of work completed, including the ordering of parts. As usual, I jumped out to other work items during this “hurry up and wait” period. In my next article, I will discuss installing the engine!
This article and previous ones can be found at my website http://www.newhillgarage.com. Search on “Some Assembly”.


Discussion
Comments are closed.