As I noted in a previous article, I had sent the engine for my 1963 E-Type FHC to Dick Maury at Coventry West for a rebuild. I also sent a transmission and clutch to be rebuilt and assembled on the engine. Dick notified me in June that the work was complete. I drove down to his facility near Atlanta and picked up the engine, and then drove directly to the concours at Little Switzerland. Some of you may have seen the engine in the back of my truck.
There are a variety of reasons to get the engine rebuilt as part of your restoration. Unlike modern cars, engines in the 60’s were expected to become worn at around 100k miles. Probably the more common scenario is that due to the sporadic use of classic cars, the engines suffer from degradation over the decades due to infrequent oil changes, even more infrequent coolant changes, and frankly lack of regular use. In my case, the engine has been sitting on a pallet in my garage for 20 years. To jump ahead,
Dick told me that the engine appeared to be lightly used, which was good. But for instance, we had to source a new oil pan because the one that came with the engine had corrosion to the point that it was not sound.
I had Dick prepare for me a summary of all the things he did to the engine and transmission. I cannot improve upon his excellent description of the work done, so with his permission, I am reprinting this description of work here. Oh, by the way, he also rebuilt my distributor.
Block:
1. Completely take engine and cylinder head apart. Examine for needed work and replacement parts.
2. Oil pan deemed non useable. Replacement sourced by owner. Weld crack on face and surface on replacement pan.
3. Acid Clean block, line bore crank holes, bore cylinders for +.020 new pistons. Surface deck of block with timing cover attached. Steam clean and paint. Install new freeze plugs.
4. Remove welch plugs from crank, clean out crank and machine to next lower spec of .020″ undersize, both main and rod journals. Install welch plugs and clean out crank.
5. Install new rod bolts and nuts and recondition connecting rods.
6. Balance pistons, rods and crankshaft.
7. Assemble engine bottom end with new chains, guides and other moving parts as needed. Update front seal to modern Teflon style. Install rope seal using factory sizing tool.
8. Take oil pump apart, replace broken parts and assemble.
9. Rebuild harmonic balancer, surface 3.8 flywheel. Rebuild water pump
Cylinder Head:
1. Bead blast head, check for cracks or excessive corrosion.
2. Lock tappet guides in place.
3.Install new bronze valve guides with updated inlet ones to accept valve stem seals.
4. Cut seats to a 3 angle cut for longer life and better performance.
5. Surface cylinder head.
6. Hand lap valves in place.
7. Assemble and set clearances. Install new cam bearings.
8. Set cam timing.
9. Polish front of head and paint rest gold.
10. Install head onto engine with new chrome Acorn nuts, washers and copper washers.
11. Set engine to TDC and hook up camshafts and wire tie bolts into place.
Gearbox:
1. Take gearbox apart.
2. Clean, polish and paint as needed all parts
3. Take upper shifter quadrants apart, replace o-ring seals and check shifter wear. Very little as low mileage .
4. Replace synchronizers, bearings, gaskets and seals.
5. Add some fluid and bench test for proper operation
6. Modify 3.8 bell housing to accept 4.2 gearbox.
7. Install new pilot bushing in crank.
8. Install new clutch and throw out bearing.
9. Install new clutch slave cylinder.
10. Install gearbox onto engine and set clutch rod clearance.
As you can see, there are quite a few steps and a variety of new parts. Now I have a sound engine that will be dependable for the next few decades of probably what will continue to be light use.
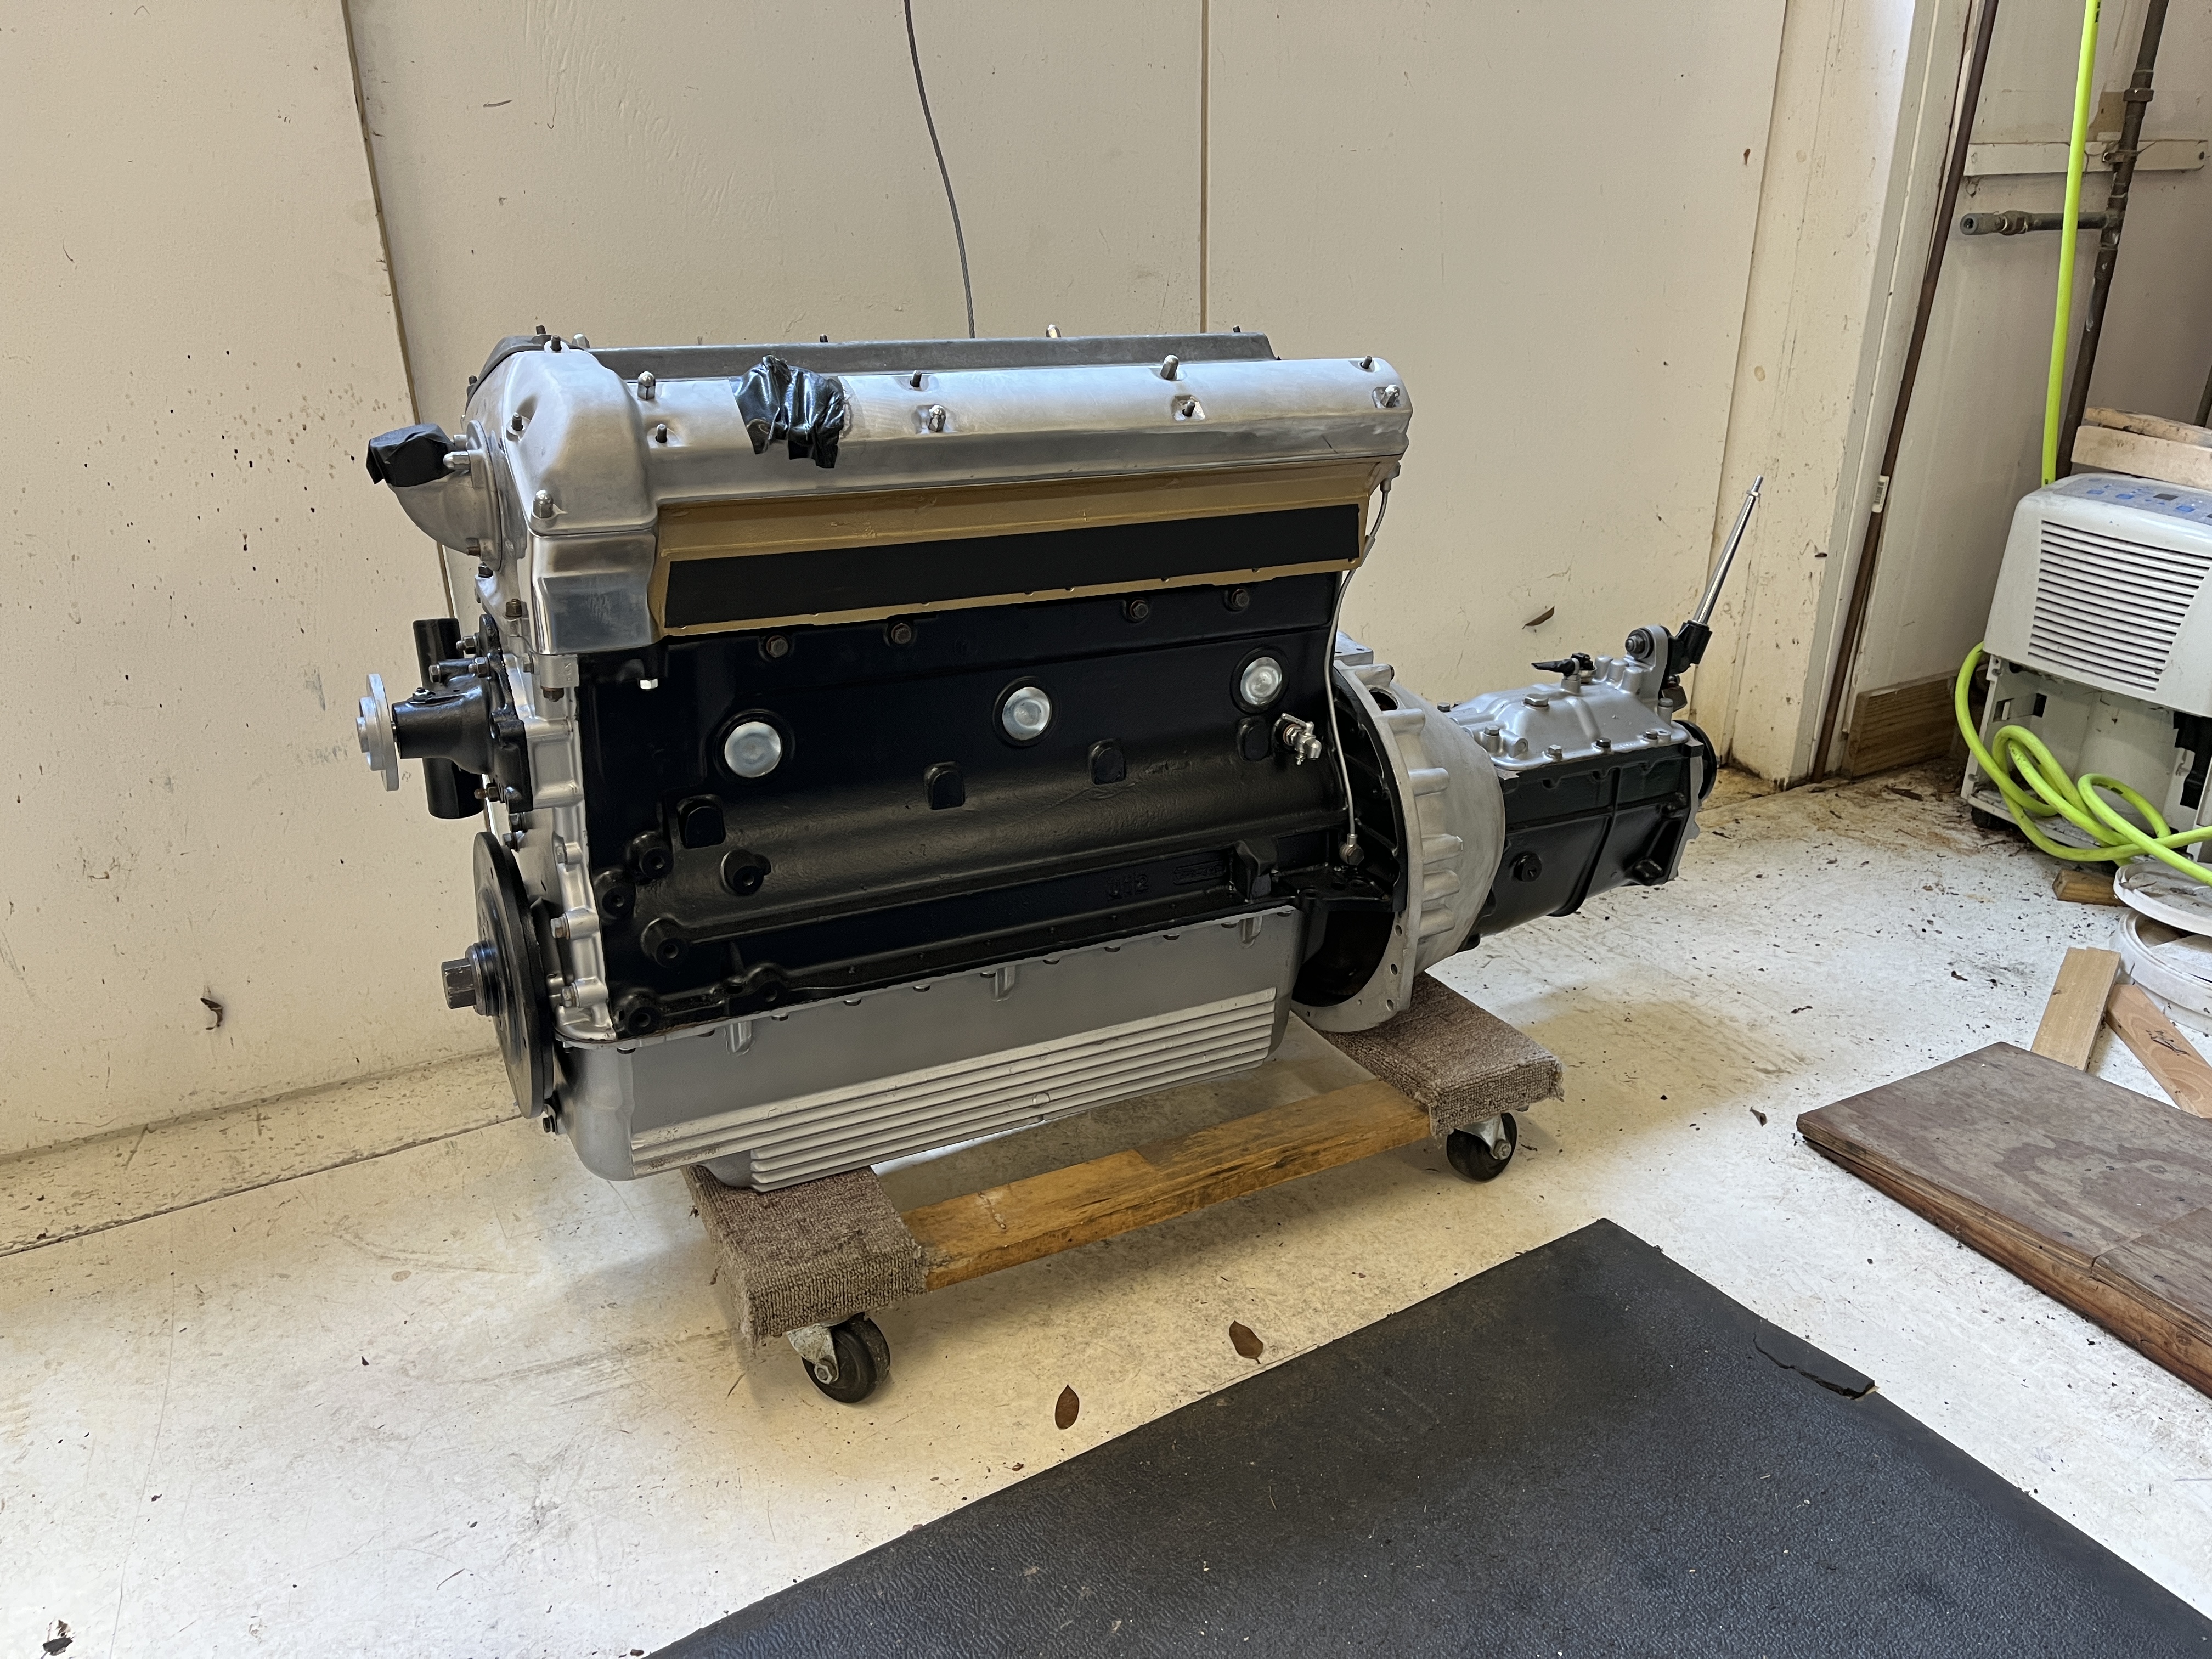
Note these are temporary cam covers. I have shiney new ones in a box!


Discussion
Comments are closed.