Recently I completed a task on my wife’s 06 Cayman S, which was to replace the dash gauge face overlay. As a Christmas present, I had given her an IOU to replace her horrible sticky HVAC control knobs and to replace the faded dash guage face. The replacement of the knobs is done and discussed here.
The gauge face had started to fade out on the left hand side. After some research, I decided to purchase a replacement gauge face from FVD Brombacher. It was expensive and took months to receive from Germany but the wait was worth it, as the quality was excellent.
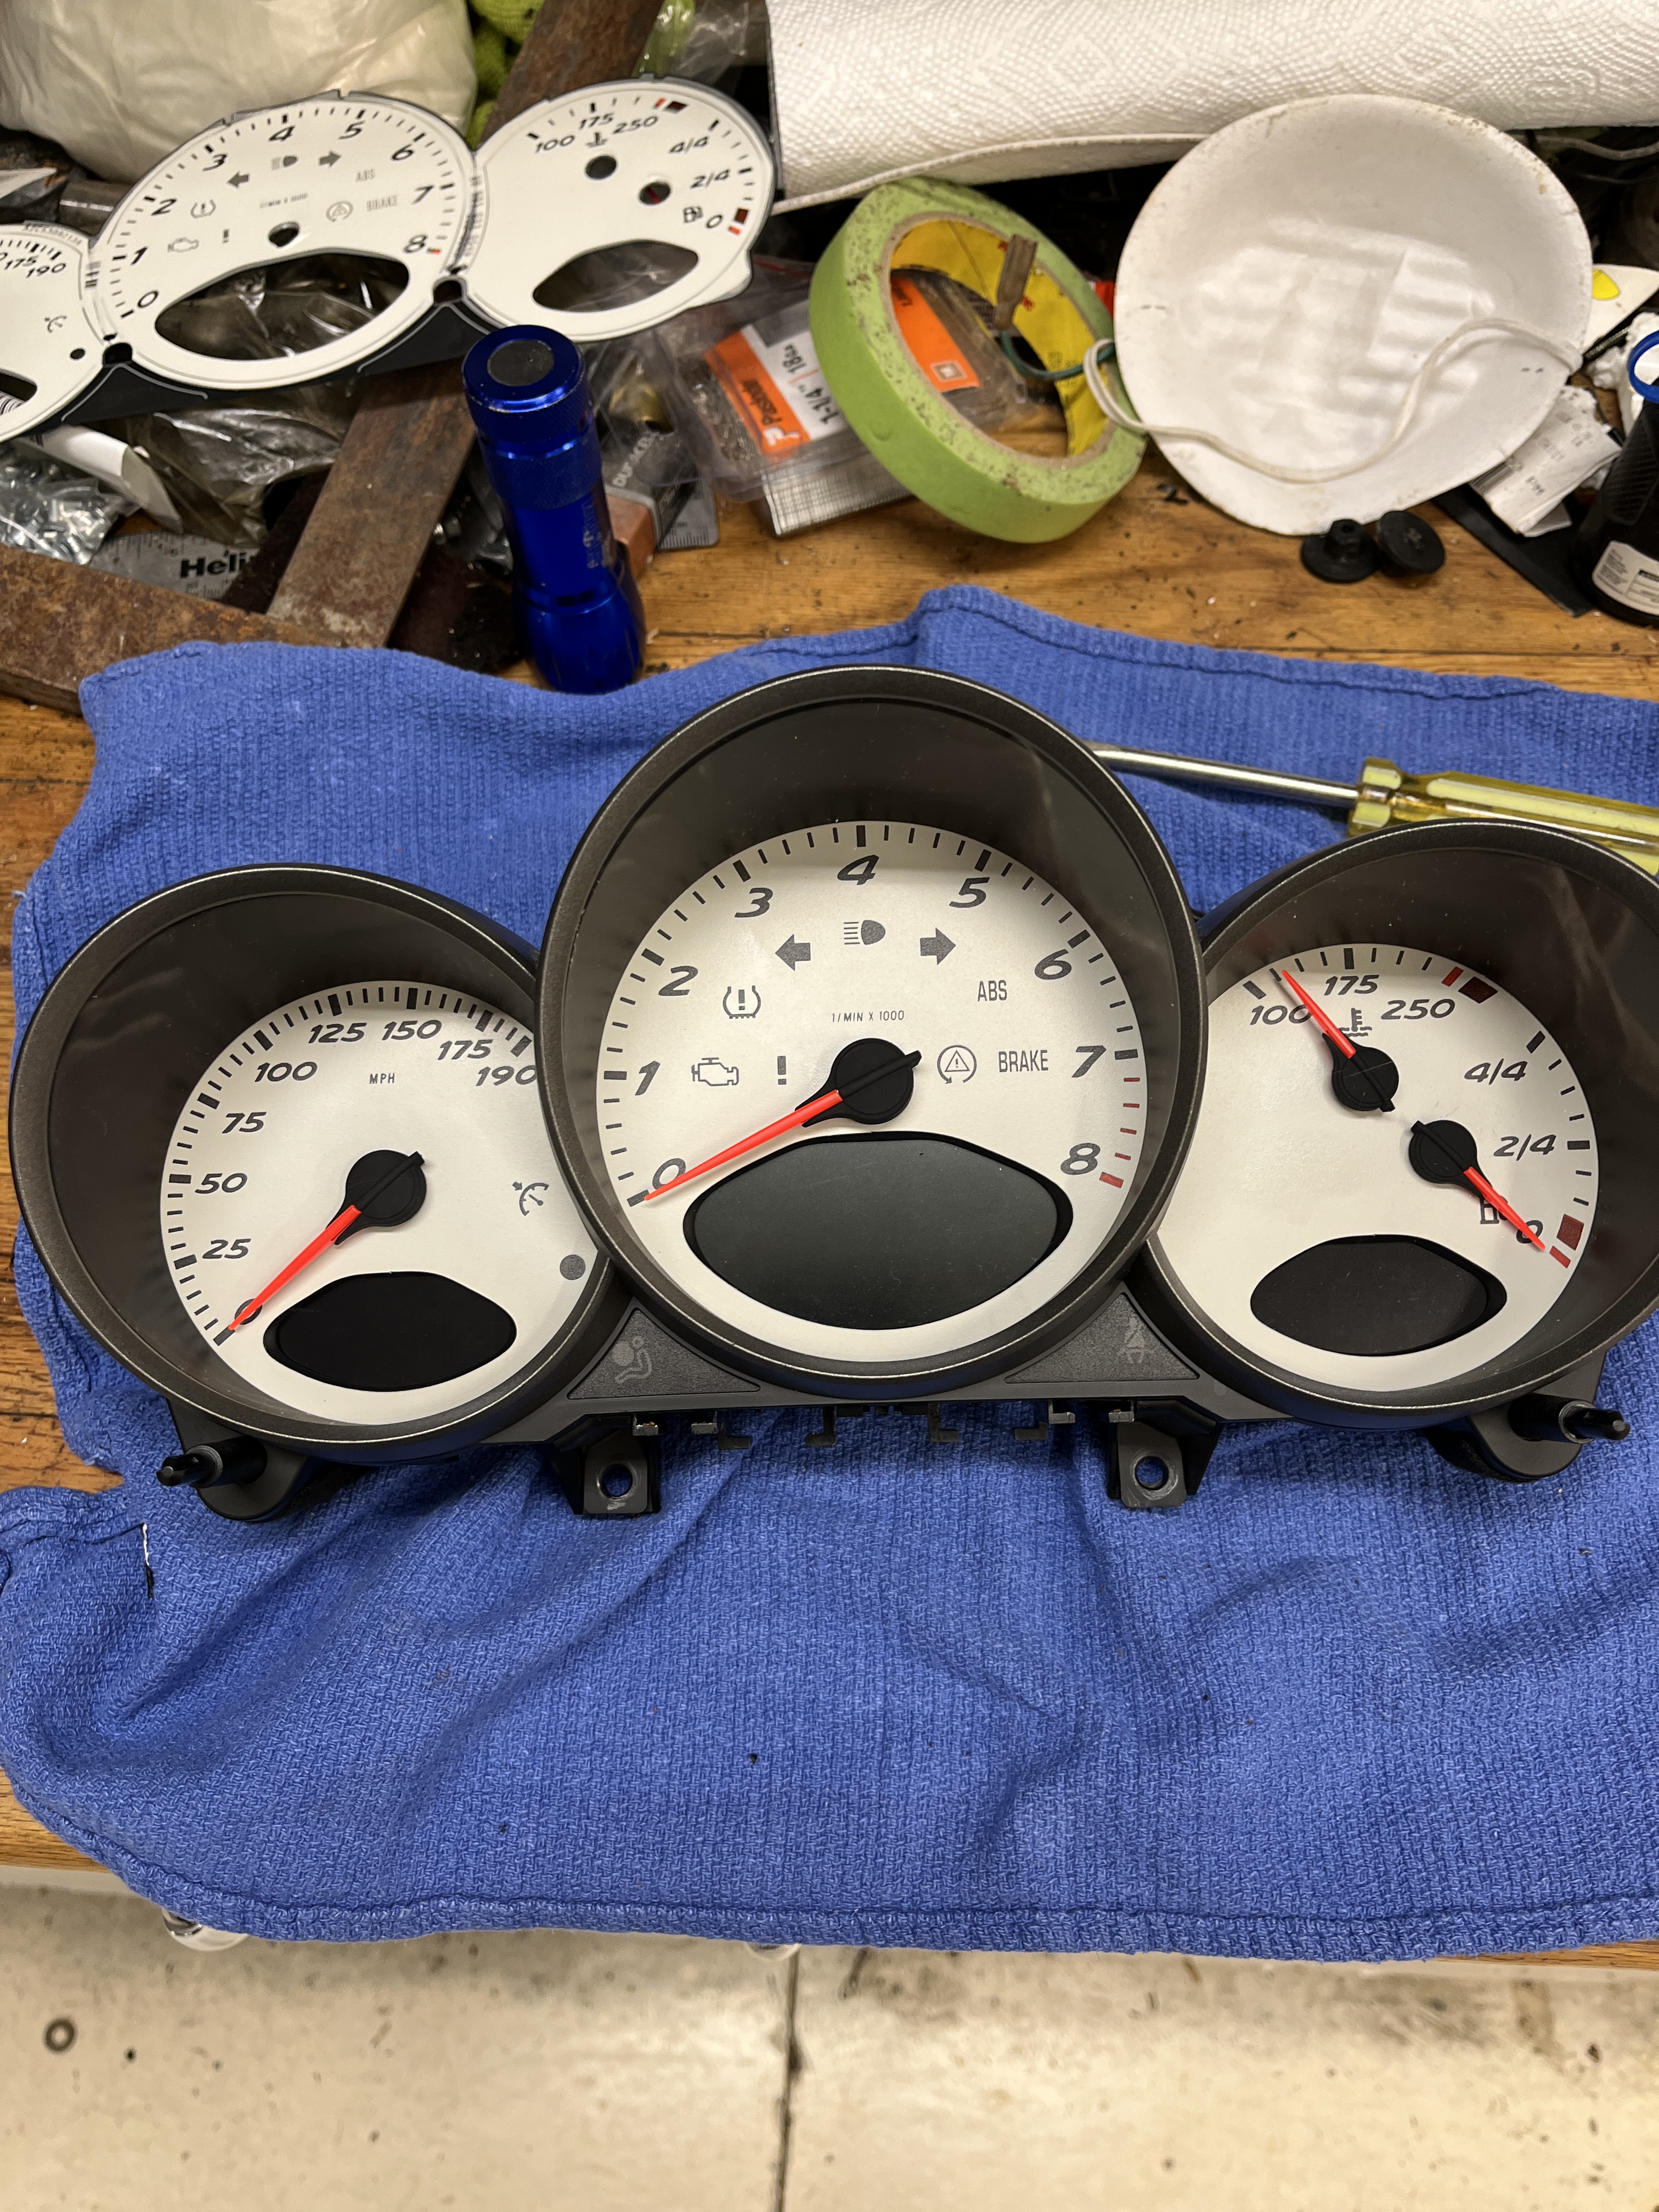
Getting the instrument cluster out was an adventure. I would recommend the following thread:
https://rennlist.com/forums/diy-997/454458-removal-of-instrument-cluster.html
That thread is for a 911 but it worked for my Cayman also. As you can see, the process is quite simple. Except for me, getting that thin little strip of plastic out from below the cluster was very difficult. Like a lot of things on a Cayman, it is held in with clips, no screws. Knowing how the clips are oriented is helpful so here are some photos:

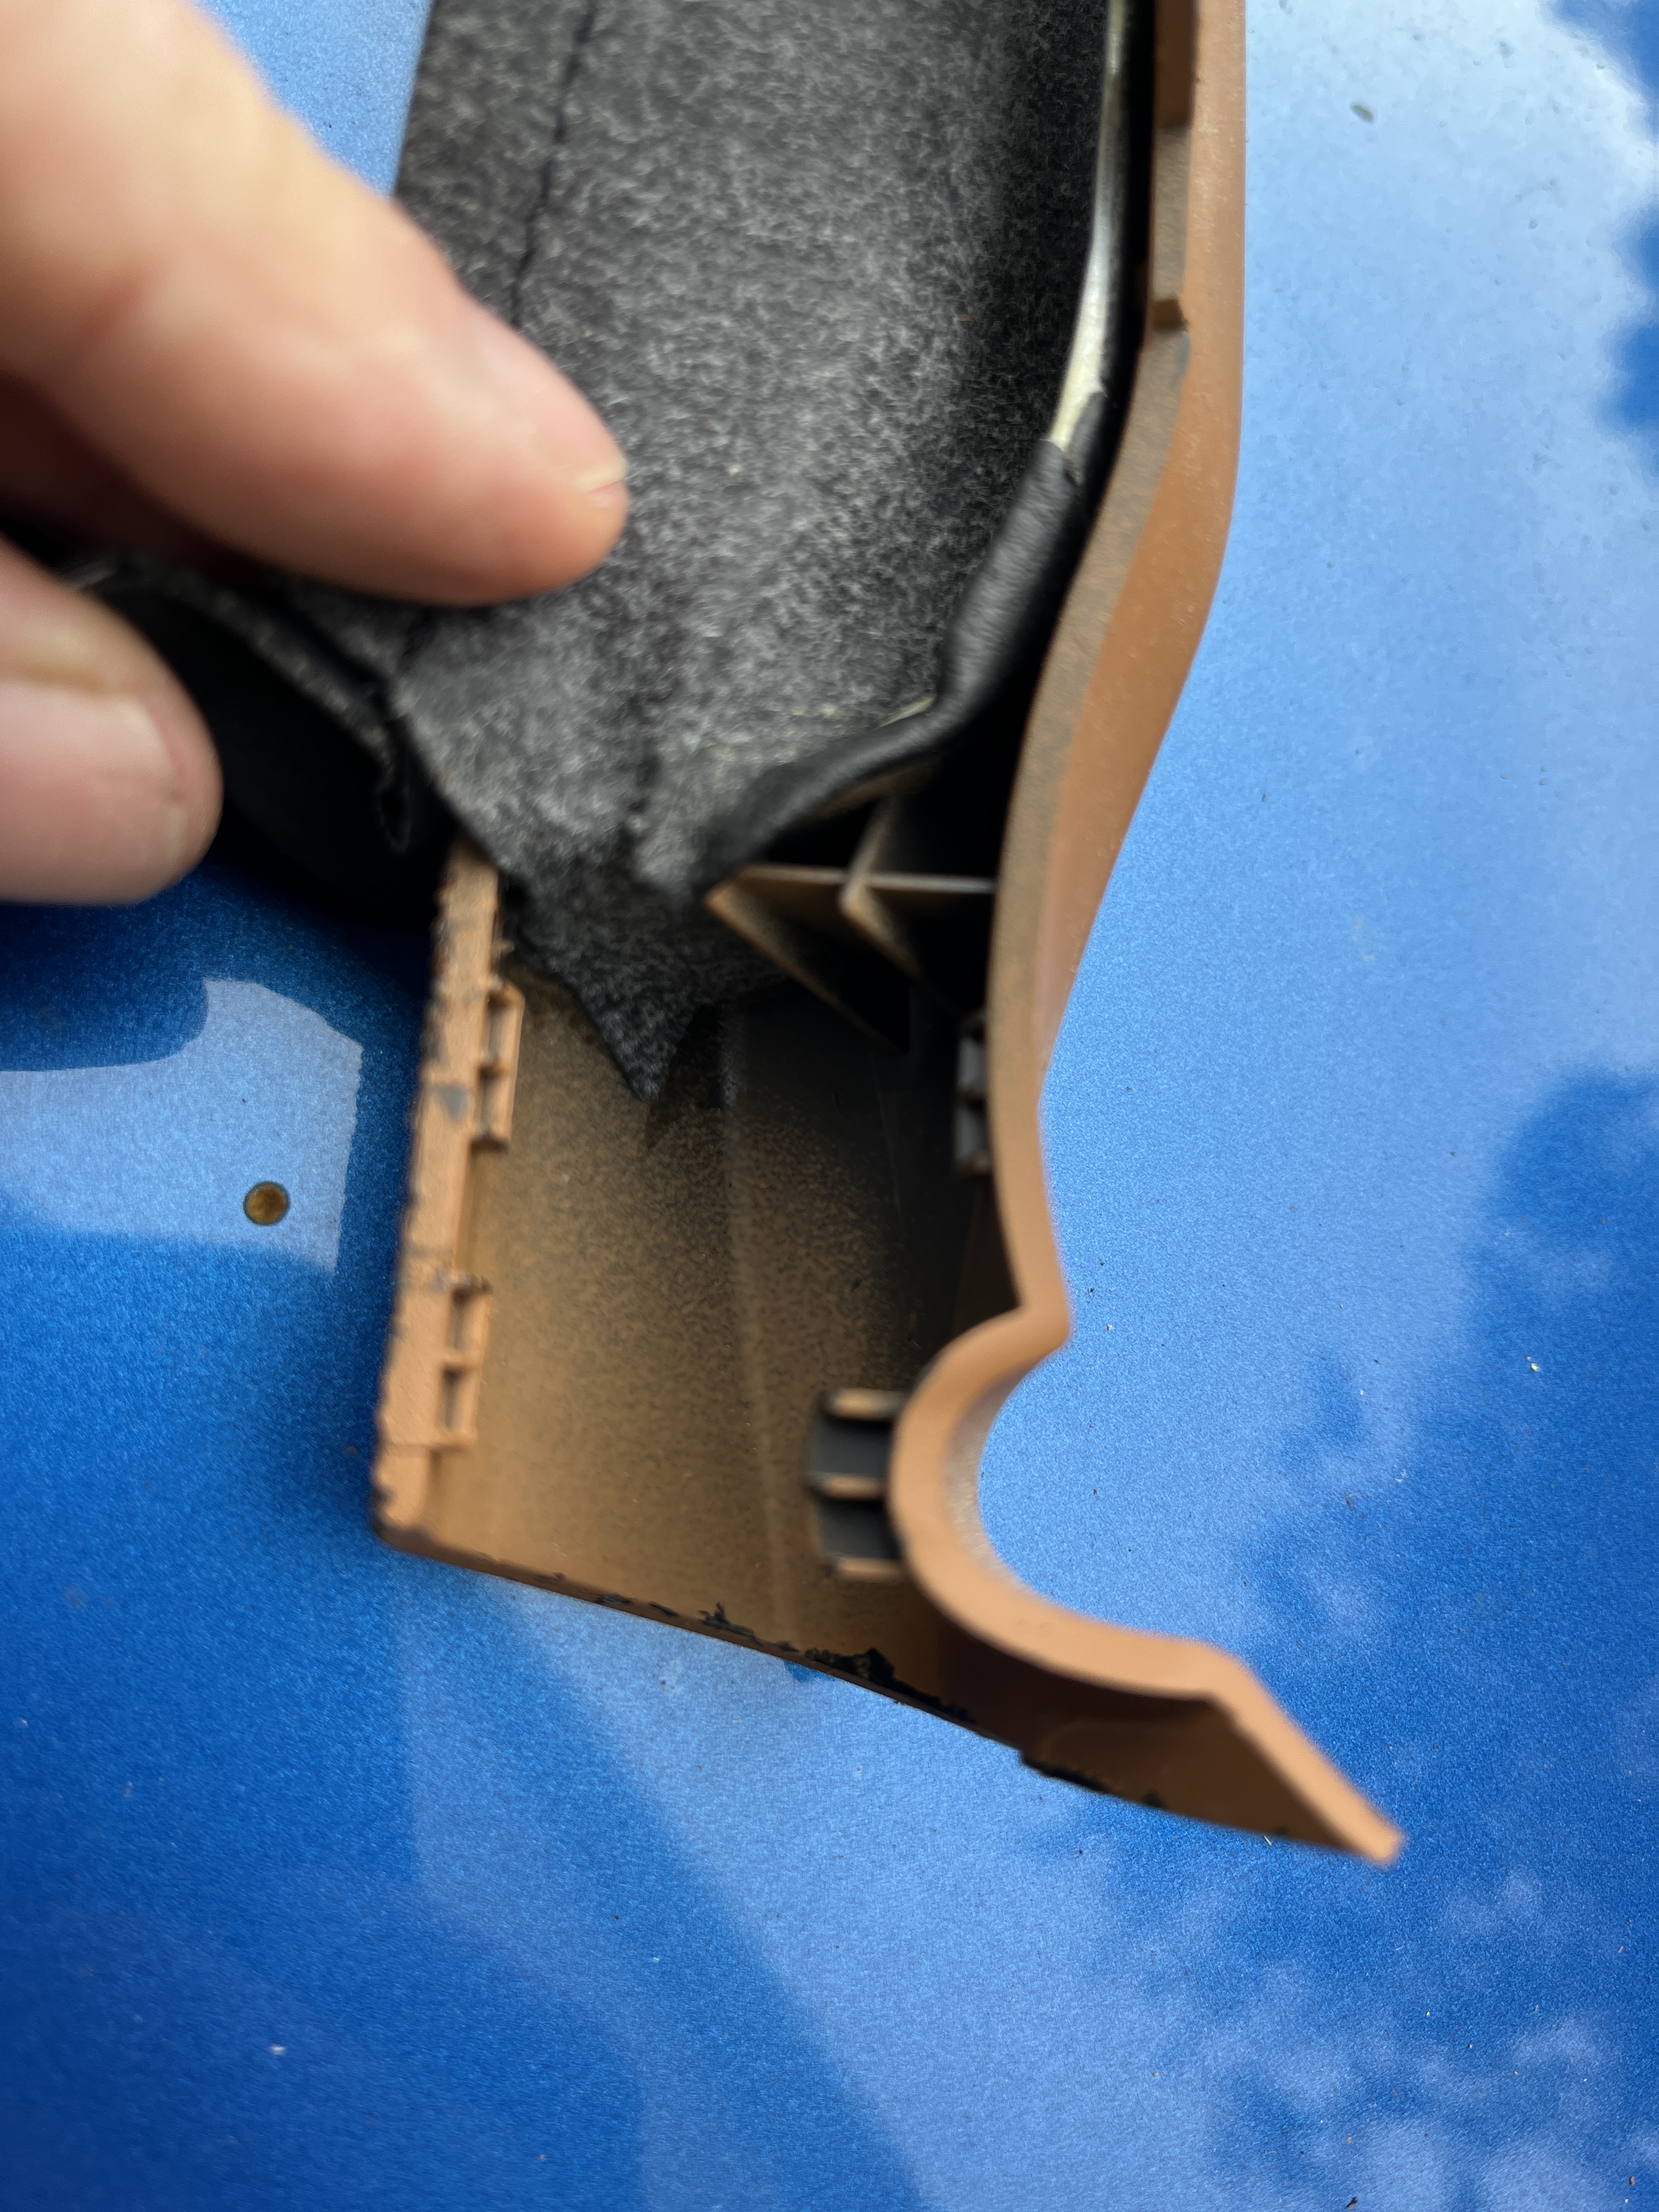
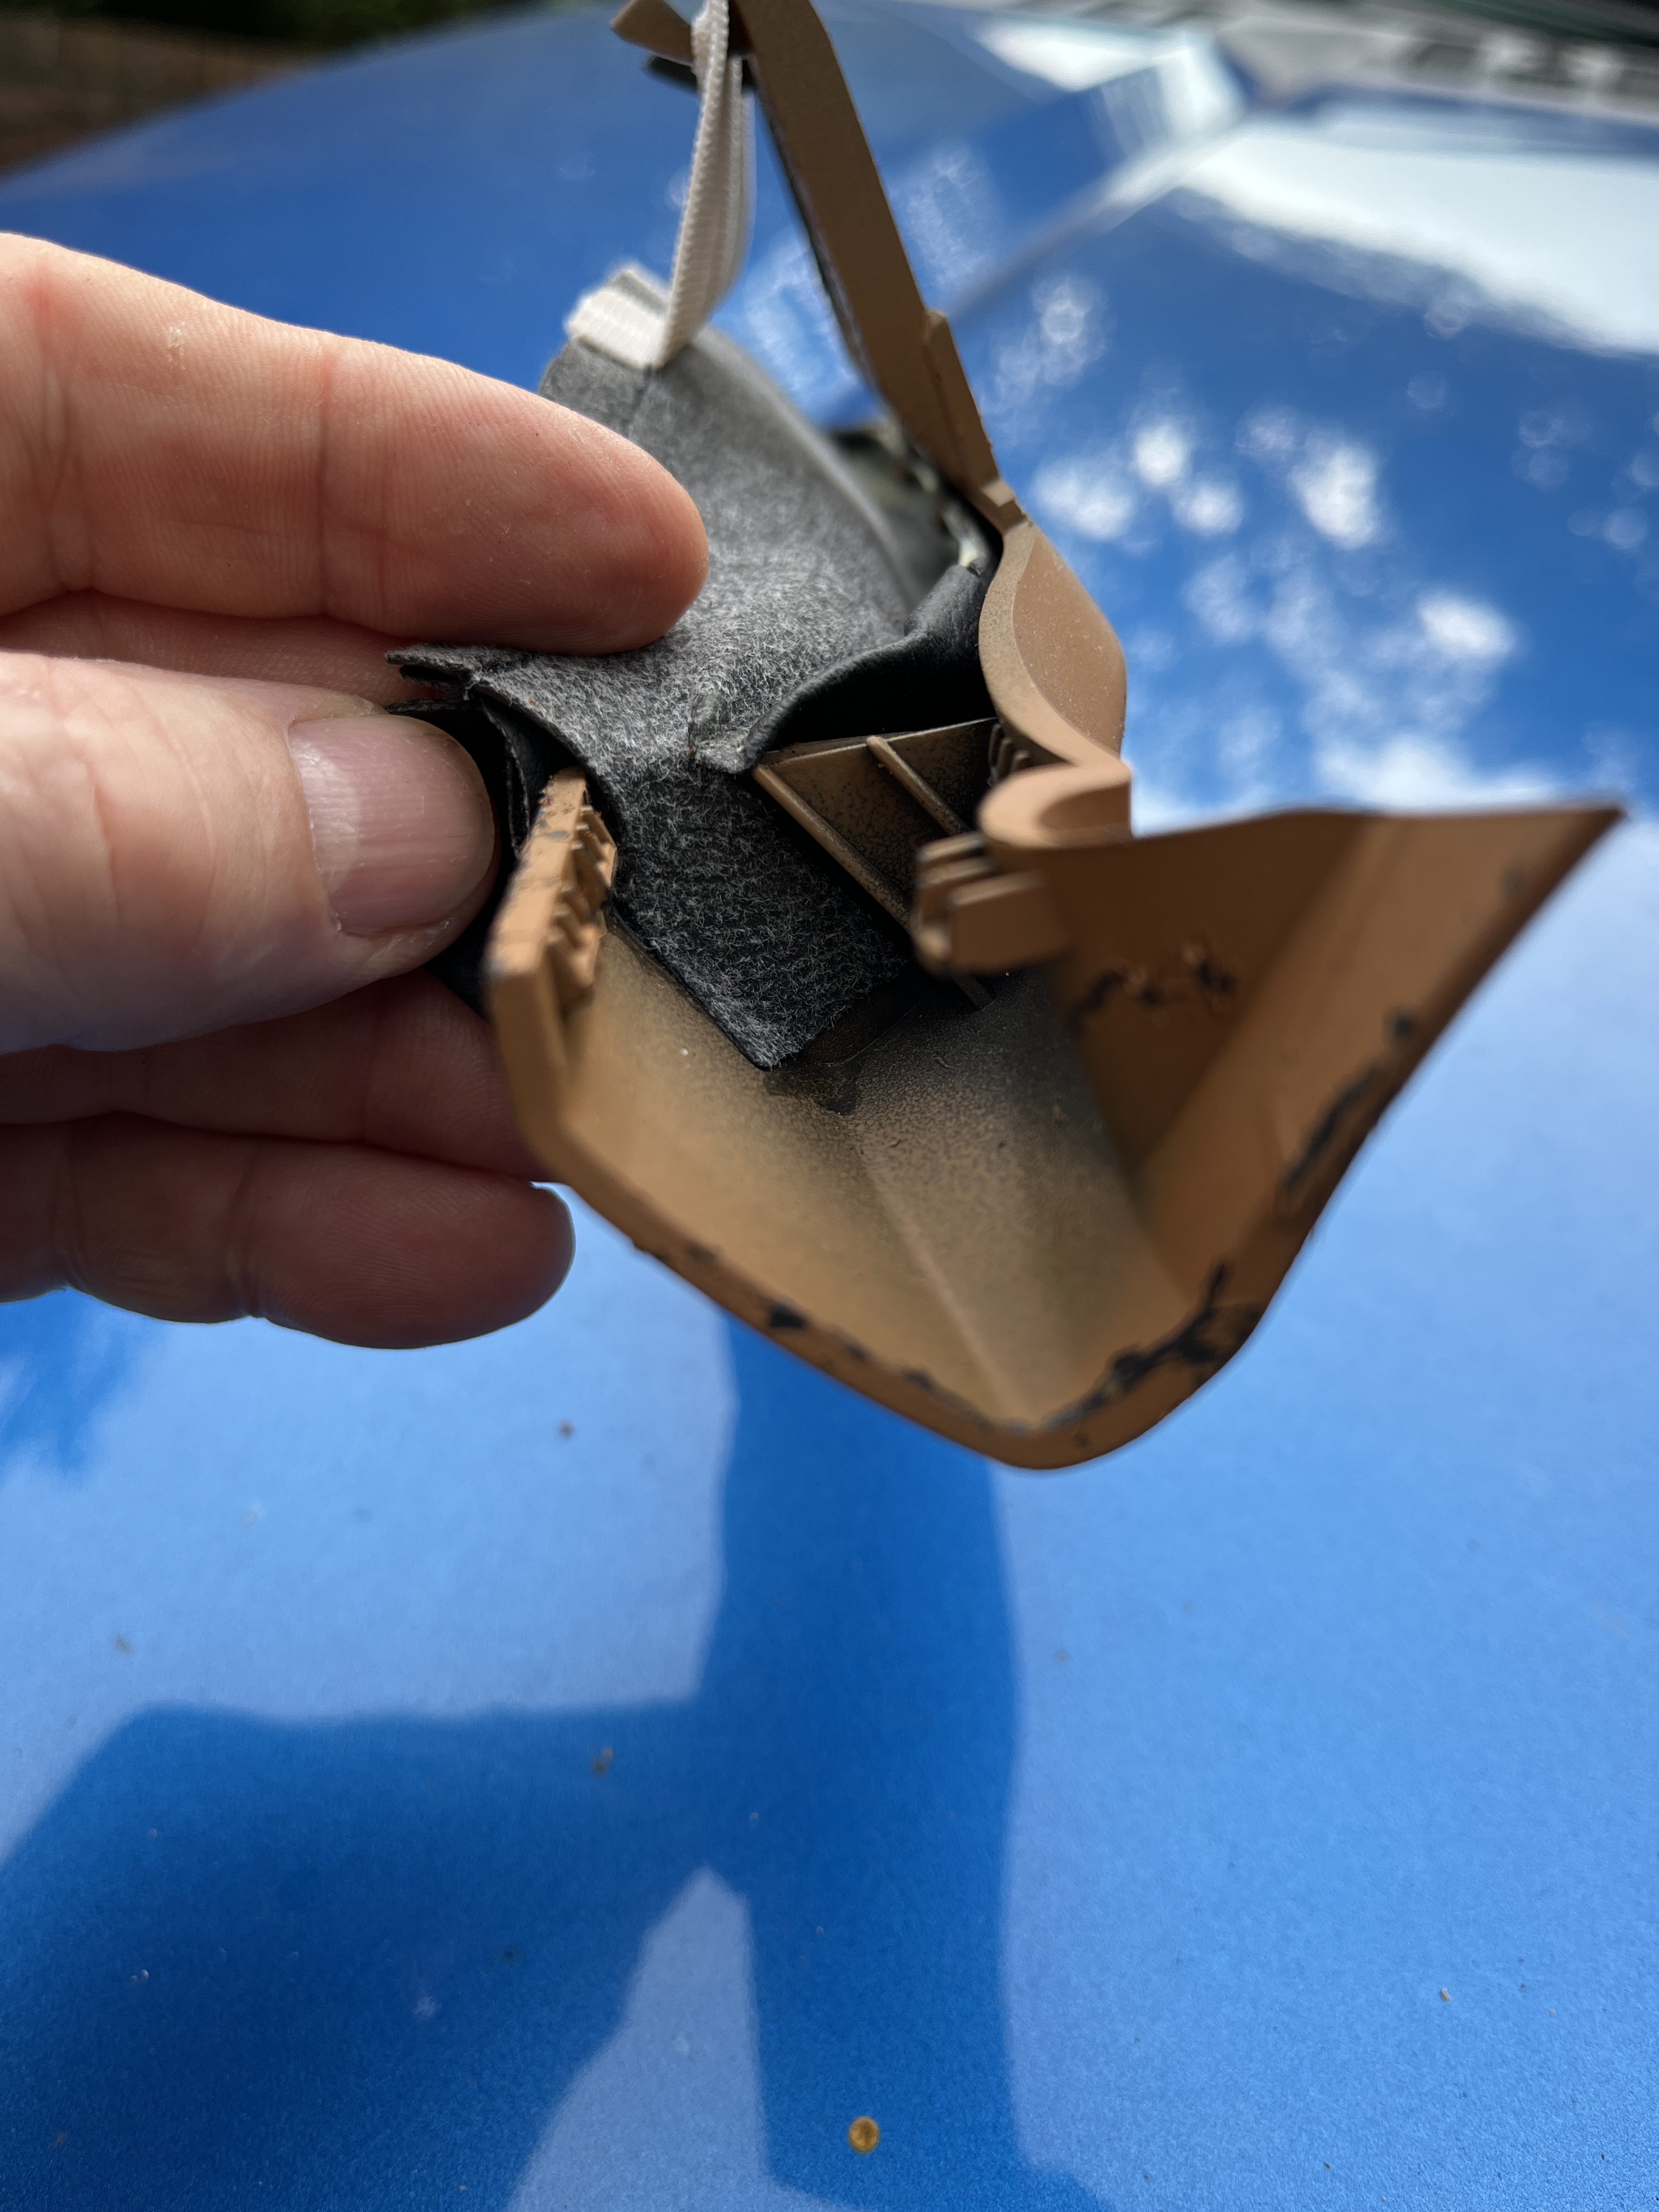
As you can hopefully see from the 3rd picture, the edge with the least bite or engagement is the bottom edge. Concentrate you efforts there. I use really small screwdrivers to prise at these edges. A standard trim removal tool if too large in my opinion. It may help to remove the black plastic surround around the steering column, which I did. Three obvious countersunk screws in the underside hold the two halves together.
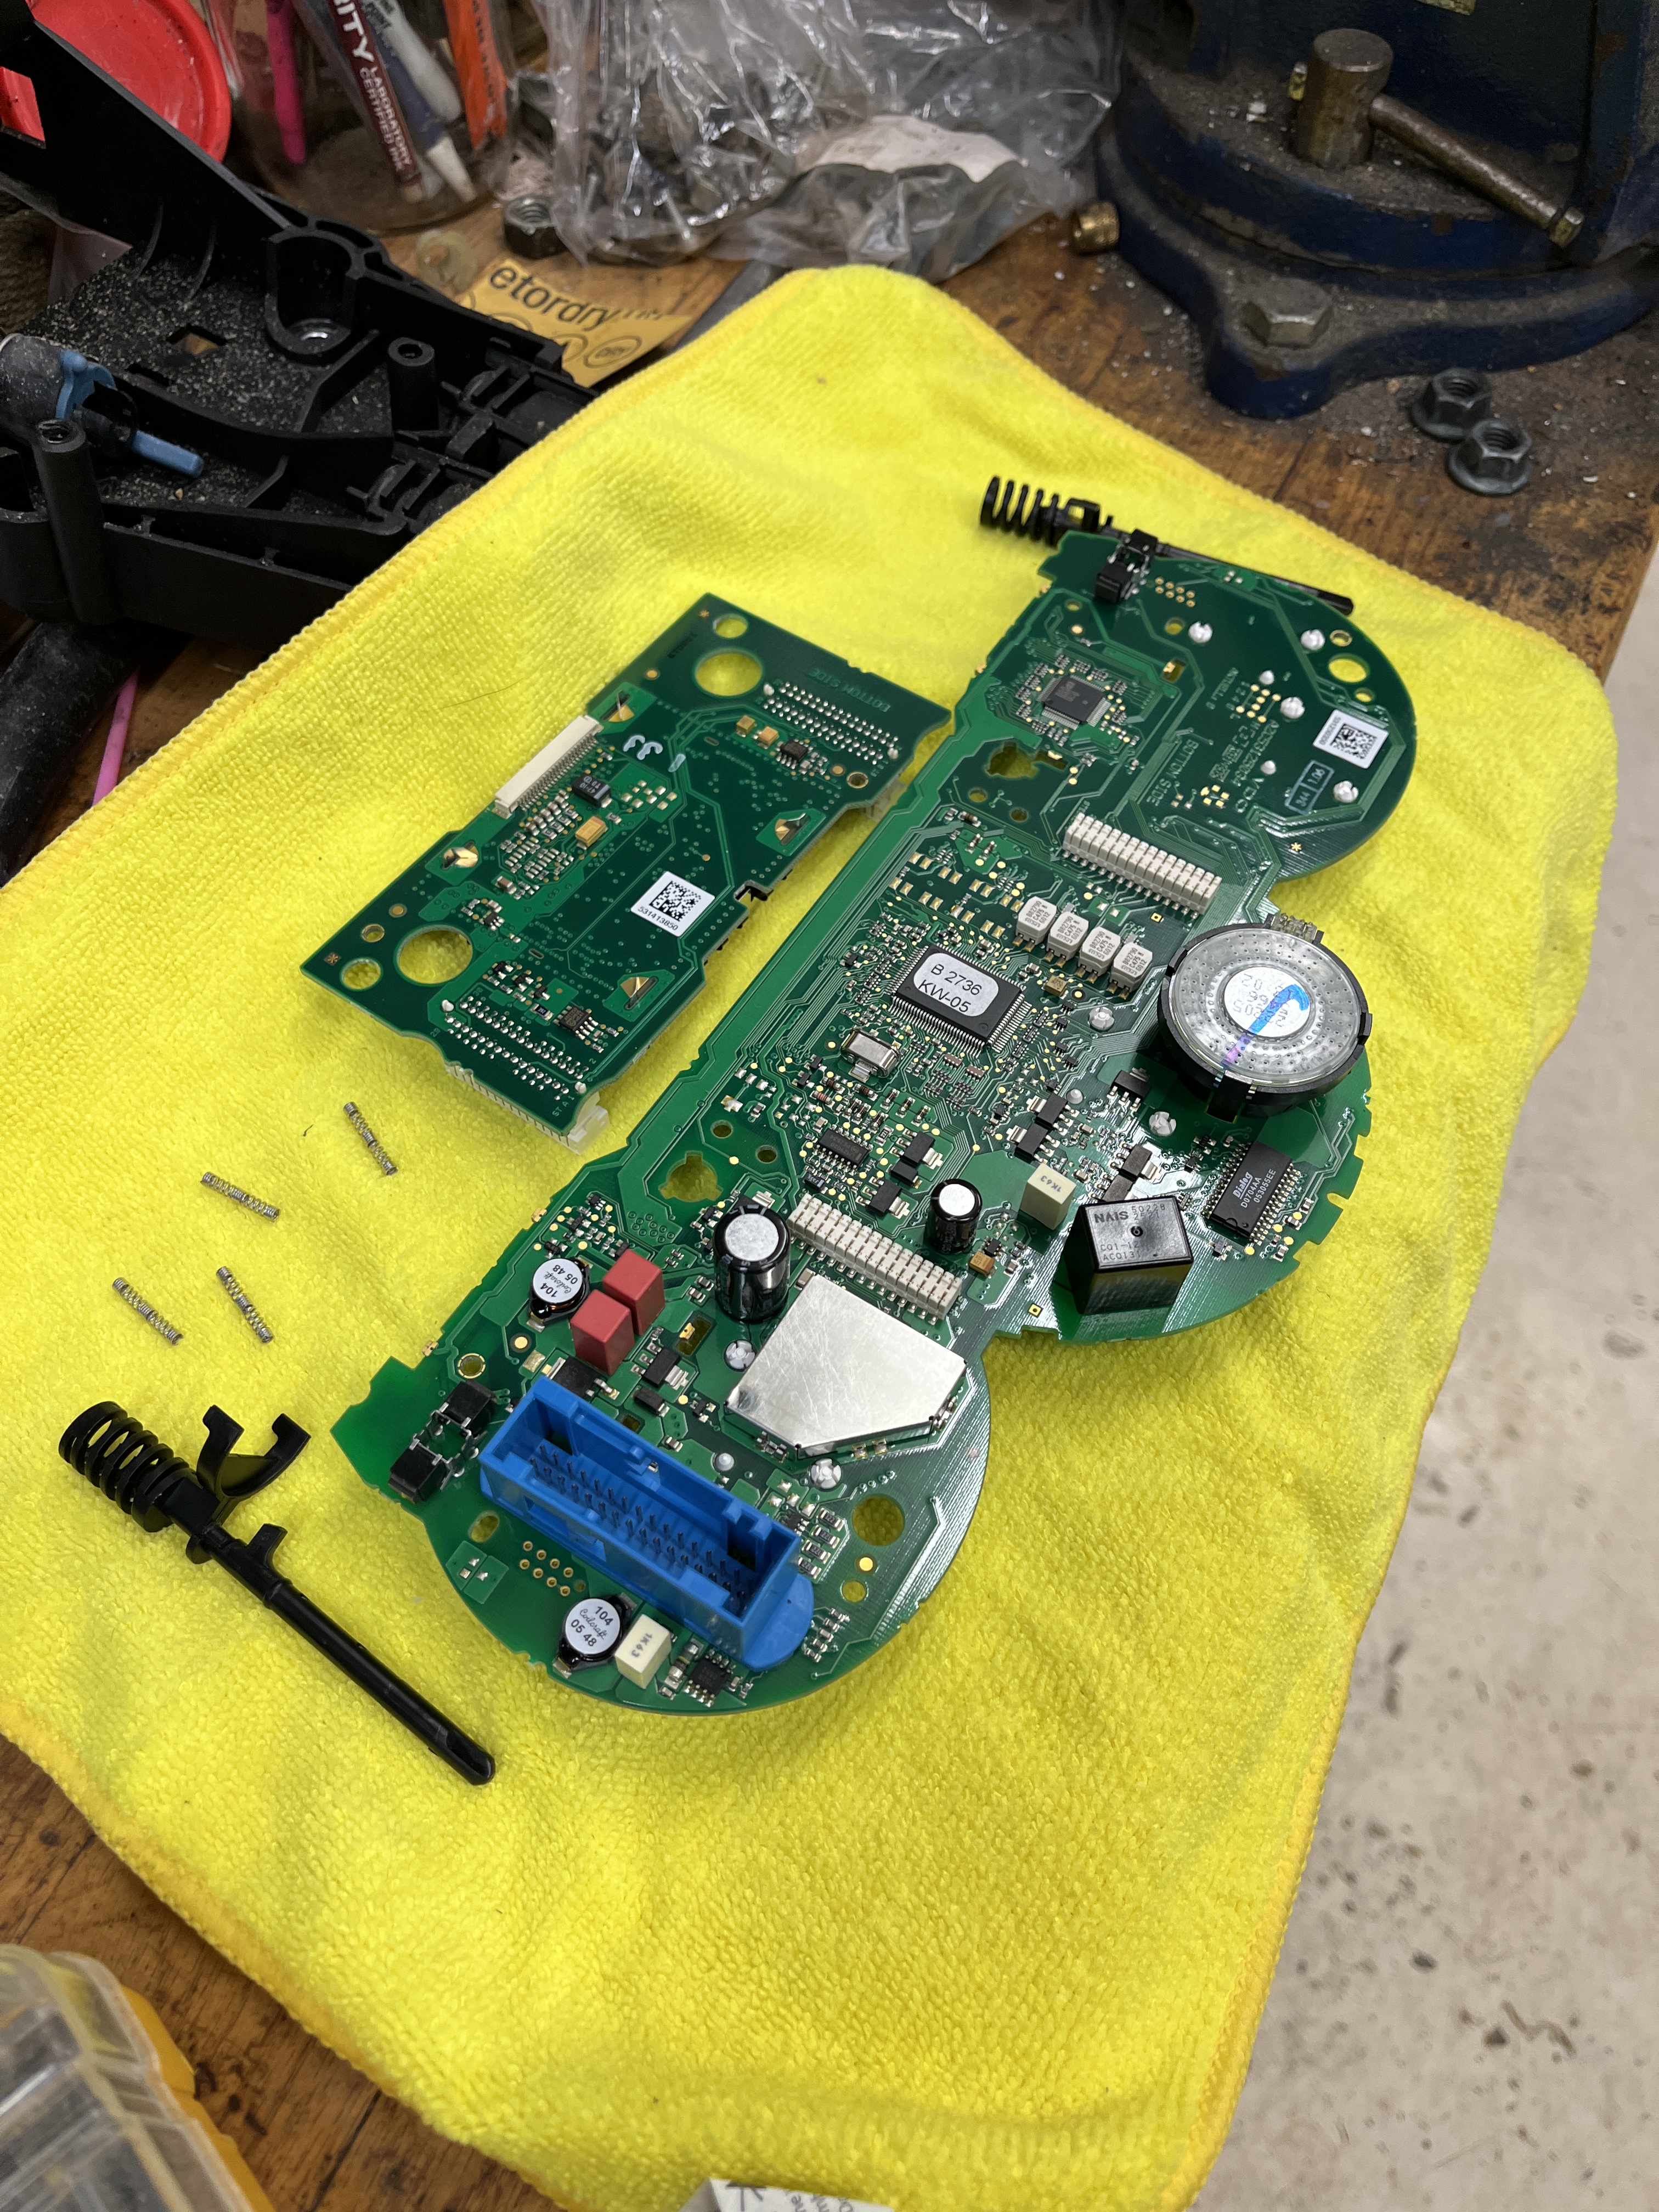
Once you get the trim piece out, the 2 Torx screws are easy and obvious. Then it just becomes a brute force effort to release the two top clips holding in the pod. I really had to tug a lot. It was scary hard but if finally came.
Once you have the pod on the bench, I suggest this youtube:
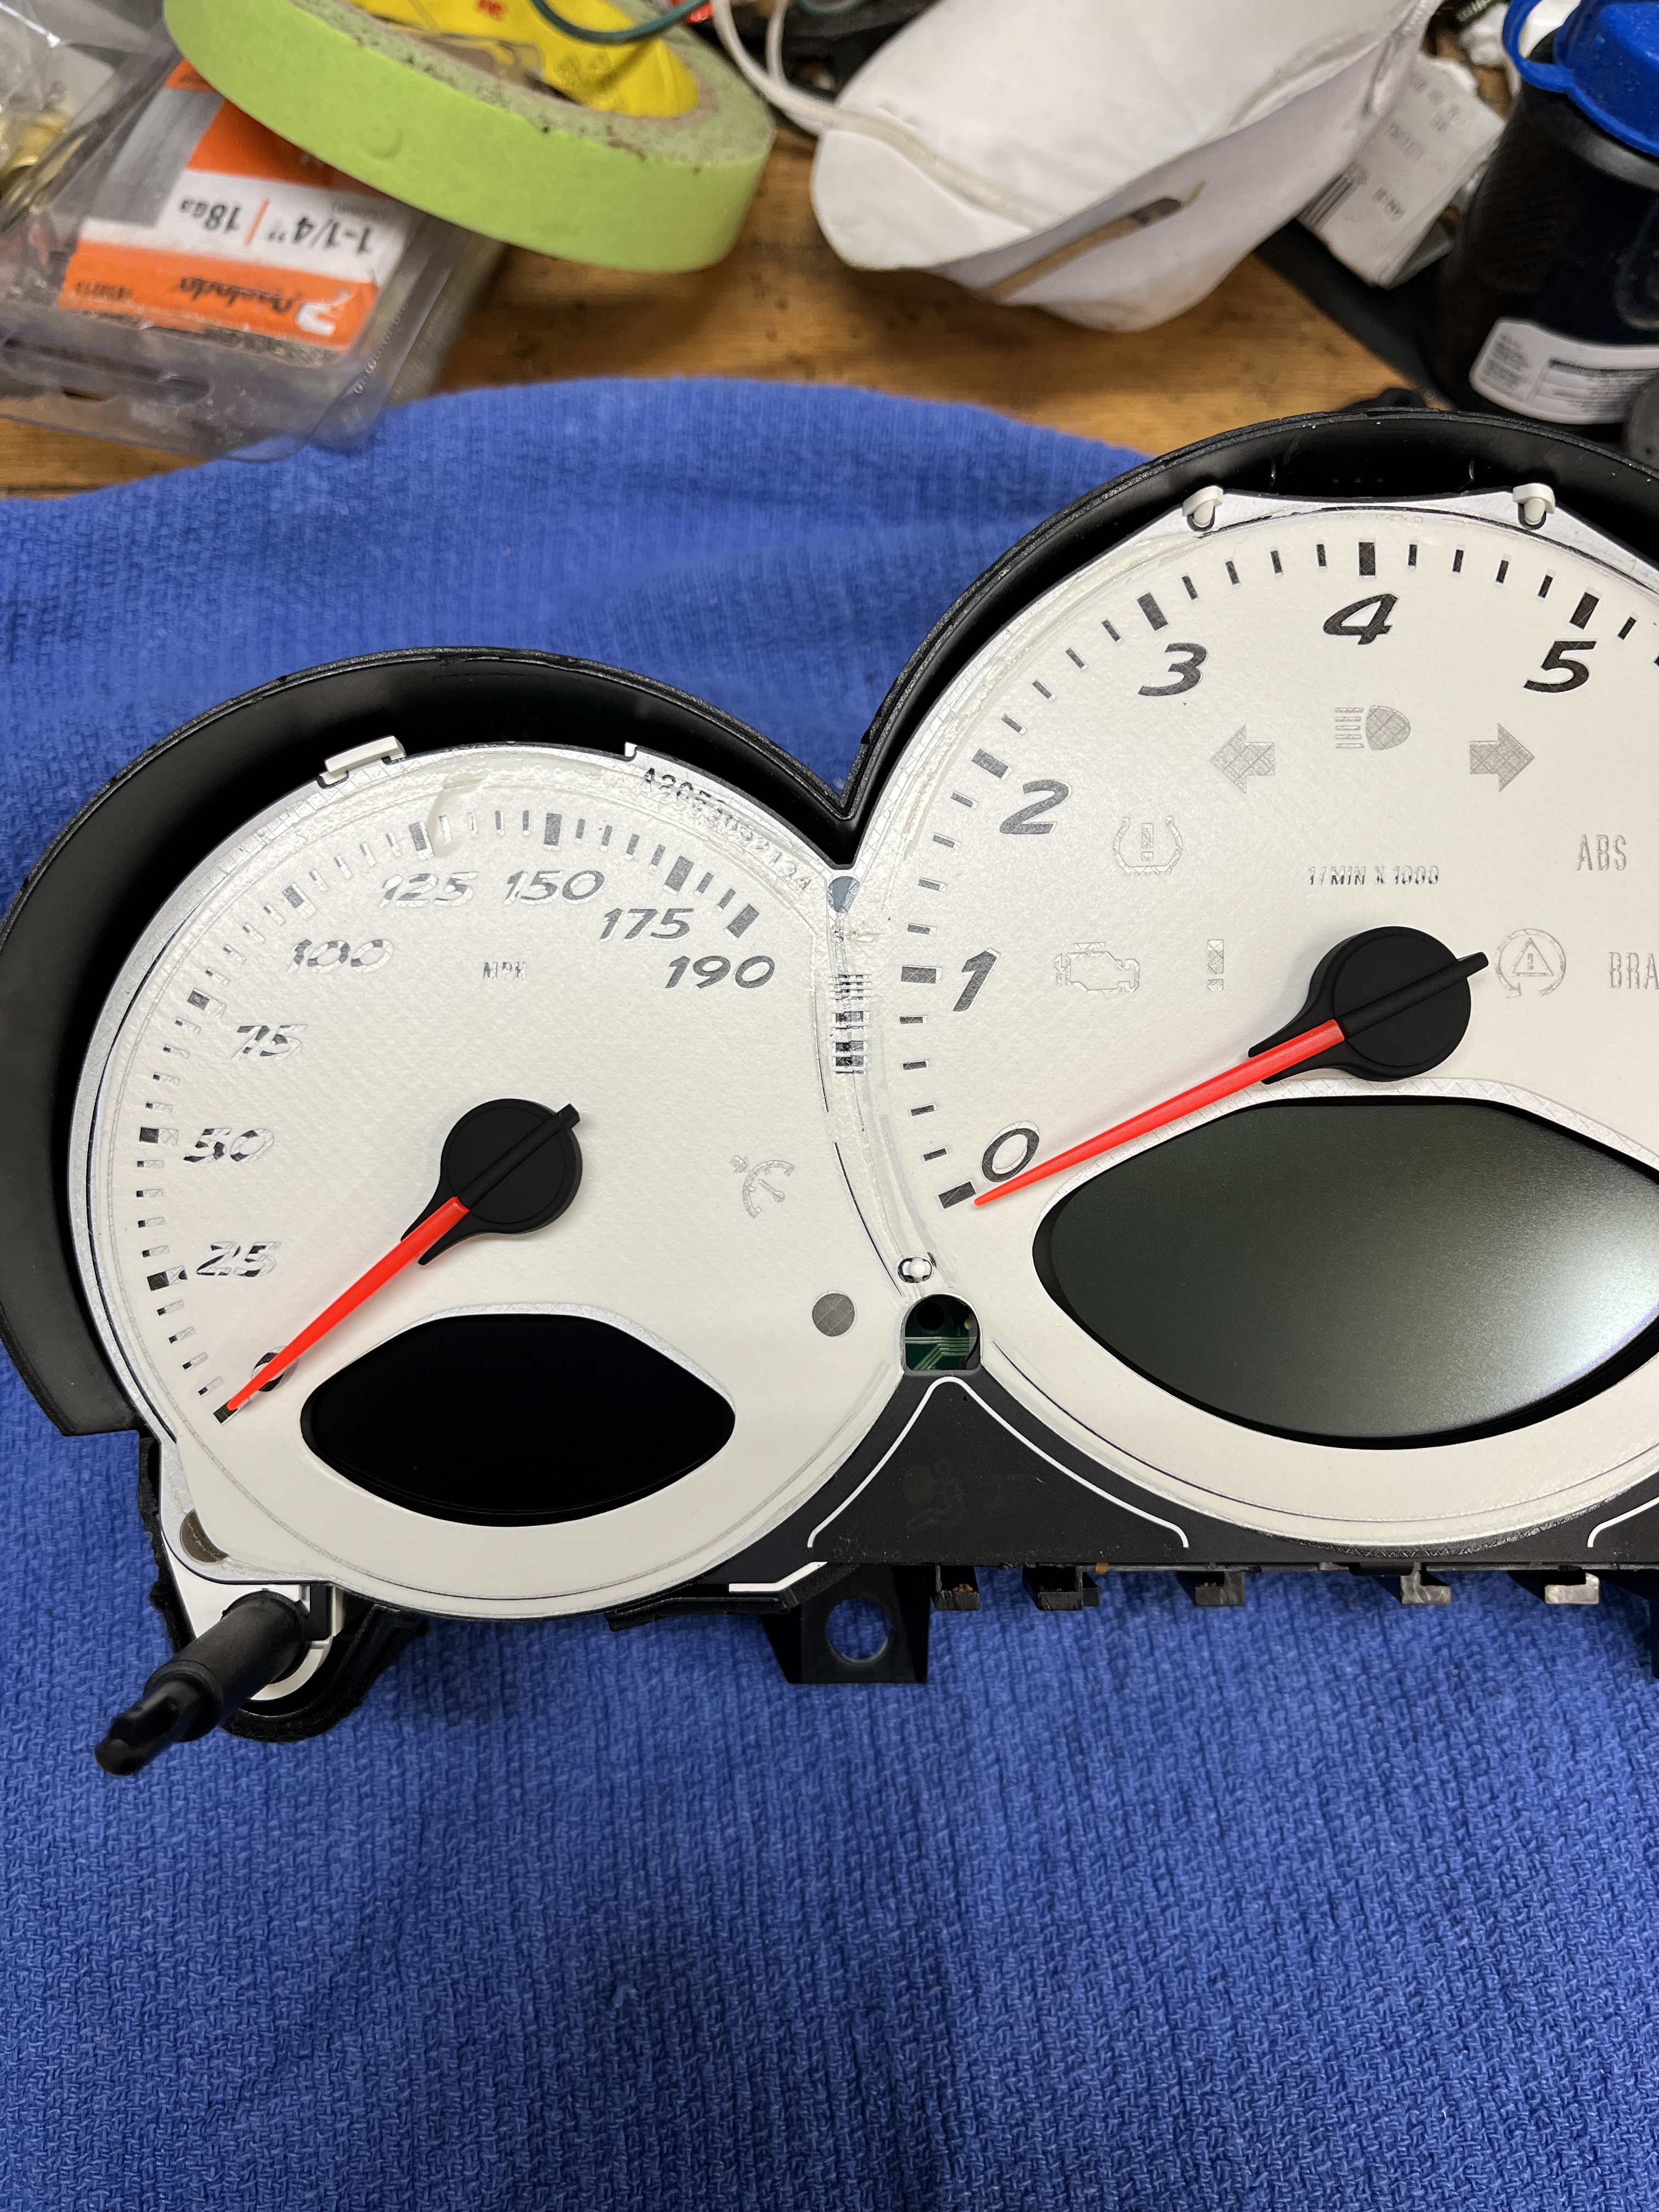
They are in Italy and I’m sure their tools are helpful but I did it with just a set of Torx drivers and some small screwdrivers. As others have pointed out, the connection at the seam on the top of the pod is just a brute force pull. These connections make me crazy. I only broke 1 of the 3 finger inserts, which seems to be about par for the course. I used a small screwdriver type pry bar to nudge the pointers off their shafts. They are held on with friction. Once I got an initial upward movement, I was able to pinch them with a finger and a thumb and pull them the rest of the way off. Although I must admit the little tool in the video is cool. It appears to be a disc with a gradual increase in thickness that gently pulls up the pointer. Also, if you can, sight under each needle from the side and note how much clearance there is to the face of the gauge. I did not do this but I see that the tool kit demonstated in the video above includes a spacer for this step when going back so there must be some small clearance required. With advance planning, you might be able to use a feeler gauge to check and reset this gap.
The video takes you down to replacing the small digital screens. Initially I didn’t think I needed to go that far in but if you follow the video to the point where it says “With the removal tool SEP-ESTR28 press, using an undulatory movement” that is the neccesary step to pop out the little bezels that hold in the center of the face plate. I just used a small socket as my tool. You can stop your disassembly at that step in the video. It is tempting to think you can remove these bezels from the front but in my case, the old gauge face literally tore around them rather than their releasing themselves, so they seem to be pretty tightly fit.
When you get it back together, provisionally go ahead and connect it to the wiring harness and turn on your key to check for basic function. I advise, if things look good, to start the car and see if the tach works. Shut it off and see if it returns to zero. Mine did not and I had to make some adjustments of the dial onto its shaft. So obviously do this before you fully reassemble the case. You might also want to go for the briefest of drives to confirm the speedometer function. My drive was to reverse out of the garage bay and re-enter, about 50 feet, which was enough! In the video they show rotating the pointers to zero. I am not sure how this works. Like I said, I had to try the tach pointer several times to get it right. If I were doing it again, I would just barely seat the needles and carry it over to the car for a quick test. If everything looked good I would fully seat the needles, then reassemble the case.
Interesting side note. I had my car up on the lift. I started it and put it in gear, rolling the rear tires, expecting to get a speedometer reading. Nada. The speedometer seems to be driven from the front tires, since as I discussed, it came to life in a 50 foot drive.
So there you have it. A little bit nerve wracking, with all the plastic clips and circuit board connections but it all worked out fine. Good luck.


Discussion
Comments are closed.