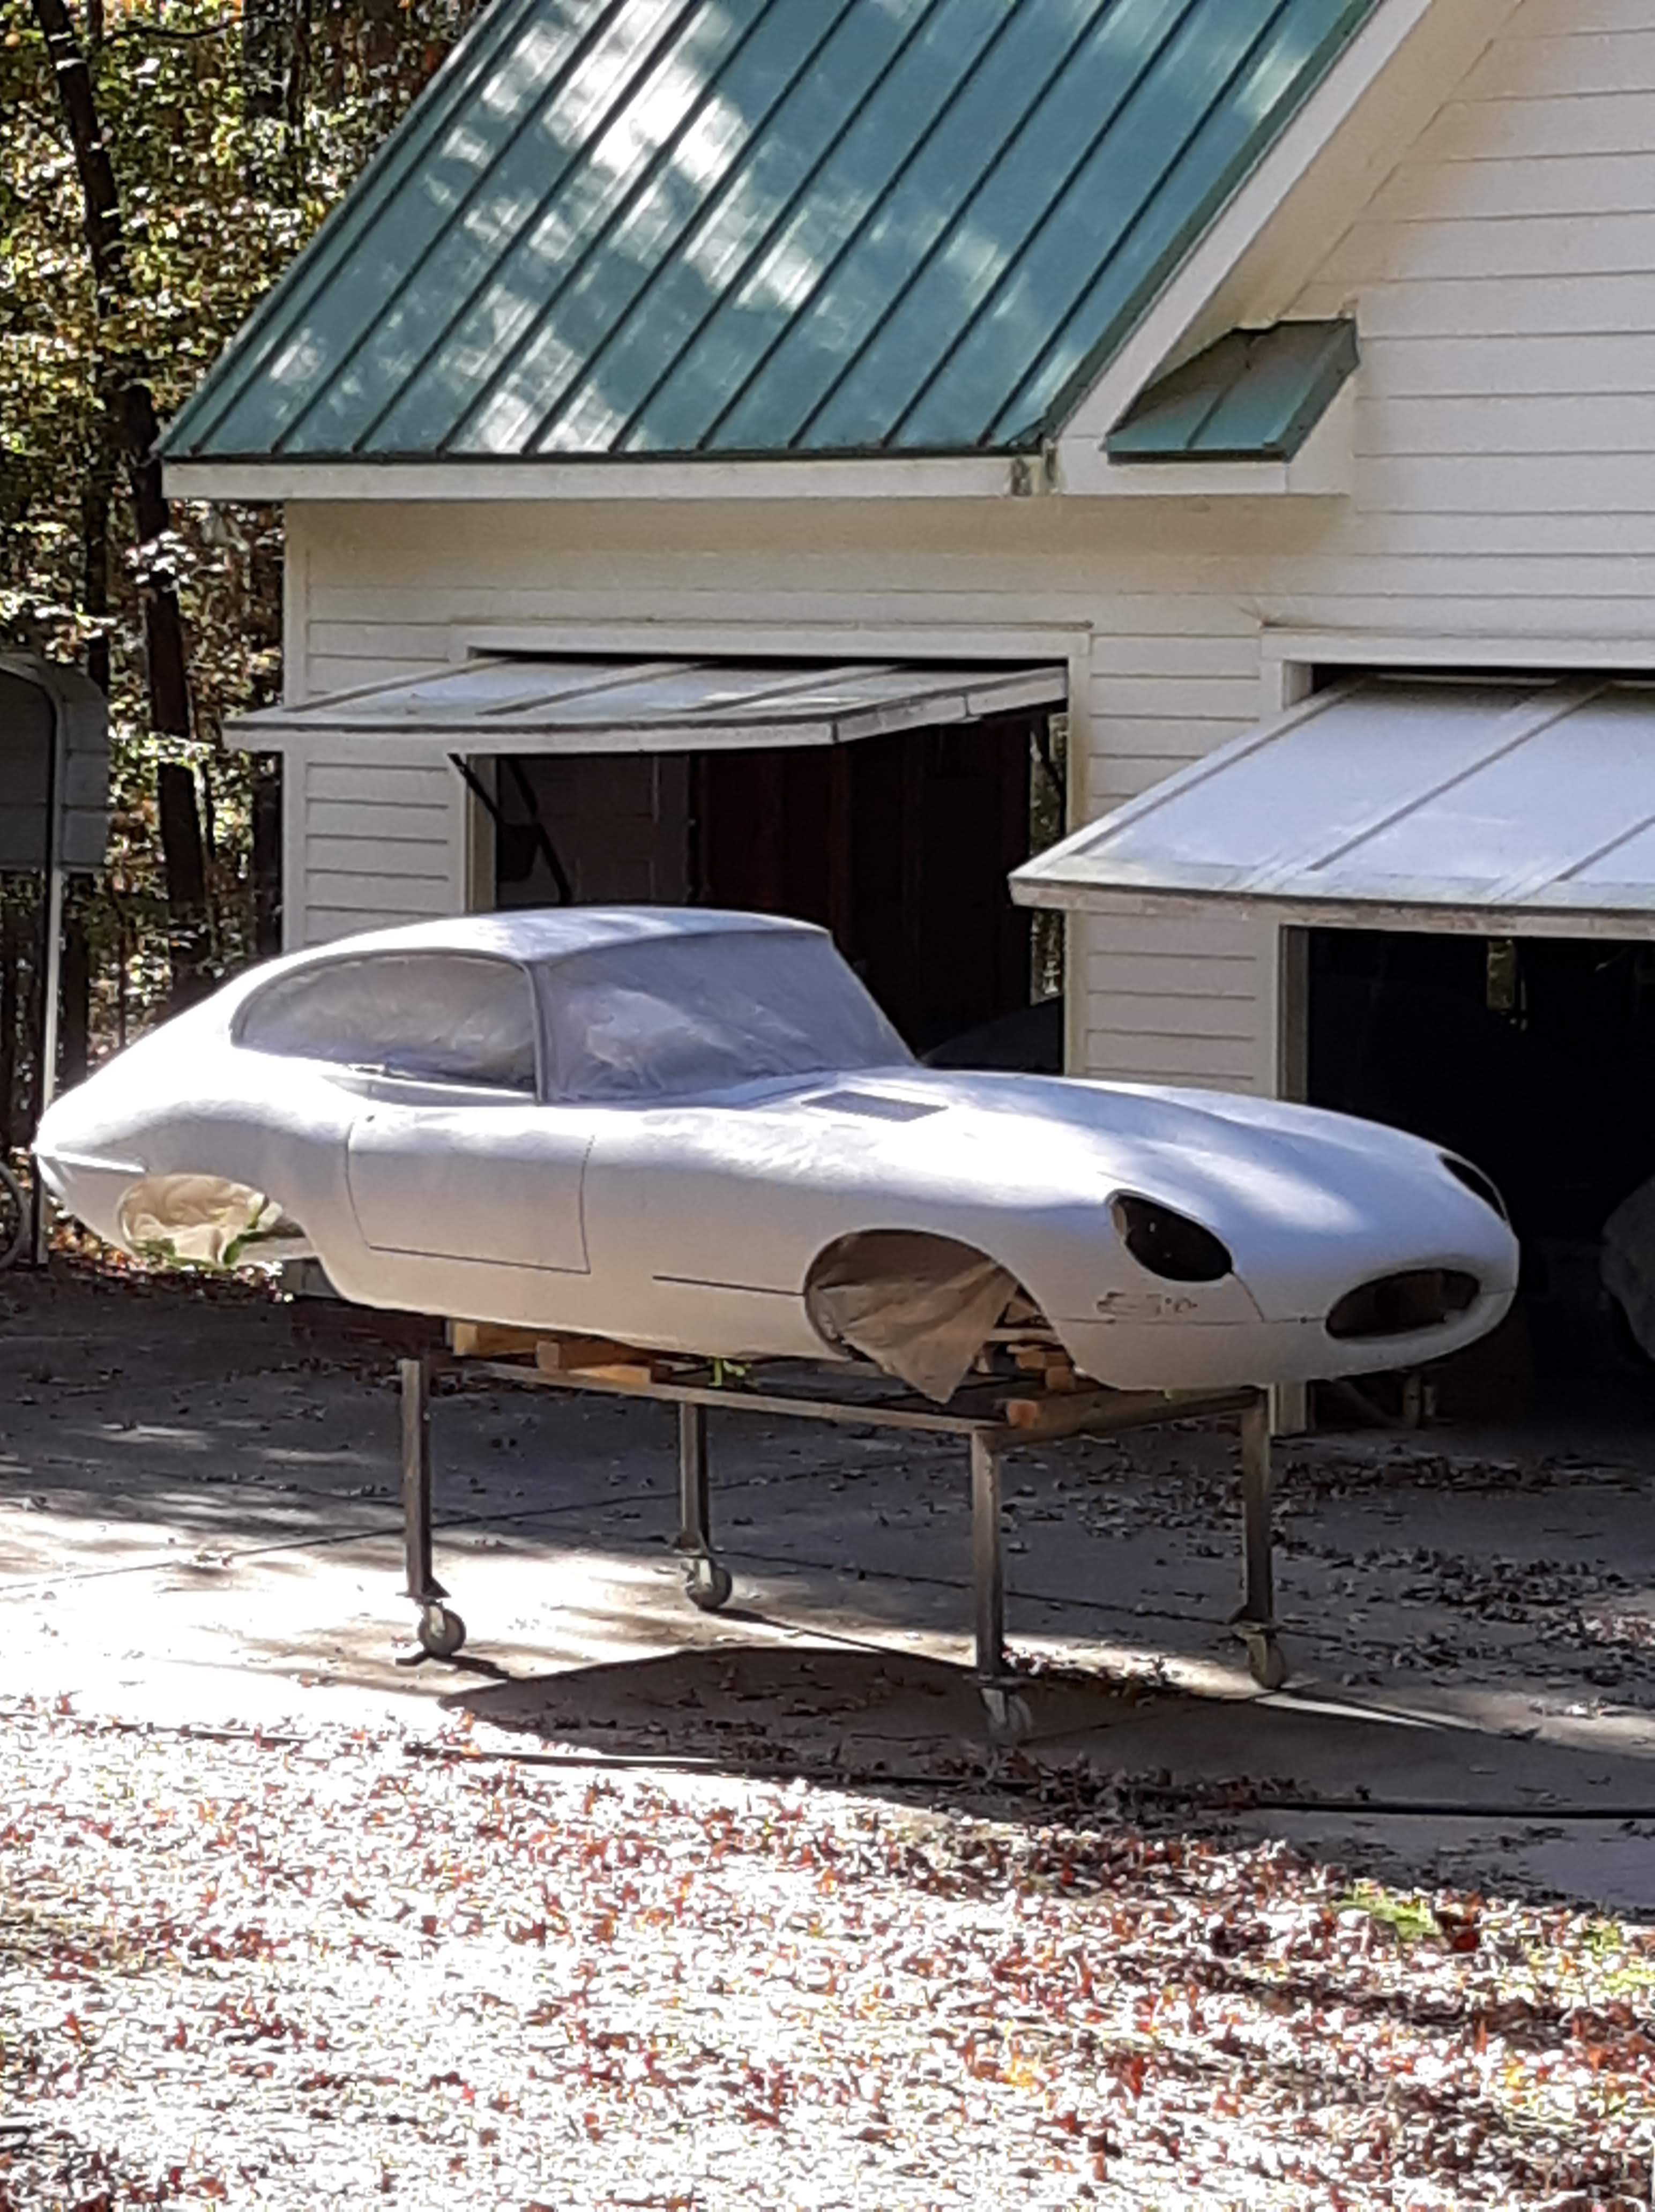
When I left off in Part 8, we talked about getting ready for paint. Unfortunately, I continue to draw closer to being able to spray actual color but I am not there yet. This is discouraging but also explains why top quality paint jobs cost so much.
In my case, to tell a little story on myself, I had a professional painter stop by my shop. My goal was to show him my car and convince him to spray the color and clearcoat. I have sprayed color and clearcoat on other cars but I do it so rarely, invariably something comes up to spoil the job and create a lot more effort for me. So I thought I would have this guy get me through that stage of the job, using his years of experience to good effect.
He arrived and after some discussion about the weather and the state of the world, he began to look closely at my work. He asked for a can of cleaner and some clean towels. He proceeded to apply the cleaner to the surface of the car and bent his head down close to the surface, looking obliquely at the reflection of the overhead lights. “Oh, you’ve got a bad low spot there. And here’s another one.” After 20 minutes or so poring over the car, he straightened up and said “I was hoping I could get this car right in to paint but it just isn’t ready.” I tried not to be too argumentative but said something in my defense. He stopped and looked me in the eye and said “Do you want Pebble Beach or do you just want good enough?” Well, of course there was only one answer and “good enough” was not it.
What he was doing was wetting the surface with the cleaner and looking at the reflections of straight objects to see if the straight line had a “wiggle”. If the surface had a low or high spot, the reflection would be offset into a wiggle. He said that looking at paint jobs in this manner was just second nature for him. We talked about sanding techniques for primer. I admitted that for the final sanding, I wasn’t using blocks, I was using circular hook and loop sanding paper on a soft “interface pad”, mounted on a dual action (DA) power sander. This apparently had led to “good enough” and not “Pebble Beach”. He said that the items I were using weren’t stiff enough and were gliding over the high and low spots. He advised me that he liked the Durablock system. He said I needed to use these rigid blocks for the entire process, right up to application of color. He also said I needed to use spray on guide coat every step of the way.
Suitably chastened, I purchased a set of Durablocks and rolls of adhesive backed sandpaper in the various grades (180, 320, 400, and 600). Somewhat miffed at being called out, I spent the next week working 10 hour days, thinking I was almost there. Two months later, I am still at it! One problem is that we are getting down to very fine levels of detail. Using these blocks and the guide coat, it doesn’t take much of a low spot to show up. I suspect some are only .010” deep. It doesn’t sound like much but at this stage, you are building up the surface with urethane primer that goes on in layers that about half of that. So as I related previously, a lot of primer gets sprayed on and sanded off.
Another tricky thing is that the E-Type body looks to be nothing but curves. And it is. But at some level you need to find a sanding block that deals with this state of affairs. Durablock offers a variety of shapes and at some point, I have used them all on the E-Type. As an aside, I watched one video on Youtube where a high end restoration shop talked about the vast array of custom sanding blocks that they had developed over the years to match the contours and curvatures of cars they have painted.
Another factor that shows up with the guide coat are sanding scratches. On grey primer in anything less than direct sunlight, I find it hard to actually see sanding scratches. But they are there. The guide coat will fill in the scratches, making them visible. On a good day, one tackles that area with block sanding and the appropriate grit of sandpaper and the scratches can be removed. On a bad day, before the scratches are removed, you sand through the urethane primer and expose the white polyester underneath. In a good enough world, you would just paint over this mix of surfaces. But to do it right, more urethane primer has to be applied so at the end there is a uniform grey coat over the entire car.
Finally, you tend to focus on the exterior of the car but at every edge, there can be more painted surface “around the corner” that has to be prepped just as well. When you throw open the bonnet, the doors, and the rear hatch, you want to see the same nicely painted surfaces as are on the outside of the car. Basically, until the inner surface is covered by a rubber molding, a chrome piece, or upholstery, that paint surface has to be top notch too.
My painter contacted me to say that he was laid up with back problems. This gave me some reprieve schedule wise to get everything ready for him. We’ll see. As the old adage goes, the last 10% of the job can take 90% of the effort!

Discussion
Comments are closed.