It has been a long slog but I think I finally have the car ready for color and clear. The question mark holds out the potential that I am not totally completely done but I am certainly very close. And by paint, I mean the pretty part i.e. the opalescent golden sand basecoat and the clearcoat to make it shiny.
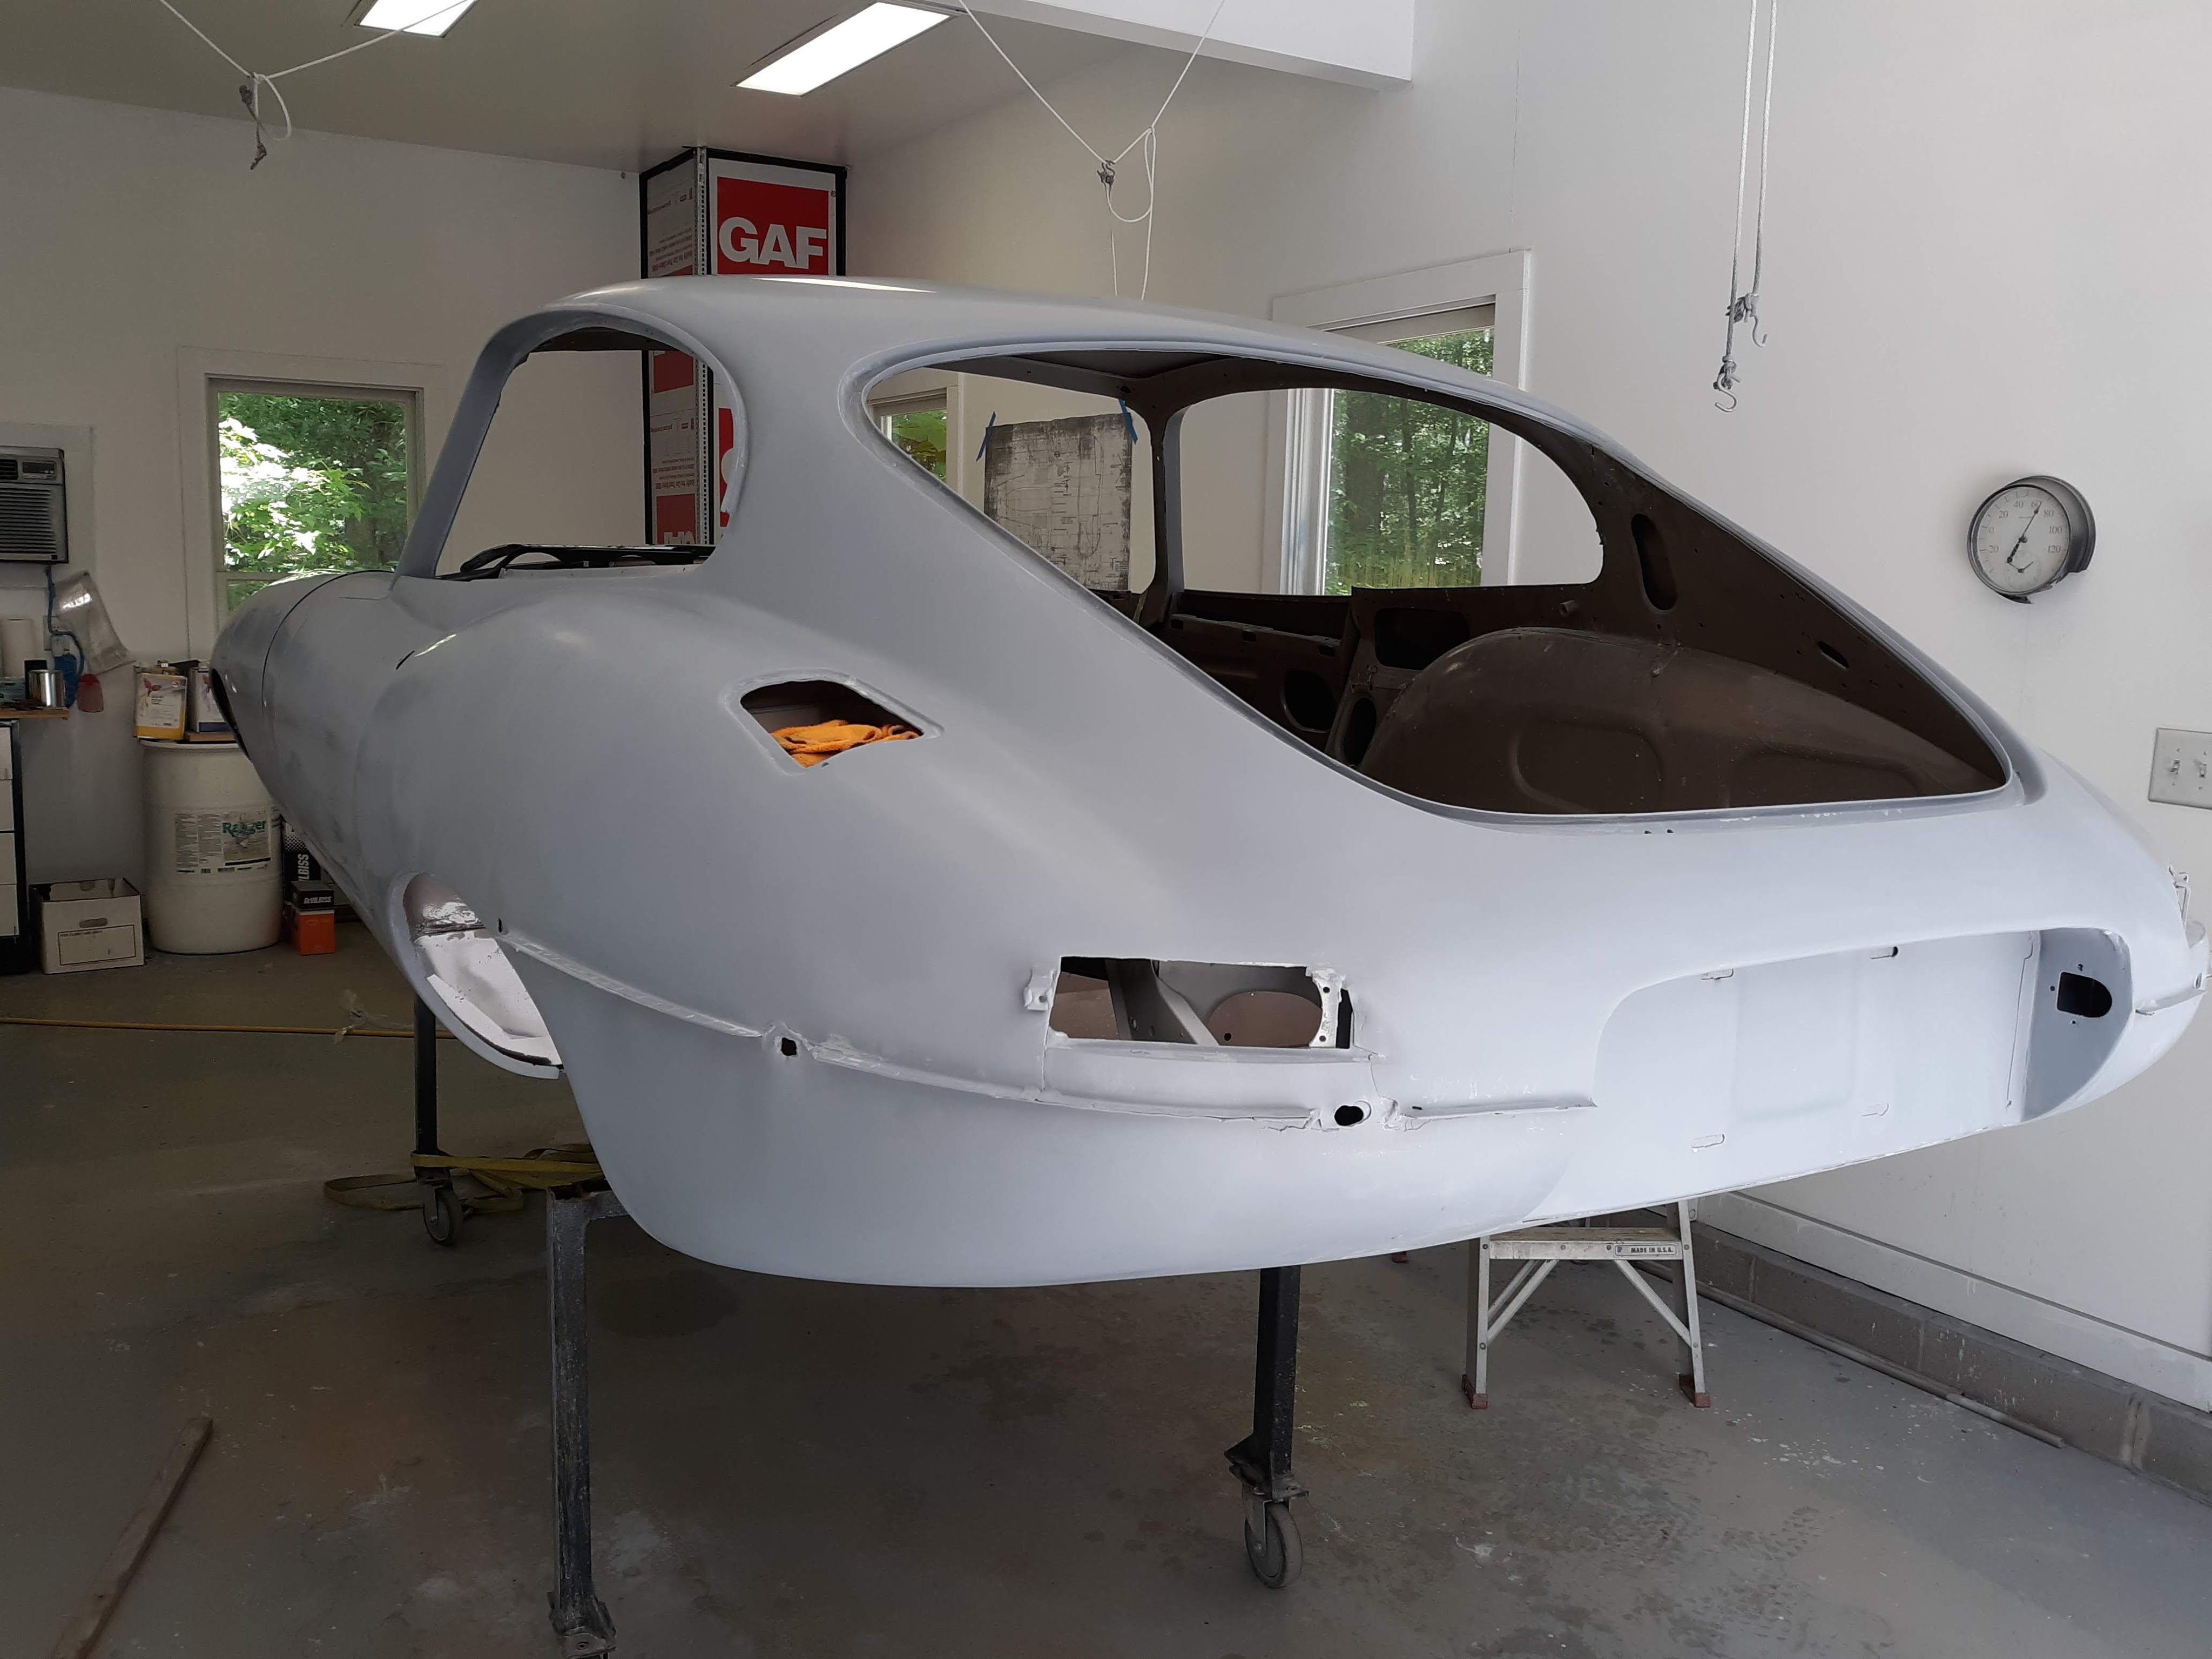
To briefly summarize, I did some panel replacement in the floors, had the entire car media blasted, painted the bare metal with epoxy primer, went over the entire car and made the panel contours perfect using body filler, and then added multiple coats of urethane high build primer, most of which got sanded off, to leave me with a perfect substrate for the final step, which is application of the basecoat and clearcoat. Obtaining a perfect substrate with the high build primer is what I have been doing for the last few weeks (or months). Once I got the body where I wanted it with dry sanding using 320 grit, I performed wet sanding using 400 grit and 600 grit. This invariably revealed small areas that “needed work”. Work at this stage usually consists of spraying a local application of high build primer and sanding it back smooth. Most of the blems are visible to the naked eye. Another sign that I am done is that I can drag a microfiber towel across the surface and not feel any drag. In most cases, when I feel a drag, it just means that I need to do a little more wet sanding.
Once I got the overall body in good shape, I turned my attention to the “secondary” areas, which I would say includes drip rails, louvres, channels where gaskets will go, and door jambs. Here is a link to a video that a fellow enthusiast, John Carey, made for me to discuss some of the more subtle areas that require nice paint. It is worth watching.
As you can see, some of this can get a little tricky.
Frankly, the high build primer surface really represents a very nice paint job on a car. There are some drawbacks. The color is drab. And it would not stand up to the elements. But I found that right after you wet it down with a hose and the water “sheets” it looks very nice, which is indicative of what your final paint job will look like.
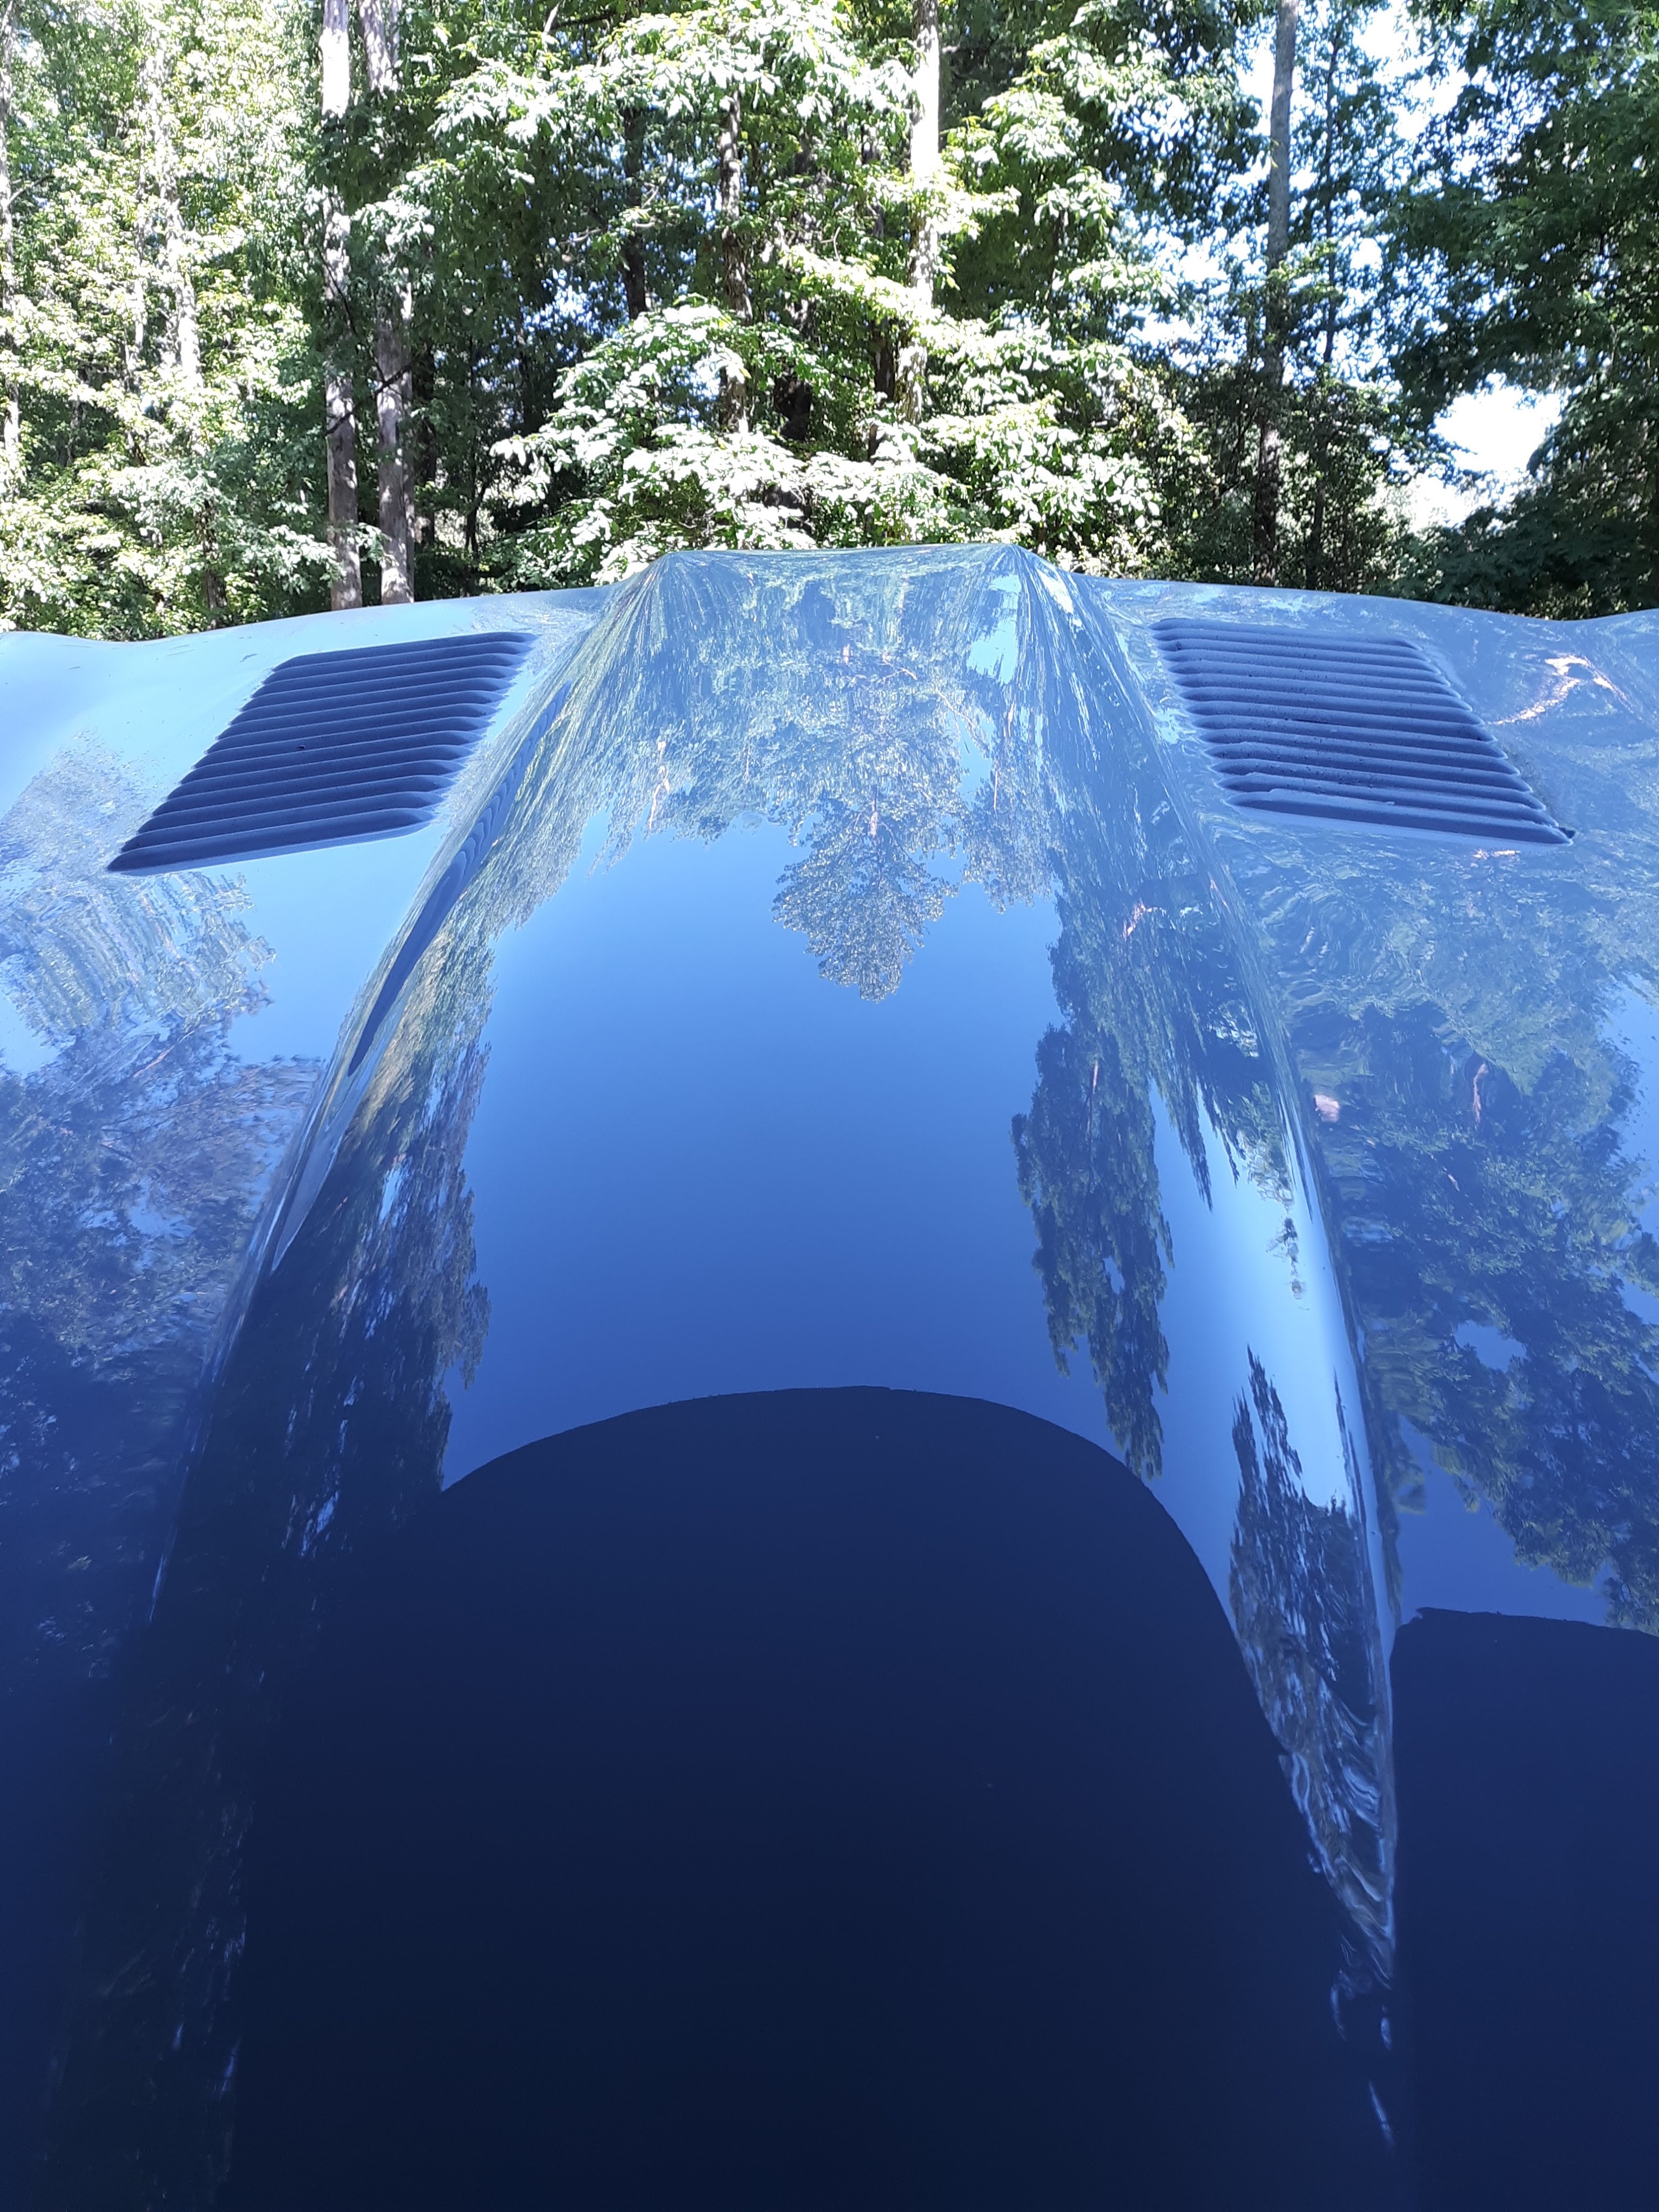
This is really a fascinating photo. The primer is battleship grey. But in this photo, it does a wonderful job of reflecting the Carolina Blue sky overhead, as well as the trees and such.
Ah, so much happiness. Then I contacted my painting consultant, who is going to actually spray the color and clearcoats. Disaster! He has suffered an injury to his shoulder and is not ready to paint right now. Not what I wanted to hear but I am wishing for his speedy recovery. In the meantime, I realize there are things I can do. The first was to do a deep cleaning on my “paint booth”, a dedicated garage bay in my shop. I had been doing a lot of messy work in there due to the weather and it needed cleaning. It looks much better now.

Another effort that he had recommended was to basically assemble the car now, while it is in primer. I just have started that effort and yes, it make sense. I will install, at a minimum, the bumpers, tailights, headlight chromes, front signal lights, and drip rail chromes. Anything that is dependent on the contour of the painted body. Already, I am having to adjust some items. I am concentrating on adjusting the item, not the body/primer but we will see. As much as I would like to jump into the painting, I can see that this effort will save me pain and suffering in the long run.
Oh, I almost forgot. I spent a productive few hours painting the zinc plated hardware inside the bonnet with color. My Glasurit rep gave me a simple receipe to mix a “single stage” paint, which is basically clear and color combined. I used my small detail gun to spray a spritz of epoxy primer on each fastener. After this cured for 30 minutes or so I came back for 2 coats of the single stage. I had major trepedation that the new color would not blend with the existing color but it came out fine. This effort of course is to mimic the factory methodology, where the assembled bonnet was painted all at once. I think it turned out well.

So that is where I am at. Hopefully my next installment will be all about basecoat and clearcoat. Stay tuned.


Discussion
Comments are closed.