Yesterday I did more painting of bonnet parts, as the weather was relatively mild (for February) and I was able to get my paint booth up to its minimum painting temperature of 68 degF. I painted the engine frames, picture frame, bonnet support frame, back hatch, and hatch hinges. I had to do a repaint on the air ducts.
The engine frames, picture frame, and bonnet support frame had been painted earlier with Glasurit high build primer. I wet sanded these items with 320 and 600 sandpapers. The inside surface of the back hatch lid was one of the few items on the inside of the cockpit that I had not painted yet. Almost all of it gets covered up with upholstery but I wet sanded the entire inside area in preparation for painting. When I took the hatch out I noticed the hatch hinges looked pretty rough so I sanded them down in preparation for paint too. The air ducts were a redo. I still haven’t quite figured out what happened but there were some areas on the ducts that reacted badly with my previous basecoat/clearcoat application, developing “pimples” that are probably due to solvent pop. I sanded them back smooth. I mixed a small batch of epoxy primer to treat selected areas where bare metal had been exposed during sanding. After that dried I wiped down all the parts with Glasurit Tar and Silicone Remover. In spite of the fact that any tar and silicone is long gone from these parts, Glasurit recommends a wipe with this product before most painting steps. I think it serves as a sanding sludge remover and final cleaning product.

After going through all of this, here are a couple of pointers/comments. Here are the 3 paint guns I use.

The grey gun on the left is a Devilbiss Finishline gun. I bought it years ago as it required less air flow than most guns. It used to be my “best gun”. Now it is relegated to application of primers. I bought a 1.7 fluid tip for it which allows it to shoot the high solids primer products. The remaining 2 guns are my current “best guns”. They are made by Sagola. The one is the middle is a full size gun. The one on the right is a smaller gun for spot work. They were recommended to me by Len at Autobodystore.com. Len is a good guy, send him your business if you can. He liked the fact that these guns are so precisely machined that the they do not need any gaskets. After each use, I can disassemble the air cap and fluid tip and do a really good job of cleaning them, without fear of small parts falling out or subsequent leaks. I used the spot gun for this entire effort. It is especially effective on the tubular frame members, with the spray turned down to pretty much a small circle. I checked this morning and I still got some runs in the clear but I feel that the spot gun minimizes runs for this type of work with lots of nooks and crannies. I used the same gun on the air ducts. It needs more passes than a big gun not a problem for this small job. Also shown in the picture is the containers for the Devilblis DeKups product.

These are really handy one time use paint cups that screw onto your gun with a quarter turn connection. There is no cleanup required of a gun paint cup when you are done. You just throw them away. They come in pints and quarts.
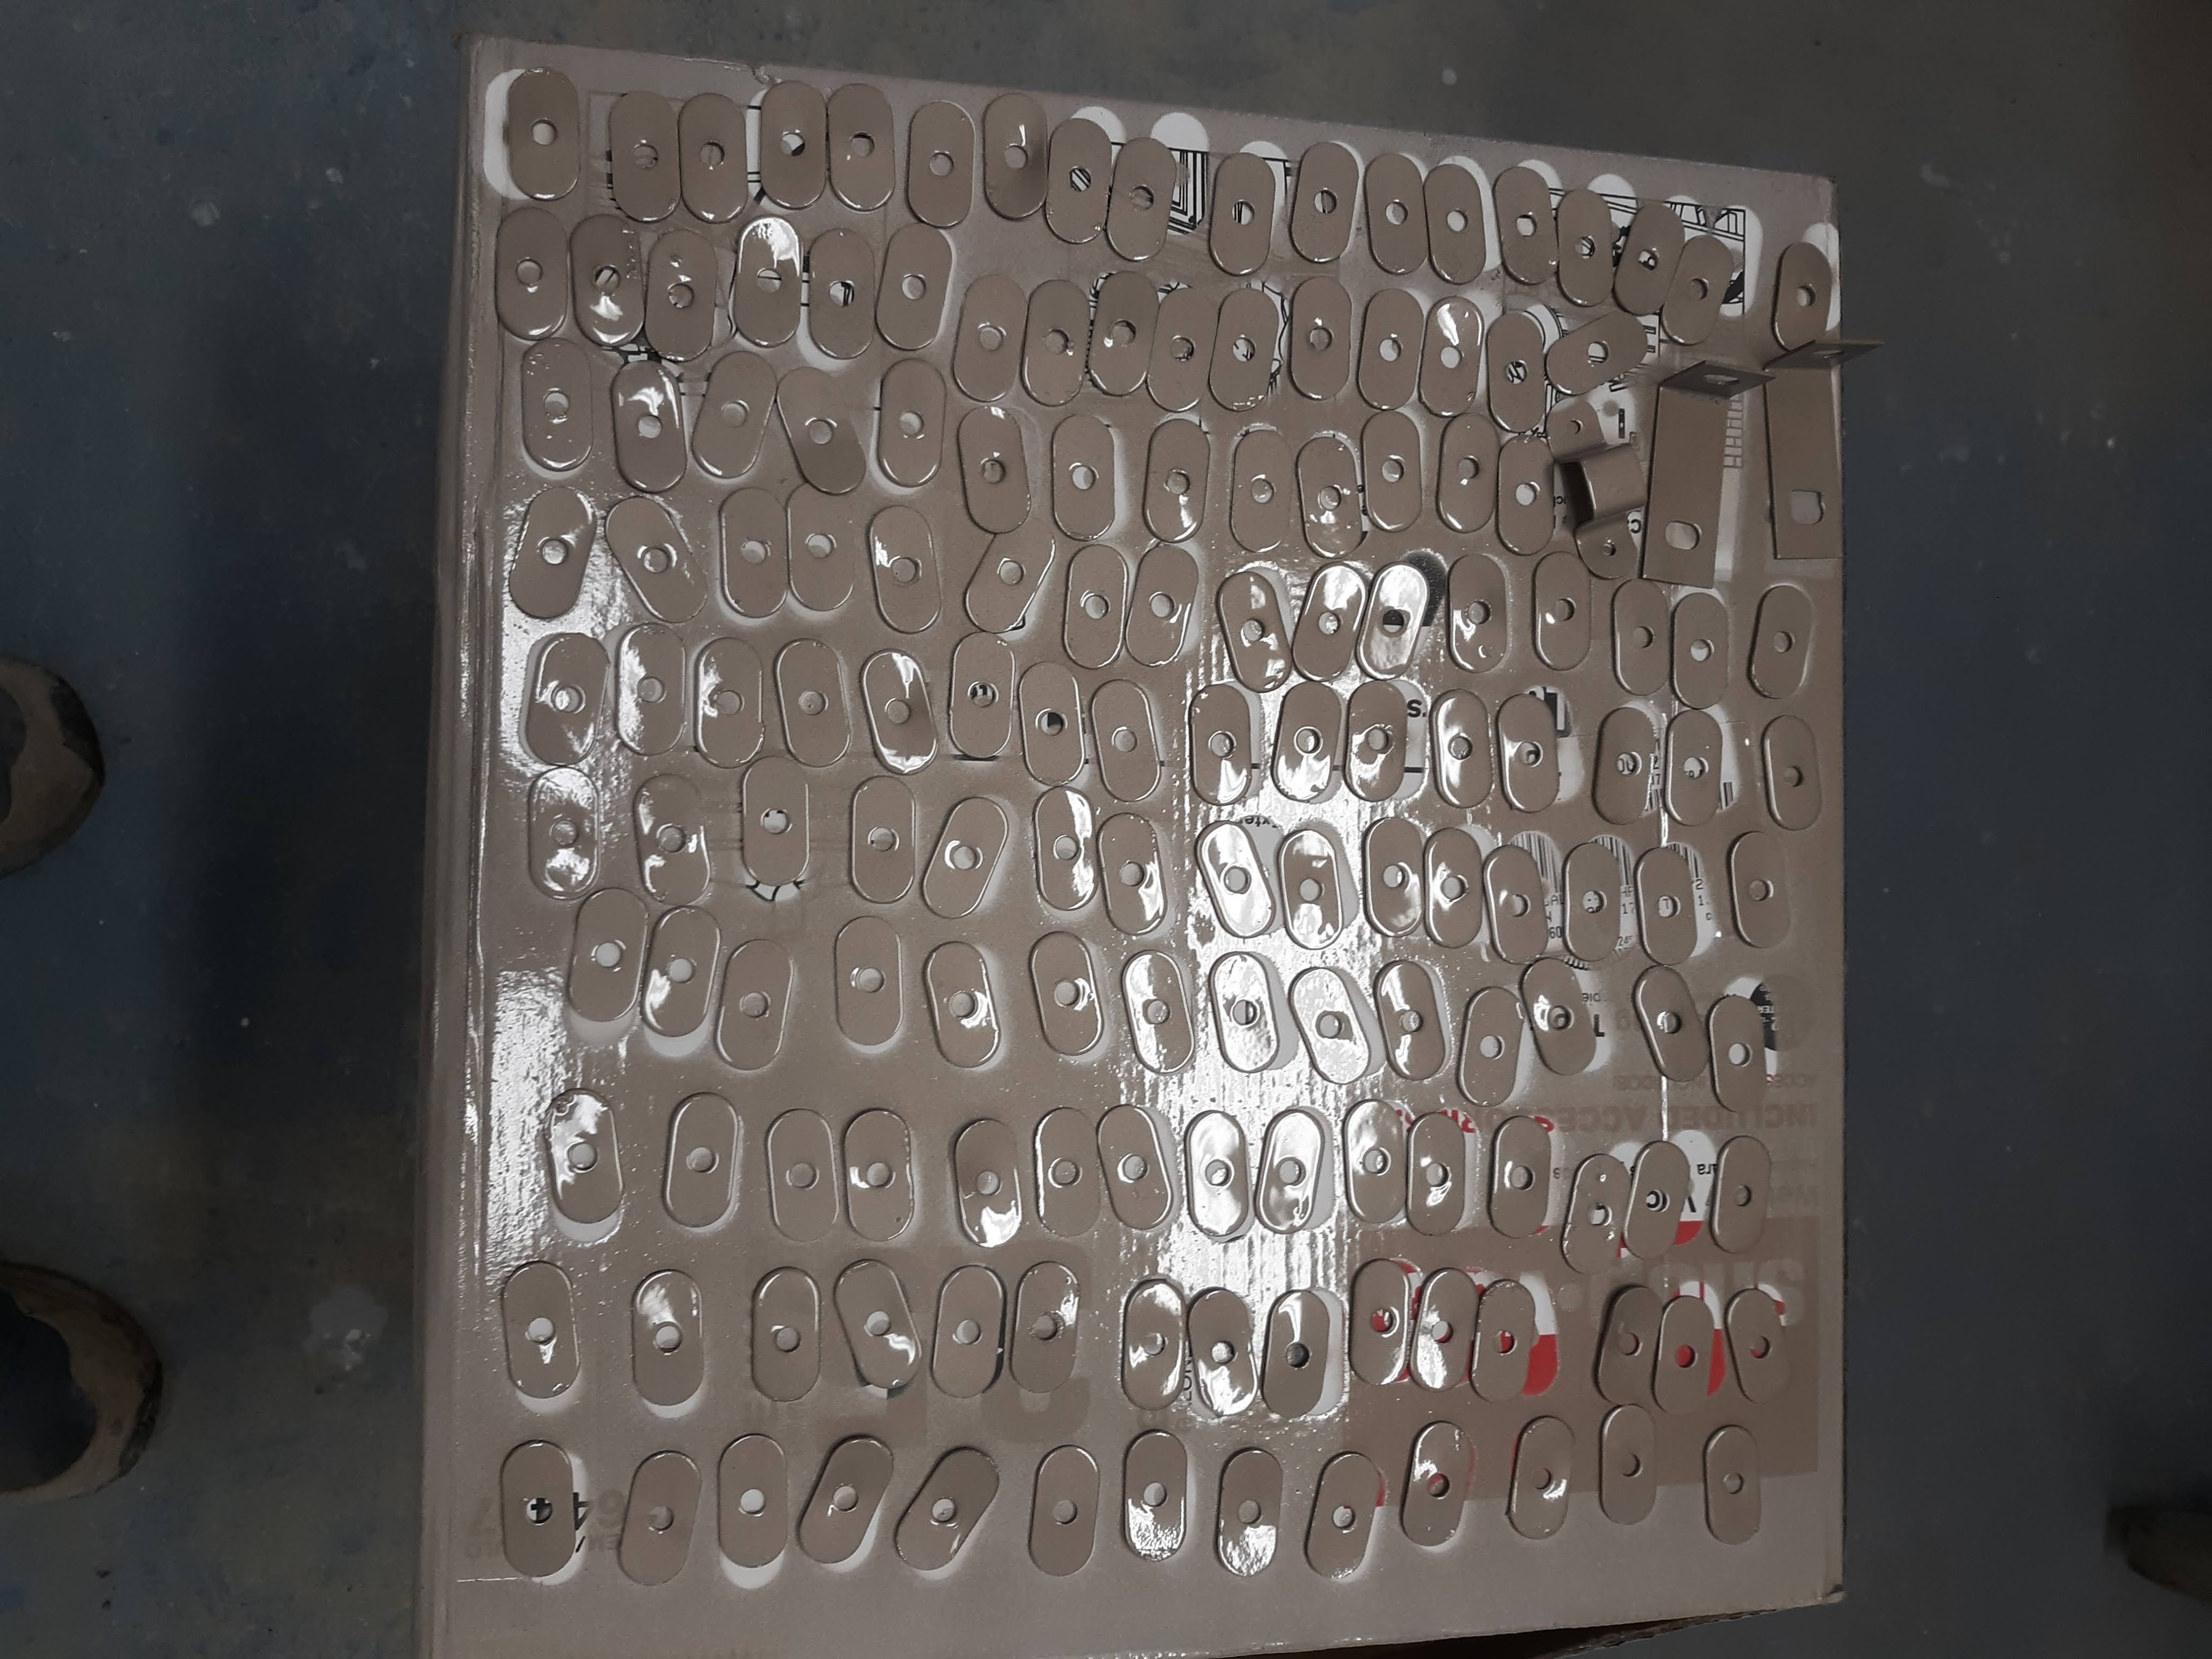
So at this point, I have painted everything I need to assemble the bonnet. Previously I painted the underside of the bonnet, the inside of the wings, and the inside of the lower nose section. I also painted one side of the oval washers that are used everywhere in the bonnet.
As I have discussed previously, this is a workaround on the concept where the factory painted the entire bonnet after assembly. In my case, I have painted all the individual pieces, which serves to get a nice coat of modern paint on all the surfaces, even the hidden ones. I will assemble the bonnet soon. The only thing that will remain to be painted is the heads of the bolts and screws, as well as the washers and nuts. This will be done by a spot application of epoxy primer, followed by basecoat, and clearcoat. It will look “factory” but be a better paint job from a corrosion standpoint.
But first I have to go after those runs I mentioned. Grrr. Although I may get lucky I’ll probably wind up repainting selected surfaces on the engine frames after I sand the runs down smooth. Not a major problem.

Discussion
Comments are closed.