When I last posted, the big news was that I had recovered from my primer fiasco and was back to progress. Discussing progress with regard to paintwork is a little like a broken record. Apply primer. Sand. Inspect for blemishs. Repeat. The good news is that I am very close on the main body shell. After doing an overall sanding of the body shell with 320 grit, I have just a couple of “sand throughs” that I will need to deal with. In this case, sand throughs are spots where the underlying product, typically polyester filler, shows through. As it contrasts against the grey of the primer, it represents an area that might “look funny” if color was applied over it. To be safe, I will apply some local shots of high solids primer (Glasurit 285-60) to get a uniform grey color.
One interesting factoid. During a discussion with my Glasurit tech rep, he told me that once I wet sand the car with 600 grit, that I should apply color within 12 hours. He said that the “scratch” applied by the wet sanding, important to the adhesion of the color coat, immediately starts to “shrink back” and becomes less effective. I searched the Glasurit Tech Manual and found no reference to back this up. How are we supposed to know this stuff? All I can say is identify your tech rep and get on a first name basis with them.

As part of my efforts to finish the body shell, I took the opportunity to paint the door hinges. The hinge pins were very stiff with corrosion and I had to take them both apart for repair. As long as they were apart, I applied basecoat/clearcoat to them. Also did the gas filler cap hinge.

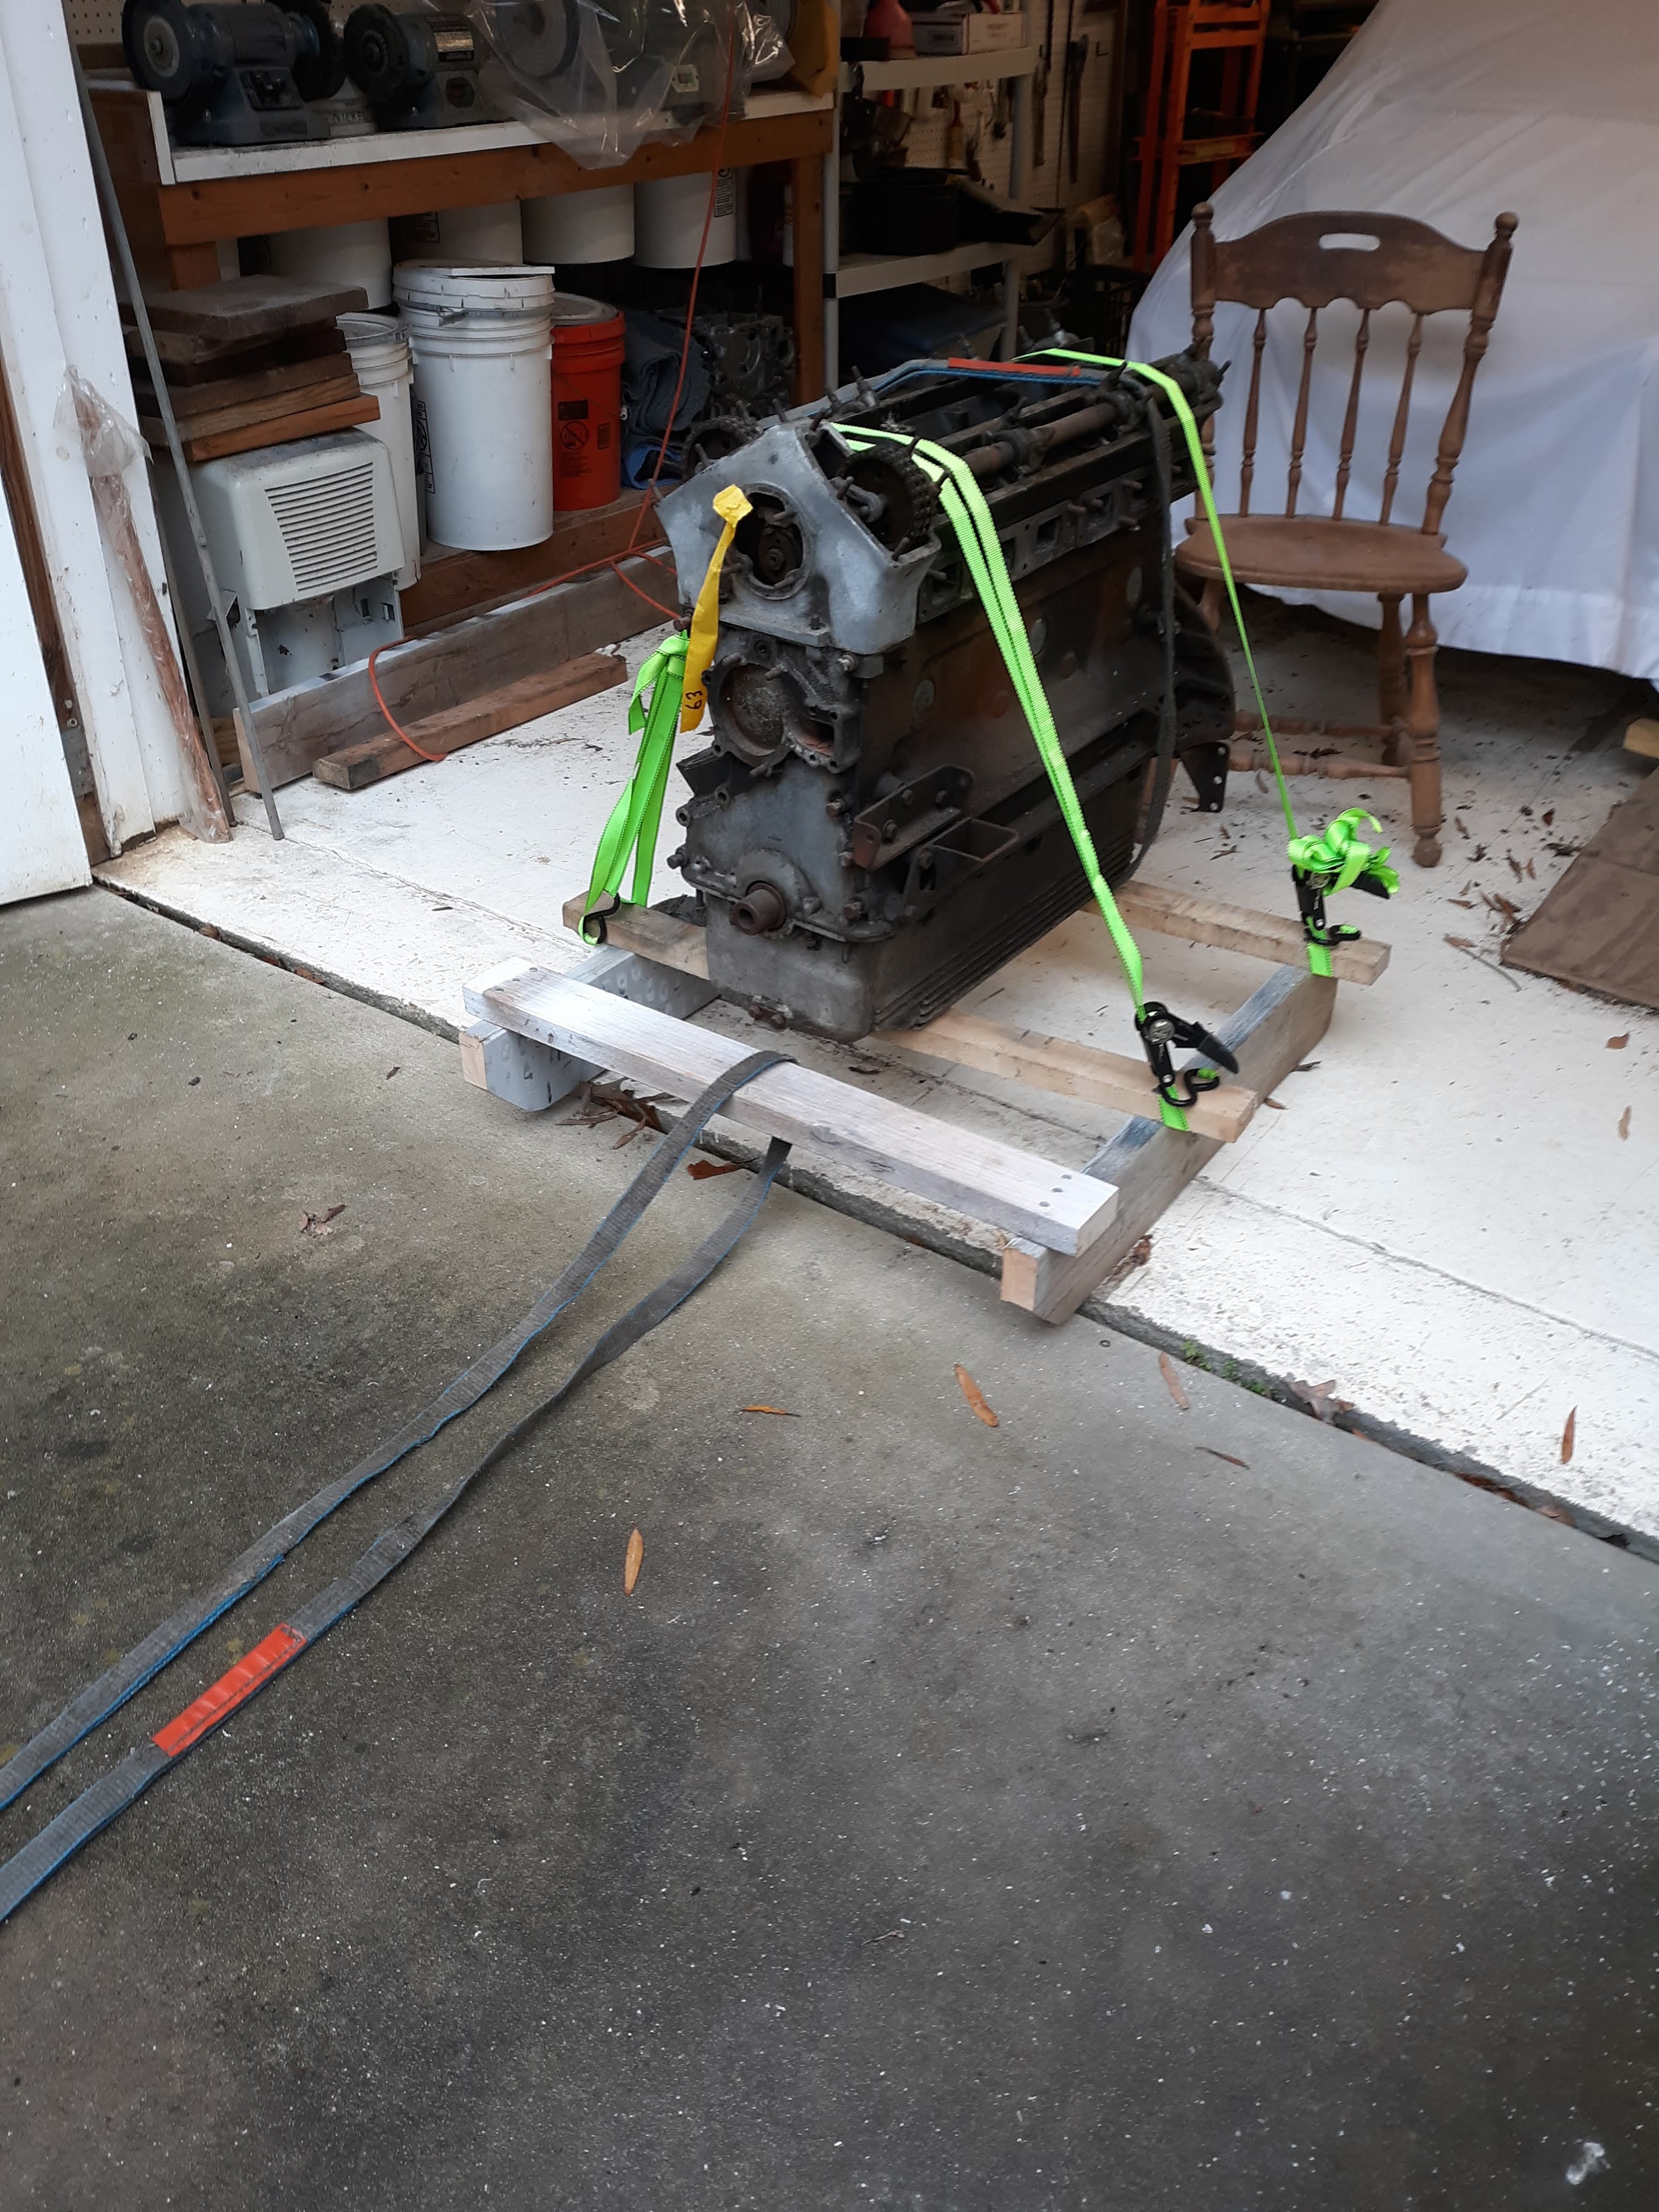
Anyway, I have reached a good point with the main body shell and decided to move to the bonnet. One issue that has been bugging me is how the bonnet would move when the weight of the engine was applied. My actual engine and tranny are with Coventry West for rebuild. But, I have a spare 3.8 engine and tranny. I decided to install them so I could make my final (hopefully) fitment of the bonnet to cowl. This was an interesting event. The engine weighs a lot! 400 pounds? Whatever, it was in one building and the car was in another. A problem with the building where the car is located is that it really doesn’t have a good rigging point to pick heavy weights off a truck or trailer. I decided to channel my inner pyramid builder. I built a “sled” out of wood, put the engine on it, and dragged it behind my truck from one building to another. It made some serious gouges in the gravel road but I did it.
I moved the bodyshell from the “paint cart” to the single post lift. I assembled the engine to the Mossbox tranny. The idea was to drop the body onto the engine/tranny combo. In the Bentley shop manual, they show installing the engine from above, with the insertion at an extreme angle. I found out the reason for the angle. The snout of the crankshaft wants to hang up on the picture frame. The bellhousing wants to hang up on the rear mounting brackets for the torsion bars. It was an hours long process getting the engine into position but I finally got it done. In retrospect, I think if I had removed the motor mounts from the engine, things would have gone better. We’ll see when I remove it.
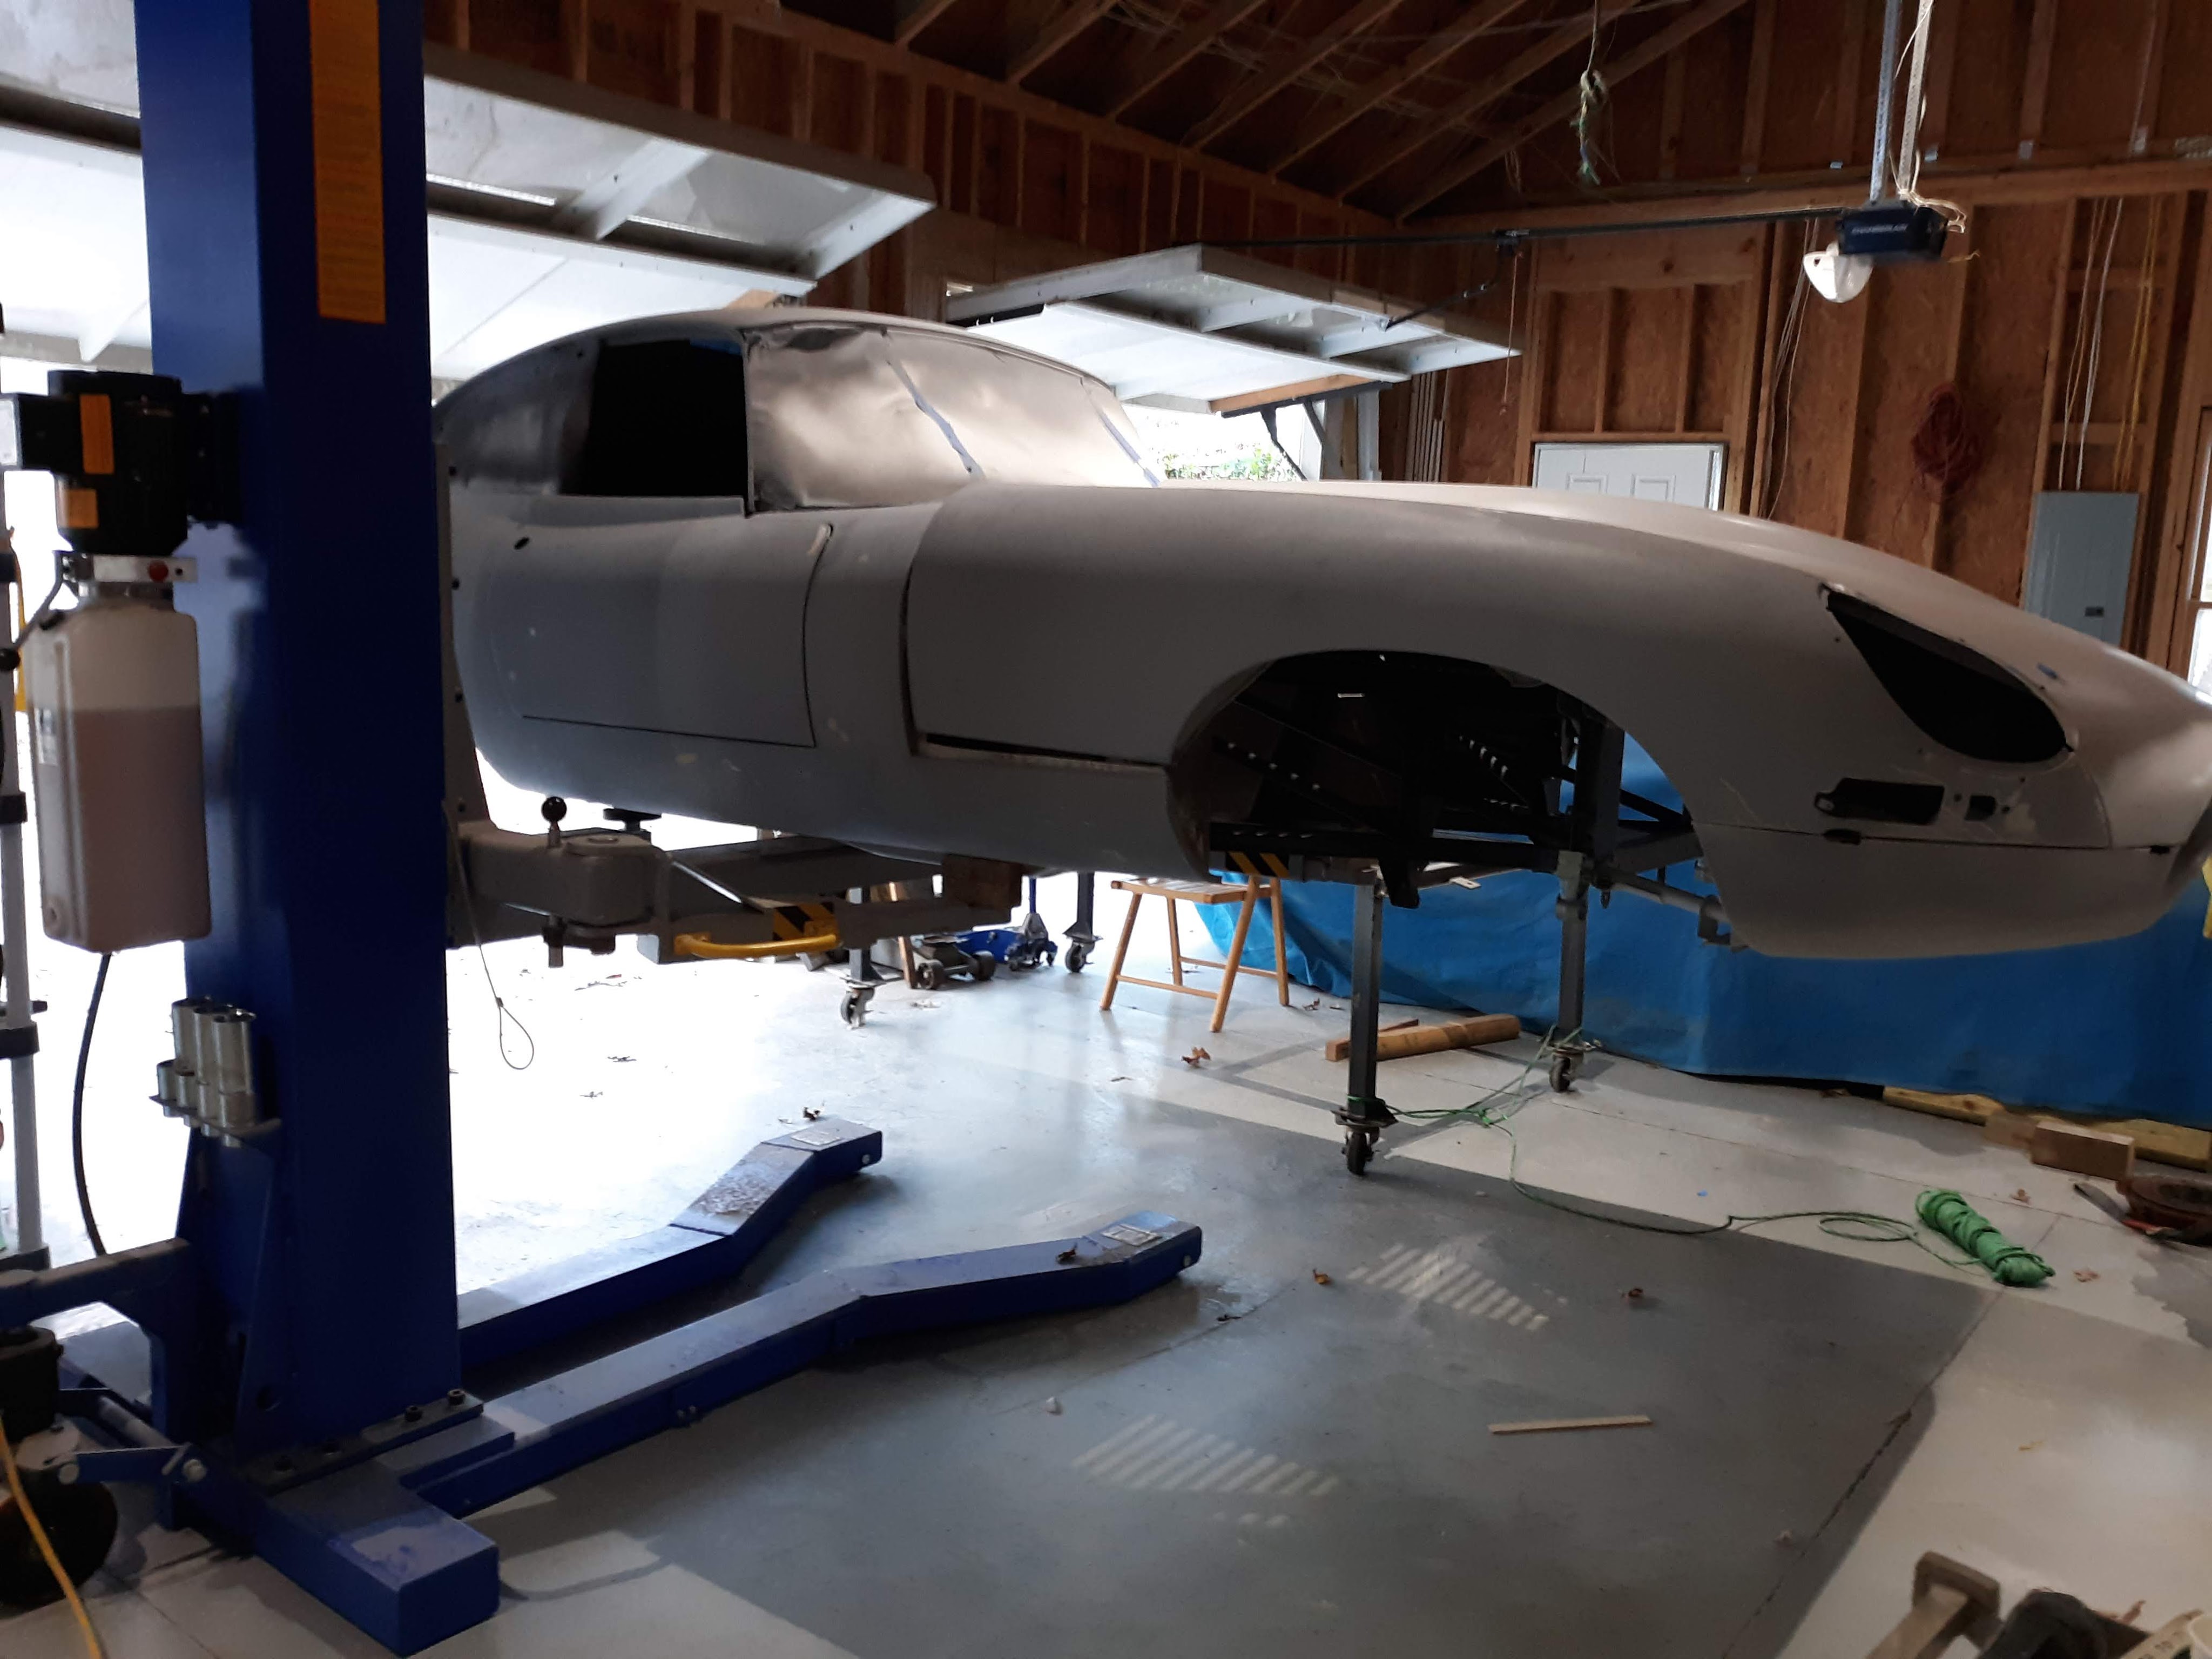
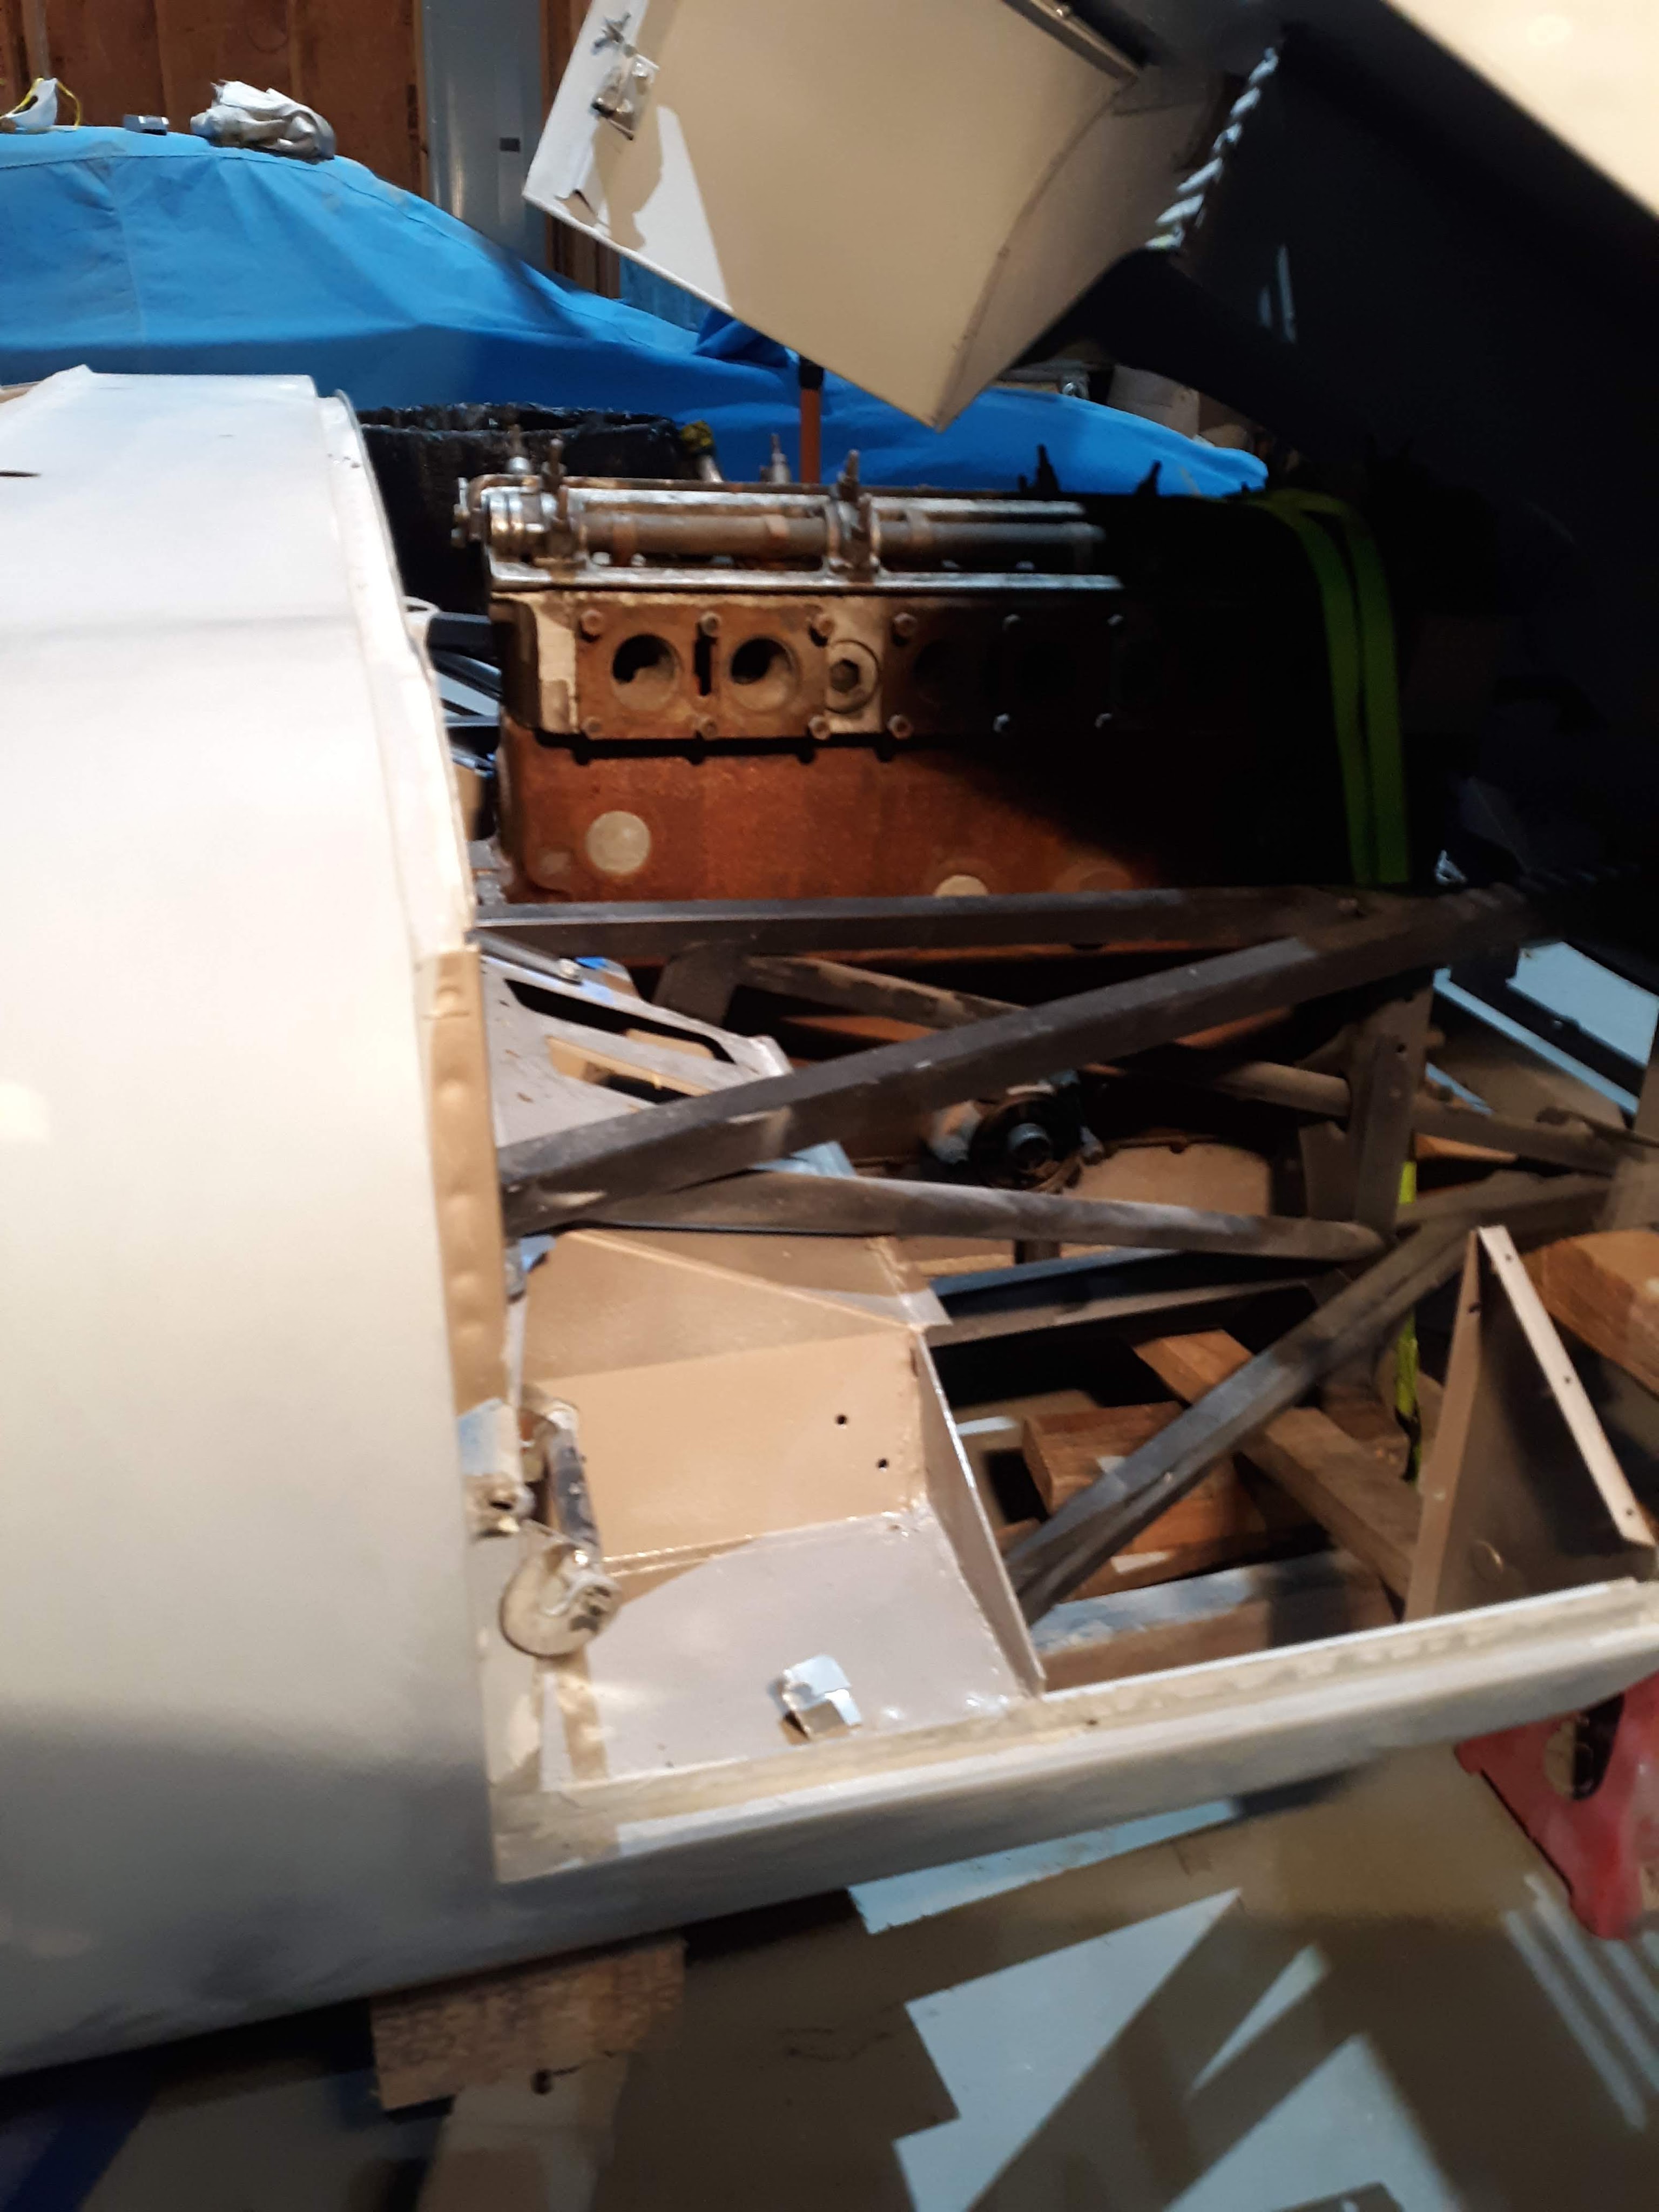
I set up jack stands and wood timbers to support the car at the locations of the front and rear wheels. I gradually placed the weight of the engine/tranny onto the car. I had the bonnet closed and some “witness marks” in place. Sure enough, the gap of the bonnet to the cowl did change. It’s not a lot but significant when one is trying to nail the panel gaps. In retrospect, it all makes sense. My engineering training taught me that when you place a beam in bending, the top of the beam goes into compression and the bottom side goes into tension. In simpler terms, the bottom side of the beam gets longer and the top side gets shorter. Sure enough, the gap of the bonnet center section to the cowl got tighter and the gap down at the sill got bigger. The moral of the story is that you need to have the major weights in place before you finalize your bonnet panel gaps.
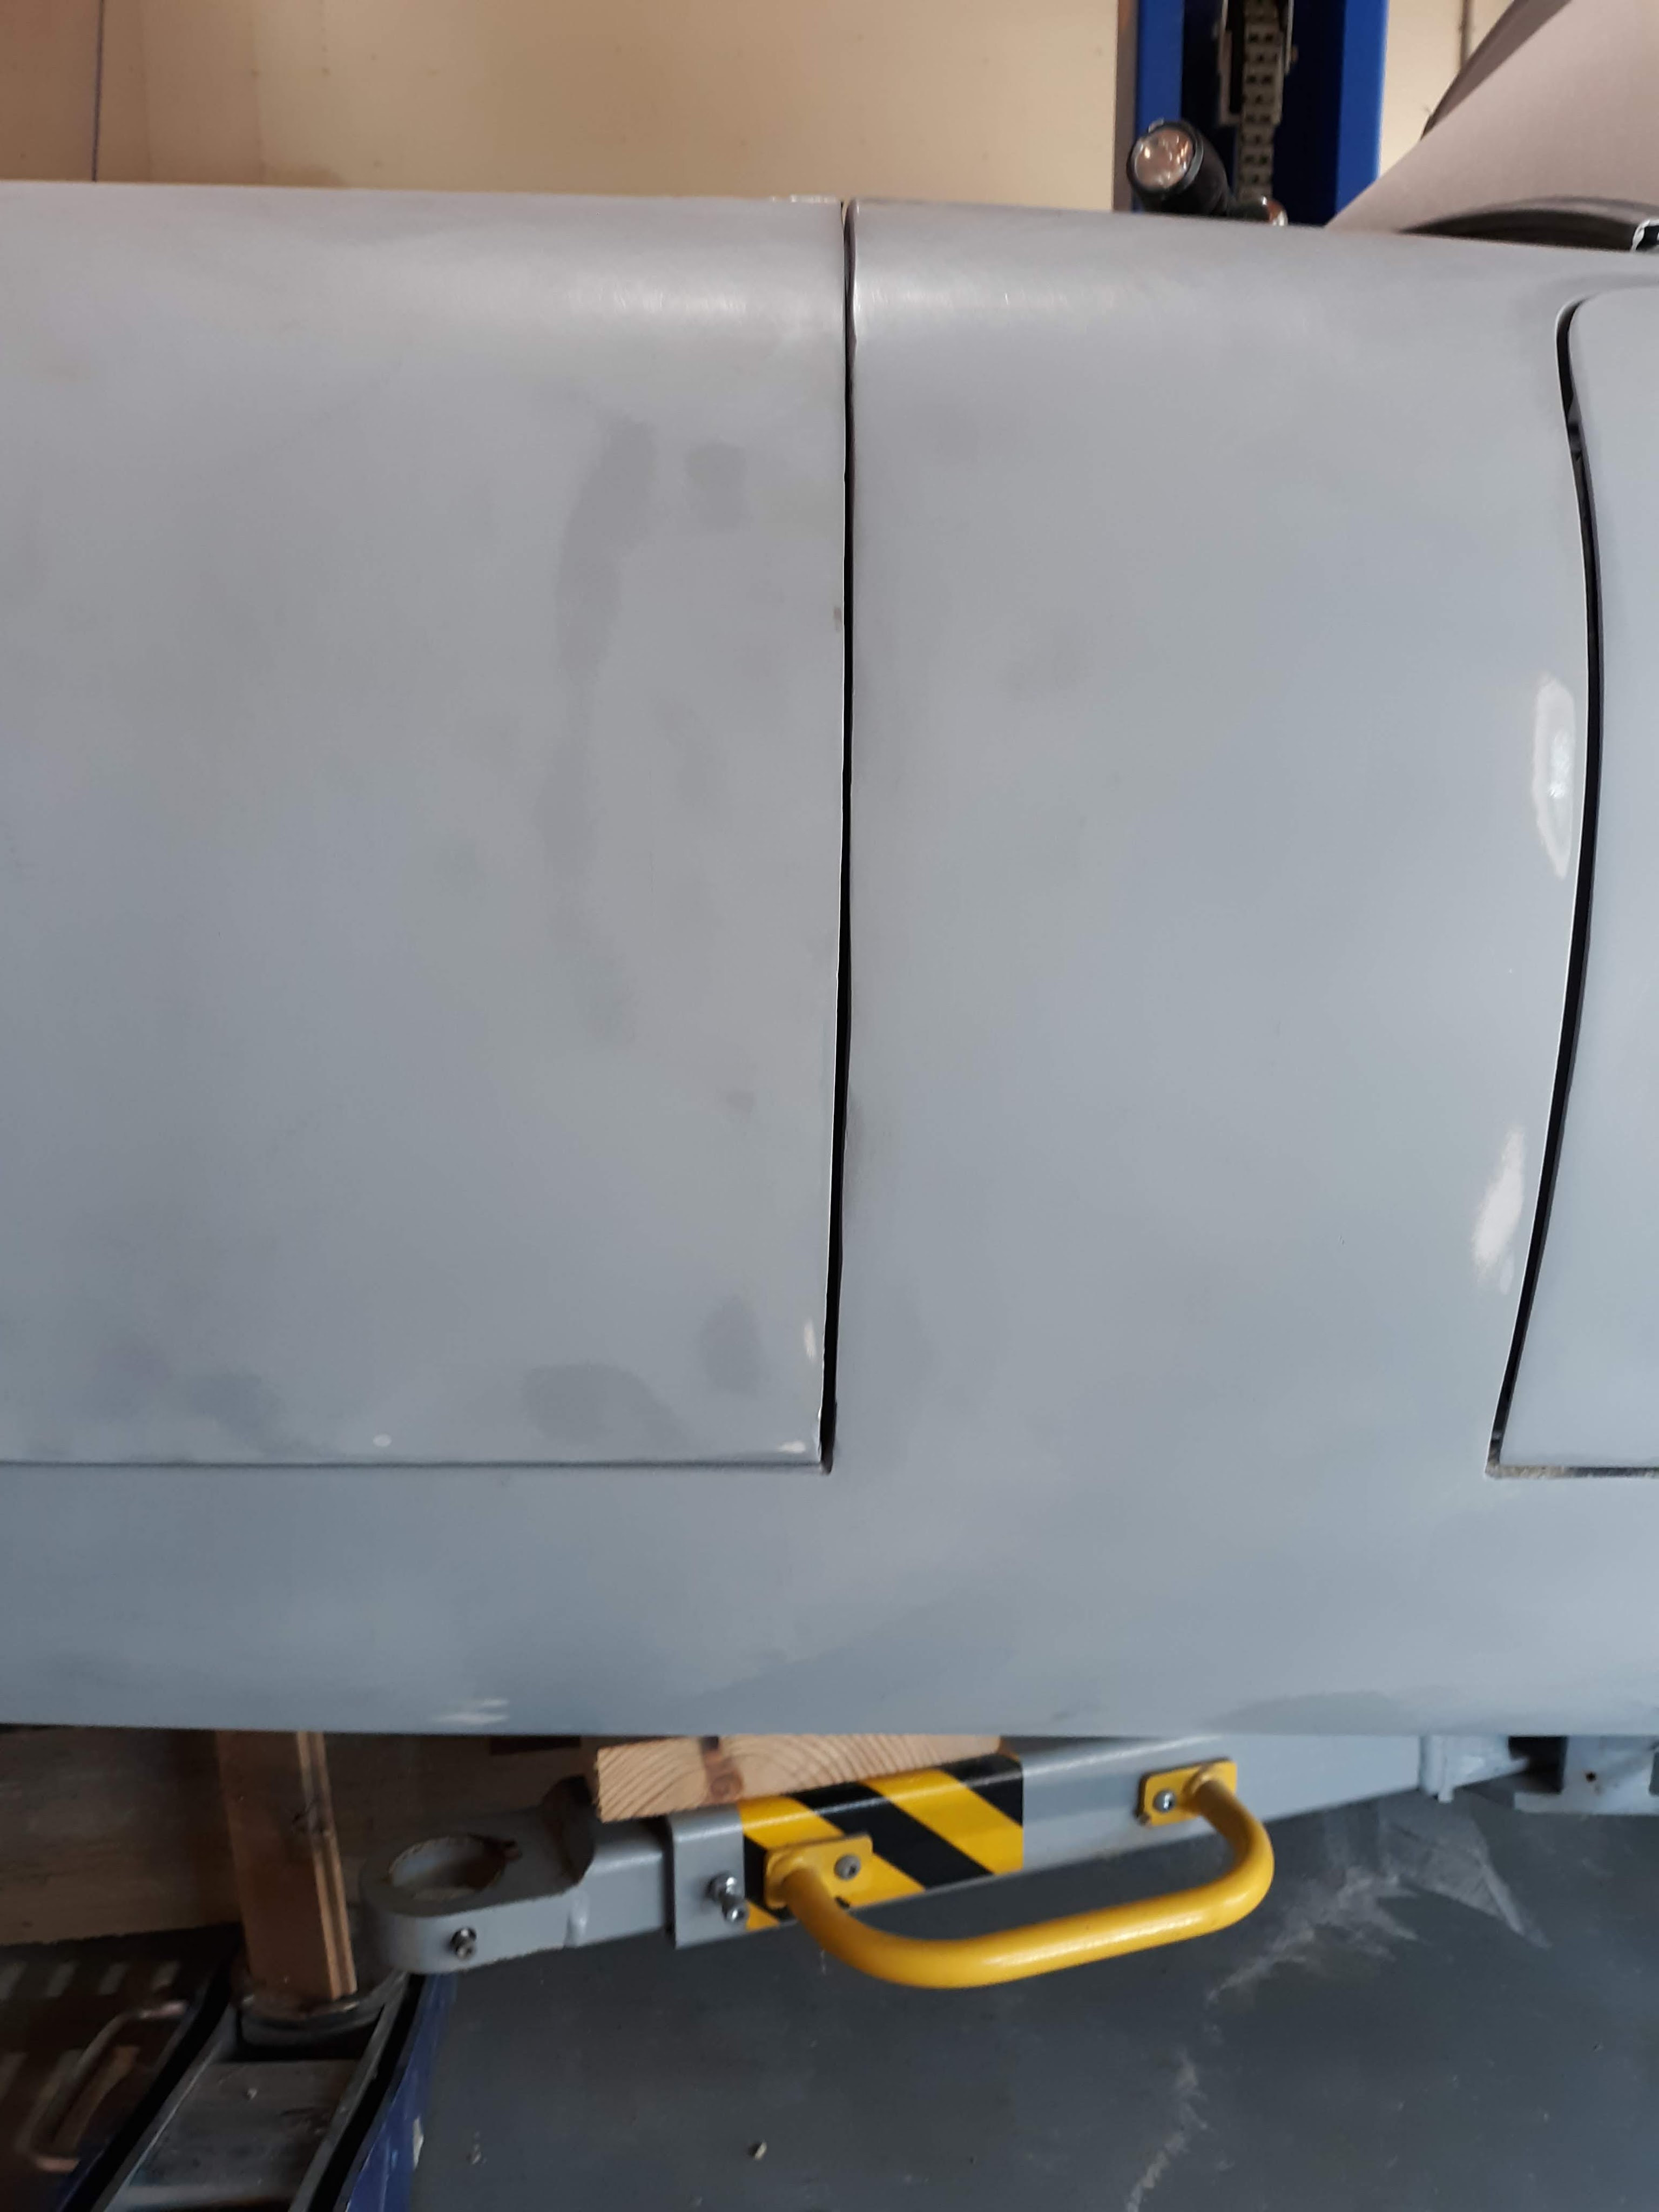
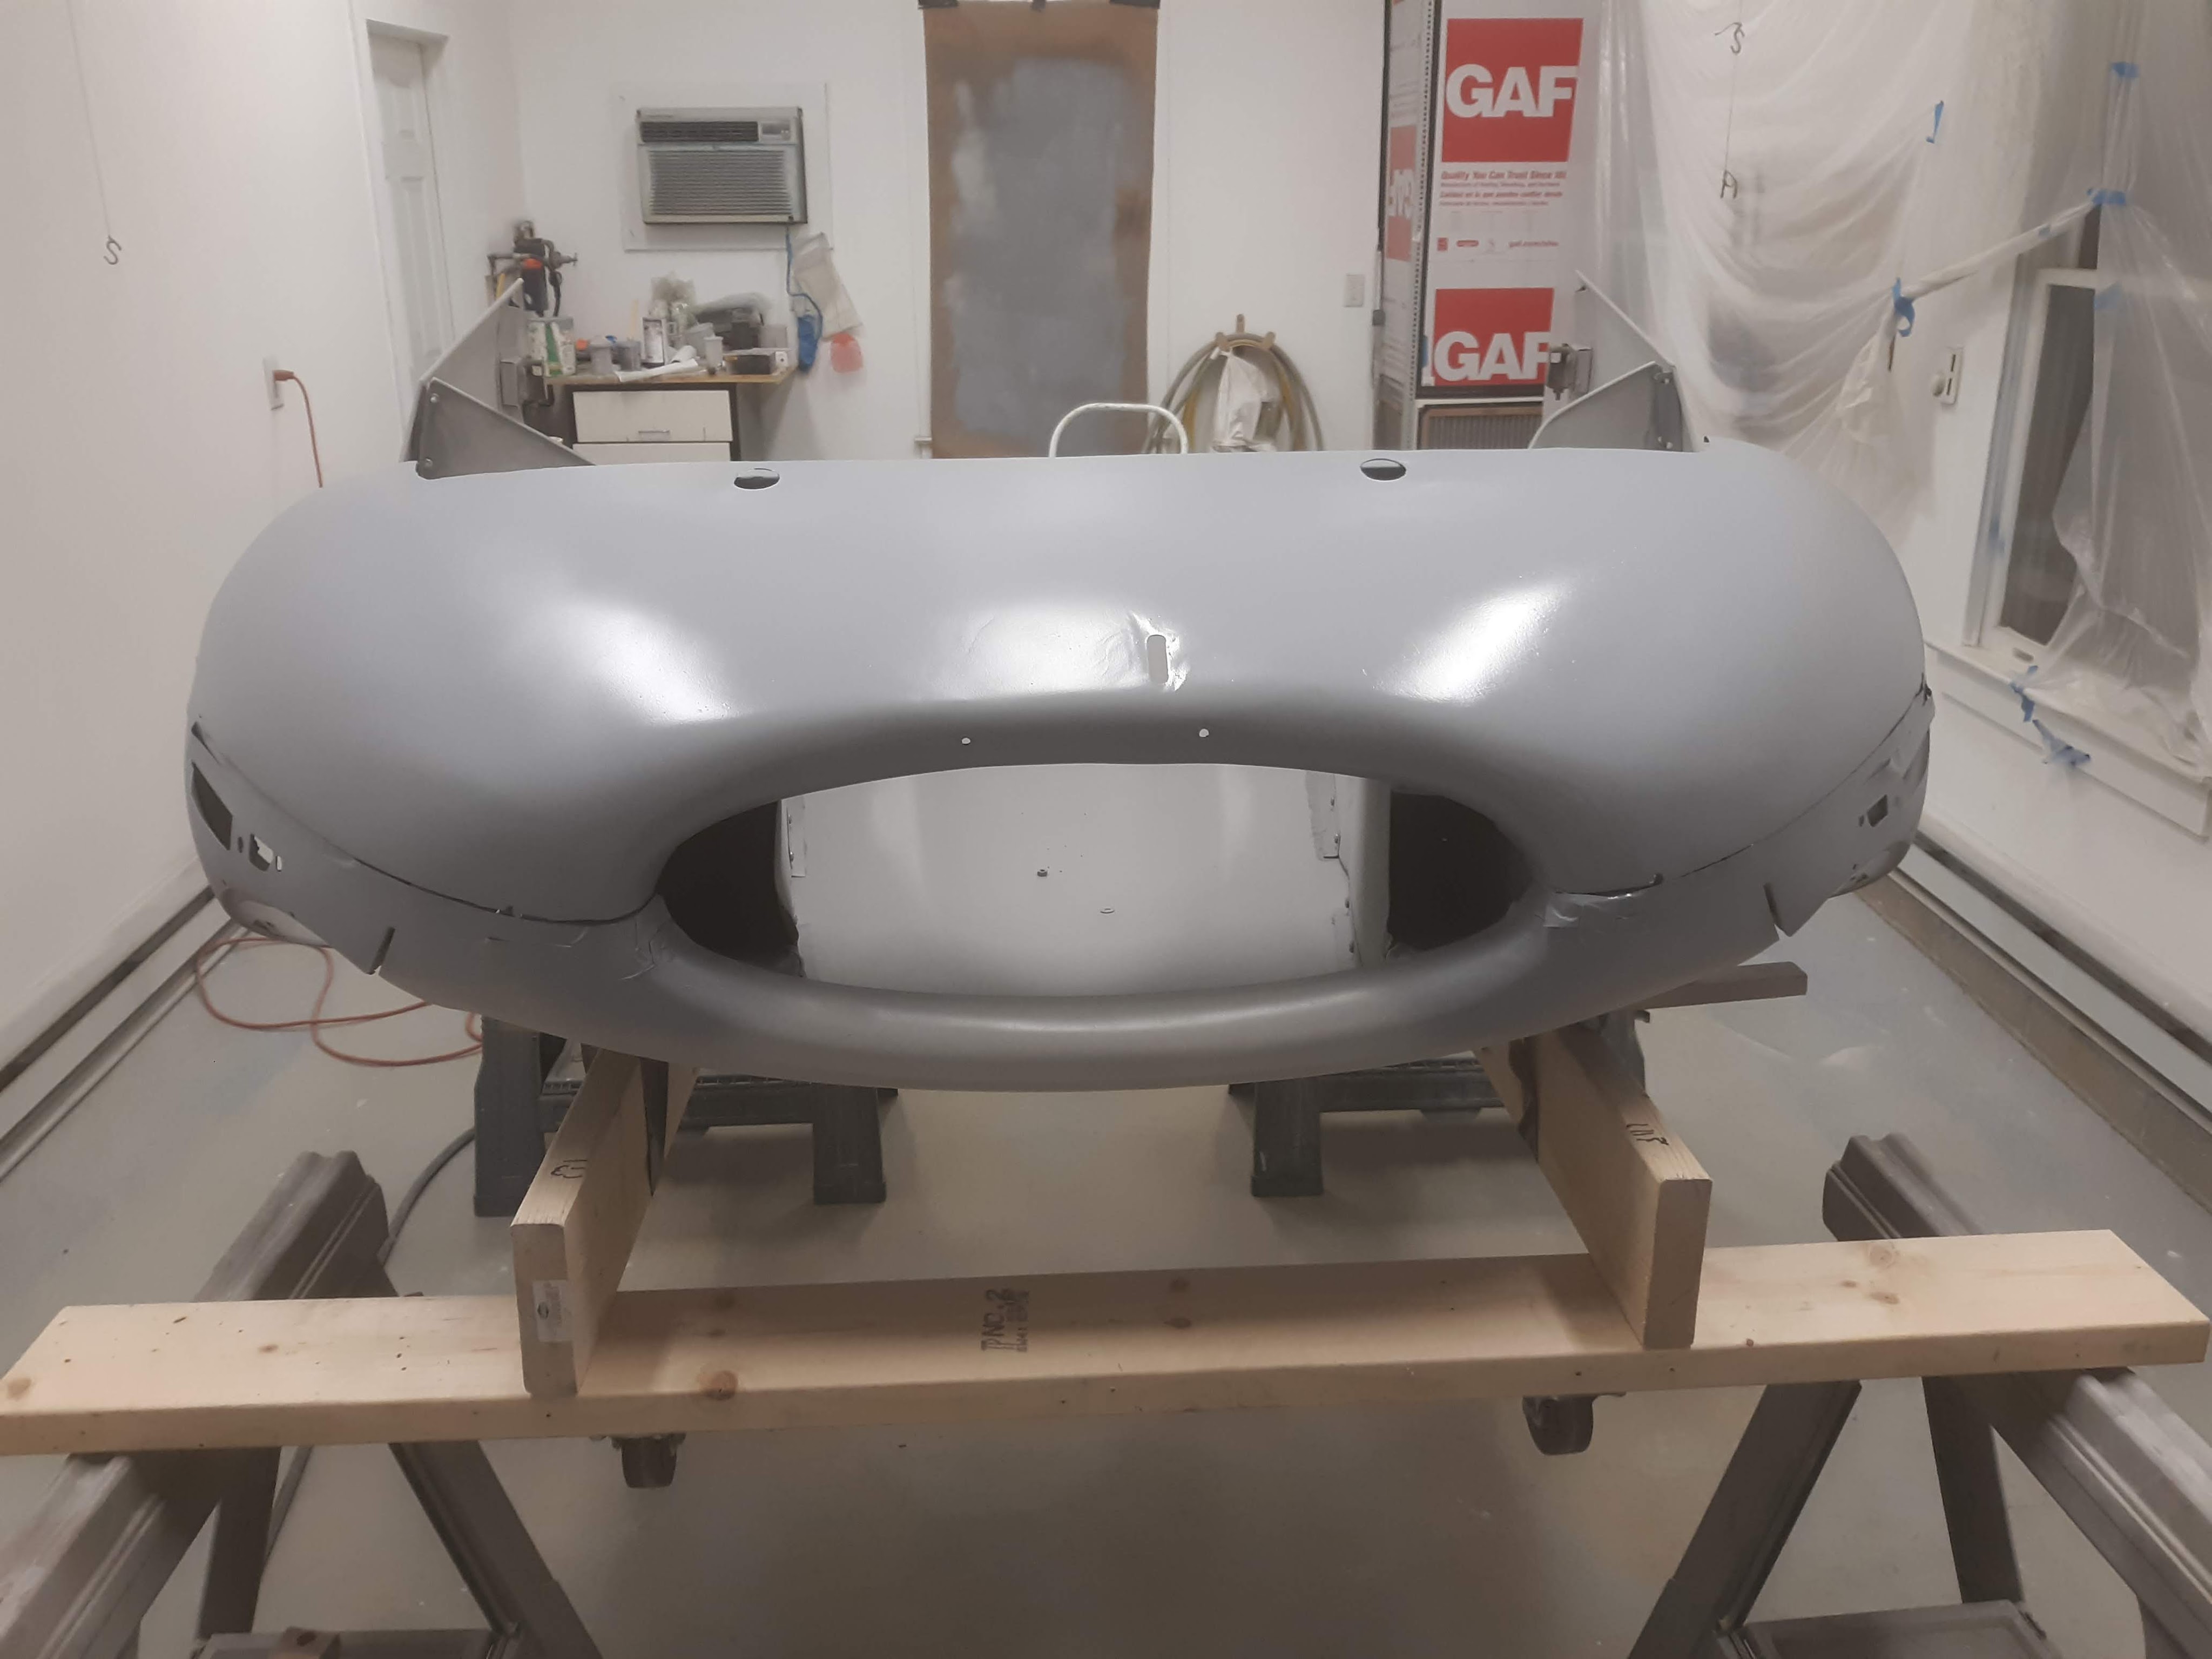
Which leads me to the other big event. I made the final cuts on my bonnet center section back edge. As noted previously, the replacement bonnet center section is delivered long. I had made several preliminary cuts but had left the last 1/8″ or so in reserve. Now that I had the weights set, I lowered the bonnet and evaluated the gaps. First, I was able to remove some of the shims on top of the hinges, which had the effect of opening the gap back up that had been compressed by the weight of the engine. Once I reached the best compromise with shims, I attacked the latch mechanisms to obtain the best combination there. Finally, I traced a consistent line from the cowl edge to the bonnet center section and marked it with tape. I was shooting for a 1/8″ gap. It was time to cut!

I had made previous cuts with metal snips. The metal snips can leave a pretty rough edge. They are also hard to use at the transition of the power buldge. For this cut, I used a 4 1/2″ diameter wafer disc attached to an electric grinder. The 4 1/2″ diameter helps keep the cut square. It was nerve racking but went pretty well. I dressed the edge with a big ass file!

I have decided to totally disassemble the bonnet and paint every inside surface in body color. This is not exactly how it was done at the factory. A thread on Jag-Lovers revealed that the bonnets were assembled from raw steel and then painted. As a consequence, not all surfaces on the bonnet got painted, even with primer. This probably explains why a lot of the bolted flanges that connect the various bonnet parts get very rusty and corroded. My plan is to paint as much of the bonnet as I can in pieces. I will then assemble the bonnet and spot paint the bolting hardware. This will obtain the original look, where the bonnet was painted as an assembly, but yet do a better job of getting paint into all areas so as to prevent corrosion.

But first, I needed to get the bonnet off the car. I made a crude “bonnet cart” out of wood, tilted the bonnet vertical, attached the cart, and moved the bonnet to the paint booth. I don’t normally like to do metal and polyester filler work in the paint booth, due to the dust. But winter is upon us and it is the best heated workspace that I have. I tackled the bonnet nose or underpanel while the bonnet was still assembled. Part of this was application of filler to smooth out the dents. I also welded in some reinforcement brackets at the locations where the bumper bolting passes through. Finally, just today, I applied 4 coats of high solids primer to the underpanel. As soon as I get this sanded, I’ll be taking the bonnet apart.
And so body and paint work continue. It is a long haul, that is for sure.

Discussion
Comments are closed.