As I originally set up my track car, I had taken the power steering rack that came with the car, removed the hydraulic fluid, and plugged the various openings. After 5 years of use, I realized that there was quite a bit of slop in the steering. I made some investigations of the various components involved and did not find any obvious problems.
The first thing I did was purchase a new steering shaft. This shaft has two universal joints. I had read on forums that these joints, when aged, could possibly seize up suddenly. Not a good thing. I purchased a new shaft from Paragon Products. I also purchased two new steering tie rod outer end joints, just to be safe. I articulated the tie rod inner joints and did not see any problems there.
Next, I performed some additional mods to my steering rack. The complete discussion of these mods is contained at the following thread on Rennlist.
https://rennlist.com/forums/924-931-944-951-968-forum/741724-de-powering-the-steering-rack-2.html
In summary, I dis-assembled the entire rack, inspected it, and cleaned it. I added the small washers under the T bar as discussed in the thread. And I removed the shaft seals. I sealed the openings for the abandoned hydraulic lines with a combination of bolts and grease nipples.
I re-assembled the rack and changed out the original rubber rack mounts with some poly versions I found on E-Bay.
One problem area that I encountered, basically my own fault, is that I twisted off 1 of the 4 mounting bolts while re-installing the rack onto the engine crossmember. I forgot to clean out the mounting holes in advance with my thread chaser. I had to remove the crossmember to do R&R on the holes. I also installed new bolts.
The only other trick is to be aware that you cannot get the steering shaft connection onto the splined shaft on the rack unless you do it before fully installing the rack. Just get your 4 bolts started and then get the splined shaft engaged. The gradually tighten up both parts. Make sure the hole for the clamping bolt on the splined joint is lined up with the notch in the shaft.
New rubber seals/bellows completed the job. The steering is much improved after all these steps!
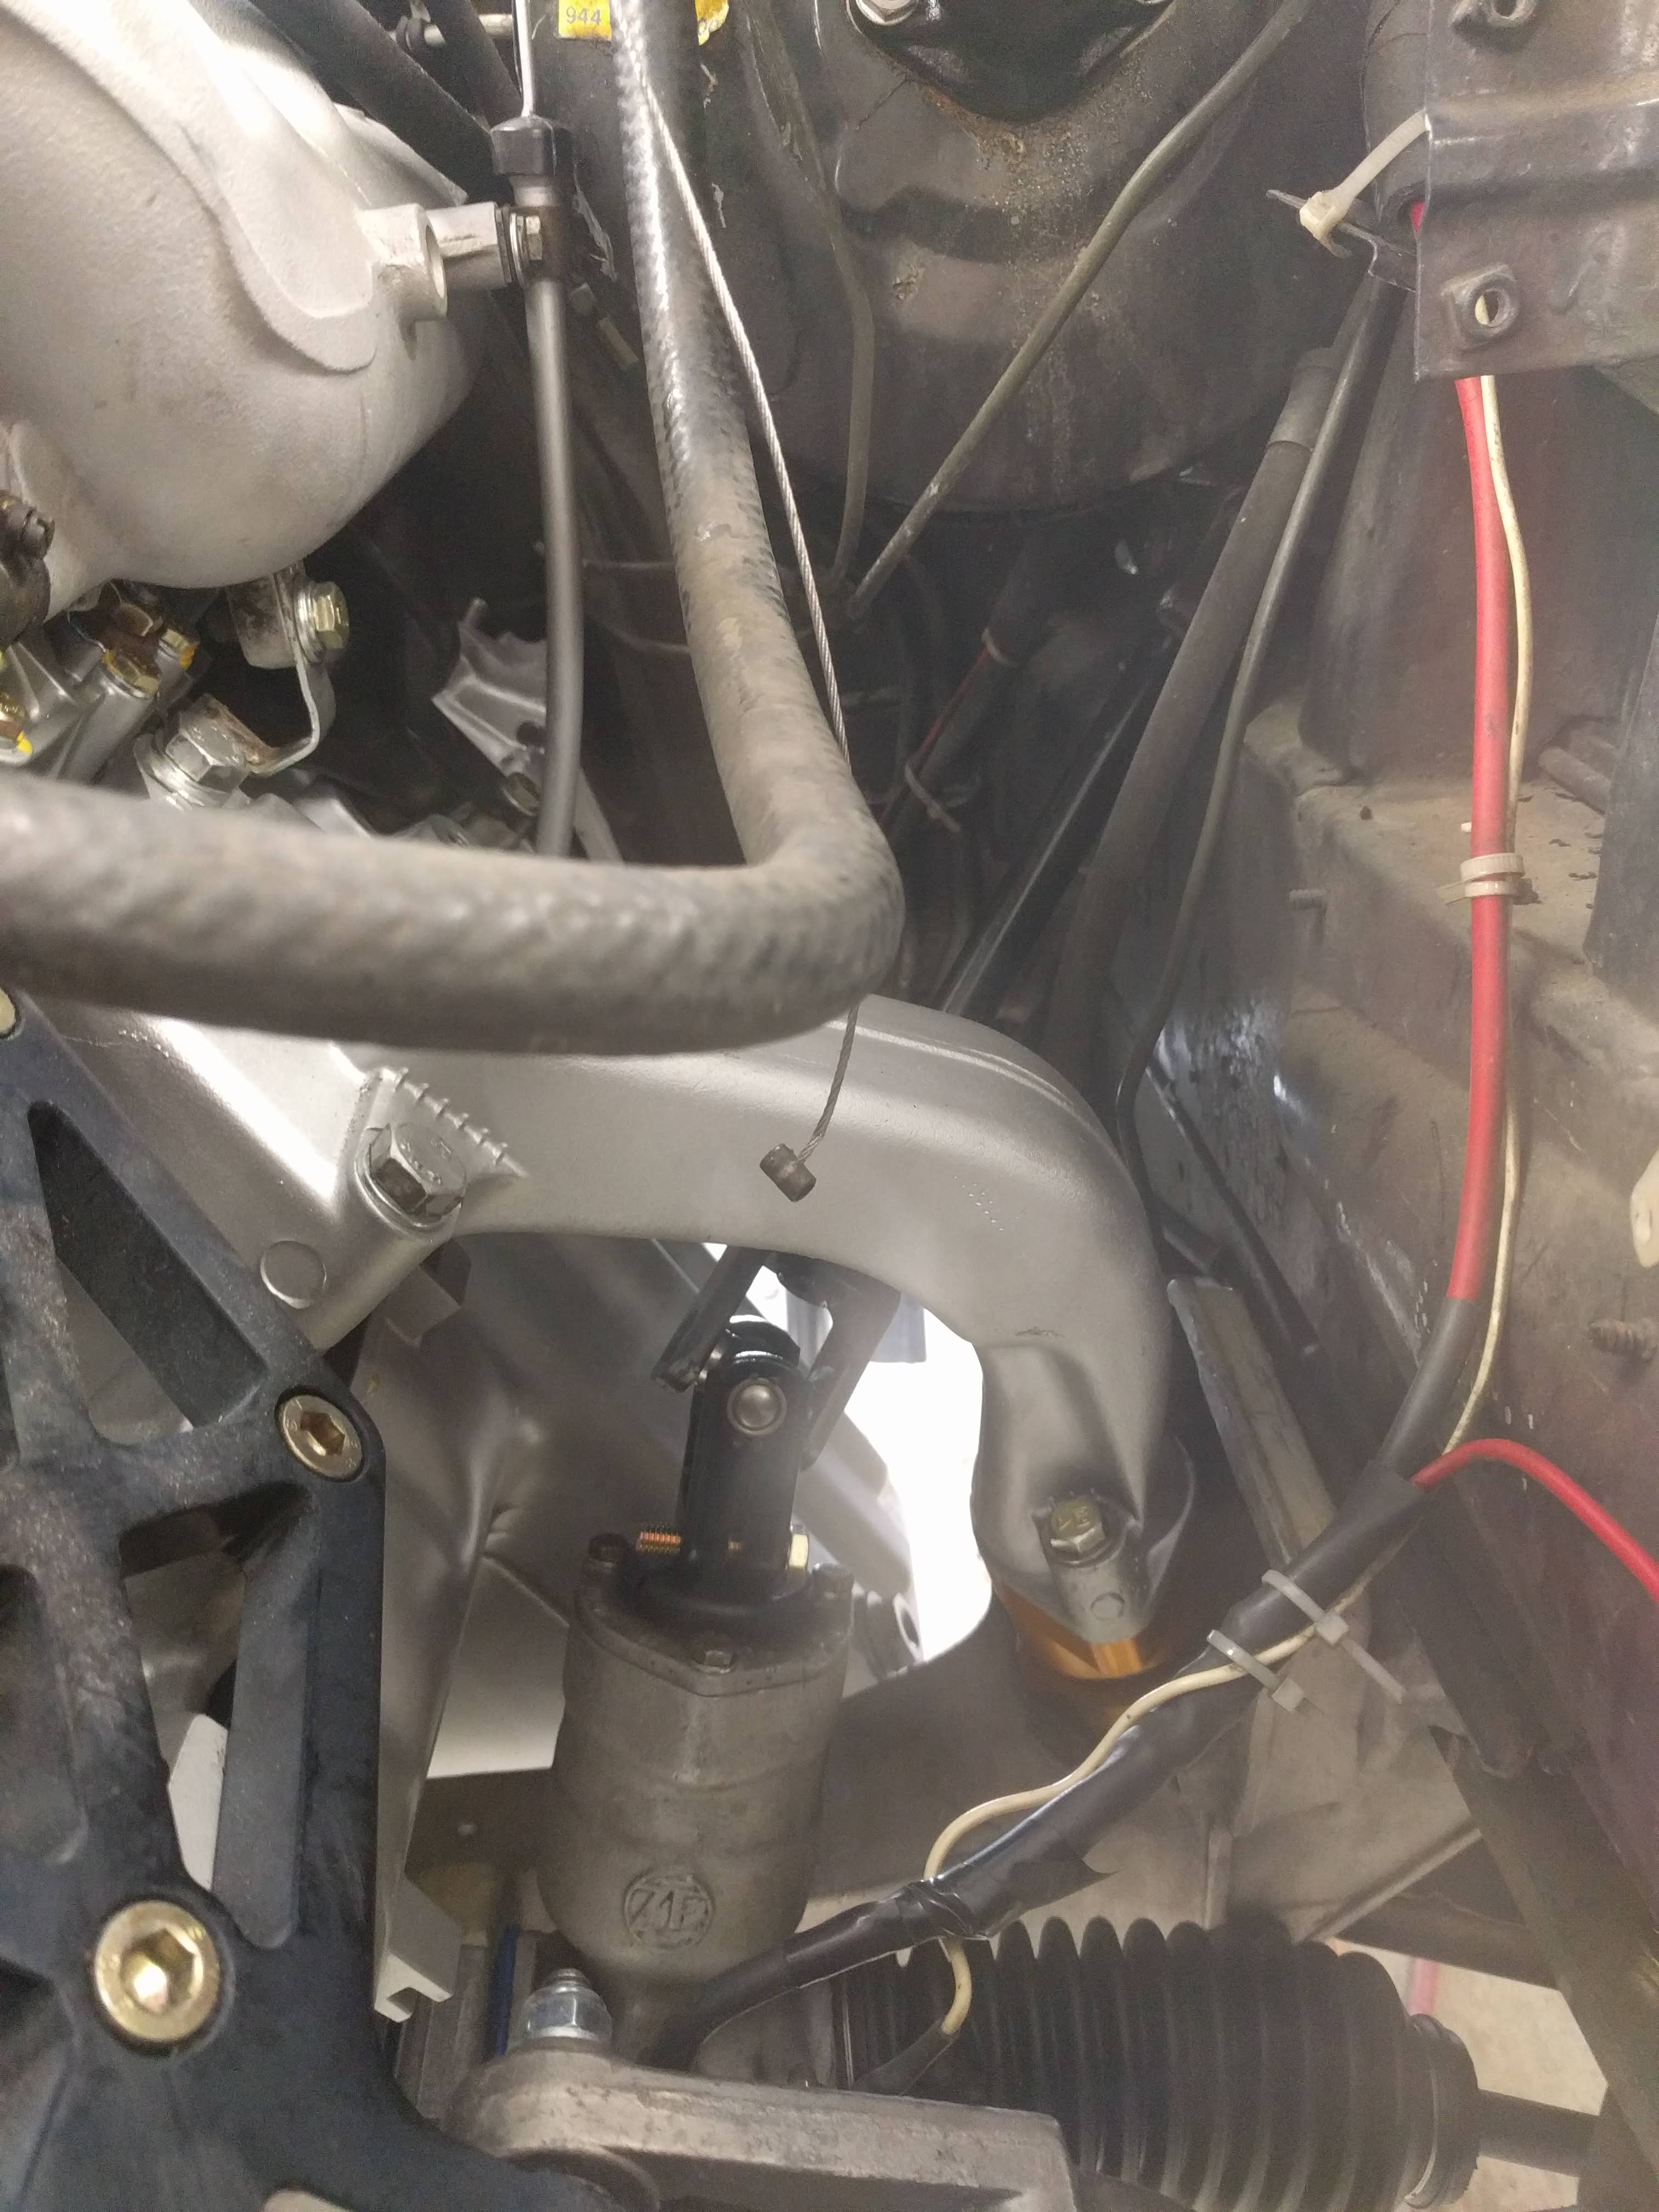
The connection of the steering shaft to the rack must be made in stages as you install the rack. Ensure correct alignment for the pinch bolt.


Discussion
Comments are closed.