As previously chronicled, I have a 1984 Porsche 944 that I purchased with the intention of making into a backup track car that is also street legal. I had gone through the car mechanically as discussed in previous articles. The car was now mechanically sound but in order to safely head for track events, I wanted to have a roll bar.
Roll bars come in 2 basic flavors. Bolt in and fully welded. Since I have all the equipment needed, I decided to go with the fully welded route. A roll bar is very basic. It is a U shaped hoop that sits just behind the driver’s seat. Two braces to the rear of the car keep the bar from collapsing in the hopefully unlikely event that it is put into use. Another diagonal bar strengthens the system laterally. Finally, a horizontal bar midway up the hoop provides attachment points for a harness.
This may be a little hard to visualize but there are some excellent sources for details regarding roll bar construction. Both the SCCA and NASA have comprehensive documents on their websites that provide the requirements for full roll cages. If you consult these documents (look for GCR or CCR), you will see diagrams that provide the basic shape of a full roll cage. Leave off the front part and you have a roll bar. These documents also provide the minimum requirements for the roll bar tubing. These requirements are based on the weight of the car. Following their guidelines, I selected 1.5” x 0.120” DOM tubing. DOM stands for “drawn on mandrel”. This is a technical term that means the original section of white hot steel is gradually pulled or drawn over a long round bar or mandrel. This produces a very precisely shaped round tube with no welded joints. The other option is welded tubing. This tubing starts as a long flat plate that is bent into a circle with the long axial seam welded to form a round tube. There is nothing wrong with this type of tubing as a proper weld will be stronger than the adjoining tube. But there is always the possibility that the weld will not be made properly so I like to go with DOM tubing. I live in NASCAR country so what better place to buy my roll cage tubing than Stock Car Steel in Mooresville, NC. They had my tubing and much more. I picked up some extra tube and flat stock from their miscellaneous bin so I would have something to practice on.
So now that I had the basic roll cage shape in mind and the proper tubing purchased, it was time to get started. With the exception of the hoop, all the pieces are straight. But the hoop is required by SCCA and NASA to be bent from one continuous piece. So I needed two specialty tools. A tube notcher and a tube bender. After some research, I decided to buy these tools from JDSquared. I bought their Beast notcher and their Model 32 tube bender.

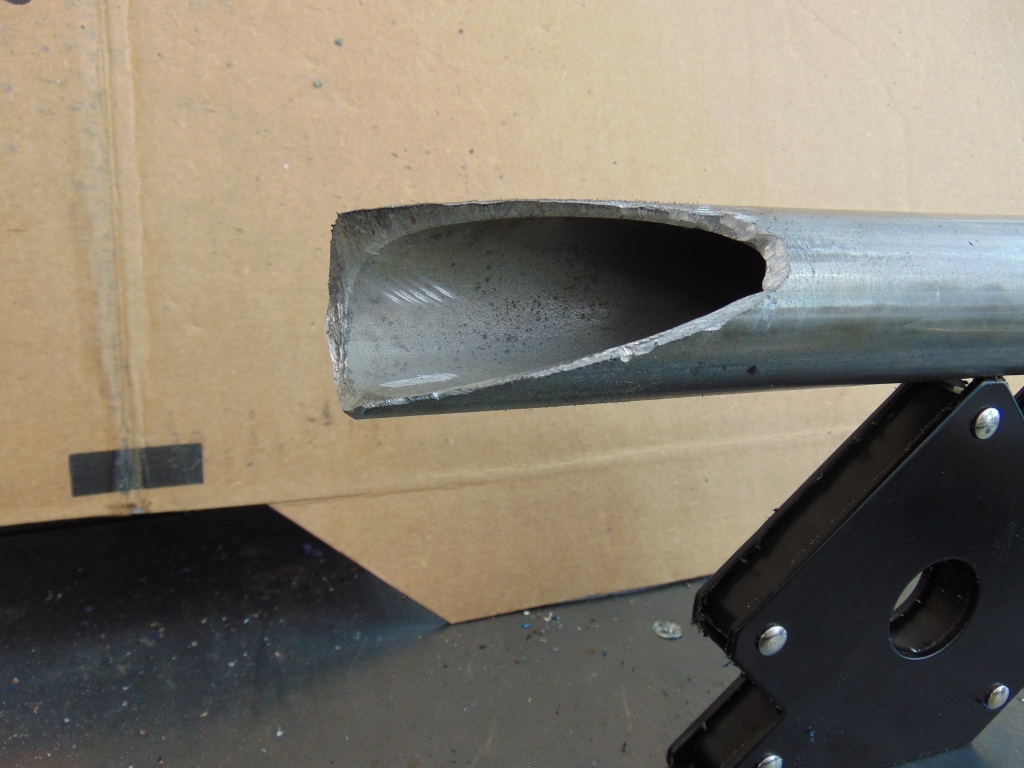
The Beast notcher is basically a fixture that securely clamps the tube such that a standard metal cutting hole saw bit can be used to slice a perfectly round hemisphere out of the end of the tube, allowing it to be butted up against its mating piece without any gaps. Perfect for welding. But it has some special features that are invaluable, such as the ability to drill at angles other than 90 degrees and to also make cuts that are offset with regard to the centerline of the tube. The Beast uses your drill motor for it’s power source. It is a very rugged piece of kit, so heavy duty that it can be an effort to just pick it up. It certainly got the job done for me.

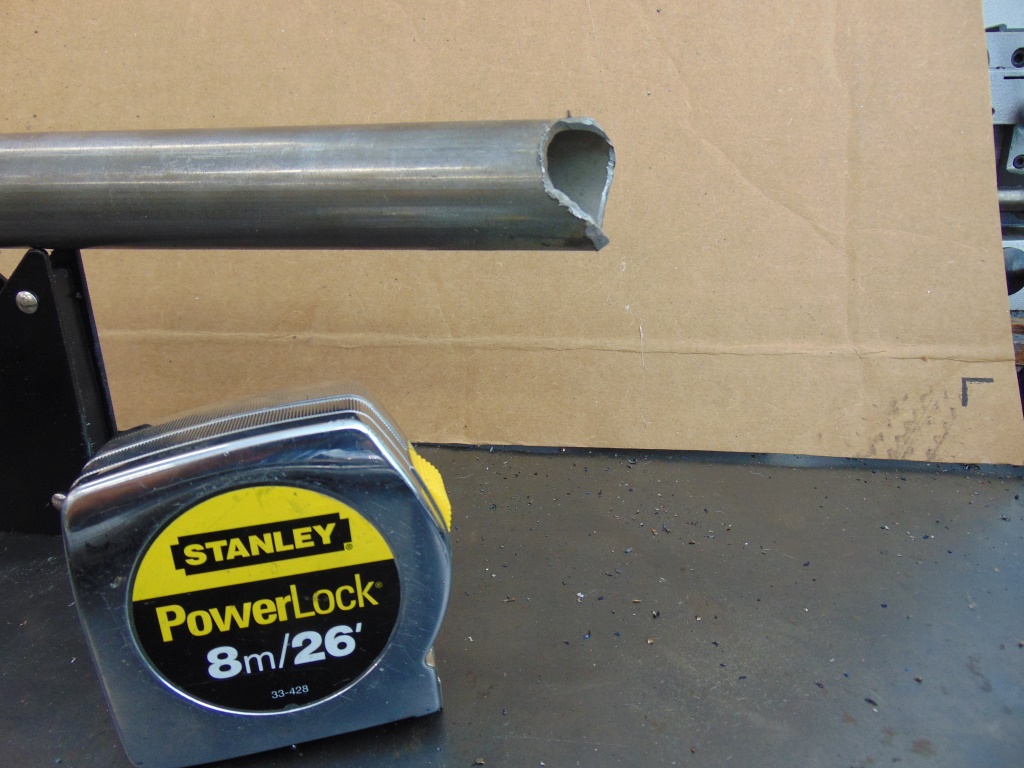
But if I liked the Beast, I am in love with the Model 32 bender. Bending round tubes is no small feat. Have you ever tried to bend a plastic soda straw or swizzle stick? Can you say crumple? Round shapes with a hollow inside just don’t want to bend gracefully. Think about it. Just like a car going around a corner, the inside of the radius of the tube describes a shorter path than the outside radius. The outside has to stretch and the inside has to shrink. One method to avoid crimping the tube is to pack it very firmly with sand and weld caps on the end. Not very practical. JDSquared have done their homework and have come up with an elegant bender. Read their website for a discussion of the technical details but I am here to tell you, it works! That said, you need a very secure bench to mount the bender on, as you are going to be adding a lot of force. Frankly, I had to add a cheater bar to be able to bend my tubing comfortably. They do offer a hydraulically powered unit but for no more bending than I plan to do, the extra expense did not seem warranted.
I had the roll cage in my track car to copy but frankly, it is so congested inside that car that it was hard to do more than study the approach used by the builder of that cage. What I did do was experiment with some ¾” EMT conduit from Home Depot, using a simple conduit bender to develop a pattern for the hoop. I then transferred my pattern to a large piece of cardboard.
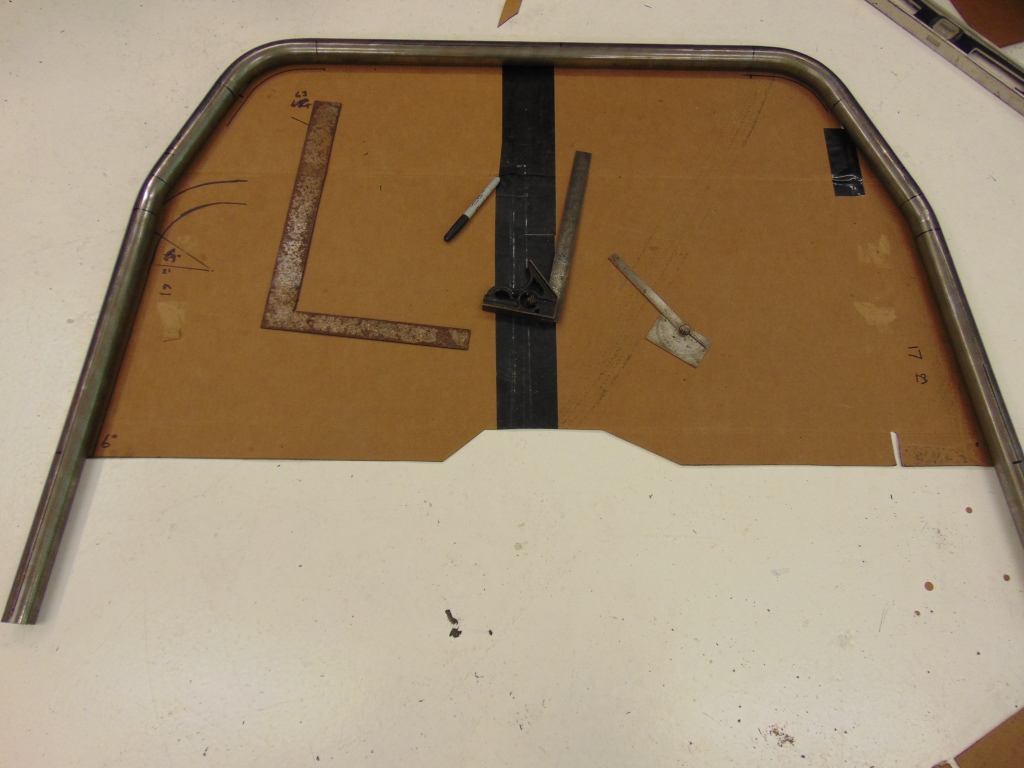
Starting and stopping the bends precisely is a little bit of a trick. I have no firm advice beyond making test bends in scrap tube until you get the hang of it. One trick is before you start, to draw a straight line down the centerline of the tube with a Sharpie to give you a reference line. Take your pick but the reference line should always be on the exact outside or the exact inside of your bend in order to make sure your hoop lays flat on the floor when you are done. JDSquared provides some pretty good basic instructions with their bender.
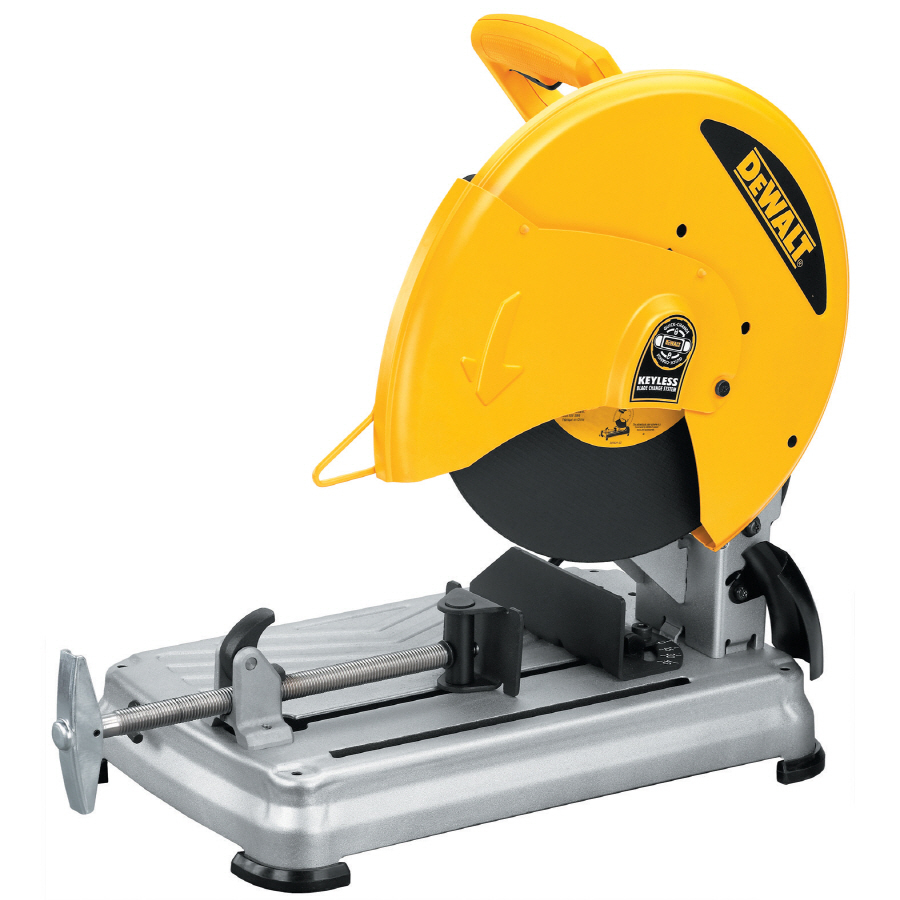
Once you have the hoop formed, you will find that you have to make a miter cut at the ends of the hoop where it meets the floor of the car. Hooray, an excuse to buy another tool! Although technically you can get by using a wafer disk on an air grinder, do yourself a favor a buy a chop saw with a metal cutting blade. They are less than $200. I use the heck out of my chop saw now that I have one. It won’t cut 2 plane or compound mitres like my saw for wood but that was not a big drawback for this project.
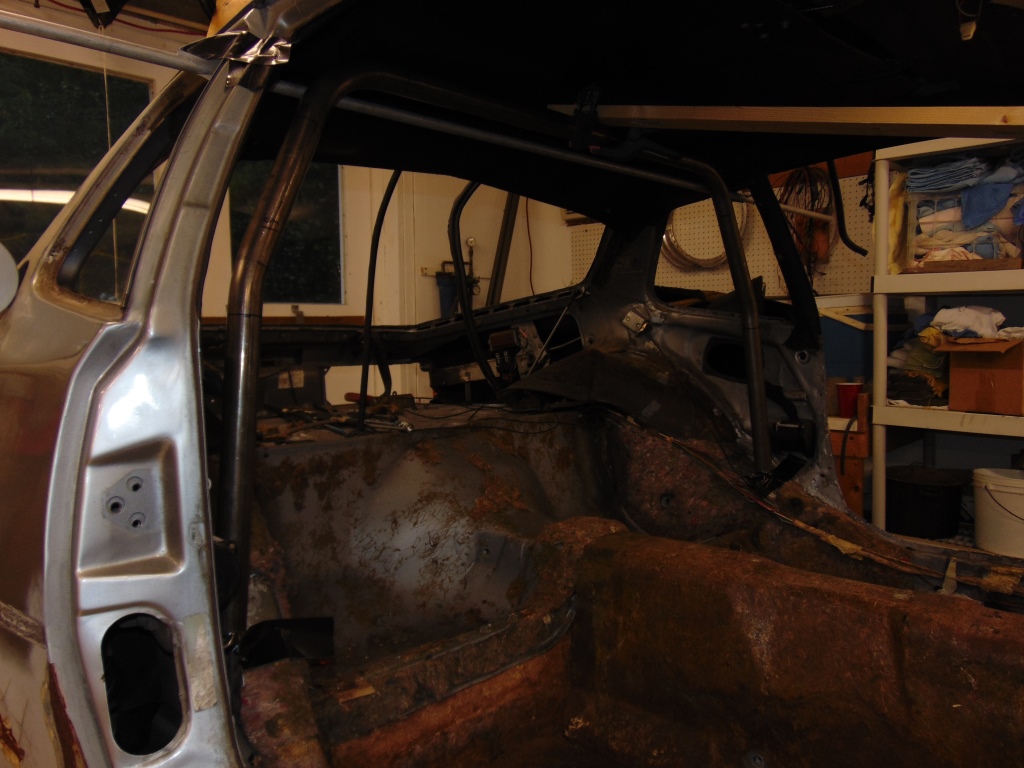
So once you’ve made your mitre cut you should be able to stand the hoop up in the car for a test fit. If you are going to attempt to weld everything inside the car (something I don’t recommend) leave some space to the roof. Otherwise, you can get pretty close to the roof and B pillars of the car. In my case, I pulled the vertical bars inward from the B pillar to allow space for the stock seat belt retractor.
Next I cut some square plates out of 1/8” thick steel to place between the bar and the sheet metal of the car. I made my plates 4” x 4”. You are welding to sheet metal so the 16” perimeter of the plate gives you sufficient weld length to allow the necessarily smaller weld to the sheet metal of the car body. I tack welded these plates to the 1.5” tube, in preparation for later welding on the bench. Hold the hoop in place with clamps, etc. so that you can cut and test fit the sloped braces to the rear of the car. These are flat mitre cuts at the connection to the floorboard and slightly mitred circular cuts for the connection to the hoop. The first one took forever. The 2nd one went quicker. If I had to do it every day, I would probably get pretty good at it. You want to try and keep your gaps where welding will occur to less than 3/16” if possible. You will be happy to know that a well made weld is stronger than the base tube material. This is due to the strength of the filler material (I use 70 ksi rod) and due to the fact that most of these mitre and circular joints have a longer perimeter length than the basic circumference of your tube. Tack weld your braces to the hoop. Fabricate 1/8” plates to go between the tube and the floorboard. Mine wound up being a custom shape due to the spot where they land. Also, the sheet metal cover for the fuel filler caused the brace on that side to be drawn inward somewhat.

The remaining pieces can be fit on the bench. Pull your roll bar from the car. I like for the diagonal cross bar to be continuous and the harness bar to be the piece that is cut in two pieces. The diagonal bar is the one that is taking all the load during an incident.
One note. On my track car, the diagonal bar starts out low on the drivers side and lands high on the passenger side. I’ll be damn but that bar is right in my sight line from the rearview mirror to the rear of the car. I flipped it on this car to avoid that problem.
Fitting up the diagonal bar was not too problematic. But that left the harness bar with some very steep mitre cuts. The Beast handled it but as the hole saws can only drill to a certain depth before the scrap piece bottoms out in the saw, I had to make multiple cuts, stopping in stages to cut out the scrap and thus allow the next cut to go to a deeper depth. I got there eventually.
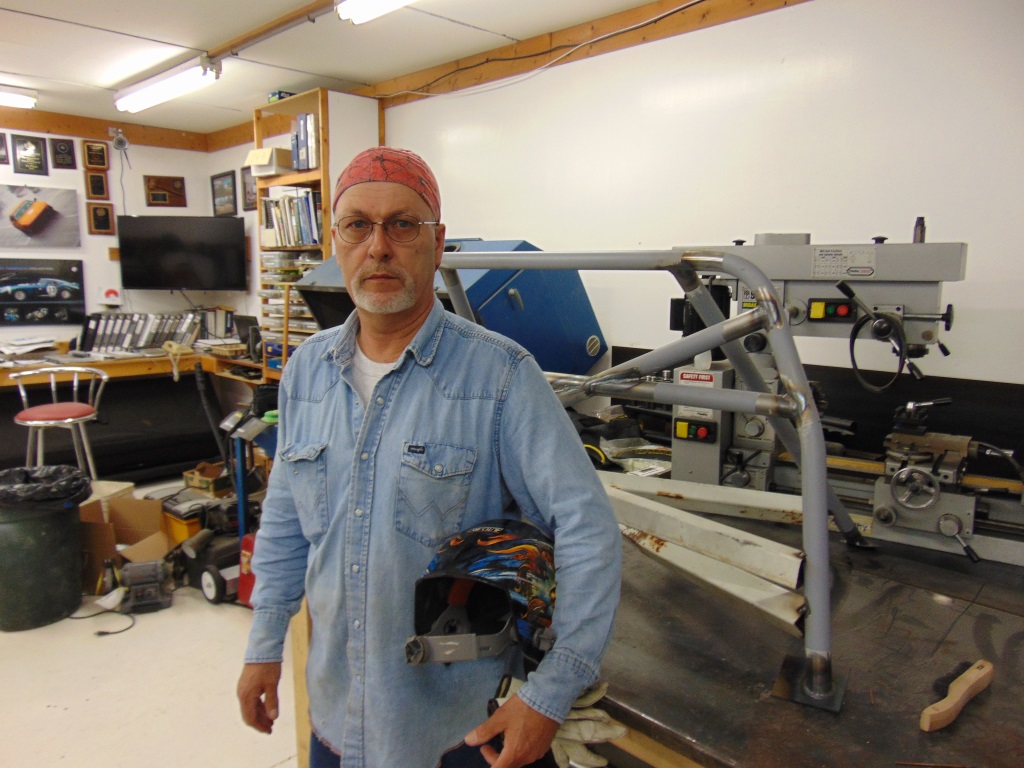
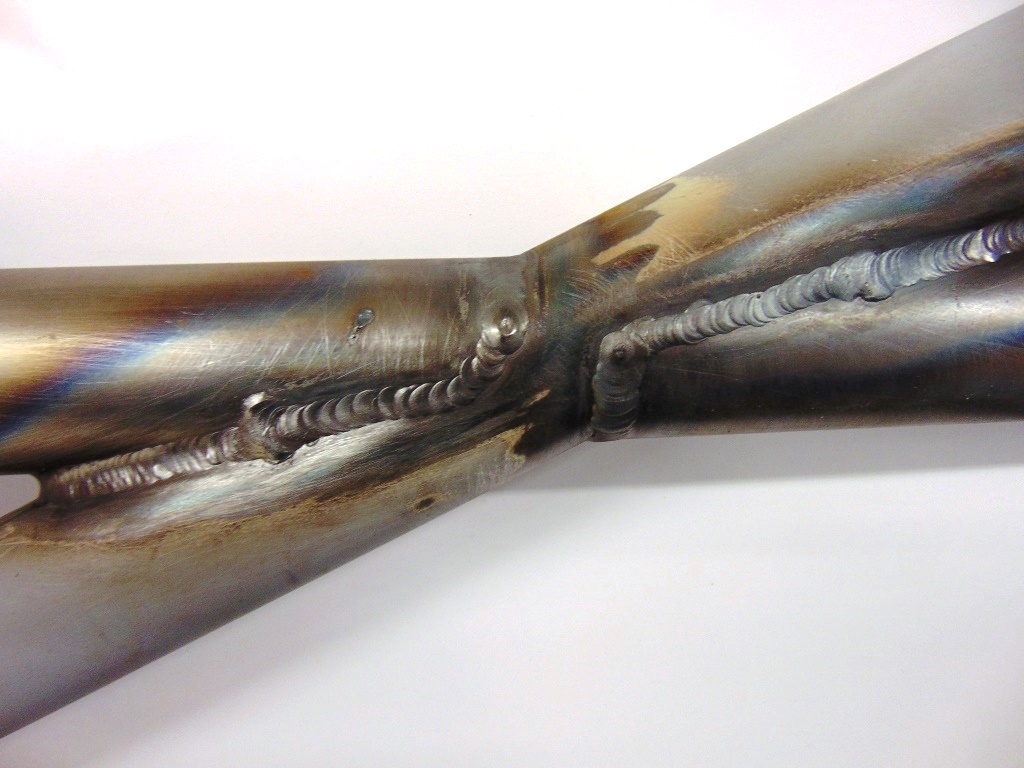
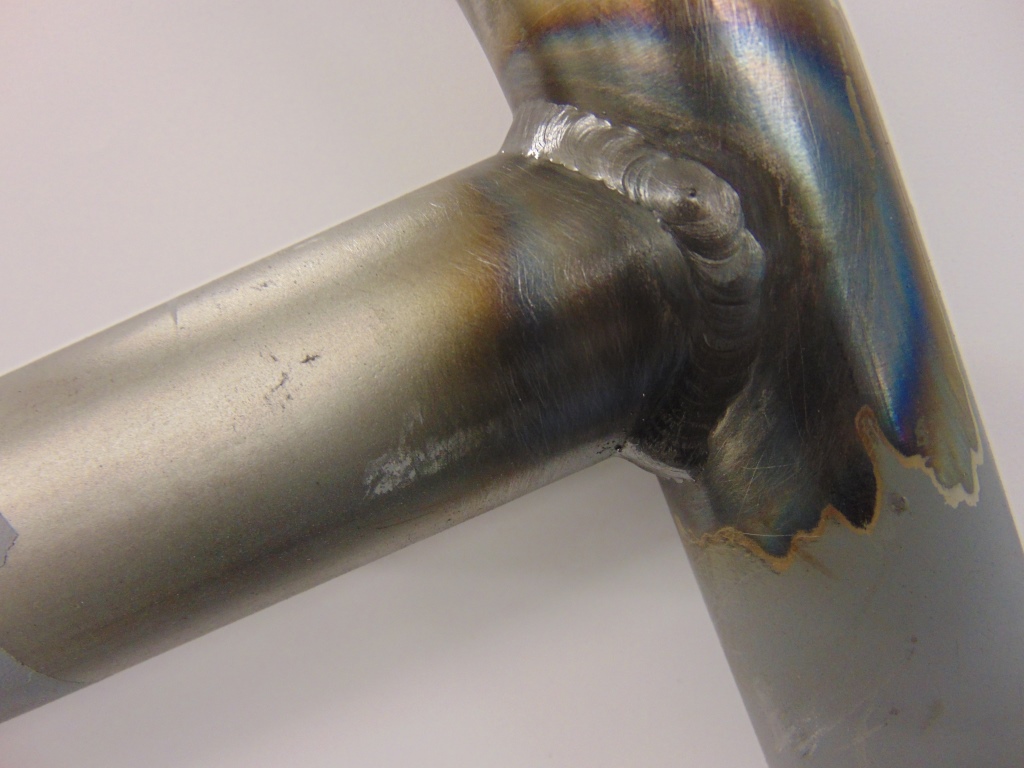
I finally had the roll bar fitted and tacked up on the bench. It was time to weld. So I have this confession to make. I have a MIG welder and a TIG welder. I have used the MIG welder a lot. I had never struck an arc with the TIG welder. I watched some Youtube videos and made some test welds. Two words: Ugly. Unsafe. Being in the nuclear power industry, I had seen many examples of outstanding TIG welding and mine were not it. Fortunately, still being in the nuclear power industry, I had access to a pro welder. Meet Rick. My personal welder.
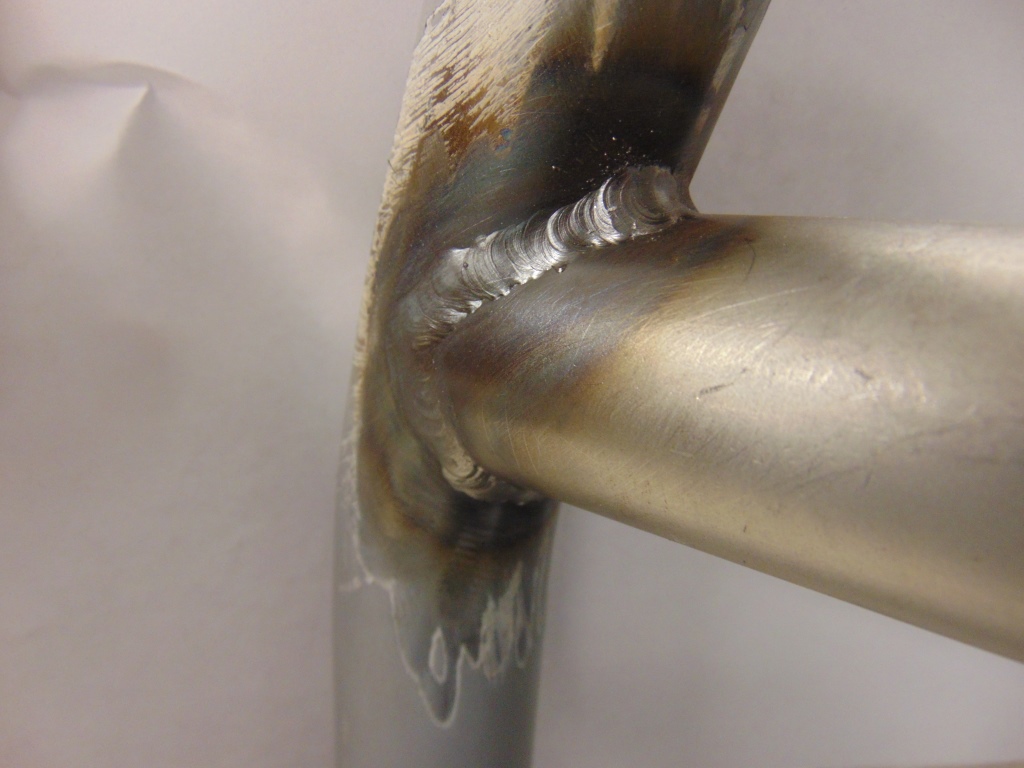
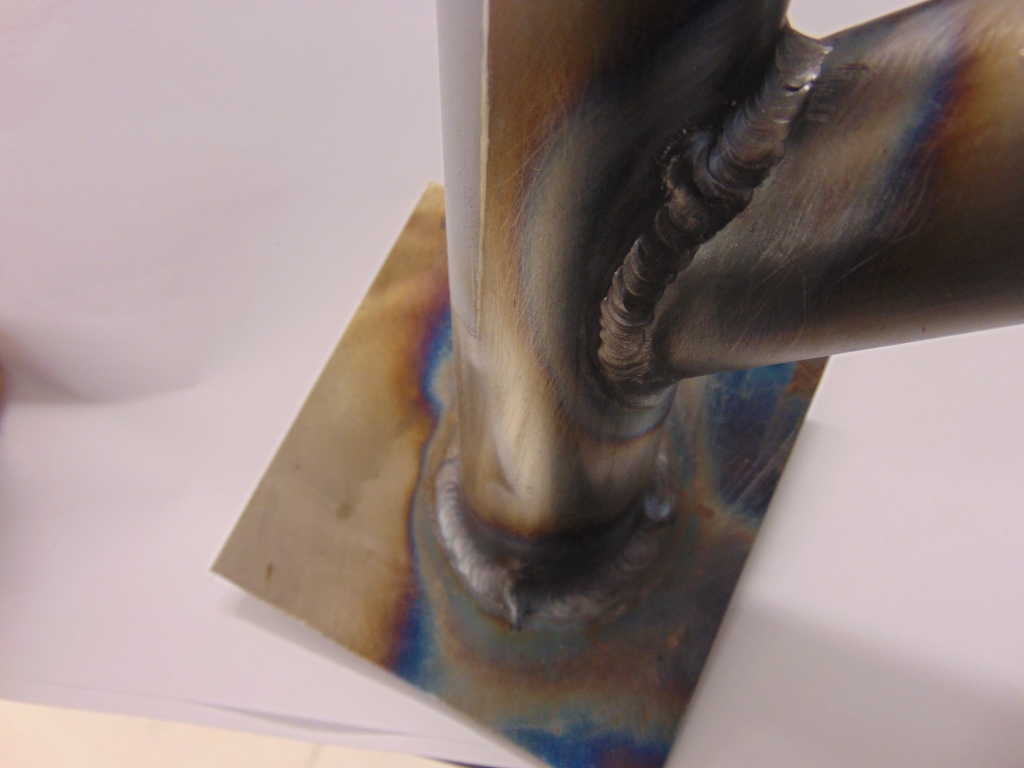
Rick came over to my house after work and reviewed my equipment and the setup. I had him make a few welds on some scrap tubing. I actually sliced one of his practice welds in my chop saw to confirm proper penetration and fusion. No problems here. This guy is good! So Rick proceeded to weld up my project. In the photos, you may notice some ugly scrap angle members. We welded these in first to fix the frame from warping during the welding process. They were cut loose when we done. I am including some photos of his welding, as they speak for themselves. Artistry!

I sort of got ahead of myself. While the various pieces were still just pieces, I wanted to get paint on them. While still dis-assembled, the pieces would fit in my bead blast cabinet.

I bead blasted all the pieces to clean metal. This is also good for the TIG welding process, which likes very clean metal. I then taped off the areas to be welded (you generally can’t weld through paint) and applied a coat of epoxy primer to the remaining surfaces. This was immediately followed by an intermediate coat of sandable filler/surfacer. Only after these steps did I tack weld the various pieces together. Once Rick was done with his welding, I came back and cleaned, epoxy primed, and intermediate coated the weld areas, followed by one overall intermediate coat. This was all sanded down and top coated with a single stage urethane. I used Glasurit products, which I will describe more when I discuss painting the car.
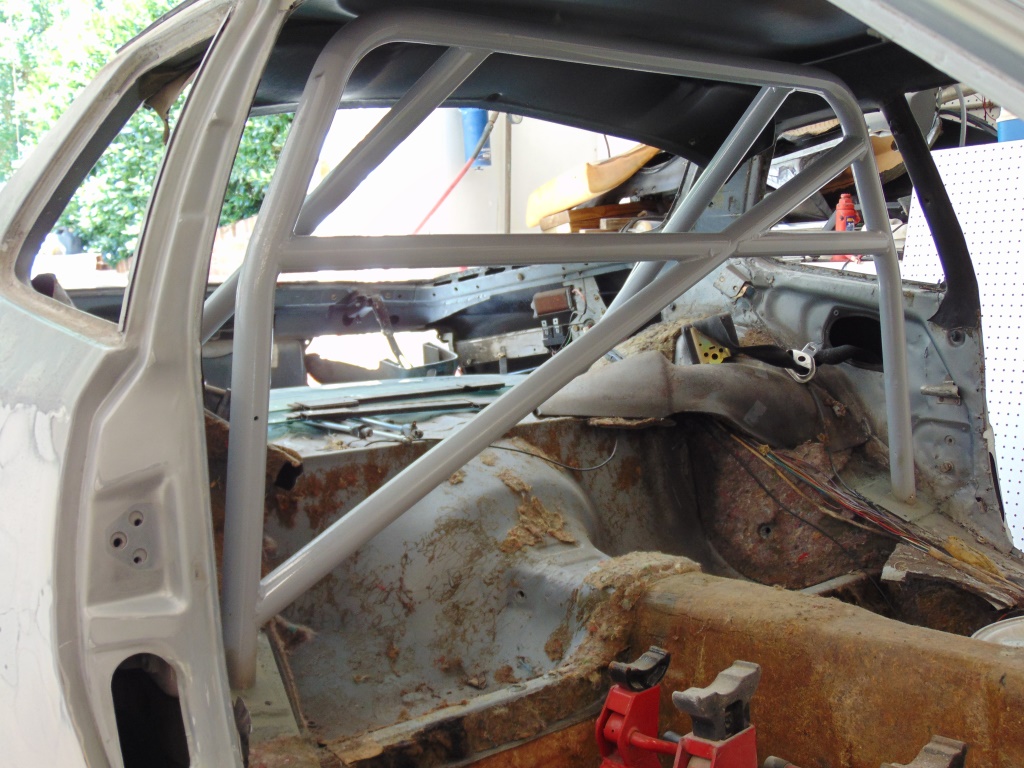

After the paint was thoroughly dry, I placed the roll bar back into car. I was happy to see that no significant warpage had occurred during the welding process and fitment was still good. The final step was to MIG weld the connection plates to the sheet metal of the car.
And thus, it was done. There is a lot of work to fabricating and installing a roll bar or a roll cage. I have developed a new found appreciation for those folks that do it full time. After mentally celebrating my accomplishment, I spent several hours cleaning up all the metal bits that had been cast to the floor during the process. It was nice to have a clean shop again, at least for a short while.

Discussion
Comments are closed.