Having sort of resolved the issue of the 928 not wanting to start, I turned my attention to issues with the HVAC system. I knew from my first drive that things weren’t quite right. There was a strange whistling noise from the center dash that I was led to believe was from a leaky diaphragm in the center dash area. I also sensed that the heat was on more than it should be. In the winter, that was not a problem but as spring approached it would not be helpful in North Carolina.
I called Roger at 928sRUS and ordered a full set of diaphragms. If I was going in, I wanted to do them all at once. I won’t try and explain the details here, as I was able to use the excellent tutorial at Dwaynes Garage. In particular, I followed Dwayne’s excellent tutorial on HVAC diagnosis and repair, found here. Dwayne goes into fine detail showing the location of every bolt and screw. His detailed explanations are very useful to anyone new to the 928. Soon I had exposed the solenoid that distributes vacuum to the various flaps and controllers. I found that I had leaks at the center dash mixing flap and at the recirculation flap. I tore into the center dash. I did find one diaphragm with a hole in it. This was the one that was causing the whistling noise. I replaced the rubber diaphragms there without too much drama. I also took the time to check the outside air temperature sensor found in the front drivers side wheel well. I was able to get the dash put back together without too many left over parts 🙂
After a test drive, I realized that the center vent was blowing hot air. The fix for this turned out to be simple. The folks at Porsche designed the heater valve to fail open. This means you can get heat when you don’t want it. I found that there was a split in the vacuum line just as it attaches to the nipple on the heater valve. I snipped off the end and reattached it and was rewarded with a functioning heater control valve.
Next I turned to the recirc flap. Dwayne doesn’t cover this one, as his was not leaking. Mine unfortunately did not respond to local vacuum applied by the Mighty Vac. As so I set out on my quest to find the recirc flap vacuum actuator. On my car this turned out to be a little bit of an adventure. I had to remove the hood first. Then I removed the fan/blower housing. It was a trick to find the 3 mounting screws, each of which is different. One screw is reached underneath the dash. This exposed the recirc flap housing. But the vacuum actuator was still not visible. I determined that I had to remove the recirc flap assembly from inside the car. This involved disconnecting the massive fuse/relay/connector board. After loosening the various mounting screws around the perimeter of the flap assembly and breaking the seal on the 30 year old sealant, I was able to push the assembly down into the passenger footwell and get it out on the bench. Whew!
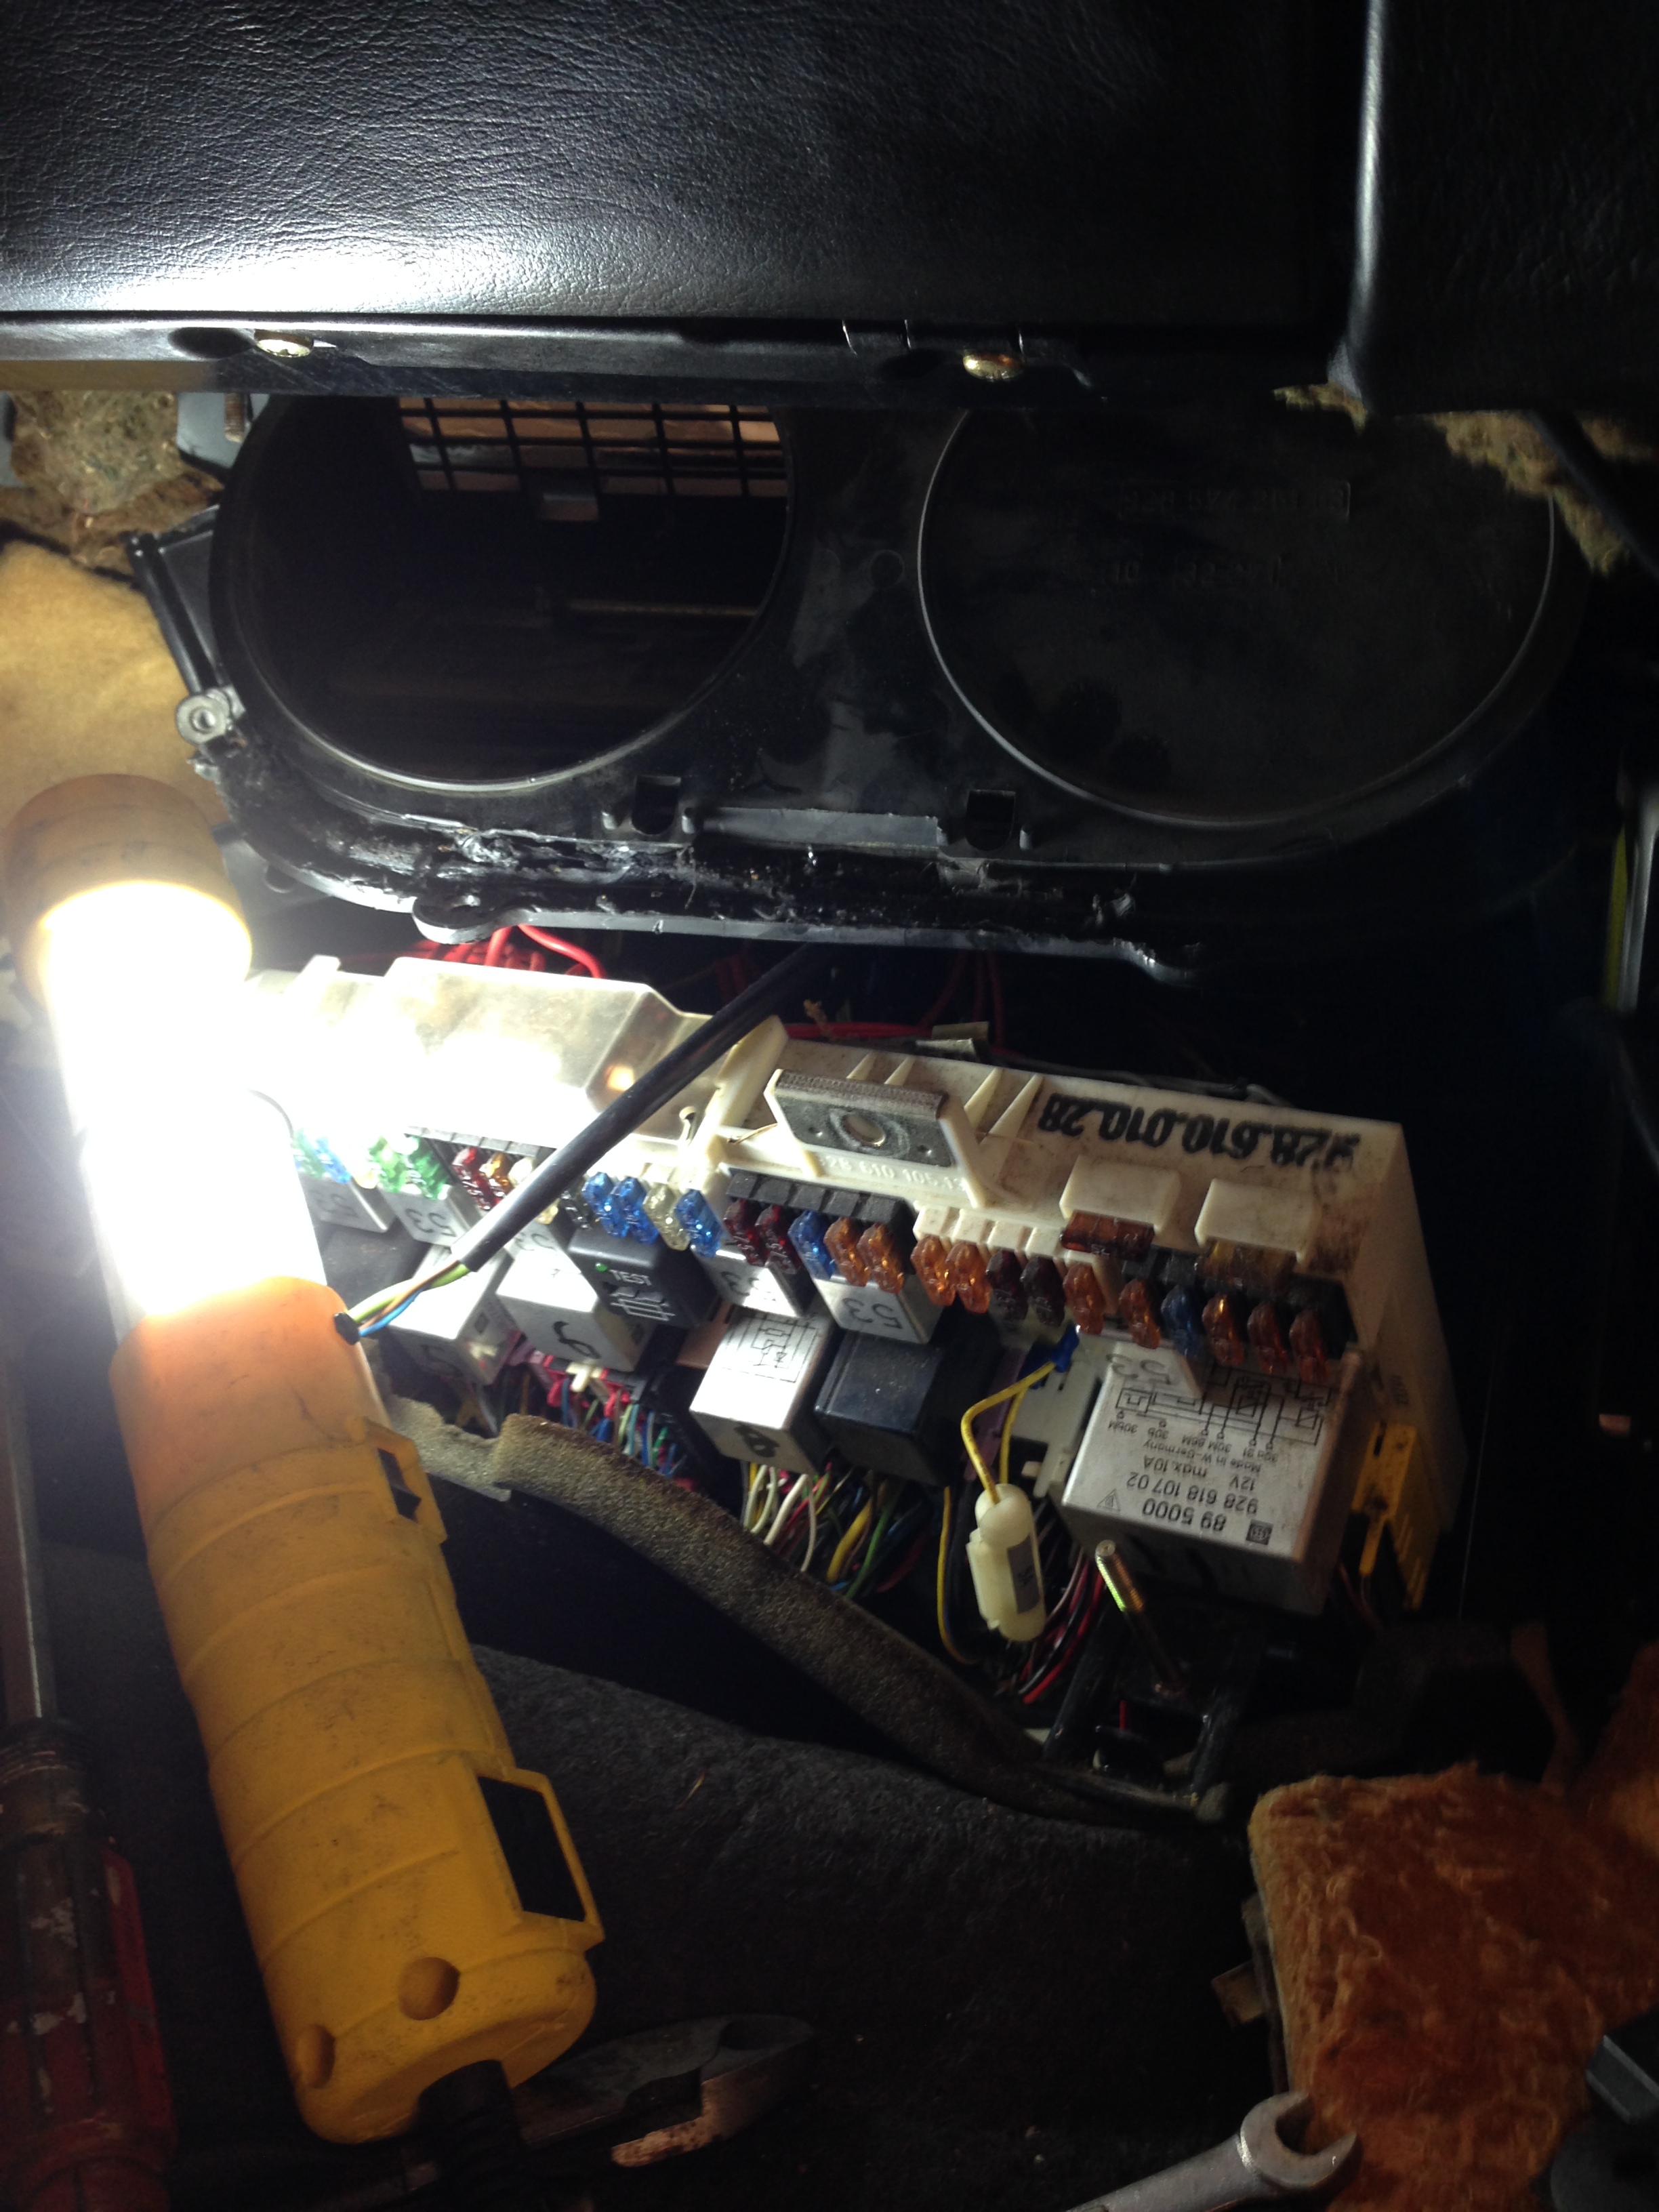
View of the Fuse Panel. The recirc flap assembly is partially lowered from it’s home above the fuse panel.

View from above as the recric flap assembly is lowered into the passenger footwell.

My God, what a mess of wires!

Recirc valve assembly on the bench, where finally the actuator can be seen.

The pink actuator is for the defrost valves. The black one is for the recirc assembly.
After I finally got the recirc flap assembly on the workbench, I was able to change out the defective actuator with a new one. I bench tested it with the Mighty Vac and it operated perfectly. Re-assembly was the reverse of dis-assembly. I took the time to clean up the various components with fresh black paint before I put them back in. I also pulled every fuse and relay on the panel and cleaned the contact blades with Deoxit. I was rewarded upon completion with an operational recirc flap in the passenger footwell.
Not very picture worthy but putting back the hood and getting it adjusted into position took a while. The bolts at the hinges are in oversize holes, allowing quite a bit of adjustment.
So an interesting and challenging job in the 928. This car uses some very tight packaging!

Discussion
Comments are closed.